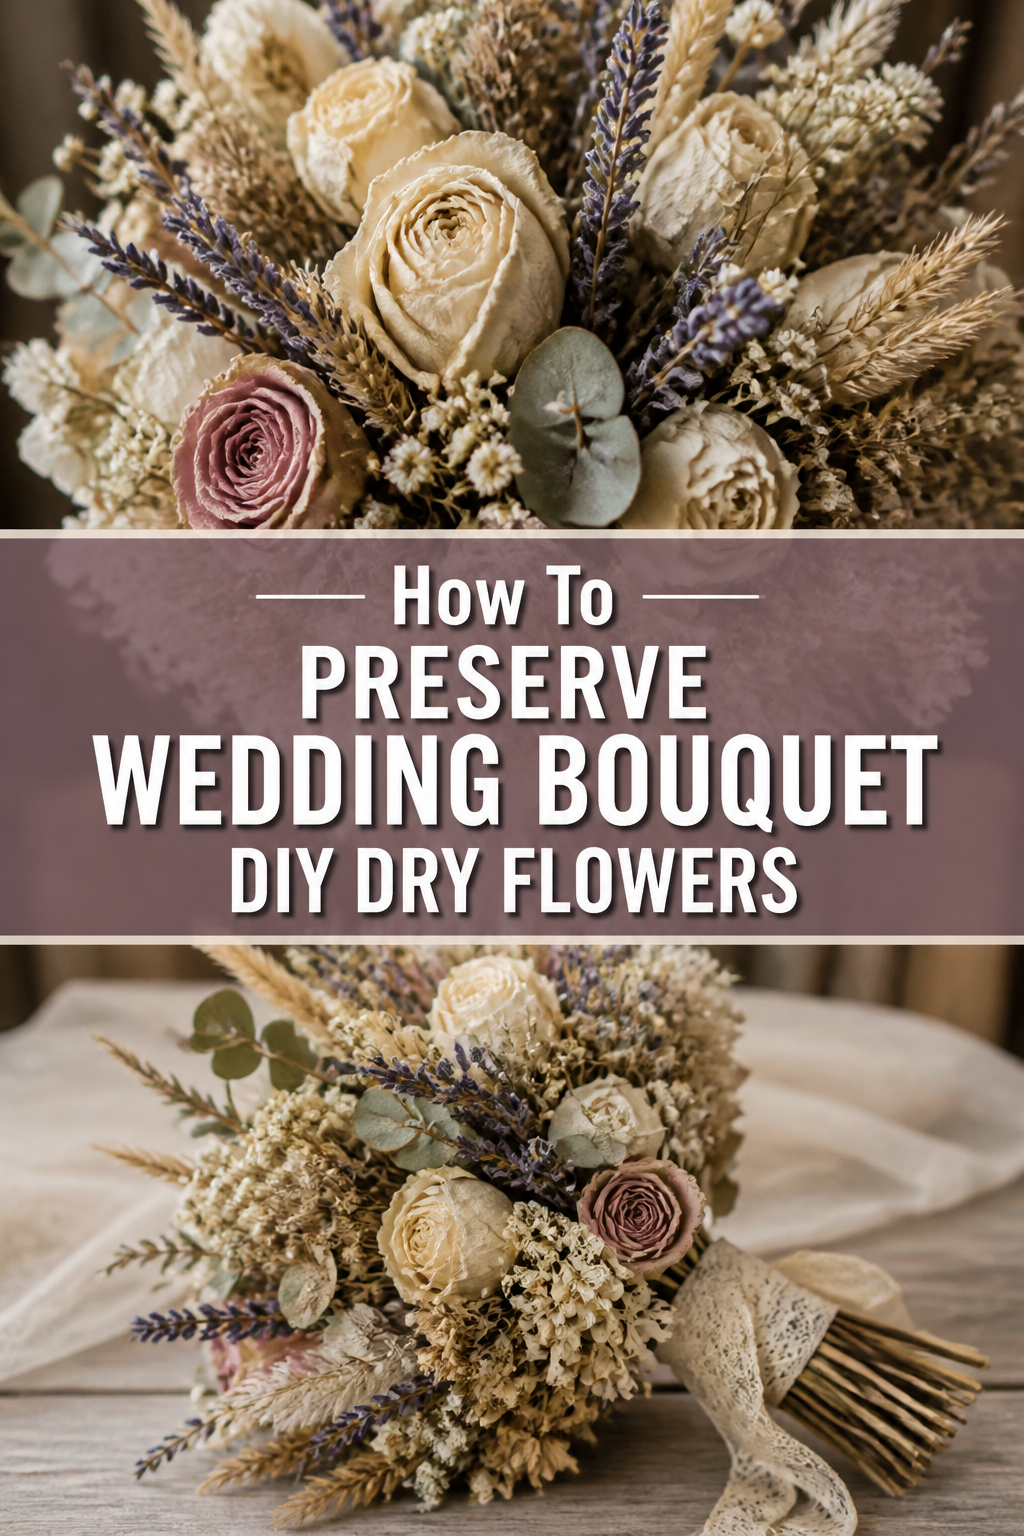
💐 How To Preserve Wedding Bouquet DIY Dry Flowers
I remember standing in my kitchen the morning after my wedding, looking at my bouquet and feeling a pang of sadness that it would eventually wilt.
I decided right then to experiment with every preservation method I could find, from silica gel to traditional air drying, to see what actually worked.
This guide is the result of those experiments and years of helping other brides keep their floral memories alive through simple, effective DIY techniques.
Quick Overview
Preserving your wedding bouquet is a rewarding project that turns a temporary gift into a lifelong keepsake.
- Time needed: 2 to 4 weeks (depending on the method chosen)
- Difficulty: Beginner
- What you’ll need: Fresh bouquet, silica gel or twine, airtight containers, unscented hairspray or floral sealant, and a dark, dry space.
Step-by-Step Instructions
Step 1: Act While the Blooms Are Fresh
Start the preservation process as soon as possible after the ceremony ends.
The quality of your dried flowers depends entirely on the health of the petals when they begin the drying process.
If you wait until the edges are brown or the stems are mushy, those imperfections will become permanent features of your keepsake.
Pro Tip: Keep your bouquet in a cool, dark place and ensure the stems are freshly trimmed and placed in clean water until you are ready to start.
Step 2: Prepare the Individual Flowers
Remove any ribbon, wire, or floral tape that was used to construct the original bouquet.
Check each flower for bruised or damaged outer petals and gently pluck them away to reveal the pristine layers underneath.
Trim the stems to your desired length, keeping in mind that longer stems are easier to work with for air drying, while shorter stems are better for silica gel containers.
Step 3: Choose the Air Drying Method for a Vintage Look
Bundle small groups of flowers together using a rubber band or piece of twine.
Rubber bands are often better than string because they tighten as the stems shrink during the dehydration process.
Hang the bundles upside down from a clothes hanger or a dedicated drying rack in a room with excellent airflow.
Gravity pulls the moisture down through the stems, which helps the flower heads maintain their upright, natural shape rather than drooping.
Pro Tip: Choose a spot that is completely dark, like a closet, because sunlight will bleach the color out of your petals within days.
Step 4: Use Silica Gel for Superior Color Retention
Fill the bottom of an airtight plastic container with about one inch of silica gel crystals.
Place your flower heads face up on the bed of crystals, ensuring they do not touch each other or the sides of the container.
Gently pour more silica gel over the flowers, letting the crystals fall into the crevices of the petals until the blooms are completely submerged.
This method is faster than air drying and does a much better job of maintaining the vibrant pinks, blues, and yellows of your original bouquet.
Step 5: Experiment with Flower Pressing for Flat Displays
Select flowers that are naturally flatter, such as daisies, pansies, or individual petals from a rose.
Place the flowers between two sheets of parchment paper and tuck them inside the pages of a heavy book or a professional flower press.
Stack several more heavy books on top to provide consistent, even pressure over the next two to three weeks.
Pressed flowers are perfect for creating framed art, bookmarks, or even decorating your wedding thank-you notes.
Step 6: Monitor the Environment Consistently
Check your flowers every few days to ensure no mold is forming on the damp stems.
Humidity is the greatest enemy of flower preservation, so avoid drying your bouquet in a kitchen or near a bathroom.
If you notice the silica gel changing color (some brands turn from blue to pink when saturated), it may be time to replace the gel or recharge it in the oven.
Step 7: Test for Total Dehydration
Touch the petals very gently after two weeks to see if they feel like thin paper or parchment.
If the petals still feel cool to the touch or slightly leathery, they still contain moisture and need more time.
Removing flowers too early will cause them to rot from the inside out once they are placed in a display case.
Step 8: Apply a Protective Sealant
Spray a light coating of unscented hairspray or a professional floral finishing spray over the dried blooms.
This coating helps hold the delicate petals together and provides a barrier against dust and atmospheric moisture.
Hold the spray can at least twelve inches away to avoid saturating the petals, which could cause them to soften and lose their shape.
Pro Tip: Do this in a well-ventilated area and allow the flowers to dry completely for 24 hours before moving them to their final home.
Step 9: Arrange and Display Your Keepsake
Place your dried flowers in a shadow box, a glass dome, or a sealed frame to protect them from the elements.
Arrange the flowers carefully using tweezers to avoid breaking the brittle stems or petals.
Keep the final display out of direct sunlight and away from heat vents to ensure the colors remain vivid for years to come.
Common Mistakes to Avoid
Waiting Too Long to Start
Many people wait until the end of their honeymoon to begin the drying process. By that time, the flowers have already started to decompose at a cellular level, leading to a brown and brittle finished product.
The best results come from flowers that are still in their peak “bloom” phase. If you cannot do it yourself, ask a trusted friend or family member to start the process the day after the wedding.
Overcrowding the Drying Space
If you bundle too many flowers together for air drying, the air cannot circulate between the heads. This trapped moisture creates a breeding ground for mold and mildew, which can ruin the entire bouquet.
Space the flowers out so that each bloom has room to breathe. It is better to have ten small bundles than one large, dense clump that stays damp in the middle.
Using the Wrong Container for Silica Gel
Using a container that isn’t airtight will allow the silica gel to pull moisture from the air rather than from your flowers. This slows down the drying process and can lead to limp, discolored petals.
Double-check that your lid has a rubber seal or use a piece of plastic wrap under the lid to create a vacuum-like environment. This ensures the gel focuses its energy entirely on your bouquet.
Troubleshooting
The Petals Are Falling Off the Stem
This usually happens when the flowers were too dry before you started or if they were handled too roughly during the process. You can easily fix this by using a tiny drop of clear-drying craft glue or a hot glue gun on a low setting.
Apply the glue to the base of the petal and carefully press it back onto the receptacle of the flower. Once it dries, the repair will be virtually invisible.
The Colors Look Muddy or Brown
Brownness is often caused by heat or light exposure during the drying phase. If your flowers look dark, it might be because the room was too warm or there was a hidden light source.
For future projects, try using silica gel specifically, as it works much faster than air drying and “freezes” the color in place before it has a chance to oxidize and turn brown.
The Flowers Feel Soft After Two Weeks
If the flowers aren’t crispy, they are not done. This is common in high-humidity climates where the air is thick with water vapor.
Move the flowers to a smaller, more controlled environment like a cardboard box with a desiccant pack, or leave them in the silica gel for another week. Patience is the most important tool in your kit.
Key Takeaways
- Immediate Action: Begin the drying process while the flowers are at their peak freshness for the best visual results.
- Darkness is Essential: Always dry and display your flowers away from direct sunlight to prevent fading.
- Method Matters: Use silica gel for vibrant colors and air drying for a more rustic, structural look.
- Gentle Handling: Dried flowers are extremely brittle; use tweezers and hairspray to maintain their integrity.
- Seal the Deal: Use an airtight display or a floral sealant to protect your bouquet from dust and humidity.
Frequently Asked Questions
Can I dry any type of flower from my bouquet?
Most flowers dry beautifully, but some are easier than others. Roses, baby’s breath, lavender, and hydrangeas are excellent candidates for DIY drying. Flowers with very high water content, like lilies or tulips, can be more difficult and often require silica gel to prevent them from turning into a pile of mush.
How long will my preserved wedding bouquet last?
If kept in a sealed container away from sunlight and moisture, a dried bouquet can last for many years. You might notice slight color shifts over a decade, but the structural form of the flowers will remain intact. Regular dusting and keeping them in a climate-controlled room are the keys to longevity.
Should I use a microwave to speed up the drying?
Microwaving flowers with silica gel is a popular “hack,” but it is risky for beginners. It is very easy to “cook” the flowers, which leads to scorched petals and a burnt smell. If you choose this route, work in 30-second increments and test a single flower before committing your entire bouquet to the heat.
Can I preserve my bouquet if it has already started to wilt?
You can still try, but the results will reflect the current state of the flowers. If the bouquet is wilting, try the pressing method instead of air drying. Pressing individual petals allows you to save the best parts of the flower while discarding the parts that have already turned brown or soft.
Our Top Recommended Finds
- Silica Gel Flower Drying Crystals: Look for the kind with color-changing indicator beads so you know exactly when the gel is saturated and needs to be dried out.
- UV-Resistant Shadow Box: A high-quality display case with UV protection will prevent your flowers from fading even if the room gets a bit of natural light.
- Professional Floral Sealing Spray: This is superior to hairspray as it is specifically formulated to be pH-balanced and won’t cause the petals to yellow over time.
Creating a Lasting Legacy with Your Blooms
Preserving your wedding flowers is about more than just home decor; it is about holding onto a physical piece of one of the most important days of your life.
Once you have mastered the art of drying, you might find yourself wanting to create pressed flower jewelry or resin paperweights with the leftover petals.
Take the first step today by clearing a spot in a quiet closet and gathering your supplies so you are ready the moment the celebration ends.
The effort you put in now will be rewarded every time you look at your beautiful, preserved bouquet on your shelf for years to come.