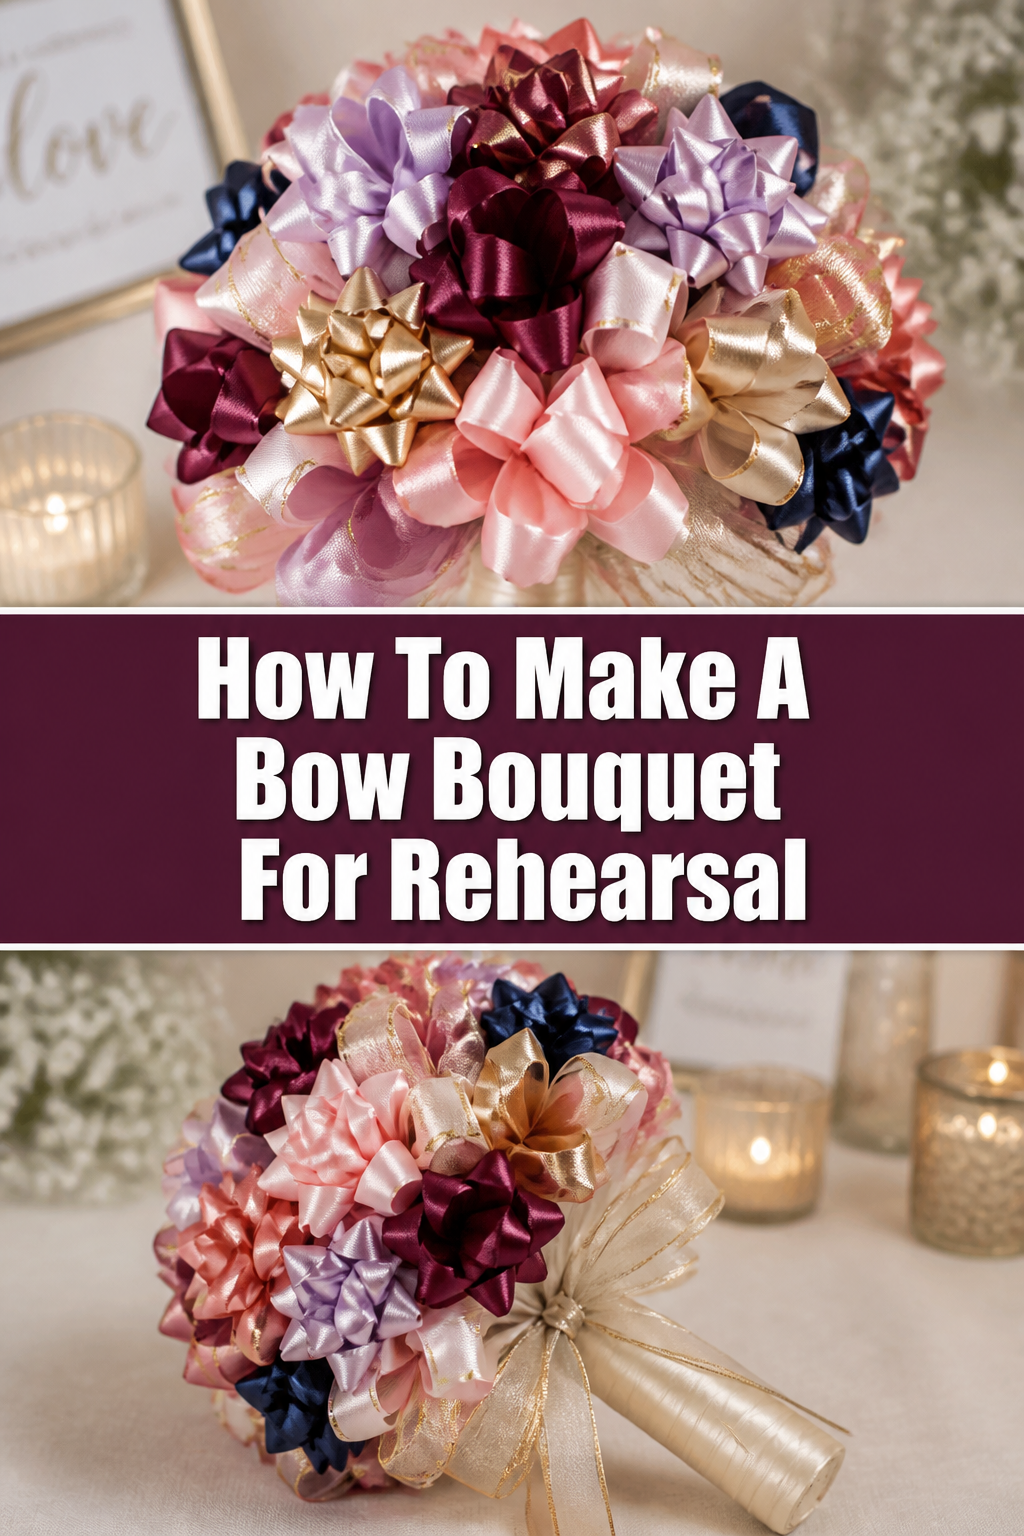
🎀 How To Make A Bow Bouquet For Rehearsal
The bridal shower is a beautiful milestone, but it often leaves behind a mountain of discarded ribbons and bows.
Transforming those scraps into a rehearsal bouquet is a sentimental tradition that bridges the gap between the shower and the big day.
I have sat on the floor of many living rooms, stapler in hand, helping brides create these keepsakes, and I know exactly how to make them look professional and stay together.

Quick Overview
Creating a bow bouquet is a fun, social activity usually led by the Maid of Honor or a close friend during the gift-opening portion of the bridal shower.
- Time needed: 45 to 60 minutes (parallel to gift opening)
- Difficulty: Beginner
- What you’ll need: Paper plate, scissors, stapler, clear tape, and ribbons from gifts
Step-by-Step Instructions
Step 1: Prepare Your Foundation
Select a heavy-duty paper or plastic plate to serve as the base of your bouquet.
Avoid thin, flimsy paper plates because they will wilt under the weight of dozens of ribbons and bows.
Cut two small slits in the center of the plate, about an inch apart, using your scissors.
These slits are where you will eventually thread the handle or the main anchoring ribbon.
Pro Tip: If the bride is expecting a very large number of gifts, consider using two plates glued together for extra structural integrity.
Step 2: Designate a Ribbon Wrangler
Appoint one person to be the “Ribbon Wrangler” whose sole job is to collect bows as the bride opens her gifts.
This person should carefully peel the adhesive backing off stick-on bows or cut the ribbons away from the wrapping paper without damaging the loops.
Keep a small bin or a clean area of the floor nearby to organize the ribbons as they come in.
This prevents the ribbons from getting tangled with discarded wrapping paper or accidentally thrown in the trash.
Step 3: Create the Hand Grip
Thread a long, sturdy piece of ribbon through the two slits you cut in the center of the plate.
Pull the ribbon through so that the two ends hang down from the bottom of the plate, creating a loop on the top side.
Tie these ends together underneath the plate to create a secure handle for the bride to hold.
Make sure the handle is long enough for her to grip comfortably but short enough that it doesn’t look messy.
Step 4: Establish the Outer Perimeter
Start by attaching the largest or longest ribbons to the outer edge of the plate.
Using a stapler is the most secure method, but you can also use heavy-duty double-sided tape for lighter materials.
Position the ribbons so they hang slightly over the edge, hiding the rim of the paper plate from view.
This creates a “skirt” effect that gives the bouquet volume and a professional silhouette.
Pro Tip: Use a “staple-and-fold” technique where you staple the ribbon flat and then fold it over the staple to hide the metal.
Step 5: Layer Toward the Center
Work your way inward from the edge of the plate toward the center loop you created earlier.
Apply the medium-sized bows next, overlapping them slightly to ensure no part of the white plate is visible.
Mix different textures and colors as you go to create a balanced look that reflects all the gifts received.
If there are specific colors from the wedding theme among the gifts, try to feature those prominently in this middle layer.
Step 6: Integrate the Curly Ribbons
Gather any thin, curled ribbons that were used to tie boxes together.
Instead of laying these flat, tuck them into the gaps between the larger bows to add “spikes” of color and movement.
Secure these with a small piece of clear tape or a well-placed staple at the base of the ribbon.
The curls add a whimsical, airy quality to the bouquet that keeps it from looking too dense or heavy.
Step 7: Anchor the Centerpiece Bow
Save the most beautiful or largest bow for the very center of the bouquet.
This “hero bow” will cover the slits and the handle attachment point, acting as the focal point of the arrangement.
Use a generous amount of adhesive or a few hidden staples to make sure this central piece is completely immobile.
If the bride received a particularly special gift, like one from her partner, that bow is often the perfect choice for the center.
Step 8: Perform a Security Check
Hold the bouquet by the handle and give it a gentle shake to see if anything feels loose.
The rehearsal walk can be long, and you don’t want the bride losing pieces of her bouquet as she practices her entrance.
Add extra staples or tape to any bows that wiggle or look like they might slide off.
Check the underside of the plate to ensure no sharp staple ends are sticking out where they could scratch the bride’s hands or snag her dress.
Pro Tip: Cover the bottom of the plate with a circle of felt or a piece of decorative fabric to give it a clean, finished look.
Common Mistakes to Avoid
Using a Weak Base
Many people grab the first paper plate they see, which is often a thin, budget-friendly option.
As you add more bows and staples, the plate will begin to curl and lose its shape, making the bouquet look wilted.
Always opt for a “Chinet” style plate or a plastic charger for the best results.
Over-Stapling in One Spot
If you put twenty staples in the center of the plate, the cardboard will eventually tear or give way.
Distribute your attachment points evenly across the surface of the plate to maintain its structural integrity.
If a section feels weak, reinforce it with a piece of packing tape on the back before adding more ribbons.
Forgetting the Weight Factor
It is tempting to use every single ribbon from fifty gifts, but this can make the bouquet incredibly heavy.
A heavy bouquet is difficult to hold gracefully during a long wedding rehearsal.
Focus on quality over quantity, choosing the most vibrant and intact ribbons to include.
Troubleshooting
The Bows Keep Falling Off
Stick-on bows often have weak adhesive that doesn’t bond well to a waxy paper plate.
If they are falling off, use a small dot of hot glue or a staple through the very center of the bow.
Make sure the surface of the plate is clean and free of gift-wrap dust before you start sticking things down.
The Handle Is Uncomfortable
A thin ribbon handle can dig into the bride’s hand if the bouquet is heavy.
Wrap the handle in a wider piece of satin ribbon or even a small piece of foam padding to make it easier to hold.
You can also use a sturdy cardboard tube (like an empty paper towel roll) taped to the bottom of the plate as a more traditional handle.
Key Takeaways
- Foundation is key: Use a sturdy plate to prevent the bouquet from sagging.
- Assign a helper: Having someone collect and prep the ribbons allows the bouquet to be built in real-time.
- Layering matters: Work from the outside in to ensure the plate is completely covered.
- Safety first: Check for sharp staple ends on the bottom of the plate to protect the bride’s hands.
- Secure the handle: Make sure the grip is reinforced, as this is the most likely point of failure.
Frequently Asked Questions
Who is supposed to make the bow bouquet?
Traditionally, the Maid of Honor or the bridesmaids take on this task during the bridal shower. It is a fun way for the bridal party to stay busy while the bride is opening her gifts.
When does the bride actually use the bow bouquet?
The bride carries this bouquet during the wedding rehearsal, usually the day before the actual wedding. It serves as a stand-in for her real floral bouquet so she can practice her walking pace and hand positioning.
What if the ribbons don’t match the wedding colors?
That is perfectly okay! The bow bouquet is meant to be a colorful, eclectic memento of the shower. Its charm lies in its mismatched, handmade appearance rather than a strict color scheme.
Can I use hot glue instead of a stapler?
Yes, hot glue works very well and is often more secure than tape. However, be careful not to melt thin plastic ribbons with a high-heat glue gun.
Our Top Recommended Finds
- Heavy-Duty Stapler: A compact stapler that can penetrate plastic plates without jamming is your best friend during this project.
- Double-Sided Tacky Tape: This is much stronger than standard office tape and is perfect for securing large, heavy bows.
- Decorative Cardstock: Use this to cover the back of the plate for a more polished and “finished” look.
Crafting a Lasting Memory
Once the bouquet is finished, it becomes a physical representation of the love and support shown at the bridal shower.
After the rehearsal is over, many brides choose to keep the bouquet as a memento, sometimes even placing it in a shadow box.
If you want to take your wedding DIY skills further, consider learning how to create matching ribbon boutonnieres for the groom’s rehearsal outfit.
Get started today by gathering your supplies and designating your “Ribbon Wrangler” for the next shower on your calendar!