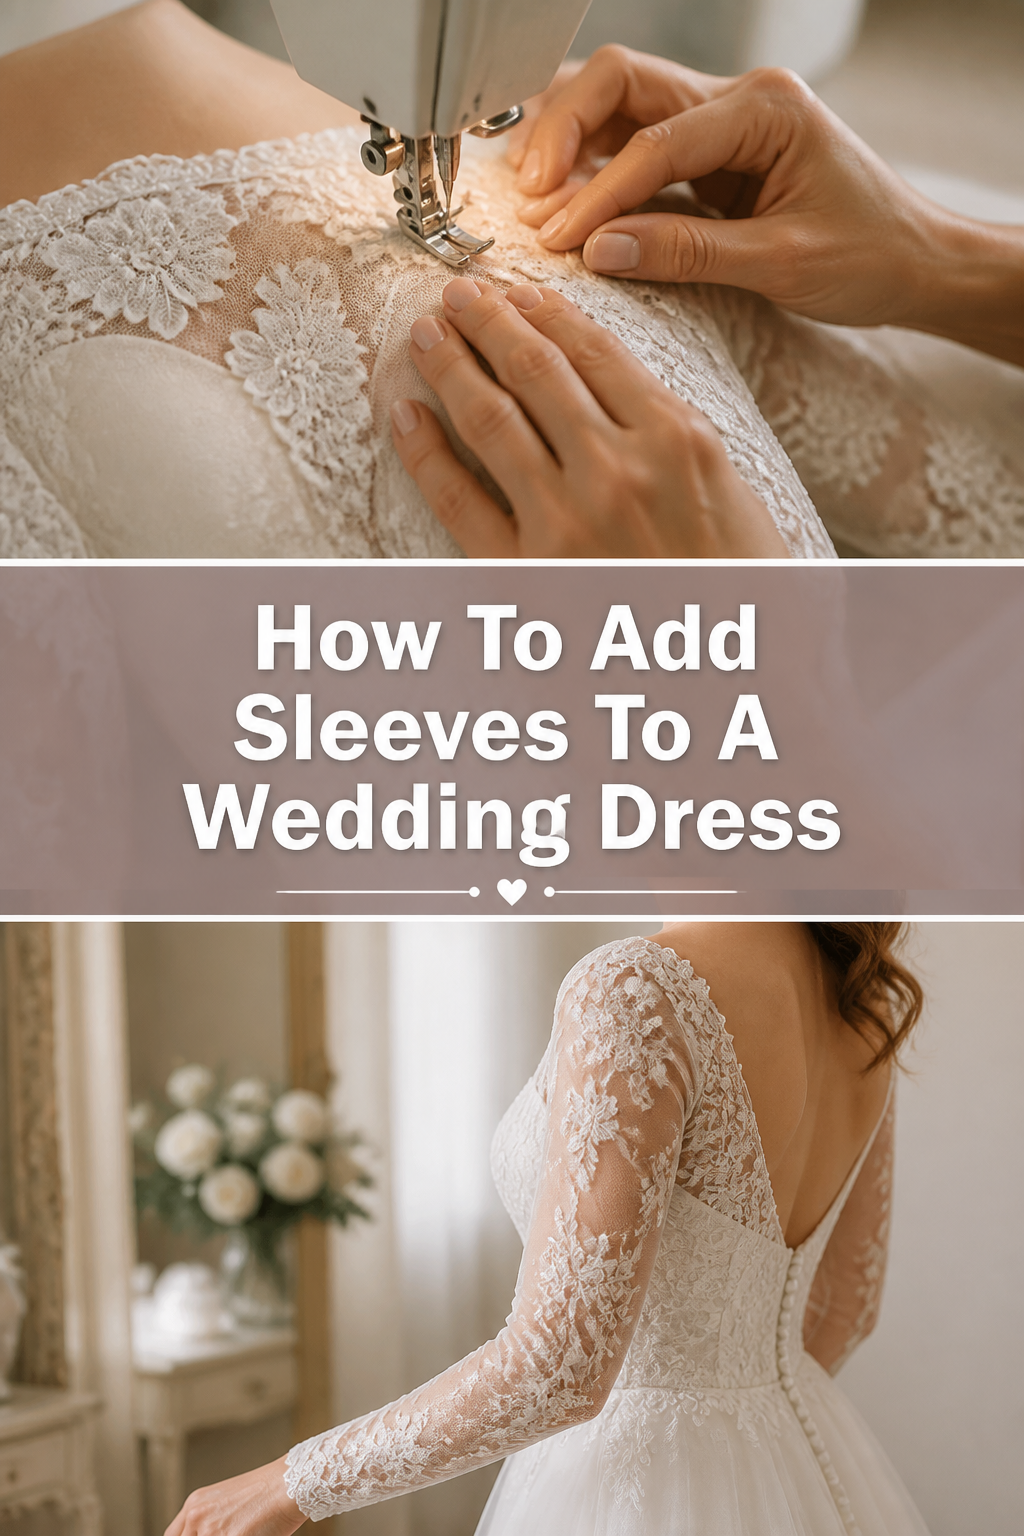
🧵 How To Add Sleeves To A Wedding Dress
Adding sleeves to a wedding dress is a beautiful way to customize your look for comfort or style.
Having worked in bridal studios for over a decade, I have seen how a simple set of lace sleeves can completely change the silhouette of a gown.
This guide will walk you through the technical process of ensuring your new sleeves look like they were always part of the original design.
Quick Overview
Modifying a wedding gown requires precision and a gentle touch with delicate fabrics.
- Time needed: 6 to 10 hours depending on the complexity of the lace and construction.
- Difficulty: Intermediate to Advanced.
- What you’ll need: Matching fabric, sewing machine, fine needles, pins, measuring tape, seam ripper, and tailor’s chalk.
Step-by-Step Instructions
Step 1: Select Your Sleeve Style
Determine the aesthetic you want to achieve before purchasing any materials. Long lace sleeves offer a classic feel, while cap sleeves provide a subtle touch of coverage.
Consider the weight of the fabric in relation to the bodice of the dress. A heavy satin sleeve might pull on a delicate chiffon bodice, causing the neckline to sag.
Sketch your vision or find reference photos to help you visualize how the sleeve will join the existing armscye. This planning phase prevents costly mistakes later in the process.
Pro Tip: If your dress is strapless, you may need to create a small “yoke” or shoulder strap first to provide an anchor point for the sleeves.
Step 2: Source Matching Fabric and Notions
Find fabric that matches the color and fiber content of your gown as closely as possible. Visit bridal specialty shops or order swatches online to compare the whites, ivories, and creams under different lighting.
Purchase high-quality thread that matches the fabric perfectly. Using a cheap or mismatched thread can make the alterations look amateurish and may cause tension issues.
Select the right needles for your machine, such as Microtex or Sharp needles for fine silks and tulles. These needles have a thinner point that prevents snagging the delicate weave of bridal fabrics.
Step 3: Take Precise Measurements
Measure the circumference of your armscye, which is the opening where the sleeve will be attached. This measurement must be exact to ensure the sleeve cap fits perfectly into the hole.
Record your bicep, elbow, and wrist circumference if you are making long sleeves. You should also measure the length from your shoulder point to your wrist, keeping your arm slightly bent.
Add at least two inches to your length measurements to allow for hem allowances and movement. It is always easier to shorten a sleeve than it is to add length once the fabric is cut.
Step 4: Draft or Modify a Sleeve Pattern
Create a paper pattern based on your measurements or modify a commercial sleeve pattern. Ensure the “sleeve cap”—the curved top part of the sleeve—is slightly larger than the armscye of the dress.
Check that the curve of the sleeve cap matches the shape of the armhole. A mismatch here will cause the fabric to pull or create unsightly bubbles at the shoulder.
Test your pattern by making a “muslin” or a mock-up using inexpensive scrap fabric. This allows you to check the fit and range of motion without risking your expensive bridal lace.
Pro Tip: When drafting, remember that the front of the sleeve cap is usually deeper than the back to accommodate the forward movement of the human shoulder.
Step 5: Cut Your Fabric with Precision
Lay your fabric flat on a clean, large surface, ensuring the grainline is straight. If you are using lace, pay close attention to the placement of the floral motifs or scalloped edges.
Pin your paper pattern pieces securely to the fabric using fine silk pins. Use fabric weights if you are working with slippery materials like silk or satin to prevent shifting.
Cut the pieces carefully using sharp dressmaker shears. Take your time around the curves of the sleeve cap to ensure the edges are smooth and even.
Step 6: Prepare the Dress Bodice
Identify the seam where the lining meets the fashion fabric at the armhole. You will need to carefully open this seam using a seam ripper to insert the new sleeve between the layers.
Remove any existing trim, beads, or sequins near the armhole area that might interfere with your sewing machine foot. Save these embellishments in a small container to be sewn back on later.
Mark the center point of the shoulder and the bottom of the armhole on the dress using tailor’s chalk. These marks will serve as your primary alignment points when you begin pinning.
Step 7: Baste the Sleeve into Place
Pin the sleeve into the armscye, matching the center of the sleeve cap to the shoulder seam. Distribute the “ease” (the extra fabric) evenly around the top curve to avoid pleats.
Hand-baste the sleeve using long, removable stitches before taking it to the sewing machine. This temporary hold allows you to check the fit and make adjustments easily.
Try the dress on carefully to check the range of motion. Reach forward and upward to ensure the sleeves do not feel too tight or pull the bodice out of place.
Pro Tip: If the sleeve cap is too large, use two rows of gathering stitches to gently pull the fabric in until it fits the armhole perfectly.
Step 8: Final Machine Stitching
Sew the sleeve to the bodice using a standard straight stitch or a narrow zigzag for stretchier fabrics. Work slowly and keep the fabric flat to prevent catching the lining or other parts of the dress.
Finish the raw edges of the seams using a serger or a French seam for a professional, “couture” look. This prevents the fabric from fraying and keeps the inside of the dress comfortable against your skin.
Press the seams carefully using a press cloth and a low heat setting. Never apply a hot iron directly to bridal lace or synthetic tulles, as they can melt instantly.
Step 9: Reattach Embellishments and Hem
Hand-sew any lace appliques or beads back onto the shoulder area to hide the seam line. This creates a seamless transition that makes the sleeves look like an original part of the gown.
Determine the final length of the sleeve and fold the hem. For lace with a scalloped edge, you may need to hand-stitch the lace border to the bottom of the sleeve for a finished look.
Inspect the entire area for loose threads or missed spots. Give the sleeves a final light steam to remove any wrinkles from the sewing process.
Common Mistakes to Avoid
Ignoring the Sleeve Ease
One of the most frequent errors is failing to incorporate “ease” into the sleeve cap. The sleeve cap must be slightly larger than the armhole to allow for the natural curve of the shoulder. If you cut the sleeve to be the exact same size as the hole, the arm will feel restricted and the fabric will pull uncomfortably across the bicep.
Mismatching Fabric Weight and Grain
Using a fabric that is significantly heavier or lighter than the dress bodice can cause structural issues. A heavy satin sleeve attached to a light organza bodice will cause the shoulder to collapse and the neckline to distort. Additionally, failing to cut the sleeves on the correct grainline will cause them to twist around the arm rather than hanging straight.
Restricting Range of Motion
Brides often forget that they need to move, dance, and hug people on their wedding day. If the sleeves are sewn too tightly or the armscye is too high, the bride will be unable to lift her arms. Always perform a “hug test” during the basting phase to ensure there is enough room for comfortable movement throughout the event.
Troubleshooting
Puckering at the Shoulder Seam
If you notice small folds or puckers where the sleeve meets the shoulder, the ease is likely distributed unevenly. You should remove the basting stitches and redistribute the fabric more smoothly around the curve. Using a gathering stitch to slightly “shrink” the fabric into the seam can help eliminate these bumps for a flatter finish.
The Sleeve Feels Too Tight in the Bicep
If the sleeve is too narrow for the arm, you can sometimes fix this by letting out the underarm seam if there is enough seam allowance. If there is no extra fabric, you may need to insert a small diamond-shaped piece of fabric, called a gusset, into the underarm. This provides extra room for the arm to breathe without requiring you to recut the entire sleeve.
Key Takeaways
- Match your materials carefully to ensure the sleeves look like an original part of the dress design.
- Always create a mock-up using scrap fabric to test the fit and pattern before cutting your expensive bridal lace.
- Incorporate ease into the sleeve cap to allow for the natural curve and movement of the shoulder.
- Hand-baste first to allow for easy adjustments before committing to permanent machine stitches.
- Finish your seams professionally to prevent fraying and ensure the dress is comfortable to wear for many hours.
- Perform a movement test to guarantee you can dance and celebrate without restriction.
Frequently Asked Questions
Can I add sleeves to a strapless wedding dress?
Yes, you can add sleeves to a strapless dress, but it requires more structural work. You will likely need to create a small shoulder strap or a sheer mesh yoke to act as an anchor point. Without this support, the weight of the sleeves will pull the strapless bodice down, causing it to slip throughout the day.
How much fabric do I need for wedding dress sleeves?
For most sleeve styles, one to two yards of fabric is sufficient. Long sleeves generally require more fabric to account for the length and the pattern placement, especially if you are working with large lace motifs. Always buy a little extra fabric in case of cutting errors or the need for a gusset.
Do I need a special sewing machine for bridal fabrics?
You do not necessarily need a specialized machine, but you must use the correct needles and presser feet. A walking foot is very helpful for sewing slippery silks or multiple layers of tulle evenly. Ensure your machine is thoroughly cleaned and oiled before starting to prevent any grease stains on your white fabric.
Is it better to sew the sleeves by hand or machine?
A combination of both is usually best for bridal wear. The main structural seams should be done by machine for strength and durability. However, delicate lace appliques and finishing touches should be done by hand to hide the stitches and create a high-end, custom appearance.
Our Top Recommended Finds
- Fine Glass Head Pins: These are heat-resistant and very sharp, making them perfect for pinning delicate bridal fabrics without leaving permanent holes.
- Microtex Sewing Machine Needles: These needles have a slim, acute point designed specifically for microfibers, silk, and other high-density fabrics used in gowns.
- Tailor’s Ham: This firm, curved pillow is essential for pressing the curved seams of a sleeve cap without flattening the shape of the shoulder.
Refining Your Custom Creation
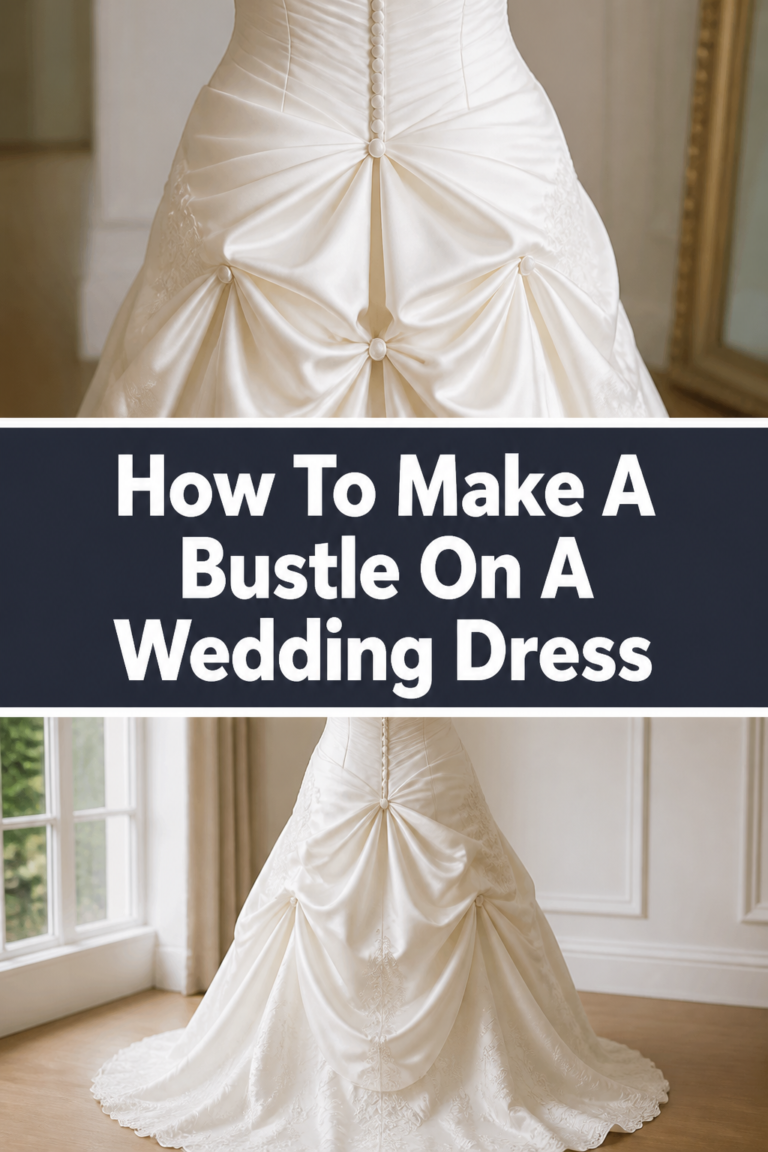
Now that you understand the technical steps for adding sleeves, you can begin the process of personalizing your gown. You might also consider exploring how to add a bustle or how to incorporate heirloom lace into your design for even more sentimental value.
Take the first step today by measuring your armscye and ordering fabric swatches to find your perfect match. With careful planning and steady stitching, you will create a one-of-a-kind wedding dress that fits your style perfectly.