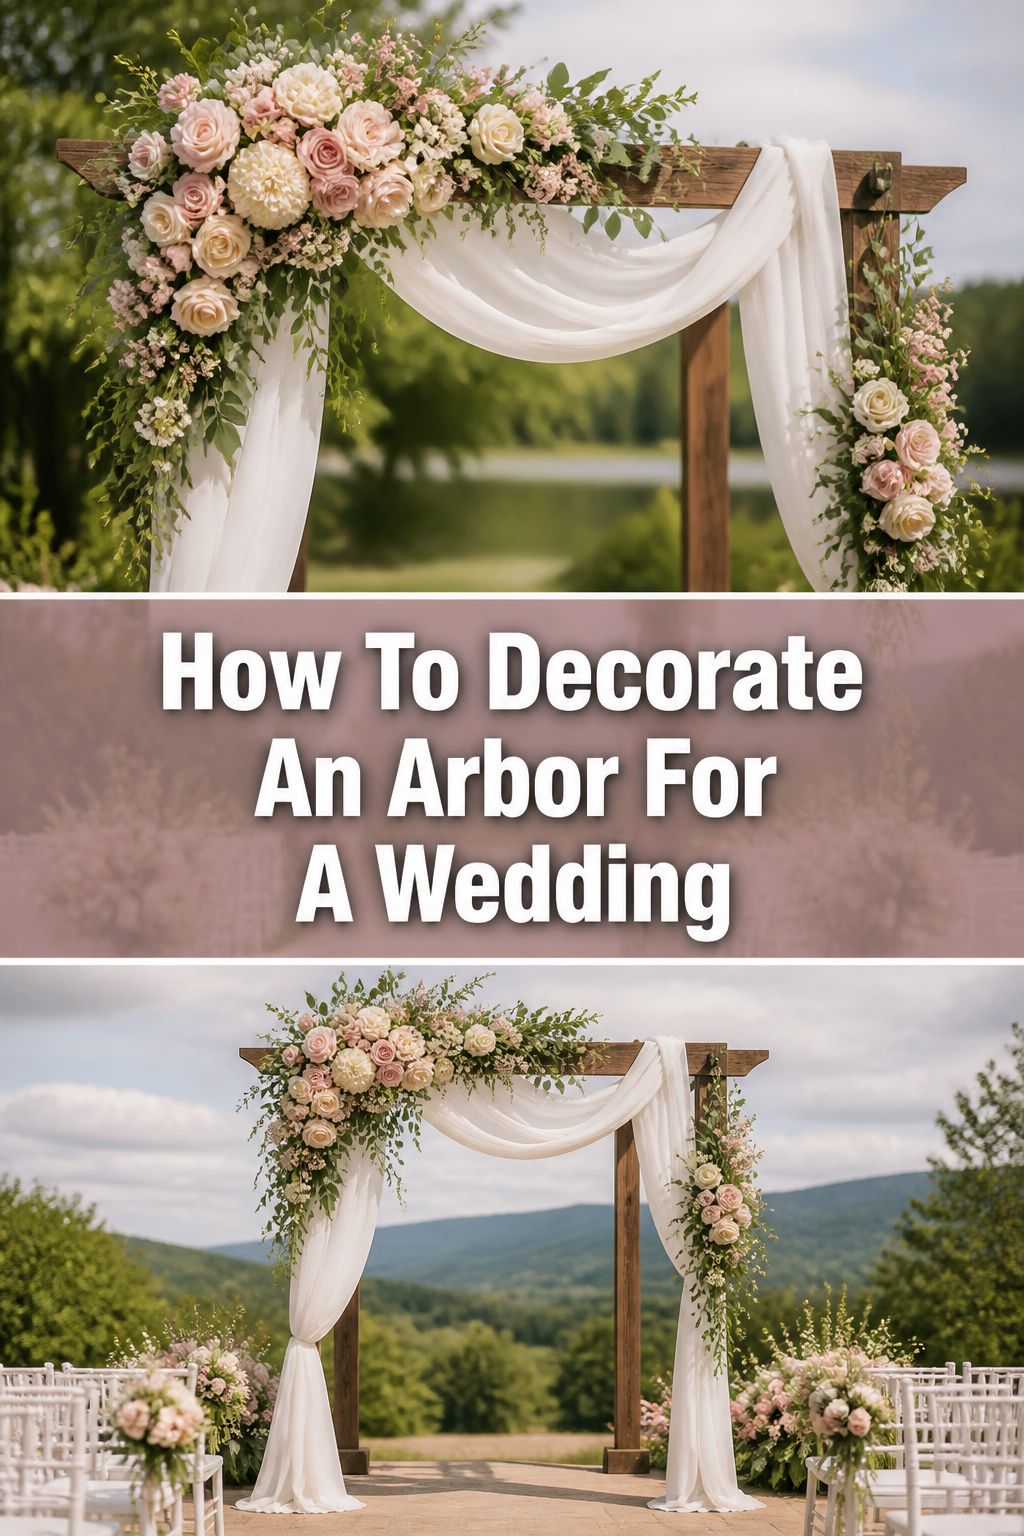
🌸 How To Decorate An Arbor For A Wedding
Planning a wedding means paying attention to countless details, and the ceremony backdrop often takes center stage. I’ve helped countless couples bring their vision to life, and decorating an arbor is one of the most rewarding tasks. This guide shares my tried-and-true methods for creating a stunning focal point.
You can transform a simple structure into a breathtaking altar with a bit of creativity and practical know-how. Let’s make your wedding arbor unforgettable.
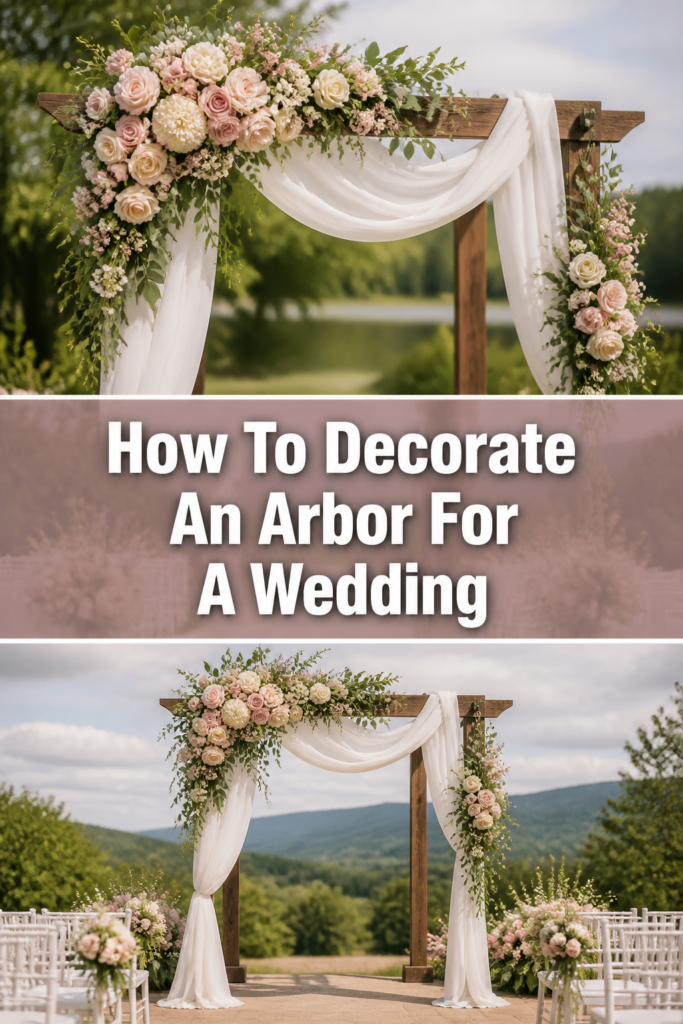
Quick Overview
This guide will walk you through designing, preparing, and executing a beautiful arbor decoration for a wedding. You’ll learn how to select materials, secure them properly, and create a cohesive look that enhances your special day.
- Time needed: 4-8 hours (depending on complexity and materials chosen)
- Difficulty: Intermediate
- What you’ll need: Arbor frame, chosen decor (fabric, flowers, greenery, lights), floral wire, zip ties, scissors/cutters, ladder, measuring tape.
Step-by-Step Instructions
Step 1: Define Your Vision and Theme
Before buying anything, visualize the overall look you want for your wedding arbor. Consider your wedding’s theme, color palette, and the venue’s existing aesthetic. This initial planning phase saves time and prevents impulse purchases.
Think about the mood you want to evoke. Is it rustic, bohemian, elegant, modern, or classic? The style of your arbor should seamlessly blend with the rest of your wedding decor.
Gather inspiration from Pinterest, wedding blogs, and magazines. Create a mood board to help solidify your ideas and share them with anyone assisting you.
Step 2: Choose Your Arbor Structure
Not all arbors are created equal, and the type you select will influence your decorating options. Common options include wooden arbors, metal arbors, pergolas, or even natural tree branches.
A simple wooden arbor provides a rustic base, while a sleek metal frame offers a more modern canvas. Ensure the arbor is sturdy and securely anchored, especially if you plan to hang heavier decorations.
Consider renting an arbor if your venue doesn’t provide one. Discuss with your rental company what types of decorations are permissible on their structures.
Step 3: Select Your Primary Decor Elements
This is where your vision truly starts to take shape. Your main decor elements will largely dictate the arbor’s style. Common choices include fabric, fresh flowers, artificial flowers, greenery, and lighting.
Choose fabrics like sheer organza, chiffon, or tulle for a soft, romantic look. Heavier drapes, such as velvet or linen, can add a touch of luxury or rustic charm.
Decide between fresh flowers, which offer natural beauty and scent, or high-quality artificial flowers, which provide durability and cost savings. Fresh greenery, like eucalyptus or fern, adds texture and volume.
Incorporate lighting with fairy lights, string lights, or even lanterns for evening ceremonies. These add a magical glow and enhance the ambiance.
Pro Tip: Always secure your fabric and floral elements firmly. Wind can be unpredictable, and you don’t want your beautiful decor to come undone mid-ceremony. Use floral wire or zip ties, matching their color to your materials for discretion.
Step 4: Prepare Your Materials
Once you have all your chosen elements, it’s time for preparation. This step ensures a smoother, more efficient decorating process on the day.
If using fresh flowers and greenery, condition them beforehand. Trim stems, remove excess foliage, and place them in water immediately. This helps them stay fresh longer.
Measure and cut your fabric lengths. For a draped look, you’ll need at least twice the height of the arbor for each side you plan to drape. Consider practicing your drapes on a smaller scale.
Bundle your floral and greenery elements into smaller, manageable clusters. This makes attachment much quicker and easier than working with individual stems.
Step 5: Drape the Fabric
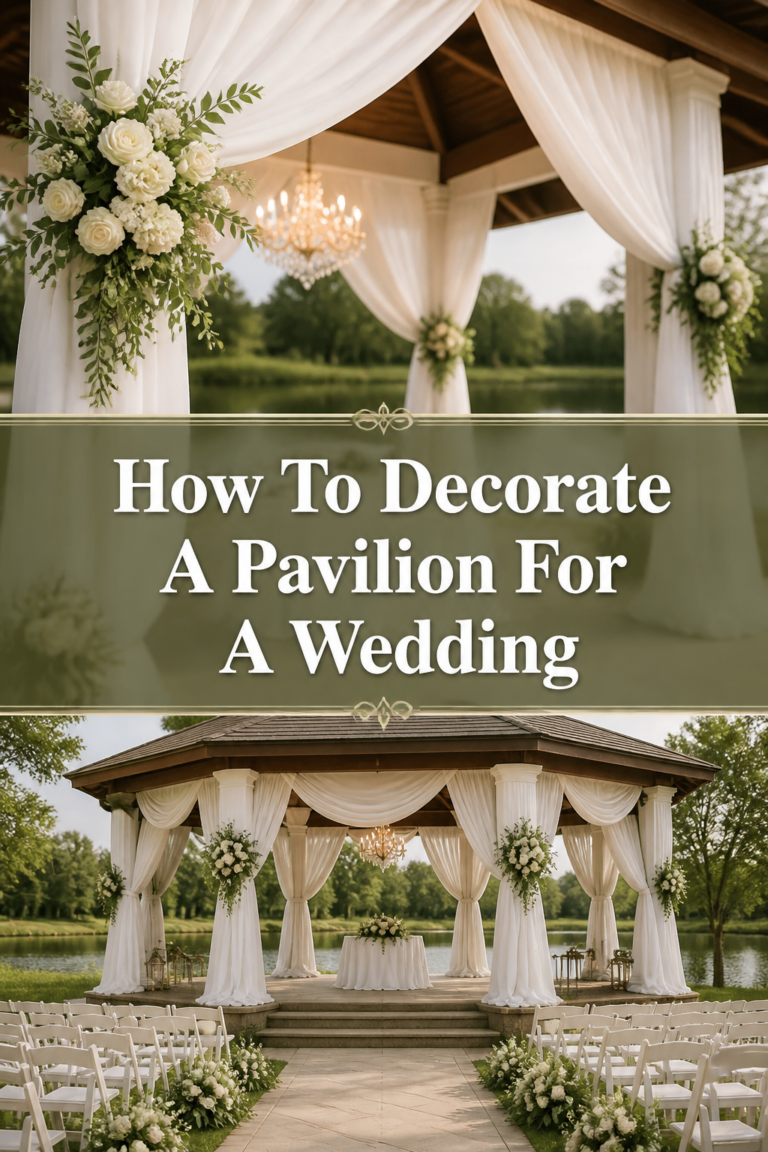
Start with your fabric, as it often forms the base layer for other decorations. Begin by tying one end of your fabric securely to a top corner of the arbor.
Allow the fabric to flow naturally, creating elegant swags and drapes. Experiment with different draping styles: a simple side drape, a crisscross, or a full canopy.
Secure the fabric at various points along the arbor using floral wire or clear fishing line. Ensure the fabric hangs evenly and creates the desired silhouette.
Step back frequently to assess the overall balance and flow. Make adjustments as needed to achieve a graceful look.
Step 6: Add Greenery and Flowers
With the fabric in place, it’s time to introduce your botanical elements. Attach larger pieces of greenery first to establish the main shape and volume.
Weave vines or garlands through the fabric and around the arbor posts. Secure them with floral wire, making sure the wire is hidden from view.
Place your pre-bundled floral clusters strategically. Focus on areas where the fabric is gathered or at the corners and top of the arbor for maximum impact.
Vary the placement and size of your flower clusters for a more organic and visually interesting design. Don’t be afraid to let some pieces cascade naturally.
Pro Tip: Work in layers. Start with a base of greenery, then add your main flowers, and finally, tuck in smaller accent flowers or delicate fillers. This creates depth and a lush appearance.
Step 7: Incorporate Lighting (If Applicable)
If your ceremony extends into the evening, or you simply want a touch of sparkle, add lighting elements. Wrap fairy lights or string lights gently around the arbor posts or along the fabric drapes.
Ensure that all power sources are safely secured and out of sight. Use battery-operated lights for convenience if no power outlet is nearby.
Hang lanterns or pendant lights from the top crossbar for a more dramatic effect. Test all lights before the ceremony to ensure they are working correctly.
Step 8: Add Personal Touches and Accents
This step allows you to truly make the arbor unique to the couple. Incorporate elements that reflect their personalities or cultural heritage.
Hang small framed photos, meaningful charms, or custom signs. Ribbons, tassels, or dreamcatchers can also add a bohemian flair.
Consider adding small, delicate elements like crystal strands or pearls for an extra touch of elegance. These details elevate the overall design.
Step 9: Final Review and Adjustments
Once all elements are in place, step back and view the arbor from various angles. Look at it from where the guests will be seated and from the couple’s perspective.
Check for any loose ends, visible wires, or uneven drapes. Make any necessary adjustments to ensure everything is perfectly aligned and secure.
Ensure that the arbor is stable and won’t wobble or shift during the ceremony. A final check guarantees a flawless backdrop for your vows.
Common Mistakes to Avoid
Over-Decorating
It’s tempting to add every beautiful element you find, but too much decor can make the arbor look cluttered and overwhelm its natural beauty. The goal is to enhance the structure, not hide it. Focus on a few key elements that complement each other, allowing space for negative space and the arbor’s own lines to shine through.
Ignoring the Venue and Weather
Failing to consider the outdoor environment can lead to disaster. Strong winds can tear lightweight fabrics or knock over unstable decorations. Rain can damage fresh flowers and certain fabrics. Always have a backup plan or choose weather-resistant materials if your ceremony is outdoors.
Forgetting to Secure Elements Properly
This is a critical oversight. Loose fabric, flowers, or lights can become hazards or simply look messy. Always use appropriate fasteners like floral wire, zip ties, or strong fishing line, and ensure everything is tightly secured. Double-check all attachments before the ceremony begins.
Not Considering the Scale
Decorations that are too small will get lost on a large arbor, while overly large elements can dwarf a smaller structure. Measure your arbor and choose decor pieces that are proportionate to its size. This ensures a balanced and harmonious look.
Troubleshooting
Arbor Looks Sparse or Lacking Volume
If your arbor appears too thin or empty, you likely need more greenery. Greenery provides a lush foundation and fills in gaps beautifully. Add more garlands, loose branches of eucalyptus, or ferns, tucking them into existing arrangements. You can also layer different types of greenery for added texture.
Decorations Keep Slipping or Falling
This is almost always a securing issue. Re-evaluate your attachment points. Use stronger floral wire, more zip ties, or even discreet clamps if necessary. Ensure the fasteners are wrapped tightly around both the decor item and the arbor frame. For fabric, consider using safety pins or fabric clips at key draping points.
Fresh Flowers Wilting Too Quickly
Fresh flowers are delicate, especially in warm weather. Ensure they are properly hydrated before arranging them. Use floral foam cages or water tubes for individual blooms that need extra moisture. Spritzing arrangements with water periodically can also help, but the best solution is to choose hardier flower varieties or artificial options for very hot climates.
Key Takeaways
- Plan your vision early, aligning with your wedding theme and venue.
- Select durable materials suitable for the arbor type and expected weather.
- Secure all elements firmly using appropriate fasteners to prevent mishaps.
- Layer decor elements (fabric, greenery, flowers, lights) for depth and visual interest.
- Step back and review the arbor from all angles to ensure a balanced and polished look.
- Personalize the design with unique touches that reflect the couple’s style.
Frequently Asked Questions
Can I use artificial flowers and greenery?
Absolutely! High-quality artificial flowers and greenery have come a long way and can look incredibly realistic. They offer the advantages of being durable, weather-resistant, and reusable, often at a lower cost than fresh flowers. They are an excellent choice, especially for DIY projects or destination weddings.
How much fabric do I need for draping?
A good rule of thumb is to measure the height of your arbor and multiply it by at least two for each section you want to drape. For example, if your arbor is 7 feet tall and you want drapes on both sides, you’d need at least 14 feet of fabric per side, totaling 28 feet. Adding more allows for fuller, more luxurious drapes.
What’s the best way to attach lights to the arbor?
Fairy lights or string lights can be secured with small, clear zip ties or floral wire that blends with the arbor color. For a softer look, you can weave them through fabric drapes or greenery. Battery-operated lights are often easiest for outdoor arbors where power outlets might be scarce.
How far in advance can I decorate the arbor?
If using artificial elements, you can prepare and even partially assemble sections days in advance. For fresh flowers and greenery, it’s best to decorate the arbor on the morning of the wedding or the evening before, ensuring they stay vibrant. Proper conditioning of fresh elements is crucial regardless of timing.
Our Top Recommended Finds
- High-Quality Chiffon Fabric Rolls: Perfect for elegant, flowing drapes. Look for rolls that are at least 10-15 yards long for ample coverage.
- Assorted Floral Wire and Zip Tie Kit: Essential for securing everything. Choose kits with various gauges of wire and clear or green zip ties for discretion.
- Battery-Operated Warm White Fairy Lights: Ideal for adding a magical glow without needing an outlet. Look for waterproof options if your ceremony is outdoors.
Crafting Your Perfect Wedding Backdrop
Decorating a wedding arbor is more than just adding pretty things; it’s about creating a meaningful backdrop for one of life’s most significant moments. The effort you put into designing and executing this focal point will be truly visible. It will stand as a beautiful symbol of love and commitment.
Now that you have the tools and knowledge, take the next step. Begin gathering your inspiration and selecting your materials today. Your perfect wedding arbor awaits.