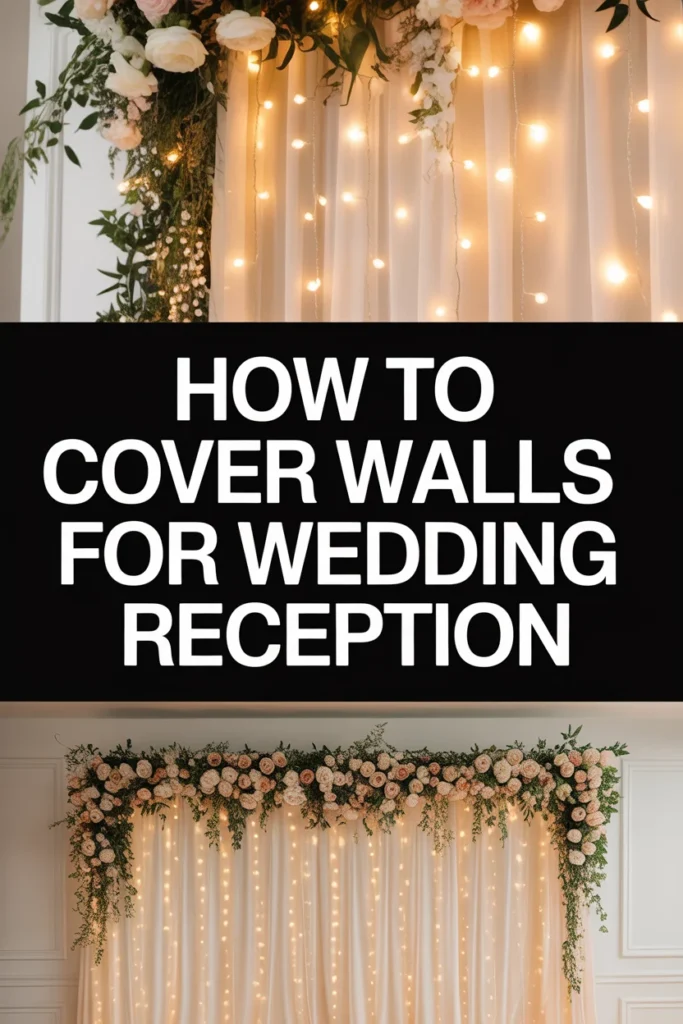
🌸 How To Cover Walls For Wedding Reception

Wedding Planning
No fluff, no drama. Just easy weekly advice, planning shortcuts, and gentle reminders to help you actually enjoy your engagement.
Transforming a reception venue can feel like a daunting task. You want to create an atmosphere that perfectly reflects your special day.
Covering walls is a powerful way to achieve this, making any space feel more intimate and elegant. I’ve personally guided many couples through this process, helping them craft truly memorable backdrops.
Quick Overview
This guide will empower you to beautifully cover your wedding reception walls, creating an unforgettable ambiance. You’ll learn how to choose materials, prepare your space, and execute a stunning transformation.
- Time needed: 4-8 hours (depending on venue size and material choice)
- Difficulty: Intermediate
- What you’ll need: Fabric, drapes, or panels; mounting hardware; measuring tools; a stepladder; helping hands
Step-by-Step Instructions
Step 1: Assess Your Venue and Vision
Begin by thoroughly inspecting your reception space. Note the existing wall conditions, including paint color, texture, and any permanent fixtures like fire alarms or exit signs. Understanding these elements is crucial for planning.
Consider the overall aesthetic you envision for your wedding. Are you aiming for a romantic, rustic, modern, or luxurious feel? Your chosen wall covering should complement your theme and color palette. This initial vision will guide all subsequent decisions.
Pro Tip: Take detailed photos and measurements of every wall. A floor plan sketch, marking outlets and potential obstacles, will be invaluable for material estimation and layout planning.
Step 2: Choose Your Wall Covering Material
Selecting the right material is key to achieving your desired look and staying within budget. Each option offers unique benefits and challenges.
Fabric drapes are a popular choice, offering softness and elegance. Sheer fabrics like chiffon or organza create a light, airy feel, while heavier satins or velvets provide a more luxurious, opulent look. They are versatile for various draping styles.
Pipe and drape systems offer a professional, freestanding solution. These kits consist of adjustable uprights, bases, and horizontal bars, making them ideal for venues where wall attachments are restricted. You simply hang fabric panels from the bars.
Projection mapping can transform walls with dynamic light and imagery. This high-tech option allows for custom designs, videos, or even interactive elements, creating a truly immersive experience. It requires specialized equipment and expertise.
Wallpaper or wall decals provide a temporary, decorative surface. Custom-printed wallpaper can feature intricate patterns or personalized designs. Decals are simpler for adding specific motifs or lettering.
Finally, consider greenery walls or floral installations for a natural, organic touch. These can be made from artificial or real plants, creating stunning focal points. They add texture and life to the space.
Step 3: Gather Your Tools and Supplies
Once you’ve selected your covering material, compile all necessary tools. Having everything ready before you start will streamline the installation process.
For fabric drapes, you’ll need a measuring tape, scissors, stepladder, and potentially a garment steamer to remove wrinkles. You might also need safety pins, zip ties, or fishing line for securing fabric.
If using a pipe and drape system, ensure all components are present and accounted for. This includes bases, uprights, crossbars, and your chosen fabric panels. A level can be helpful for straight setup.
For projection mapping, confirm the projector, media server, and appropriate lenses are on hand. Test your content in advance to ensure compatibility and visual quality. You’ll also need a power source and extension cords.
Wallpaper or decals require specific application tools like smoothing tools, utility knives, and possibly adhesive. Always follow the manufacturer’s instructions for these products.
Greenery walls might need hooks, zip ties, or a sturdy frame for support. If using real plants, consider their weight and watering needs.
Step 4: Prepare the Walls and Space
Proper preparation ensures a smooth installation and a polished final look. Clear the area of any furniture or obstructions.
Clean the walls thoroughly, especially if you plan to use adhesive-backed materials. Dust and grime can prevent proper adhesion. A simple wipe-down with a damp cloth is often sufficient.
If using projection, ensure the walls are a light, neutral color for optimal image clarity. Dark or patterned walls will distort the projection.
Protect the floor with drop cloths, especially if you’re working with adhesives or paint. This prevents accidental spills or damage.
Pro Tip: Recruit a few friends or family members to help. Wall covering can be a multi-person job, especially when dealing with large expanses of fabric or heavy panels.
Step 5: Install Your Chosen Covering
This is where your vision starts to come to life. Work methodically and patiently.
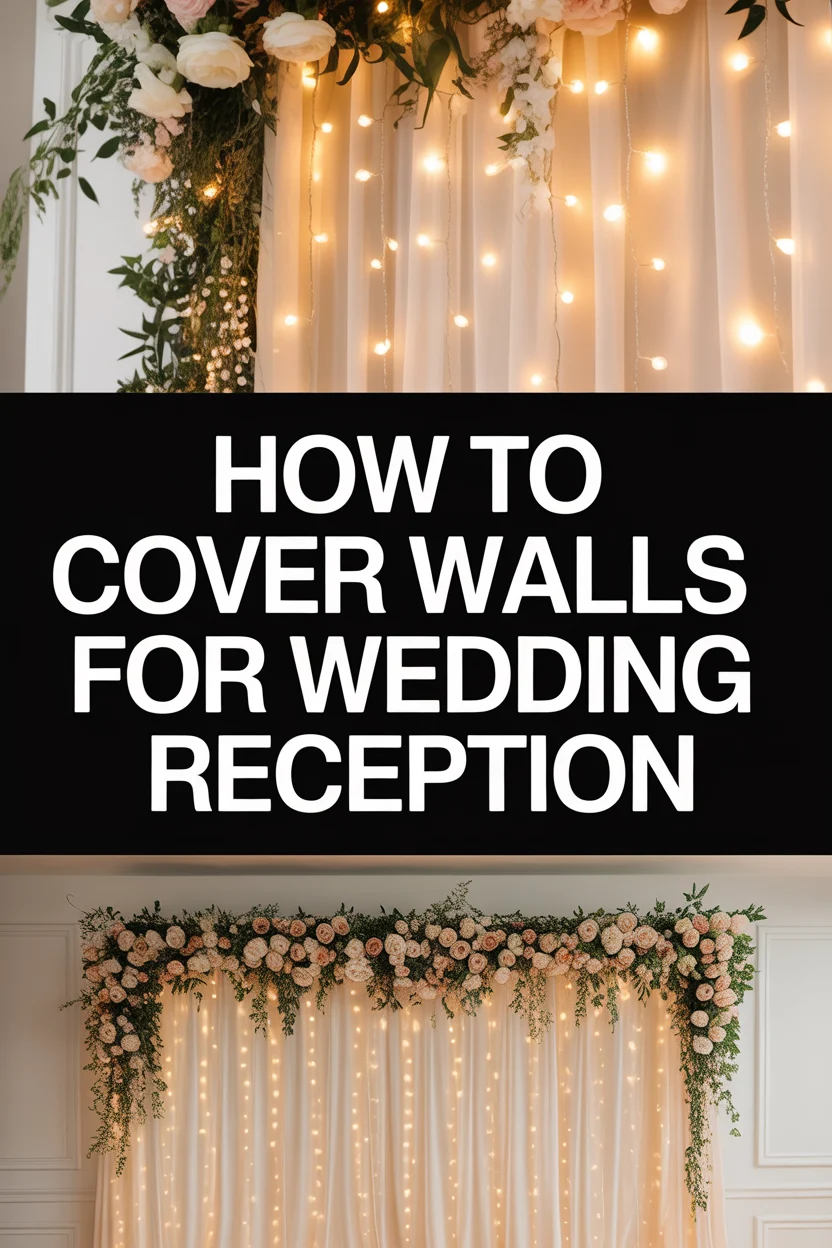
For fabric drapes, start from one corner of the room. Attach the fabric securely at the top, allowing it to cascade down. Use drapery hooks, command strips, or small nails if the venue permits.
Drape your fabric evenly, creating soft folds. Overlap panels slightly to avoid gaps. Ensure the bottom edge just grazes the floor for a luxurious look, or hem it if necessary.
When using a pipe and drape system, assemble the uprights and bases first. Then, attach the crossbars at your desired height. Slide the fabric panels onto the crossbars before lifting them into place.
For projection mapping, set up your projector at the optimal distance and angle. Calibrate the image to fit the wall dimensions precisely. Test the projection in varying light conditions.
To apply wallpaper or decals, measure and cut your pieces carefully. Follow the adhesive instructions meticulously for a smooth, bubble-free application. Smooth out any imperfections as you go.
For greenery walls, construct any necessary support frames first. Then, attach the greenery panels or individual plants securely. Ensure even distribution and a lush appearance.
Step 6: Add Lighting and Embellishments
Lighting can dramatically enhance your wall covering, creating depth and mood. Uplighting placed at the base of draped walls adds a warm glow.
Fairy lights or string lights woven into fabric drapes introduce a magical, romantic sparkle. Consider using different color temperatures to complement your theme.
Spotlights can highlight specific features, such as a floral arrangement or a personalized decal. Gel filters can change the color of the light.
Embellishments like ribbons, floral garlands, or custom signage can be added to your covered walls. These details personalize the space further.
Consider hanging elegant wreaths or framed photos on top of your drapes. Ensure any added decor is securely attached and doesn’t damage the underlying covering.
Step 7: Refine and Secure Everything
Take a step back and inspect your work. Look for any uneven drapes, loose panels, or visible gaps.
Adjust fabric folds for a consistent, elegant appearance. Tighten any loose attachments to prevent slippage during the event.
Trim any excess material neatly. Conceal power cords for lighting with tape or cable covers to prevent tripping hazards.
Check that all projections are crisp and aligned. Smooth out any remaining bubbles or wrinkles in wallpaper.
Ensure all decorative elements are firmly in place. A final sweep of the floor for any debris completes this step.
Step 8: Final Walkthrough and Contingency Planning
Before the reception begins, do a comprehensive walkthrough. View the space from different angles and in various lighting conditions.
Imagine guests moving through the area. Are there any potential snags or hazards? Address them immediately.
Have a small emergency kit on hand. This might include extra safety pins, zip ties, command strips, or a small roll of tape.
Knowing you have quick fixes available provides peace of mind. You’ve created a beautiful backdrop; now ensure it stays perfect.
Common Mistakes to Avoid
Underestimating Material Needs
Many couples purchase too little fabric or too few panels, leading to gaps or a rushed, piecemeal look. Always measure twice and add a buffer, typically 10-15% extra. This accounts for overlap, slight errors, and unexpected changes.
Ignoring Venue Restrictions
Some venues have strict rules about attaching items to walls, drilling, or using certain adhesives. Failing to check these policies can result in fines or last-minute scrambling. Always get written approval for your chosen installation method beforehand.
Poor Wrinkle Management
Fabric drapes can look unprofessional if not properly steamed or ironed. Wrinkles detract significantly from an elegant aesthetic. Plan time to steam all fabric thoroughly before installation, or choose wrinkle-resistant materials.
Neglecting Safety
Improperly secured drapes or unstable pipe and drape systems pose a safety risk to guests. Ensure all installations are sturdy, stable, and cannot easily be pulled down. Use appropriate weight bases for freestanding structures and secure all attachments.
Troubleshooting
Fabric Drapes Sagging or Uneven
If your drapes are starting to sag, the attachment points might not be strong enough or are too far apart. Add more attachment points along the top edge, reinforcing them with stronger hooks or additional adhesive strips. Ensure the fabric is evenly distributed across the hanging points.
Gaps Appearing Between Panels
Gaps often occur if panels aren’t overlapped sufficiently or if they shift during installation. Overlap each panel by at least 6-12 inches, depending on the fabric’s transparency. Use safety pins or small, clear zip ties to gently secure overlapping edges from behind, preventing them from separating.
Projection Image is Distorted or Fuzzy
This usually indicates incorrect projector placement, focus, or calibration. Check that the projector is perfectly perpendicular to the wall and that the lens is clean. Adjust the focus settings until the image is sharp. Use the projector’s keystone correction feature to square up any distorted edges.
Key Takeaways
- Thoroughly assess your venue and define your wedding vision before choosing materials.
- Select wall covering materials that align with your aesthetic, budget, and venue restrictions.
- Always gather all tools and supplies in advance to ensure a smooth, efficient installation.
- Prepare the walls and surrounding space by cleaning and clearing obstructions.
- Install your chosen covering methodically, paying close attention to detail and security.
- Enhance the covered walls with strategic lighting and personalized embellishments.
- Conduct a final walkthrough to refine the look and ensure all elements are secure and safe.
Frequently Asked Questions
Can I cover walls without damaging the venue’s paint?
Absolutely. Many non-damaging options exist. Consider freestanding pipe and drape systems, which require no wall attachments. Command strips or specific low-tack painter’s tape can also hold lightweight fabrics or decals without residue, but always test a small, inconspicuous area first.
How much fabric do I need for drapes?
Measure the width of the wall you want to cover and multiply it by 1.5 to 2.5 times, depending on how full you want the drapes to appear. For height, measure from the ceiling to the floor and add an extra 6-12 inches for a pooling effect or for hemming. Always round up your measurements.
Is projection mapping suitable for all venues?
Projection mapping works best in venues with relatively dim lighting and light-colored, smooth walls. Bright ambient light can wash out the projection, and dark or highly textured walls can distort the image. It also requires a clear line of sight for the projector.
How far in advance should I start planning my wall coverings?
Begin planning at least 3-6 months before your wedding. This allows ample time for venue approval, material sourcing, custom orders, and practice if you’re DIYing. For complex installations like projection mapping, booking specialists even earlier is advisable.
Our Top Recommended Finds
- Sheer Chiffon Fabric Rolls: Versatile for elegant draping, available in many colors, creates a soft, romantic effect.
- Adjustable Pipe and Drape Kit: Provides a professional, freestanding backdrop without needing to attach anything to venue walls.
- Warm White LED Fairy Lights: Perfect for adding a magical twinkle when woven through drapes or strung across walls.
Crafting Your Perfect Backdrop
Creating a stunning backdrop for your wedding reception is an act of love and creativity. By thoughtfully choosing your wall coverings, you transform a simple room into an extraordinary space. This guide provides the practical steps to achieve that dream.
Take these instructions, gather your materials, and begin the exciting process of designing your perfect wedding atmosphere. Your guests will be amazed, and you’ll cherish the beautiful setting for years to come.
Wedding Planning
No fluff, no drama. Just easy weekly advice, planning shortcuts, and gentle reminders to help you actually enjoy your engagement.