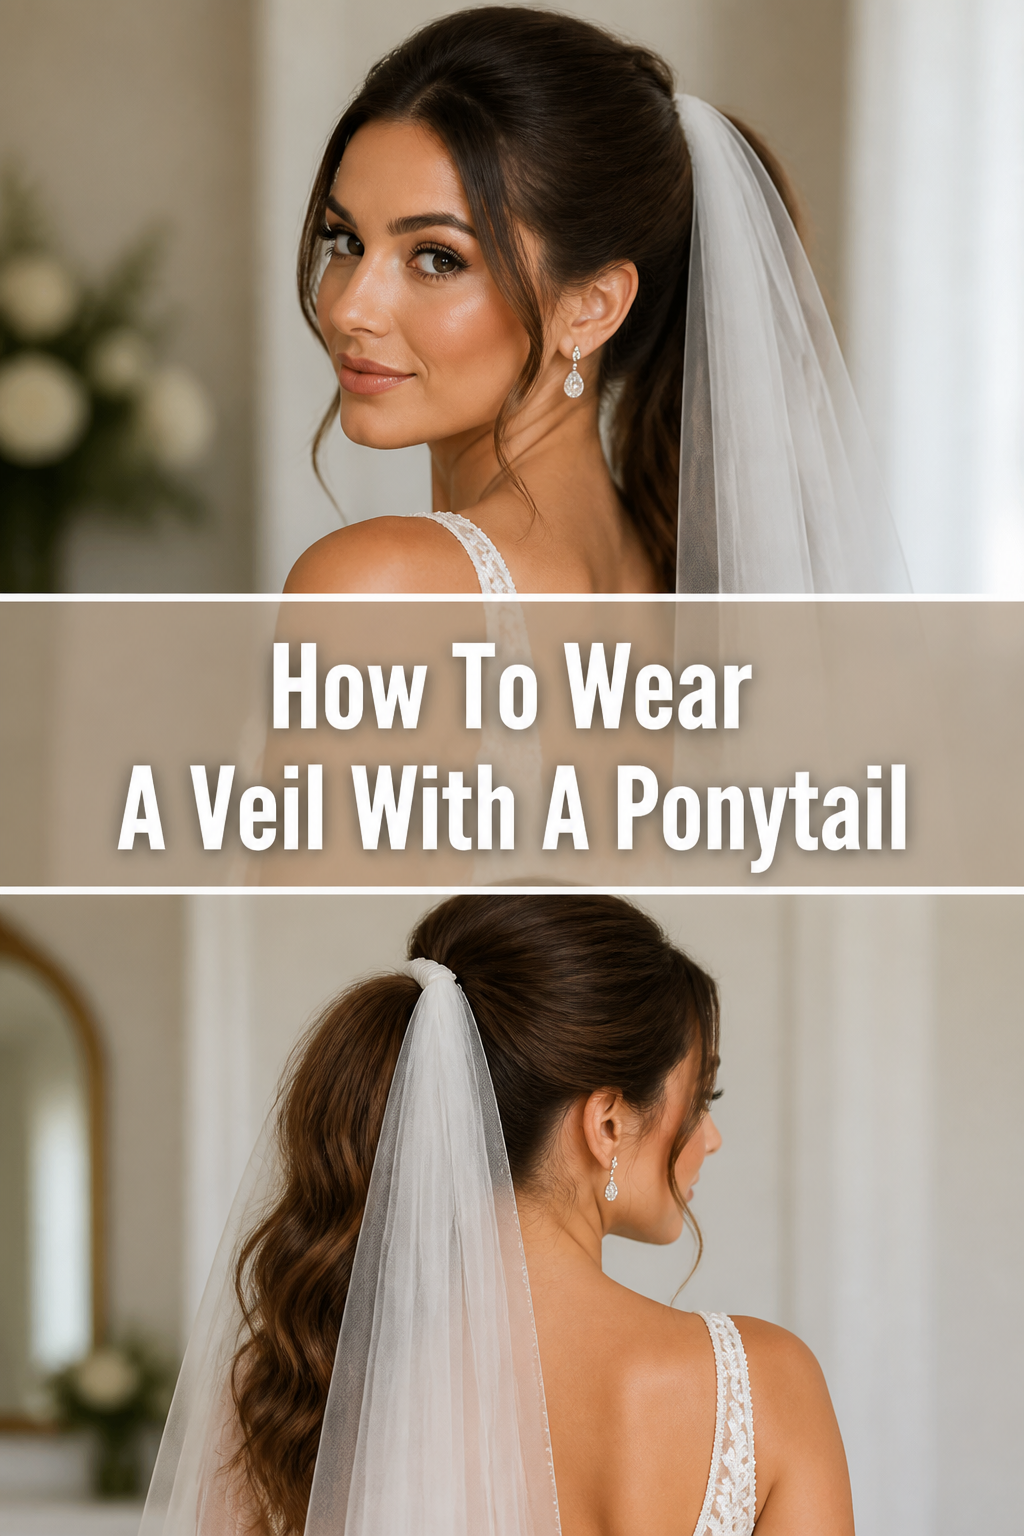
👰♀️ How To Wear A Veil With A Ponytail
Many brides dream of a relaxed yet elegant wedding day hairstyle. Combining a veil with a chic ponytail offers exactly that balance. It’s a beautiful choice, blending modern style with timeless tradition.
I’ve helped countless brides achieve this look, and I know the right techniques make all the difference. This guide shares proven methods to ensure your veil stays perfectly in place, looking stunning from ceremony to reception.
Quick Overview
This guide will walk you through creating a secure and beautiful veil-and-ponytail combination. You’ll learn how to choose the right ponytail style, position your veil, and troubleshoot common issues.
- Time needed: 20-45 minutes (including hair styling)
- Difficulty: Intermediate
- What you’ll need: Veil with a comb, hair ties/elastics, bobby pins (U-shaped and standard), strong-hold hairspray, fine-tooth comb, smoothing serum (optional).
Step-by-Step Instructions
Step 1: Plan Your Ponytail Style
Before you begin, decide on the height and style of your ponytail. A high ponytail creates a dramatic, youthful look, while a low, elegant ponytail offers a softer, more romantic vibe. Consider your dress neckline and veil length when making this choice.
The ponytail’s placement will directly influence where your veil sits, so this initial decision is key. Visualize the overall silhouette you want to achieve.
Step 2: Prepare Your Hair
Start with clean, dry hair. Brush your hair thoroughly to remove any tangles and create a smooth foundation. Applying a small amount of heat protectant or smoothing serum can help tame flyaways and add shine.
A smooth base is essential for a sleek ponytail and a secure veil attachment. This step ensures your hair is manageable and ready for styling.
Pro Tip: For extra volume, gently backcomb the roots at your crown before gathering your hair into a ponytail. This adds lift where the veil will sit.
Step 3: Create Your Ponytail
Using a fine-tooth comb, gather your hair into your desired ponytail position. Ensure all strands are smooth and free of bumps. Secure the ponytail tightly with a strong hair elastic.
Double-check the tightness; a loose ponytail will sag and won’t properly support your veil. Use a second elastic if needed for extra security.
Step 4: Smooth and Refine the Ponytail
Once the ponytail is secured, smooth down any stray hairs around the hairline and the base of the ponytail. Use a small amount of hairspray on a clean brush or your fingertips to gently smooth these areas. This creates a polished finish.
A neat base makes the veil look more intentional and elegant. Spend a few moments perfecting the overall shape of your ponytail.
Step 5: Position Your Veil
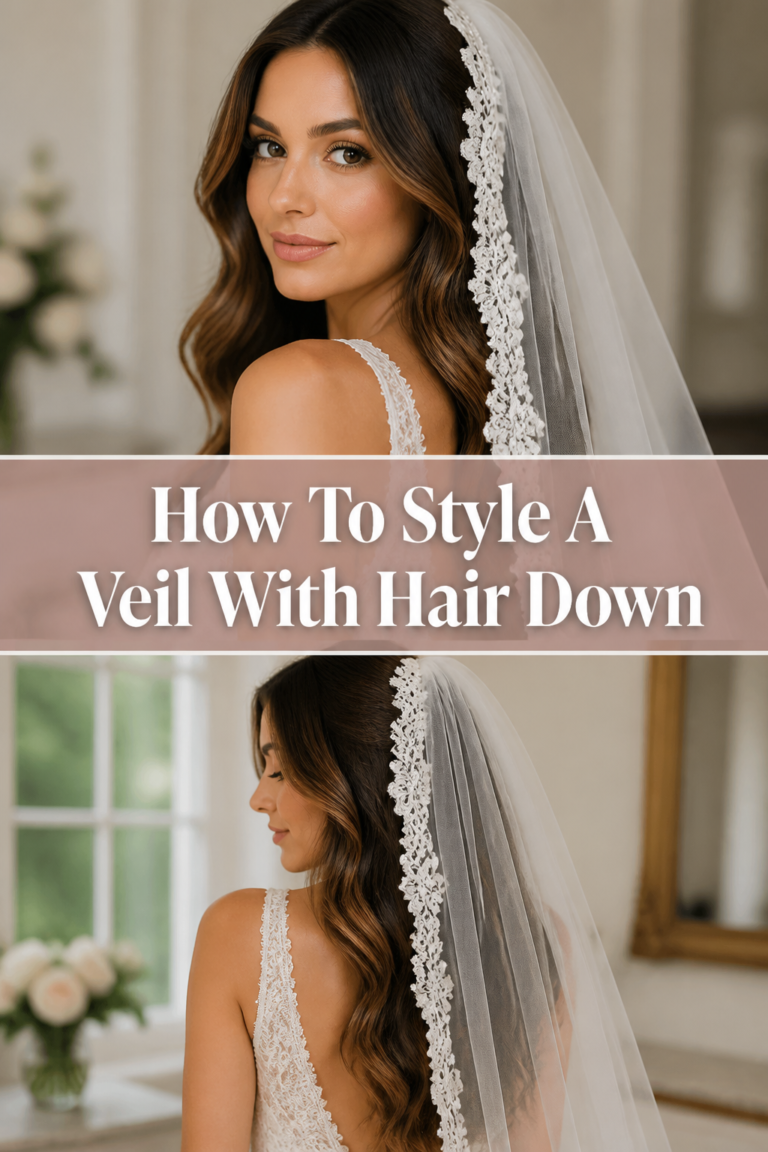
Now, it’s time to determine where your veil comb will sit. There are generally three main placements when working with a ponytail:
- Above the Ponytail: This is the most common placement. The veil comb sits directly on top of your head, just above the ponytail elastic. This allows the veil to drape over the ponytail itself.
- Into the Ponytail: For a more integrated look, you can insert the veil comb directly into the center of the ponytail, behind the elastic. This works well for lighter veils and creates a seamless flow.
- Below the Ponytail: If you want the veil to originate lower, you can place the comb just beneath the ponytail. This creates a cascade of fabric from below the hair tie, often used for very low ponytails or when the veil is meant to frame the back.
Experiment with these positions to see what best complements your ponytail height and veil style. Hold the veil in place to see how it drapes.
Step 6: Secure the Veil Comb
Once you’ve chosen your desired position, insert the veil comb firmly into your hair. If placing it above the ponytail, push the comb down into the hair on your crown. If placing it into the ponytail, weave the comb teeth directly into the secured hair.
Ensure the comb feels stable and doesn’t wobble. You should feel it catch onto a good amount of hair for support.
Pro Tip: For extra grip, backcomb a small section of hair where the veil comb will sit before inserting it. This creates a “nest” for the comb teeth to latch onto.
Step 7: Reinforce with Bobby Pins
This is a crucial step for lasting security. Use U-shaped bobby pins to anchor the veil comb. Insert the pins through the loops of the veil comb and then into your hair, crisscrossing them for maximum hold.
For an above-the-ponytail placement, angle the pins downwards and inwards towards your scalp. For an into-the-ponytail placement, push the pins horizontally through the comb and into the ponytail itself. Use at least 4-6 pins, depending on the veil’s weight.
Step 8: Camouflage the Pins (Optional)
If any bobby pins are visible, gently adjust strands of hair to cover them. You can also use smaller, standard bobby pins to secure any loose hairs around the veil comb, making the attachment look seamless.
The goal is for the veil to appear as if it’s magically floating, with no visible means of attachment. A little finesse here goes a long way.
Step 9: Apply Hairspray for Hold
Generously spray the entire area around the veil comb and the base of your ponytail with strong-hold hairspray. This will lock everything into place, preventing slippage and taming any remaining flyaways. Don’t forget to spray the ponytail itself for a sleek finish.
Ensure you’re spraying from a reasonable distance to avoid a stiff, crunchy feel. A fine mist is usually sufficient.
Step 10: The “Bounce” Test
Finally, gently shake your head side to side and nod up and down. This “bounce test” will confirm the veil’s security. If it feels loose or shifts, add more bobby pins or readjust the existing ones.
It’s better to discover any instability now than during your event. A secure veil gives you peace of mind and allows you to move freely.
Step 11: Final Adjustments
Take a moment to check your overall look in a mirror. Smooth any last flyaways, ensure the veil drapes beautifully, and make any minor adjustments to the ponytail’s shape. You want everything to look picture-perfect.
This final check ensures every detail is in place, giving you confidence and comfort.
Common Mistakes to Avoid
Choosing the Wrong Ponytail Placement
Placing your ponytail too high or too low without considering the veil’s length and your dress can create an unbalanced look. A very high ponytail with a long, heavy veil might pull uncomfortably. Conversely, a low ponytail might hide a shorter veil’s details if not positioned correctly. Always experiment with placement beforehand to ensure harmony between your hair, veil, and dress.
Insufficient Veil Anchoring
One of the biggest pitfalls is not using enough bobby pins or not securing them correctly. Relying solely on the veil comb’s teeth will likely lead to slippage, especially with movement or wind. Always reinforce the comb with crisscrossed U-shaped bobby pins, ensuring they catch both the comb’s loops and a good amount of hair.
Ignoring Veil Weight and Fabric
Heavy veils, especially those with intricate lace or multiple layers, require more robust anchoring than lighter, sheer veils. Attempting to secure a heavy veil with minimal pins on fine hair is a recipe for disaster. Be mindful of your veil’s weight and adjust your securing method accordingly, perhaps even adding a small, hidden braid at the base for extra grip.
Skipping Hair Preparation
Going straight to styling without properly brushing, smoothing, or adding product can result in flyaways and a less polished look. Unprepared hair might also make it harder for the veil comb and bobby pins to get a good grip. Taking the time to prep your hair ensures a smooth, secure foundation for both your ponytail and your veil.
Troubleshooting
Veil Feels Loose or Is Slipping
If your veil starts to feel loose, it’s likely due to insufficient anchoring. The comb might not have enough hair to grip, or the bobby pins aren’t holding it firmly. To fix this, carefully remove the veil and re-insert it, making sure to backcomb a small section of hair where the comb will sit. Then, use more U-shaped bobby pins, inserting them through the comb’s loops and firmly into your hair at crisscross angles.
Ponytail Is Sagging or Drooping
A sagging ponytail can make your entire hairstyle look less polished and can even pull the veil down. This usually happens if the initial elastic wasn’t tight enough or if your hair is very long and heavy. To remedy this, gently lift the ponytail and tighten the elastic. You can also add a second elastic directly underneath the first for extra support. For very heavy ponytails, consider using a bungee elastic for a tighter, more secure hold.
Flyaways Are Ruining the Look
Pesky flyaways can detract from an otherwise perfect look. If you notice them after styling, don’t despair. Spray a small amount of strong-hold hairspray onto a clean, soft toothbrush or a fine-tooth comb. Gently brush down the flyaways around your hairline and the base of your ponytail. For stubborn pieces, a tiny dab of hair gel or a smoothing balm can also work wonders when applied sparingly.
Key Takeaways
- Plan Your Ponytail: Decide on height and style before you begin to ensure it complements your veil and dress.
- Secure the Ponytail Tightly: A firm ponytail is the foundation for a secure veil; use strong elastics and consider a second one for extra hold.
- Choose Veil Placement Wisely: Experiment with placing the veil above, into, or below the ponytail to find the most flattering position.
- Reinforce with Bobby Pins: Always use U-shaped bobby pins, crisscrossing them through the veil comb and into your hair for maximum stability.
- Don’t Skip Hairspray: A strong-hold hairspray will lock everything in place and tame flyaways, ensuring your look lasts.
- Test for Security: Perform a “bounce test” to confirm the veil is firmly attached and won’t shift during your event.
Frequently Asked Questions
Can I use any type of veil with a ponytail?
Most veils with a comb attachment can be worn with a ponytail. However, very heavy, multi-layered veils might require extra reinforcement to prevent pulling. Lighter, single-tier veils are generally easier to manage. Consider your hair’s thickness and the veil’s weight when making your choice.
Should the ponytail be high or low for a veil?
The ideal height depends on your personal style, dress design, and the overall look you’re aiming for. A high ponytail offers a more modern, playful vibe, while a low ponytail often feels more romantic and traditional. Both can work beautifully with a veil, as long as the veil’s placement is adjusted accordingly.
What if my hair is thin or fine?
If you have thin or fine hair, securing a veil can be more challenging. To create a stronger anchor point, gently backcomb the section of hair where the veil comb will sit. You can also create a small, tight braid at the base of your ponytail and insert the veil comb into this braid for extra grip. Using texture spray before styling can also add volume and hold.
How do I remove the veil without messing up the ponytail?
To remove your veil without disturbing your ponytail, gently locate and remove all the bobby pins first. Once the pins are out, carefully slide the veil comb out of your hair. Avoid pulling or tugging. With the veil removed, your beautiful ponytail should remain intact, ready for the rest of your event.
Our Top Recommended Finds
- Strong-Hold Hairspray: Essential for locking in your style and taming flyaways. Look for one that offers flexible hold without stiffness.
- U-Shaped Bobby Pins: These are superior to standard bobby pins for securing veil combs, offering a stronger and more discreet hold.
- Hair Smoothing Serum: Perfect for prepping your hair, adding shine, and reducing frizz before you even start styling your ponytail.
Embrace Your Elegant Ponytail Veil Look
Wearing a veil with a ponytail is a stunning choice that blends sophistication with effortless charm. By following these steps, you gain the confidence to create a secure and beautiful style that lasts all day. No longer a mystery, this elegant combination is now within your reach.
Take these tips and techniques, and apply them to your own unique vision. Practice makes perfect, so don’t hesitate to try it out a few times before your big day. You’ll soon master this chic look, ready to shine with grace and style.