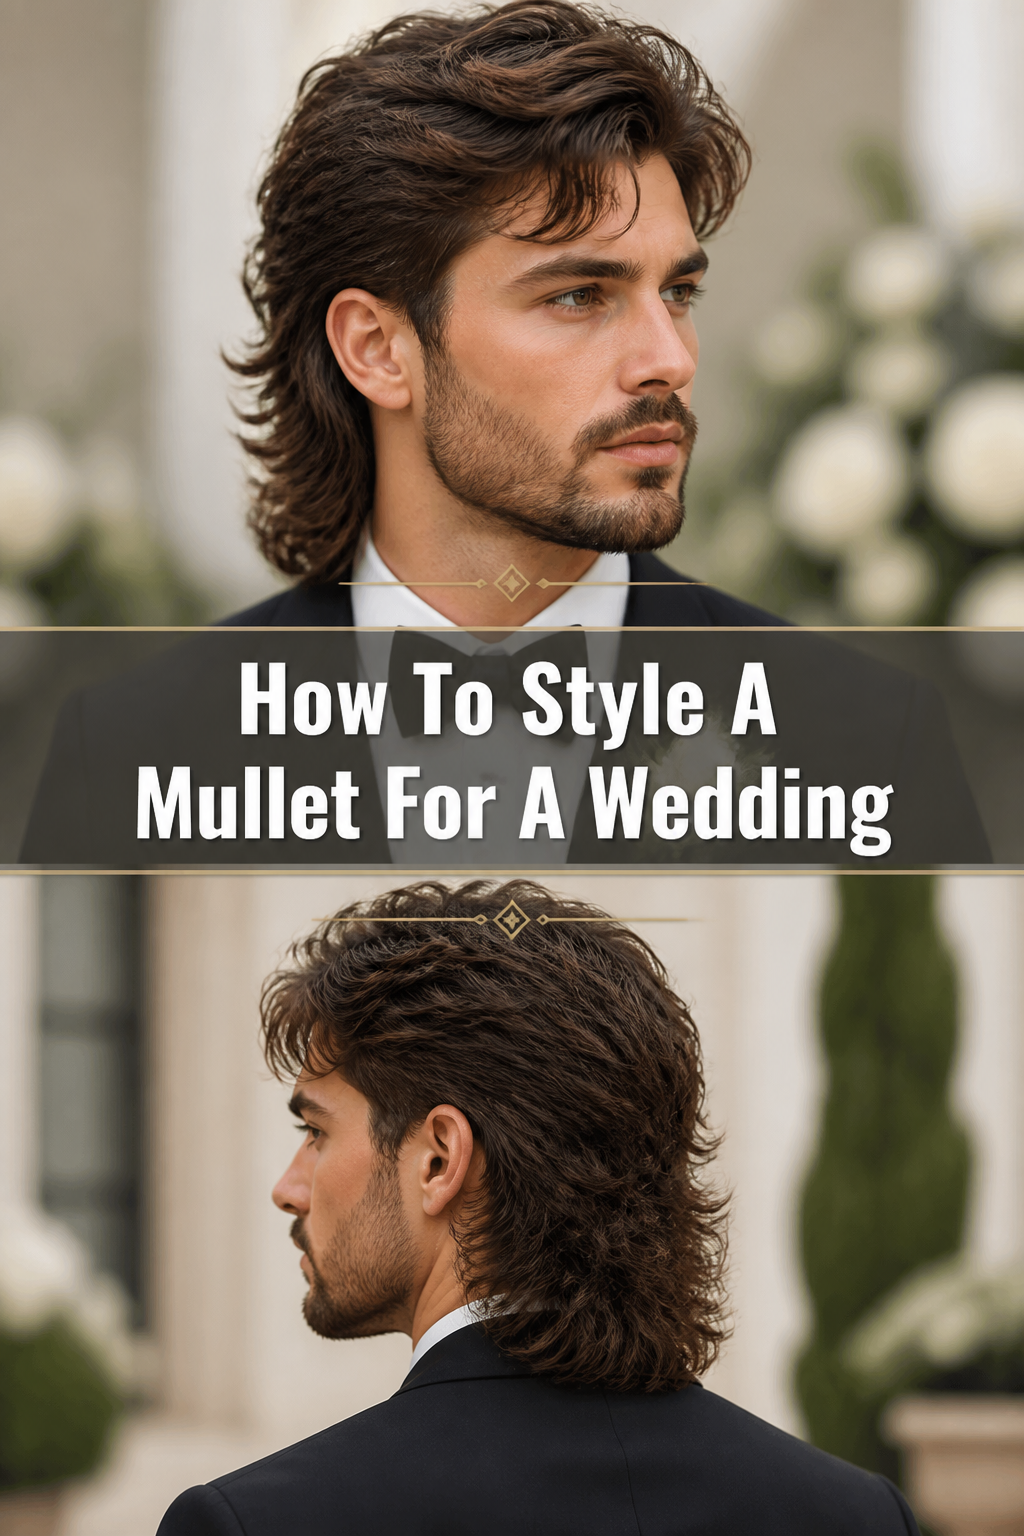
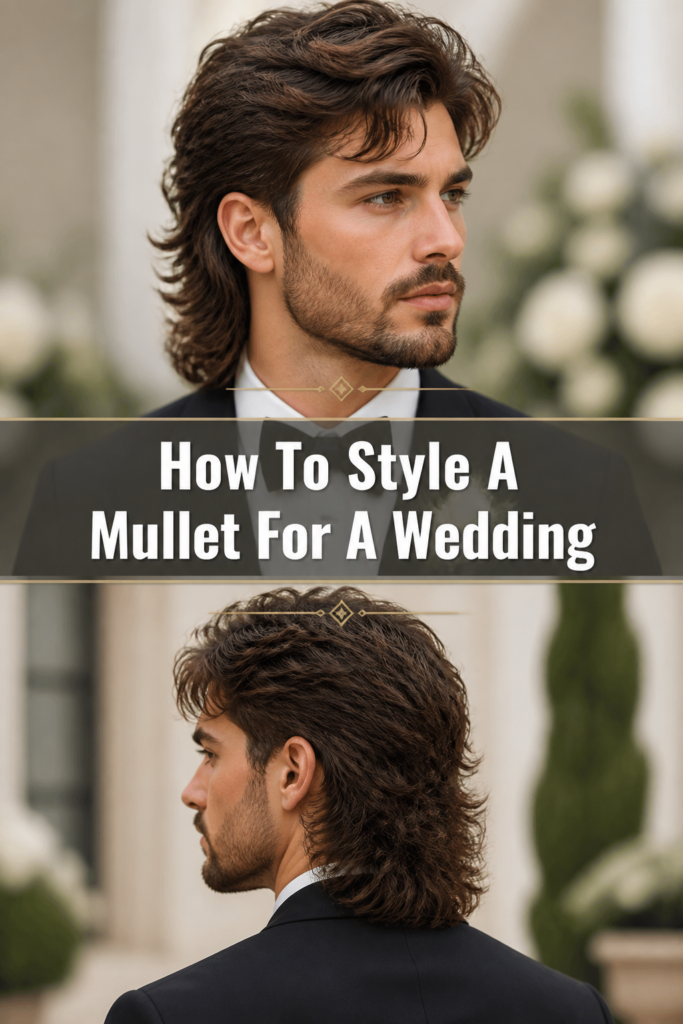
💇 How To Style A Mullet For A Wedding
Thinking about rocking your mullet at a wedding? You absolutely can, and it will look fantastic. I’ve styled my own mullet for several formal events, always receiving compliments on its unique flair and polished finish.
This guide will show you how to transform your everyday mullet into a sophisticated, wedding-ready masterpiece. You’ll learn the techniques to achieve elegance while keeping that signature edge.
Quick Overview
This guide will walk you through preparing your hair, applying the right products, and styling each section of your mullet for a sophisticated wedding look. You’ll finish with a polished, long-lasting style that perfectly suits the occasion.
- Time needed: 30-45 minutes
- Difficulty: Intermediate
- What you’ll need: Shampoo, conditioner, heat protectant, volumizing mousse, strong-hold pomade or gel, texturizing spray, hairspray, blow dryer, round brush, fine-tooth comb, curling iron (optional).
Step-by-Step Instructions
Step 1: Prepare Your Canvas
Begin with freshly washed and conditioned hair. Use products that offer hydration without weighing your hair down. A clarifying shampoo can remove product buildup, ensuring your hair is light and ready for styling.
Rinse thoroughly to prevent any residue that could make your hair feel heavy. Gently towel-dry your hair until it’s damp, not dripping wet. This prepares it for product application.
Pro Tip: For extra volume, use a volumizing shampoo and conditioner. These products lift the roots and add body, which is essential for a structured mullet.
Step 2: Apply Foundation Products
Generously spray a heat protectant throughout your damp hair. This shields your strands from the heat of your blow dryer and any styling tools. Distribute it evenly from roots to ends.
Next, apply a golf-ball sized amount of volumizing mousse to your roots and mid-lengths. Work it through with your fingers, ensuring good coverage. This provides essential lift and hold.
Step 3: Blow Dry for Volume and Shape
Using a blow dryer on medium heat, begin to dry your hair. Focus on lifting the roots, especially in the front and top sections. Use your fingers to rough dry until about 70% dry.
Switch to a round brush for the front and top sections. Lift the hair at the roots and direct the airflow upwards, creating maximum volume. For the sides, brush them back and down, drying them flat against your head.
For the longer back section, gently blow dry it smooth and straight, or with a slight inward curl if desired. Use a paddle brush to maintain its length and sleekness. Ensure all sections are completely dry before moving on.
Step 4: Craft the Front and Top
Take a small amount of strong-hold pomade or gel and warm it between your palms. Apply it to the front and top sections of your hair. Distribute it evenly, focusing on the roots for lift and definition.
Using a fine-tooth comb, style the front section. You can sweep it back for a classic, sophisticated look, or create a defined side part. Ensure the hair is lifted and has good structure.
For the top, use your fingers to create texture and separation. You want it to look full and intentional, not flat. Aim for a slightly tousled yet controlled appearance.
Step 5: Define the Sides
With a small amount of pomade on your fingertips, smooth down the shorter side sections. You want these areas to be neat and tidy, contrasting with the volume on top and the length in the back.
Comb the sides back towards your ears, ensuring they lay flat against your head. This creates a clean silhouette that highlights the overall shape of the mullet. Avoid any flyaways around the ears.
Pro Tip: If your sides are particularly stubborn, a small amount of strong-hold hairspray applied directly to the comb before styling can help them stay put all day.
Step 6: Perfect the Back
Now, turn your attention to the party in the back. Apply a light mist of texturizing spray to the longer section of your hair. This enhances natural waves and adds a touch of effortless cool.
Use your fingers to gently separate and define the strands. You can leave it naturally flowing, or if you prefer a more polished look, use a large barrel curling iron to create soft, loose waves. Curl away from your face for a natural bounce.
Ensure the back section looks healthy and well-maintained. The contrast between the sleek front and the flowing back is key to a wedding-ready mullet.
Step 7: Lock in the Style
Once you are satisfied with the overall shape and texture, it’s time to set your masterpiece. Hold a can of strong-hold hairspray about 10-12 inches away from your head. Mist evenly over all sections.
Pay extra attention to the front and top, ensuring they maintain their volume and definition. Lightly spray the sides to keep them sleek, and mist the back to hold any waves or texture you created. This will help your style last through photos, dancing, and celebrations.
Step 8: Final Checks and Adjustments
Take a moment to view your mullet from all angles, using a hand mirror if needed. Check for any stray hairs or areas that need a touch-up. Smooth down any frizz with a tiny bit of pomade.
Ensure the transition between the different lengths is seamless and intentional. Your mullet should look cohesive and polished, ready for the big day. Make any final adjustments to volume or definition.
Common Mistakes to Avoid
Overloading on Product
Applying too much product, especially heavy gels or pomades, can weigh your hair down. This leads to a greasy, stiff look that lacks natural movement and volume. Start with a small amount and add more only if needed, focusing on even distribution.
Neglecting the Back Section
The mullet’s signature is its length in the back, yet many people focus solely on the front. Ignoring the back can make your style look incomplete or unkempt. Ensure the back is clean, styled, and well-integrated into the overall look, whether sleek or textured.
Skipping Heat Protectant
Using heat styling tools without heat protectant can severely damage your hair. This leads to dryness, breakage, and frizz, which will undermine any polished look. Always apply heat protectant to damp hair before blow-drying or using hot tools.
Not Considering Your Outfit
Your hairstyle should complement your wedding attire, not clash with it. A very sleek, severe mullet might not suit a bohemian dress, for example. Think about the overall vibe of your outfit and choose a mullet style that enhances it, whether it’s more structured or free-flowing.
Troubleshooting
My hair falls flat quickly
This often happens due to insufficient volume at the roots or not enough hold. Ensure you are using a volumizing mousse at the roots and blow-drying with a round brush, lifting upwards. Finish with a strong-hold hairspray, focusing on the base of your hair.
Frizz is a problem, especially in humid conditions
Frizz can be tamed with the right products and techniques. After styling, use an anti-frizz serum or a light hair oil on the ends of your hair. A humidity-resistant hairspray can also create a protective barrier against moisture in the air.
The sides keep popping out or looking messy
Stubborn sides need extra attention and a stronger hold. Apply a small amount of extra-strong hold gel or pomade specifically to the side sections. Comb them back firmly and then use a direct spray of strong-hold hairspray to lock them in place.
Key Takeaways
- Preparation is paramount; start with clean, conditioned, and protected hair.
- Use volumizing products at the roots for lift and shape in the front and top.
- Define each section – sleek sides, styled front, and a polished or textured back.
- Don’t skimp on strong-hold products to ensure your style lasts all day.
- Regularly check your style from all angles for a cohesive and refined finish.
- Match your mullet’s styling to the formality and vibe of your wedding attire.
Frequently Asked Questions
Can a mullet truly look elegant for a wedding?
Absolutely. The key is in the styling and product choice. By focusing on volume, definition, and a polished finish, your mullet can look incredibly chic and sophisticated, adding a unique personal touch to your wedding look.
What if my hair is very short in the front?
Even with a shorter front, you can still achieve a stylish look. Focus on maximizing volume with mousse and a blow dryer, then use a strong-hold pomade to sweep it back or to the side for a neat, intentional appearance. The contrast with the longer back will still be striking.
Should I get a fresh haircut right before the wedding?
It’s generally recommended to get your mullet trimmed a week or two before the wedding. This allows your hair to settle and gives you time to get used to the new length and shape. A fresh cut on the day might feel too stark.
What kind of accessories work best with a wedding mullet?
Simple, elegant accessories tend to work best. Think delicate hairpins or a subtle headband placed towards the front or side. Avoid anything too large or distracting that might compete with the mullet’s distinct silhouette.
Our Top Recommended Finds
- Strong-Hold Pomade: Essential for shaping the front and sides with lasting definition and a sleek finish.
- Volumizing Mousse: Creates crucial lift and body at the roots, giving your mullet a full and dynamic appearance.
- Humidity-Resistant Hairspray: Locks in your style and protects against frizz, ensuring your look stays perfect all day and night.
Embrace Your Wedding Day Style
Styling your mullet for a wedding is an exciting opportunity to showcase your unique personality with elegance. You’ve got the tools and techniques now to create a look that’s both sophisticated and undeniably you. Don’t be afraid to experiment a little beforehand to find your perfect balance of business in the front and party in the back.
Take these steps, put them into practice, and walk into that wedding radiating confidence. Your mullet isn’t just a haircut; it’s a statement, and on a wedding day, it will be a beautifully polished one. Get ready to turn heads and celebrate in style.