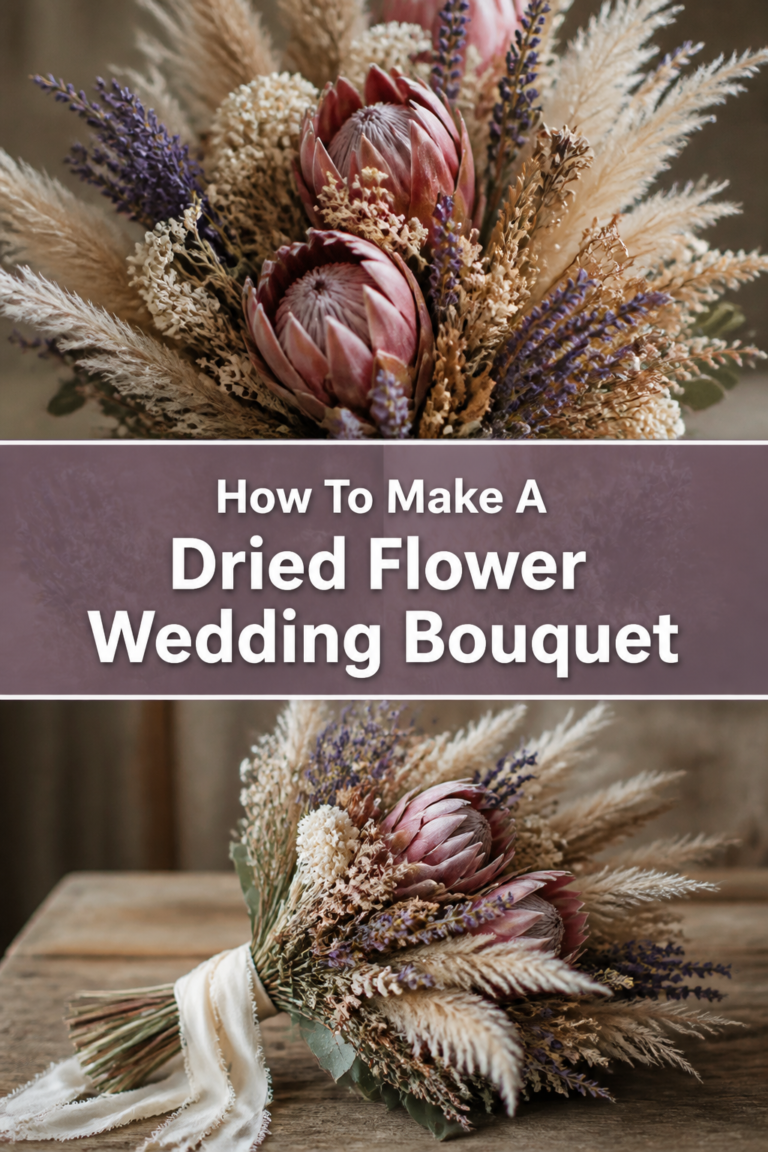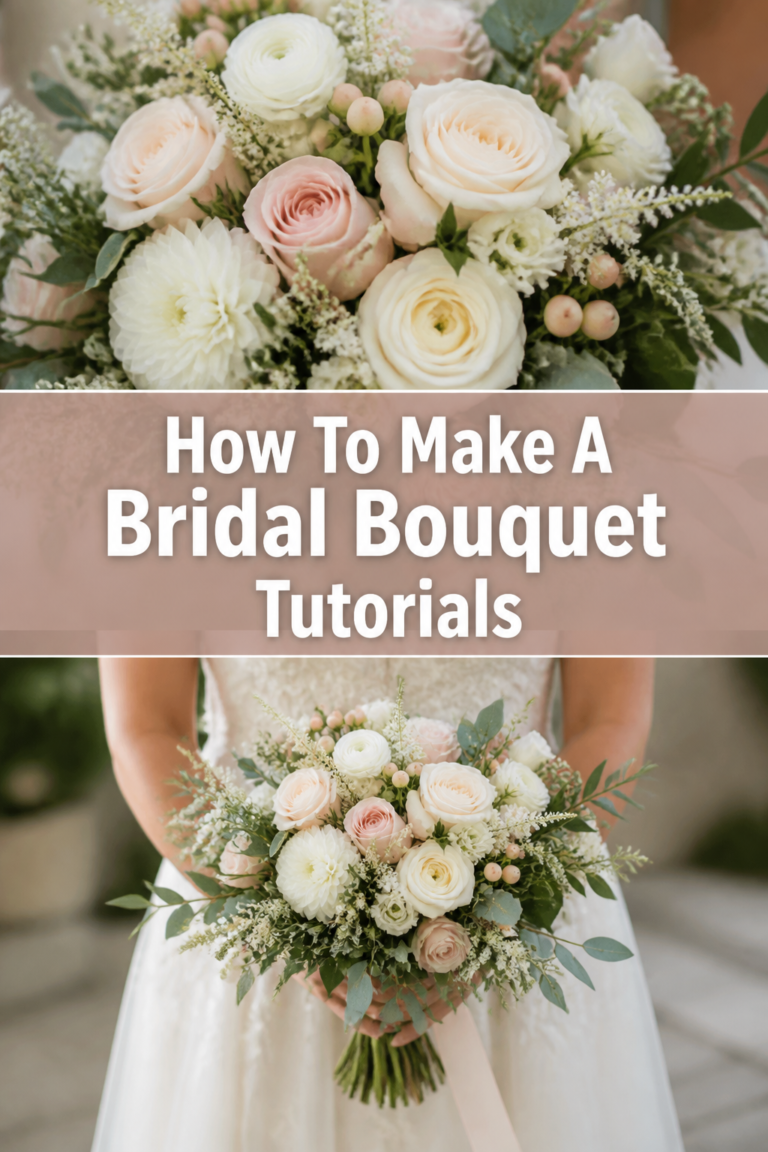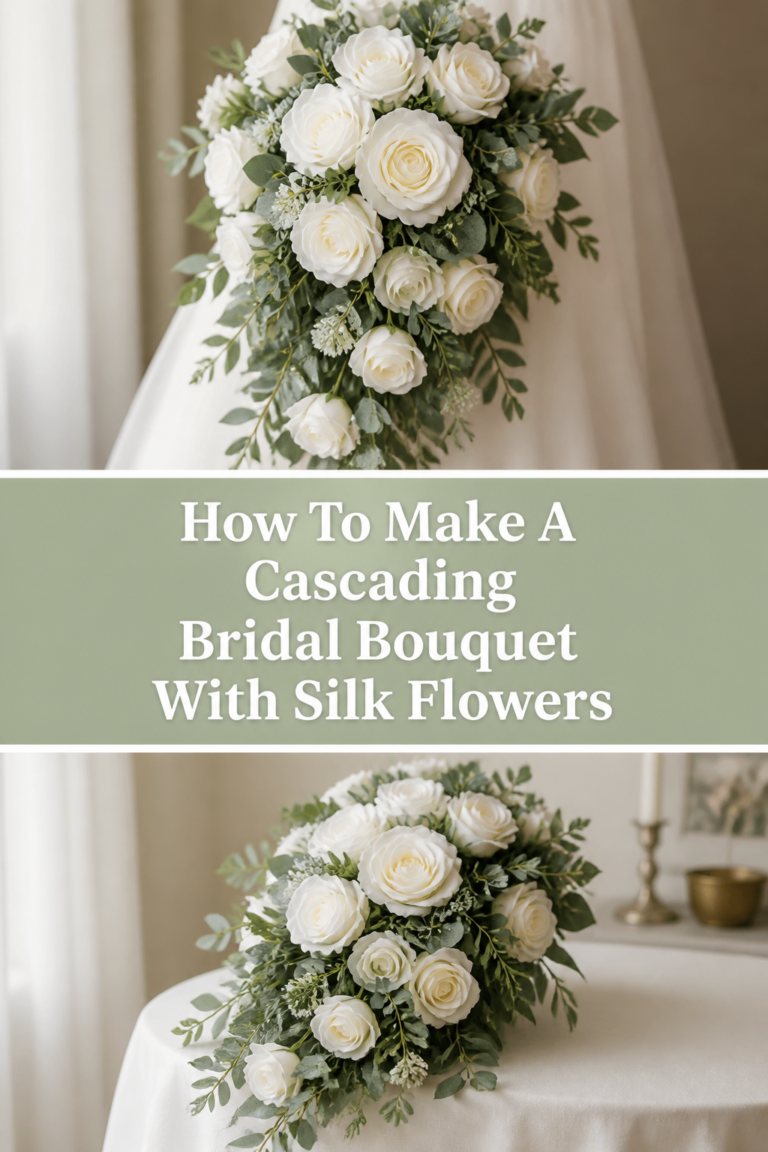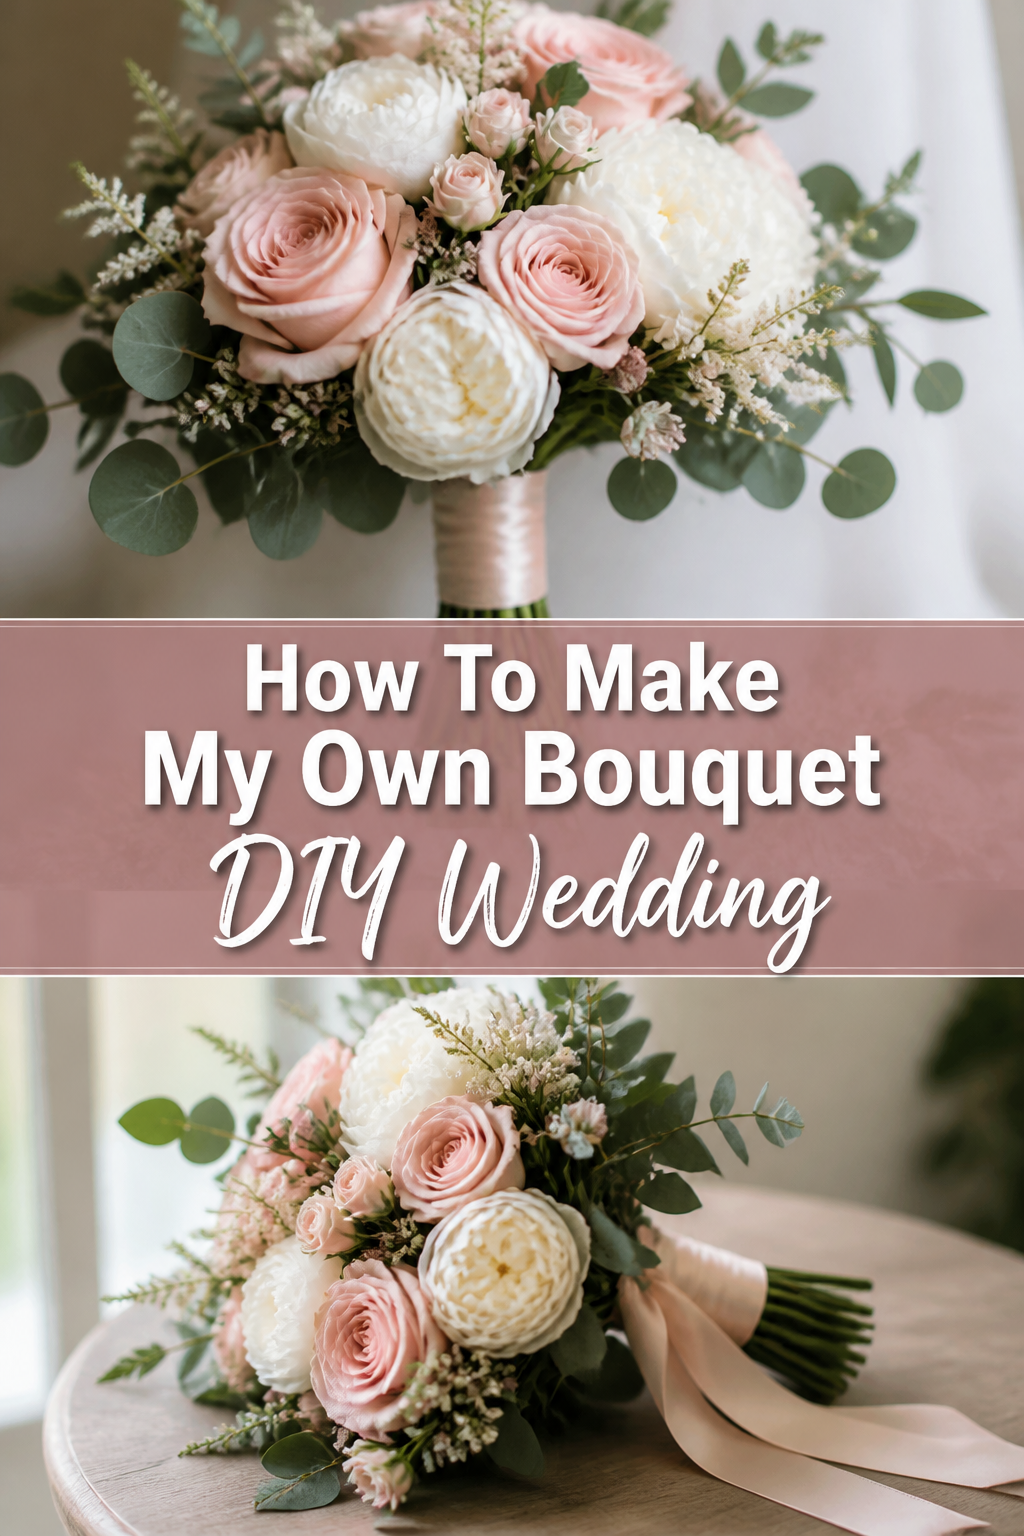
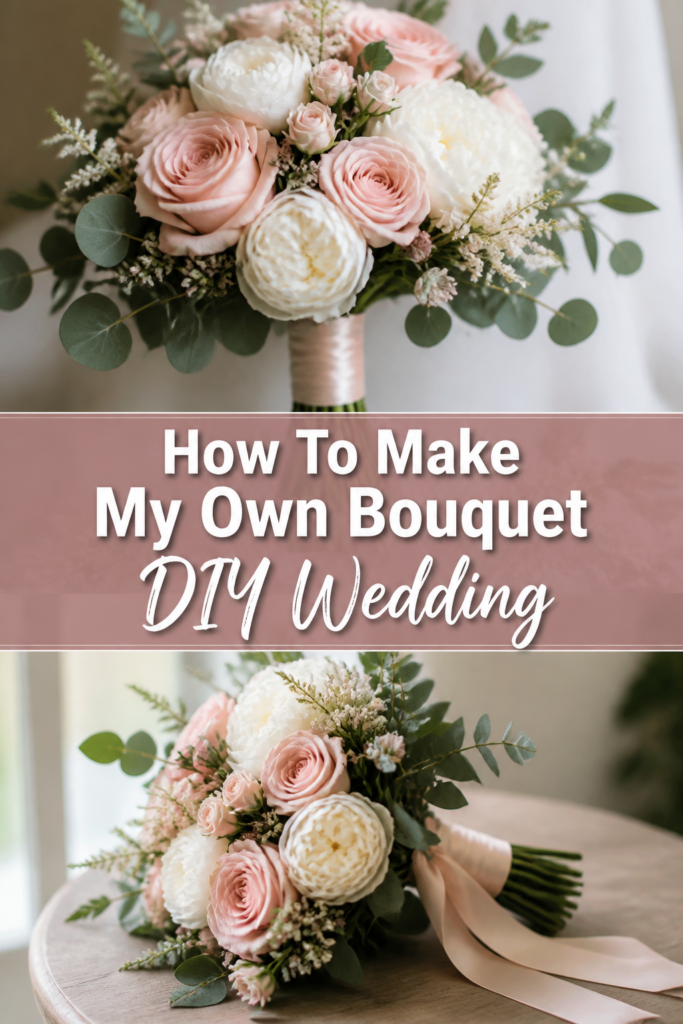
💐 How To Make My Own Bouquet DIY Wedding
Planning your wedding can feel overwhelming, but some elements offer a beautiful chance to add a personal touch.
I crafted my own wedding bouquet, and it was a truly rewarding experience, saving money while adding heartfelt sentiment to my special day.
This guide shares practical steps and insights, making it possible for you to create your own stunning DIY wedding bouquet.
Quick Overview
Crafting your own wedding bouquet allows for unique personalization and significant savings. You’ll learn how to select flowers, prepare them, and arrange them into a beautiful, lasting creation. This process is more achievable than you might think, even for those new to floral design.
- Time needed: 6-8 hours (spread over 2-3 days for flower conditioning and assembly)
- Difficulty: Intermediate
- What you’ll need: Fresh flowers, floral tape, floral wire, ribbon, sharp floral shears, a bucket, and a clean workspace.
Step-by-Step Instructions
Step 1: Plan Your Vision and Flower Selection
Begin by envisioning your dream bouquet. Consider your wedding dress style, overall theme, and color palette. This initial creative step sets the foundation for your floral choices.
Look for inspiration online, in magazines, or from professional florists. Gather images that speak to your aesthetic.
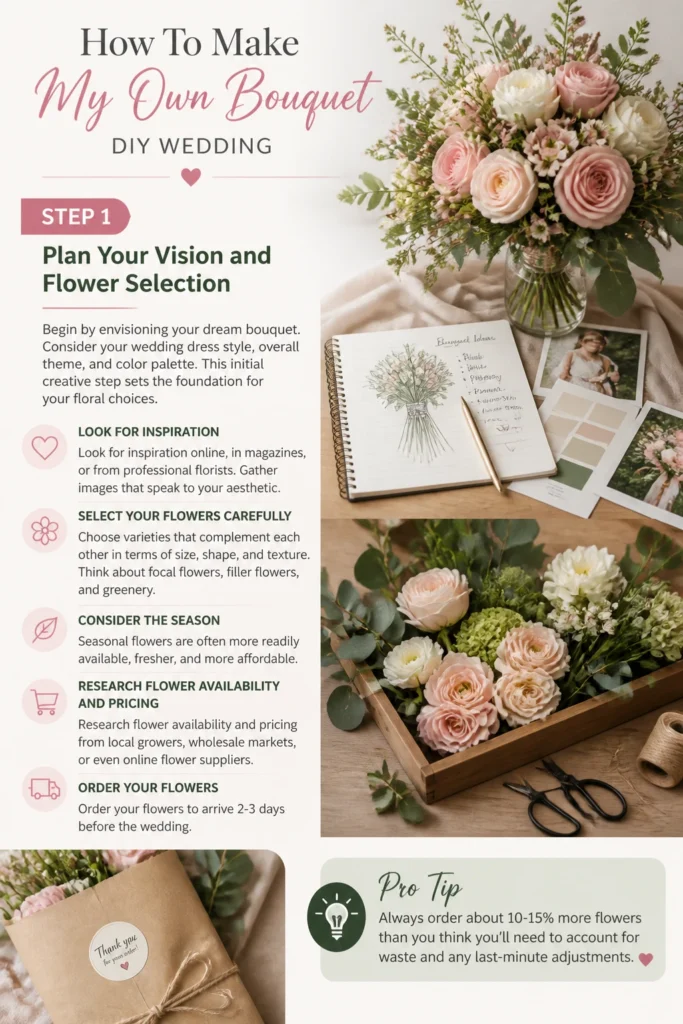
Select your flowers carefully. Choose varieties that complement each other in terms of size, shape, and texture. Think about focal flowers, filler flowers, and greenery.
Consider the season of your wedding. Seasonal flowers are often more readily available, fresher, and more affordable.
Research flower availability and pricing from local growers, wholesale markets, or even online flower suppliers. Order your flowers to arrive 2-3 days before the wedding.
Pro Tip: Always order about 10-15% more flowers than you think you’ll need. This accounts for any damaged blooms or allows for creative adjustments during assembly.
Step 2: Gather Your Tools and Supplies
Having everything ready before your flowers arrive makes the process smoother. A well-organized workspace reduces stress.
Acquire essential tools. You will need sharp floral shears or a very sharp knife for clean cuts, floral tape (green or white), floral wire (various gauges like 20 or 22 for reinforcement), and ribbon for the handle.
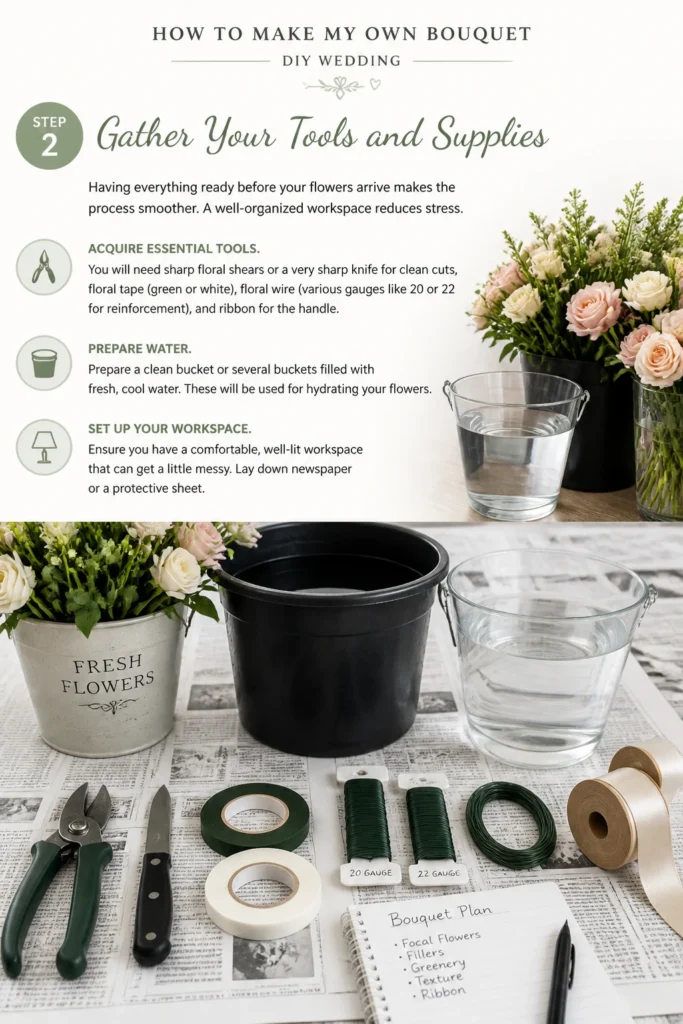
Prepare a clean bucket or several buckets filled with fresh, cool water. These will be used for hydrating your flowers.
Ensure you have a comfortable, well-lit workspace that can get a little messy. Lay down newspaper or a protective sheet.
Step 3: Condition Your Flowers
Proper conditioning is crucial for the longevity and vibrancy of your bouquet. This step helps your flowers absorb water efficiently.
Unpack your flowers gently. Remove any rubber bands or ties holding them together. Inspect each stem for damage.
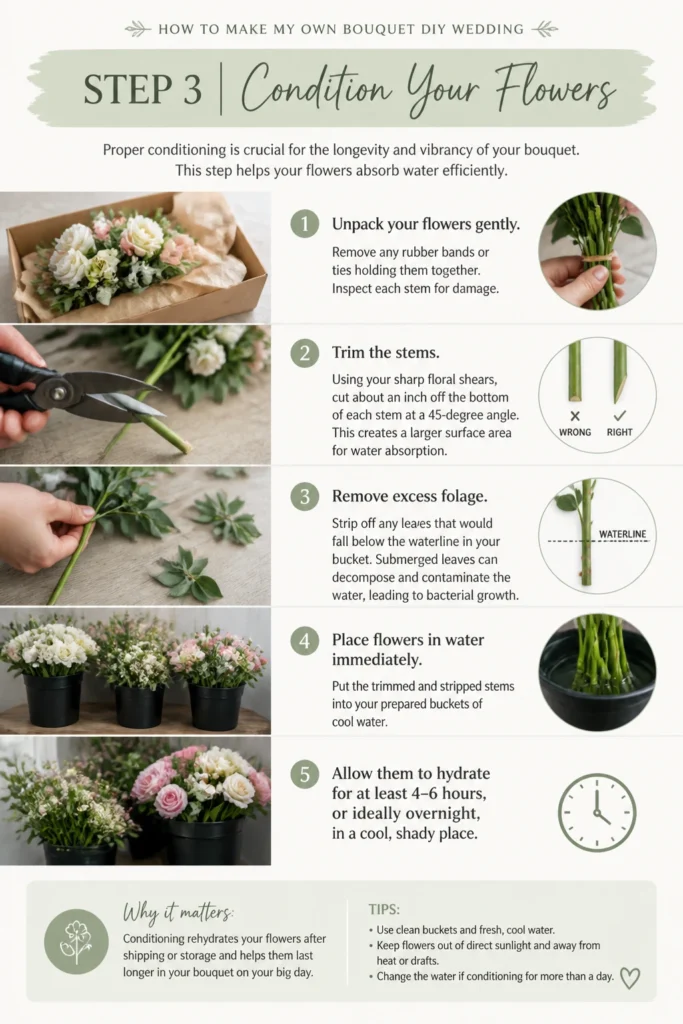
Trim the stems. Using your sharp floral shears, cut about an inch off the bottom of each stem at a 45-degree angle. This creates a larger surface area for water absorption.
Remove excess foliage. Strip off any leaves that would fall below the waterline in your bucket. Submerged leaves can decompose and contaminate the water, leading to bacterial growth.
Place flowers in water immediately. Put the trimmed and stripped stems into your prepared buckets of cool water. Allow them to hydrate for at least 4-6 hours, or ideally overnight, in a cool, shaded spot.
Step 4: Prepare Your Workspace and Lay Out Flowers
A tidy and logical setup makes the arrangement process much more enjoyable and efficient. Grouping flowers helps visualize your design.
Clear your workspace. Ensure you have plenty of room to move around and lay out your flowers. Protect your surfaces.
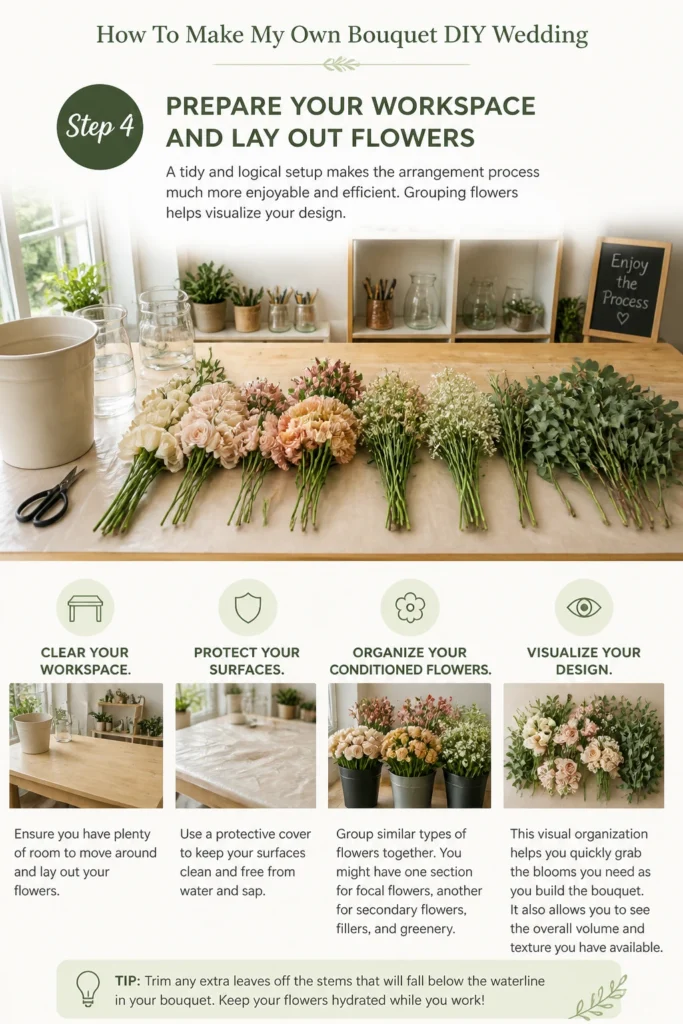
Organize your conditioned flowers. Group similar types of flowers together. You might have one section for focal flowers, another for secondary flowers, fillers, and greenery.
This visual organization helps you quickly grab the blooms you need as you build the bouquet. It also allows you to see the overall volume and texture you have available.
Step 5: Start Building the Base of Your Bouquet
The “greenery collar” or initial few stems form the structural foundation and shape of your bouquet. This is where you establish the overall size.
Choose your core greenery. Select 3-5 sturdy pieces of greenery or filler flowers to create a base. Think about the desired shape – round, cascading, or asymmetrical.
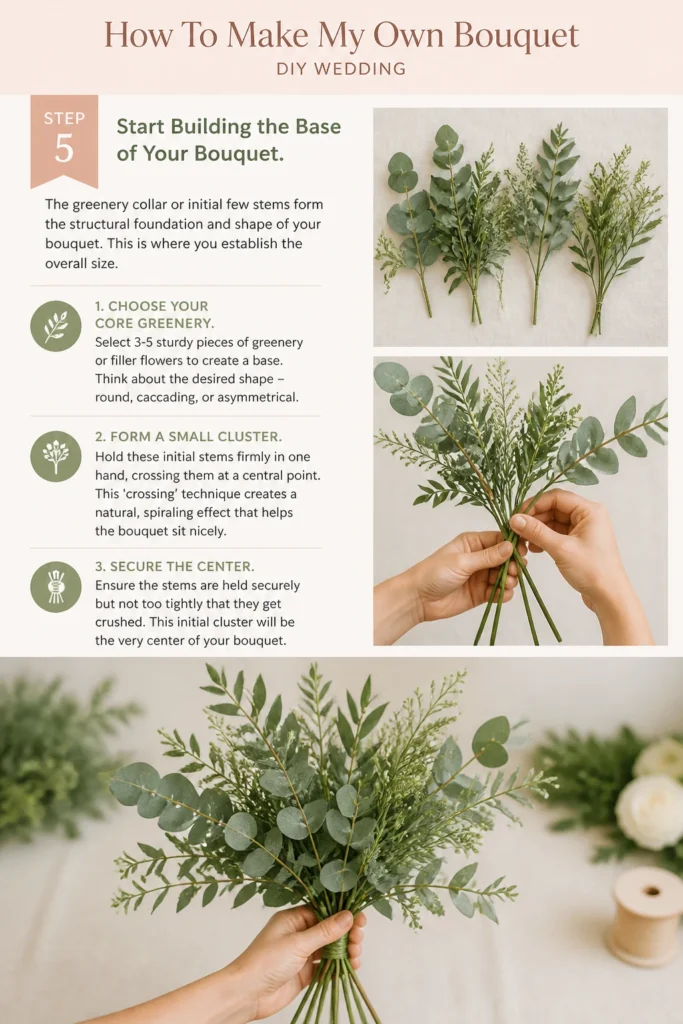
Form a small cluster. Hold these initial stems firmly in one hand, crossing them at a central point. This ‘crossing’ technique creates a natural, spiraling effect that helps the bouquet sit nicely.
Ensure the stems are held securely but not too tightly that they get crushed. This initial cluster will be the very center of your bouquet.
Step 6: Add Focal Flowers and Secondary Blooms
Now, introduce your main stars and supporting actors. This step brings the bouquet to life with color and distinct shapes.
Incorporate focal flowers. Add your largest, most prominent flowers around the greenery base. Place them strategically to create balance and draw the eye.
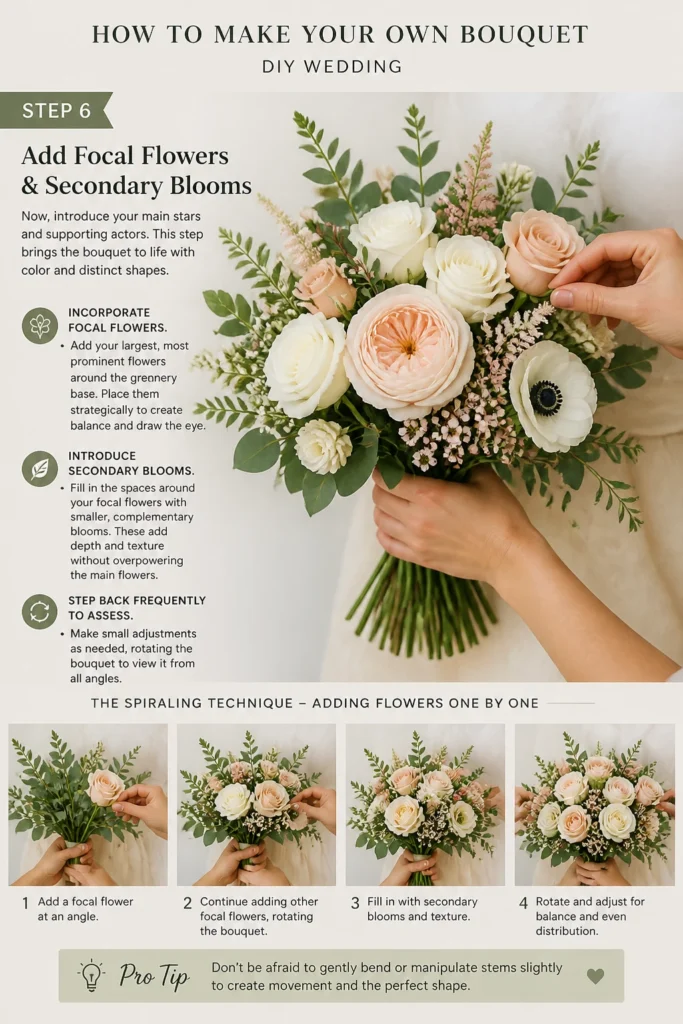
Continue using the spiraling technique, adding stems one by one, turning the bouquet as you go. This ensures an even distribution of flowers.
Introduce secondary blooms. Fill in the spaces around your focal flowers with smaller, complementary blooms. These add depth and texture without overpowering the main flowers.
Step back frequently to assess the shape and balance. Make small adjustments as needed, rotating the bouquet to view it from all angles.
Pro Tip: Don’t be afraid to gently bend or manipulate stems slightly to achieve the desired angle. Some flowers naturally want to face a certain direction; work with them.
Step 7: Fill with Texture and Greenery
This stage adds visual interest, fills gaps, and provides a lush, finished look. Texture is just as important as color.
Add filler flowers. Incorporate smaller, delicate flowers like baby’s breath, waxflower, or limonium. These create a soft, airy feel and bridge gaps between larger blooms.
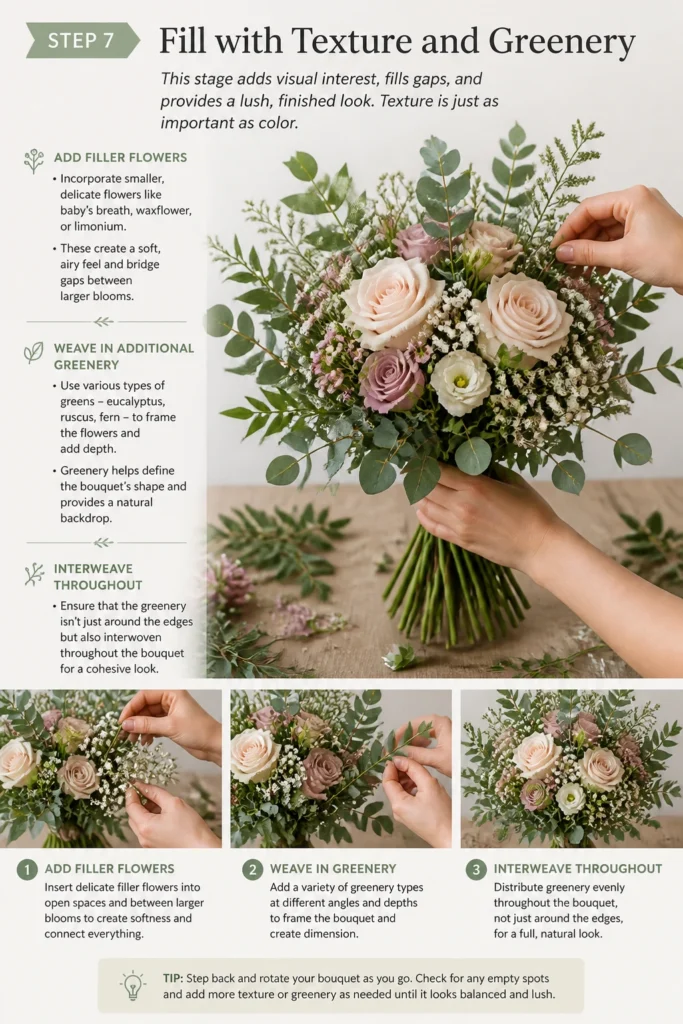
Weave in additional greenery. Use various types of greens – eucalyptus, ruscus, fern – to frame the flowers and add depth. Greenery helps define the bouquet’s shape and provides a natural backdrop.
Ensure that the greenery isn’t just around the edges but also interwoven throughout the bouquet for a cohesive look.
Step 8: Secure the Stems with Floral Tape
Once you are happy with the arrangement, it’s time to make it permanent. This step is critical for stability.
Hold the bouquet firmly. With one hand, grip all the stems tightly at the point where they naturally cross. This is the “binding point.”
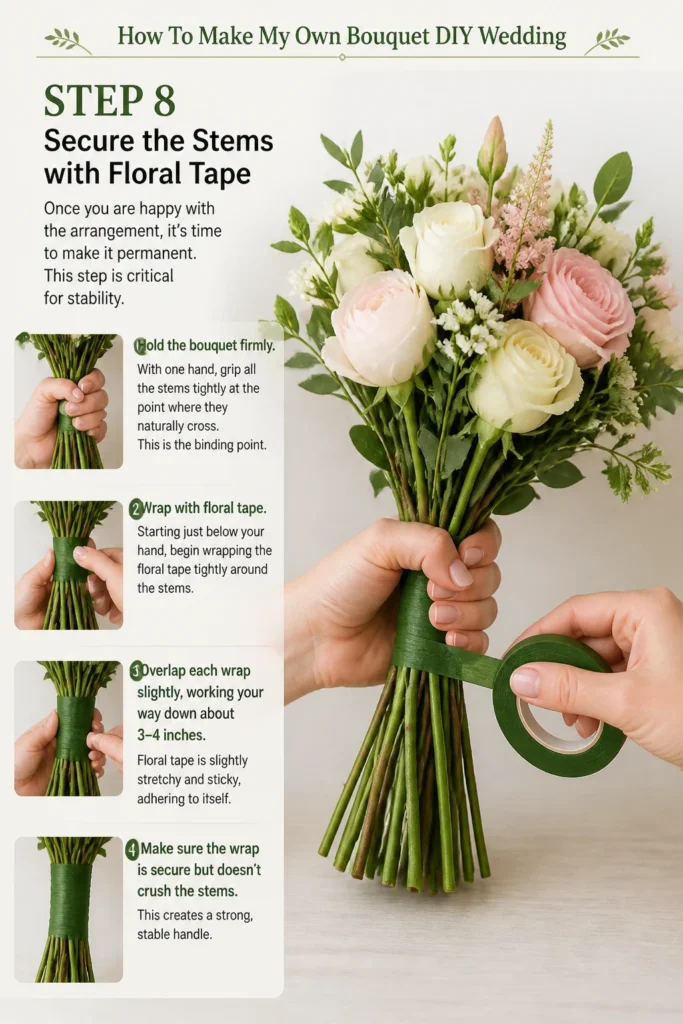
Wrap with floral tape. Starting just below your hand, begin wrapping the floral tape tightly around the stems. Overlap each wrap slightly, working your way down about 3-4 inches.
Floral tape is slightly stretchy and sticky, adhering to itself. Make sure the wrap is secure but doesn’t crush the stems. This creates a strong, stable handle.
Step 9: Trim Stems and Add Ribbon
The final touches involve making the handle neat and adding a decorative finish. This completes the bouquet’s look.
Trim the stems to desired length. Once taped, hold the bouquet up to yourself and decide on the ideal stem length for comfortable holding. Use your sharp shears to cut all stems evenly.
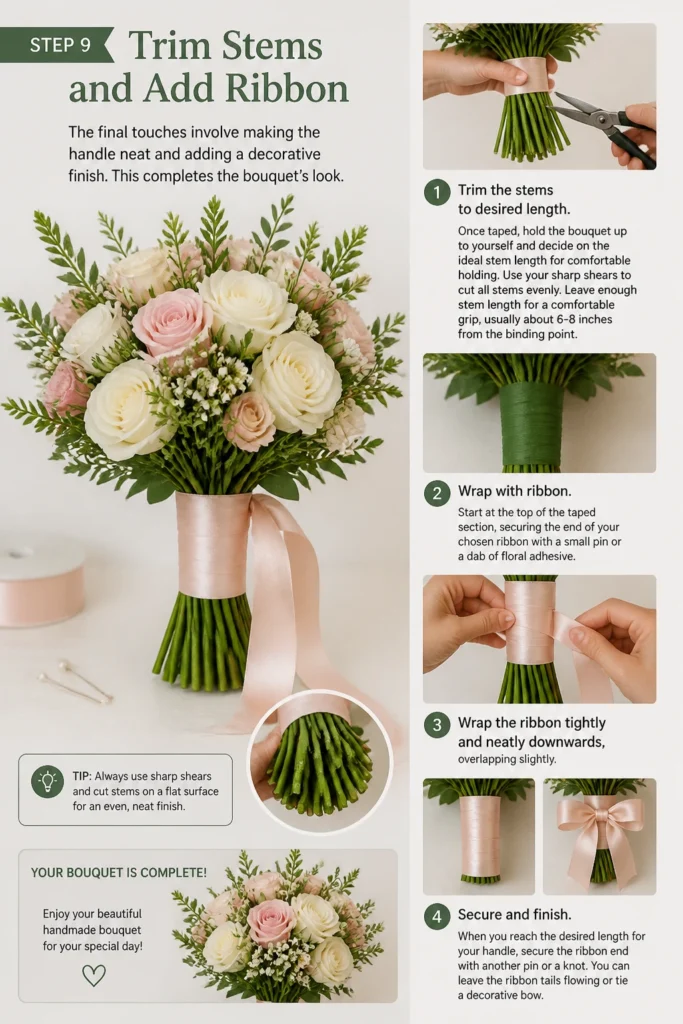
Leave enough stem length for a comfortable grip, usually about 6-8 inches from the binding point.
Wrap with ribbon. Start at the top of the taped section, securing the end of your chosen ribbon with a small pin or a dab of floral adhesive. Wrap the ribbon tightly and neatly downwards, overlapping slightly.
When you reach the desired length for your handle, secure the ribbon end with another pin or a knot. You can leave the ribbon tails flowing or tie a decorative bow.
Step 10: Store Your Finished Bouquet
Proper storage ensures your bouquet remains fresh and beautiful until your wedding moment. This final step protects your hard work.
Mist the bouquet lightly. Use a fine mist of water on the flower heads. Avoid saturating them, especially delicate blooms.
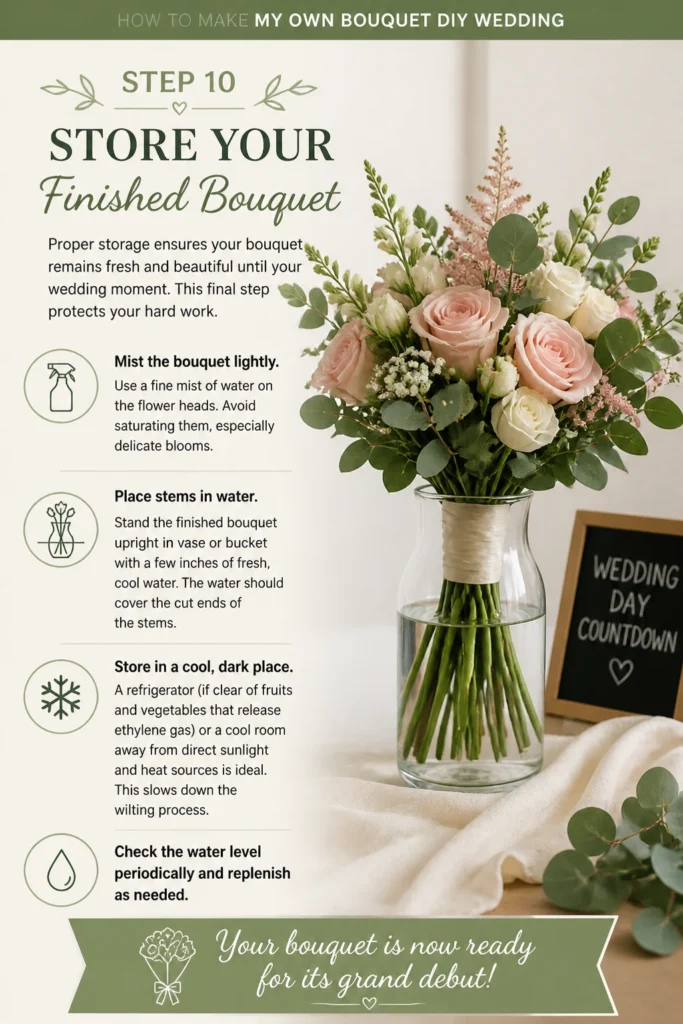
Place stems in water. Stand the finished bouquet upright in a vase or bucket with a few inches of fresh, cool water. The water should cover the cut ends of the stems.
Store in a cool, dark place. A refrigerator (if clear of fruits and vegetables that release ethylene gas) or a cool room away from direct sunlight and heat sources is ideal. This slows down the wilting process.
Check the water level periodically and replenish as needed. Your bouquet is now ready for its grand debut!
Common Mistakes to Avoid
Over-stuffing the Bouquet
A common mistake is trying to fit too many flowers into one bouquet. This can make the bouquet look dense, heavy, and lose its individual flower beauty. It also makes it harder to hold and can damage delicate blooms.
Instead, aim for a balanced, airy feel. Allow space for each flower to shine, and use filler flowers and greenery to create volume and texture, not just more focal blooms. Less can often be more impactful.
Not Conditioning Flowers Properly
Skipping or rushing the conditioning process can lead to wilted flowers on your wedding day. Flowers need ample time to drink water after their journey. Without proper hydration, they will droop quickly.
Always trim stems at an angle and remove all submerged foliage. Give your flowers at least 4-6 hours, or even better, overnight, to rehydrate in cool water. This step is non-negotiable for a fresh, vibrant bouquet.
Using Dull Shears
Dull scissors or shears crush flower stems instead of making a clean cut. Crushed stems cannot absorb water efficiently, leading to premature wilting. This undermines all your conditioning efforts.
Invest in a good pair of sharp floral shears or a very sharp knife. Make clean, precise cuts every time. This ensures the vascular system of the flower remains open, allowing for maximum water uptake.
Taping Too Loosely or Too Tightly
If you tape the stems too loosely, the bouquet will fall apart, and flowers will shift. If you tape too tightly, you risk crushing the delicate stems, cutting off their water supply, and causing damage.
Aim for a firm, secure wrap that holds everything in place without causing indentations or visible damage to the stems. The tape should feel snug and stable. Practice on a few loose stems first if you are unsure.
Troubleshooting
Bouquet Feels Unbalanced or Lopsided
If your bouquet feels heavier on one side or looks uneven, it’s usually due to an unequal distribution of flowers or greenery. This often happens when you focus too much on one side during assembly.
Gently untape the stems if necessary. Re-evaluate the placement of your heaviest blooms and greens. Add smaller filler flowers or pieces of greenery to the lighter side to balance the weight and visual appeal. Remember to turn the bouquet frequently as you build it.
Flowers Are Wilting Prematurely
Premature wilting is almost always a sign of insufficient water uptake or improper storage. This can be heartbreaking after all your hard work.
Check if stems were cut cleanly and if any leaves are submerged in water. Re-cut stems at an angle and place them back in fresh, cool water. If the bouquet is already assembled, ensure the handle is not too tight and the trimmed ends are submerged in water during storage. Store in the coolest possible spot.
Stems Are Too Short to Hold Comfortably
Cutting the stems too short can make the bouquet awkward to hold, especially for extended periods. It also limits the amount of water the flowers can absorb.
Unfortunately, once stems are cut, they cannot be lengthened. For future reference, always err on the side of cutting stems a bit longer than you think you need. You can always trim more, but you can’t add back. If it’s a critical issue, you might need to use floral wire to create extensions for some stems, but this is a more advanced technique.
Key Takeaways
- Thorough planning and flower selection set the foundation for a beautiful, cohesive bouquet.
- Proper flower conditioning, including trimming and hydrating, is vital for bloom longevity.
- Building the bouquet in layers, starting with a green base and spiraling stems, ensures a balanced shape.
- Securely taping the binding point is essential for the bouquet’s structural integrity.
- Careful trimming of stems and elegant ribbon wrapping provide a professional, finished look.
- Correct storage in a cool, dark place with water keeps your DIY wedding bouquet fresh until the big day.
Frequently Asked Questions
How far in advance can I make my wedding bouquet?
It’s best to assemble your bouquet no more than 1-2 days before your wedding. Flowers are perishable, and even with proper conditioning and storage, they look their absolute best when freshly arranged.
What if I make a mistake while assembling?
Don’t panic! Floral design is forgiving. If you’re early in the process, you can often remove and re-position stems. If you’ve already taped, you might need to carefully untape, make adjustments, and re-tape. Practice makes perfect, so consider a trial run.
Can I use artificial flowers for my DIY bouquet?
Absolutely! Using high-quality artificial or “real touch” flowers can eliminate the stress of conditioning and wilting. This allows you to assemble the bouquet weeks or even months in advance, and it becomes a lasting keepsake. The assembly steps remain similar.
Do I need to wire every flower stem?
No, you typically don’t need to wire every stem. Wiring is usually reserved for very delicate flowers with weak stems, to provide extra support, or for manipulating a flower’s position more precisely. Stronger-stemmed flowers can be used as is.
Our Top Recommended Finds
- Sharp Floral Shears: Essential for clean cuts that allow flowers to drink water effectively. Look for a comfortable, ergonomic grip.
- Green Floral Tape: This self-adhering, slightly stretchy tape is indispensable for creating a secure binding point for your bouquet.
- Quality Satin Ribbon: A beautiful ribbon not only conceals the tape but adds a touch of elegance and complements your wedding theme.
Your Beautiful Bouquet Awaits
Crafting your own wedding bouquet is more than just a task; it’s an act of love and creativity. You’re not just making a floral arrangement; you’re weaving your personal story into one of the most significant details of your day. The pride you’ll feel carrying a bouquet made by your own hands is truly unmatched.
Now that you have the steps, the tips, and the confidence, imagine the joy of seeing your vision come to life. Consider exploring different flower types and color combinations for bridesmaids’ bouquets or boutonnieres next. Start planning your floral journey today and embrace the beauty of a handmade wedding.