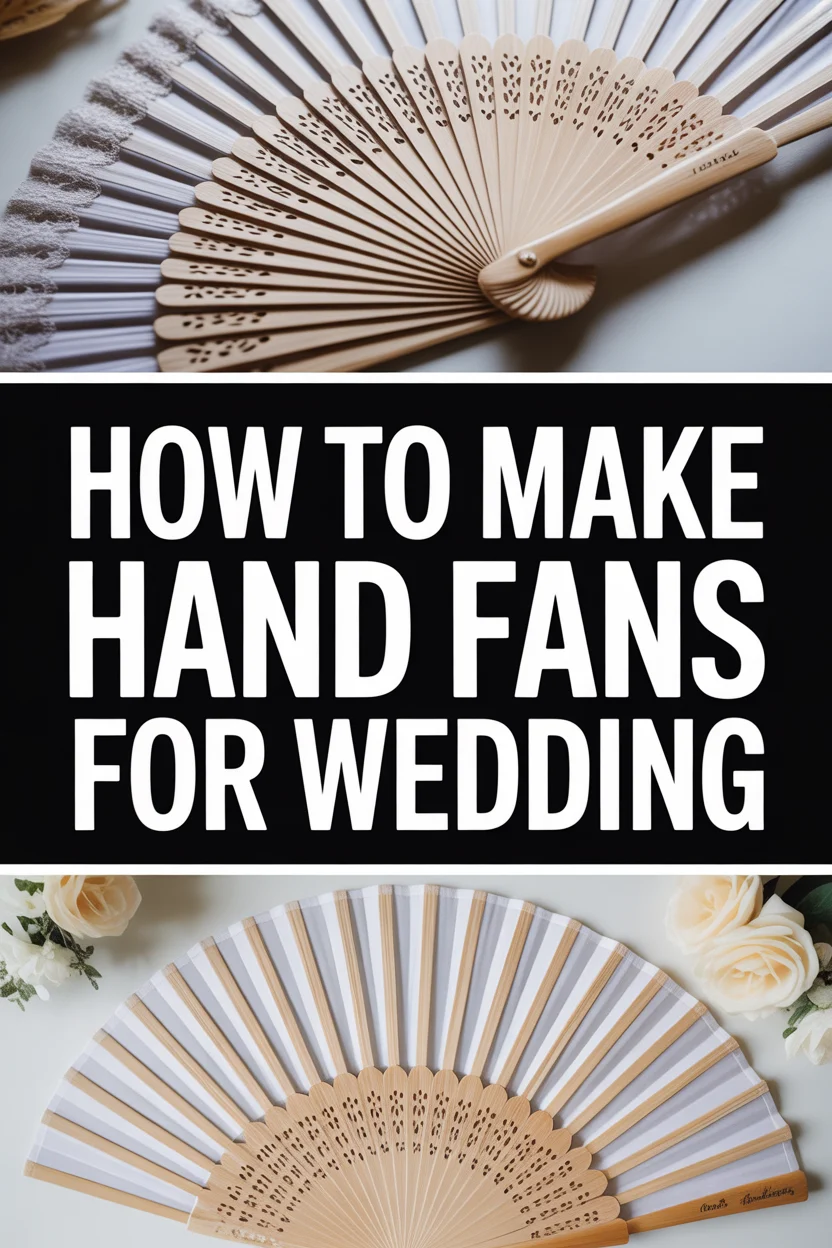
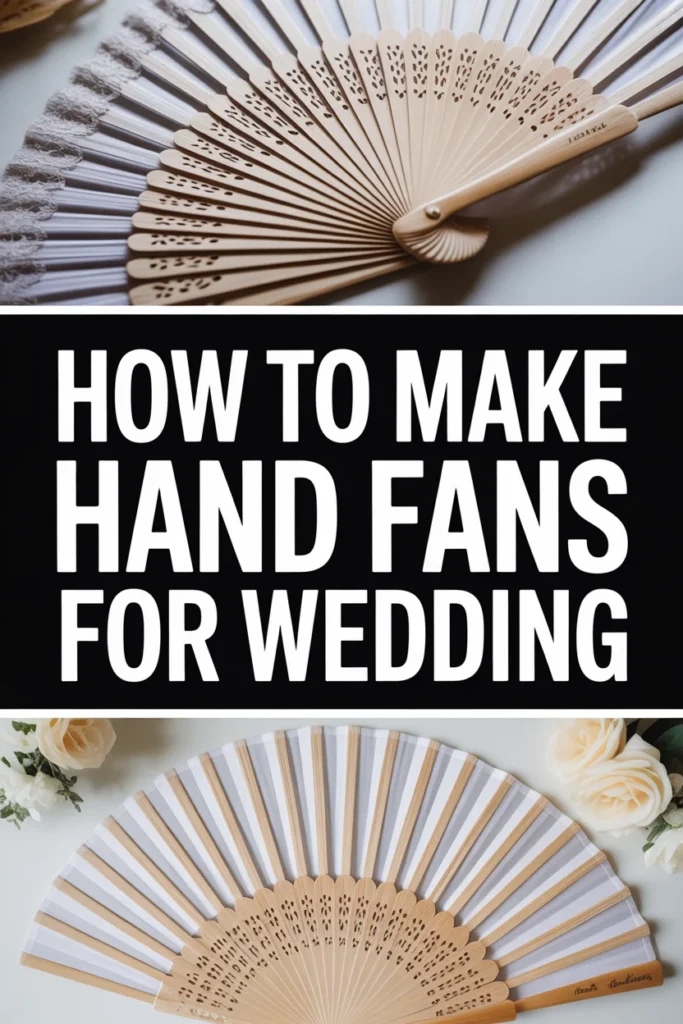
🌸 How To Make Hand Fans For Wedding

Wedding Planning
No fluff, no drama. Just easy weekly advice, planning shortcuts, and gentle reminders to help you actually enjoy your engagement.
Crafting personalized hand fans for your wedding adds such a unique, thoughtful touch. I remember making these for my sister’s outdoor summer wedding, and they were an absolute lifesaver for guests. This guide will walk you through every practical detail, ensuring your DIY fans are both beautiful and functional.
You’ll soon discover how simple it is to create something truly special for your big day.
Quick Overview
This guide will empower you to create elegant, custom hand fans, perfect for keeping your wedding guests comfortable and adding a touch of personalized charm. You’ll learn everything from selecting materials to final embellishments.
- Time needed: 4-8 hours for a batch of 20-30 fans (plus drying time), depending on complexity.
- Difficulty: Beginner to Intermediate.
- What you’ll need: Sturdy paper, fan handles/sticks, strong adhesive, scissors/cutter, and decorative elements.
Step-by-Step Instructions
Step 1: Gather Your Materials
Before you begin, ensure you have all your supplies ready and organized. This prevents interruptions and makes the process much smoother. Think about your wedding theme and color palette when selecting materials.
- Choose your paper: Opt for heavy cardstock (100-120lb or 250-300gsm) or even thin wood veneer sheets for durability. Consider patterned, textured, or metallic papers that match your wedding aesthetic.
- Select fan handles: Wooden craft sticks (popsicle sticks), bamboo skewers (with blunt ends), or even custom-cut acrylic handles work well. Ensure they are sturdy enough to hold the fan’s weight.
- Acquire strong adhesive: A fast-drying, clear-drying craft glue, hot glue gun (low temp recommended for paper), or strong double-sided tape are essential. Test your chosen adhesive on a scrap piece first.
- Prepare cutting tools: Sharp craft scissors, a craft knife, or a cutting machine (like Cricut or Silhouette) will be needed for precise shapes.
- Collect decorative elements: Ribbons, lace, glitter, small charms, personalized stickers, or stamps can elevate your fan’s design.
Pro Tip: Purchase a few extra sheets of paper and sticks than you think you’ll need. This allows for practice cuts or unexpected mistakes without delaying your project.
Step 2: Design Your Fan Template
A well-designed template is the foundation of a professional-looking fan. Decide on your desired fan shape and size for optimal comfort and aesthetics.
- Determine the shape: Common shapes include a simple paddle, a heart, a circle, or a more intricate scalloped edge. Consider how well the shape will hold up and provide air movement.
- Decide on size: A good size is typically 6-8 inches (15-20 cm) wide and tall for the main fan blade. This is comfortable to hold and effective for fanning.
- Create a physical template: Sketch your desired shape onto a piece of cardstock or printer paper. Cut it out carefully to use as your master guide.
- Incorporate text or graphics: If you want to add your wedding monogram, date, or a thank you message, design this now. You can print directly onto your chosen paper or use stamps/stickers later.
Step 3: Cut Your Fan Shapes
Precision in cutting is key to a polished final product. Take your time with this step, especially if you’re making many fans.
- Trace your template: Lay your master template onto your chosen paper. Use a pencil to lightly trace around the edges. For efficiency, you can often stack several sheets of paper and cut them simultaneously, if your tools allow.
- Cut out the shapes: Using sharp scissors or a craft knife, carefully cut along your traced lines. If using a craft knife, always use a self-healing cutting mat underneath.
- Utilize a cutting machine: For intricate designs or large quantities, a digital cutting machine is invaluable. Load your design and let the machine do the precise cutting.
- Deburr edges (if necessary): If using wood veneer or thicker cardstock, sometimes the edges might be slightly rough. Gently sand them with very fine-grit sandpaper or run a fingernail along the edge to smooth.
Step 4: Prepare Your Fan Handles
The handle needs to be clean, smooth, and ready for attachment. This step ensures a secure and comfortable grip for your guests.
- Select appropriate length: Standard craft sticks are often sufficient. If using bamboo skewers, cut them to a desired length, usually 5-6 inches (12-15 cm).
- Smooth edges: If cutting skewers, sand down any sharp edges or splinters for safety and comfort. You can also round the ends slightly.
- Consider decoration: You might want to paint the handles to match your wedding colors, wrap them in ribbon, or leave them natural. If painting, allow ample drying time before proceeding.
- Clean the surface: Ensure the area where the fan blade will attach is free of dust or oils, which can compromise adhesive strength. A quick wipe with a clean cloth is usually enough.
Step 5: Assemble the Fan Body
This step involves creating the double-sided fan blade, which adds strength and a finished look. You’ll be attaching two cut shapes together.
- Apply adhesive to one fan shape: Lay one of your cut fan shapes face down. Apply a thin, even layer of your chosen adhesive (craft glue, hot glue, or double-sided tape) to the entire back surface. Pay special attention to the edges.
- Align the second fan shape: Carefully place the second matching fan shape directly on top of the first, ensuring all edges align perfectly. Take your time to get this right.
- Press firmly: Once aligned, press down firmly across the entire surface of the fan blade. Use a brayer or a clean, flat object to smooth out any air bubbles and ensure good adhesion.
- Wipe away excess glue: If any glue oozes out from the edges, gently wipe it away immediately with a damp cloth or cotton swab before it dries.
- Allow to dry: Let the assembled fan blade dry completely according to your adhesive’s instructions. This is crucial for durability.
Pro Tip: For perfect alignment, use a light box or hold the two pieces up to a window. This allows you to see through the top layer and align it precisely with the bottom.
Step 6: Attach the Handle
Now it’s time to connect the handle to the fan blade. This needs to be a very strong bond to ensure the fan is functional.
- Mark the attachment point: On the back of your assembled fan blade, lightly mark where the handle will be placed. Usually, this is centered at the bottom edge, extending about 1-2 inches (2.5-5 cm) onto the fan blade itself.
- Apply adhesive to the handle: Spread a generous amount of strong adhesive along the portion of the handle that will be attached to the fan blade. Alternatively, apply adhesive directly to the marked area on the fan blade.
- Position the handle: Carefully place the handle onto the marked area on the fan blade, ensuring it’s straight and centered.
- Press and secure: Press the handle firmly onto the fan blade. If using hot glue, hold it in place for a few seconds until set. For craft glue, you might need to clamp it or place a heavy object on top while it dries.
- Reinforce (optional): For extra strength, you can add a small piece of matching paper or ribbon over the handle attachment point on the back of the fan. This acts as a decorative cover and adds stability.
Step 7: Embellish and Personalize
This is where your fans truly come to life and reflect your wedding style. Let your creativity shine!
- Add printed details: If you didn’t print directly onto the paper, now is the time to apply stickers, stamps, or small printed labels with your monogram, wedding date, or a heartfelt thank you.
- Apply decorative accents: Glue on lace, ribbons, sequins, or small charms. You can tie a small bow around the base of the handle or along the edge of the fan blade.
- Consider glitter or metallic pens: A touch of glitter glue along the edges or metallic pen accents can add sparkle and sophistication.
- Hand-letter details: For a truly personal touch, hand-letter guest names or a short message on each fan if you have good penmanship.
Step 8: Quality Check and Store
A final review ensures every fan is perfect for your special day. Proper storage will protect your hard work.
- Inspect each fan: Check for secure handle attachment, clean edges, and proper adhesion of all decorative elements. Make sure there are no smudges or loose pieces.
- Test functionality: Gently fan yourself with each one to ensure it feels sturdy and provides a good breeze.
- Trim excess: Carefully trim any visible glue strings or uneven edges that might have been missed earlier.
- Store properly: Once completely dry, stack your fans carefully in a sturdy box. Lay them flat or stand them upright in a way that prevents bending or damage to the decorations. Keep them in a cool, dry place away from direct sunlight until the wedding day.
Common Mistakes to Avoid
Incorrect Adhesive Choice
Using the wrong type of glue can lead to flimsy fans or handles detaching easily. School glue or weak craft glues often don’t provide the necessary bond for cardstock and wood. Always opt for a strong, fast-drying adhesive specifically designed for paper and wood, like a good quality craft glue or a low-temp hot glue gun. Test your adhesive on scraps before committing to your final pieces.
Rushing the Drying Process
Impatience can be the enemy of a well-made fan. Pulling or using a fan before the adhesive is fully cured will weaken the bond, causing parts to separate. Always allow ample drying time as recommended by the glue manufacturer. If you’re making many fans, work in batches and let each stage dry completely before moving on to the next.
Over-Embellishment
While personalization is wonderful, too many heavy embellishments can weigh down the fan, making it less effective or even fragile. Avoid attaching large, bulky items to the fan blade. Choose lightweight decorations like thin ribbons, small charms, or flat glitter. The fan’s primary purpose is to provide air, so keep it balanced and functional.
Troubleshooting
Fan Feels Flimsy
If your finished fan feels less sturdy than desired, the paper might be too thin or the adhesive wasn’t applied evenly. For future fans, use heavier cardstock (100lb/270gsm or more). To fix existing flimsy fans, you can try carefully adding a thin layer of clear-drying sealant or spray adhesive to the entire fan blade for added rigidity, ensuring it’s applied evenly and doesn’t warp the paper.
Handles Detach Easily
This is almost always due to insufficient adhesive or not allowing enough drying time. If a handle comes loose, carefully reapply a generous amount of strong craft glue or hot glue to the attachment area. Press firmly and hold it in place for several minutes, then let it cure completely, preferably overnight. For added security, you can reinforce the joint with a small strip of strong double-sided tape or a decorative ribbon wrapped around the base.
Uneven Fan Shape
An uneven fan shape can result from imprecise cutting or misaligned layers. If the misalignment is minor, you can carefully trim the edges with sharp scissors or a craft knife after the glue has dried. For significant unevenness, it might be best to use that fan as a practice piece and recut new ones, paying extra attention to tracing and cutting precisely in the future. Using a digital cutting machine can eliminate this issue entirely.
Key Takeaways
- Choose high-quality materials: Sturdy cardstock and strong adhesive are crucial for durable fans.
- Precision is paramount: Take your time with cutting and aligning for a professional finish.
- Allow ample drying time: Rushing the process compromises the fan’s integrity.
- Keep it balanced: Design and embellish fans to be both beautiful and functional.
- Personalize thoughtfully: Add touches that reflect your wedding theme without overdoing it.
- Store carefully: Protect your finished fans from damage until your wedding day.
Frequently Asked Questions
How many fans can I make in a day?
The number of fans you can make in a day largely depends on the complexity of your design and your chosen method of cutting. If you’re hand-cutting and doing intricate embellishments, you might comfortably complete 10-15 fans. With a cutting machine and a streamlined assembly line, you could easily make 30-50 fans or more in a focused day, not including drying time.
What’s the best paper for durability?
For optimal durability, heavy cardstock is your best bet. Look for paper in the 100-120 lb (270-325 gsm) range. This weight provides excellent rigidity and holds up well to fanning without easily bending or tearing. You can also consider thin wood veneer sheets for a very robust and unique fan, though they might be harder to cut and more expensive.
Can I make these fans foldable?
While it’s possible to make foldable fans, it requires a different construction method involving pleating paper and securing it to a pivot point on a frame. This guide focuses on the simpler, paddle-style hand fan, which is generally easier for DIY beginners and quicker to produce in bulk. If you’re set on foldable fans, you’ll need specialized supplies like fan staves and pivot pins.
How far in advance should I make them?
It’s a great idea to make your wedding hand fans well in advance, giving yourself plenty of time without stress. Aim to complete them at least 1-2 months before the wedding. This allows for any unexpected issues, reordering supplies, or simply taking breaks. Once completed and properly stored, they will last perfectly until your big day.
Our Top Recommended Finds
- Heavy Cardstock Assortment: Look for a mixed pack of 100-120lb cardstock in your wedding colors. This provides variety and ensures durability.
- Craft Sticks Bulk Pack: A large pack of wooden craft sticks (often called jumbo popsicle sticks) is economical and provides plenty of handles.
- E6000 Craft Adhesive: This industrial-strength adhesive is fantastic for a strong, lasting bond between paper, wood, and embellishments.
Crafting Your Perfect Wedding Keepsake
You now have all the tools and knowledge to create beautiful, practical hand fans for your wedding. Imagine your guests enjoying a refreshing breeze, holding a fan you crafted with love. These small details truly make a difference, adding a personal touch that will be remembered.
Don’t wait until the last minute. Gather your supplies this week and start creating these charming wedding essentials. Your guests (and your future self!) will thank you for the thoughtful effort.
Wedding Planning
No fluff, no drama. Just easy weekly advice, planning shortcuts, and gentle reminders to help you actually enjoy your engagement.