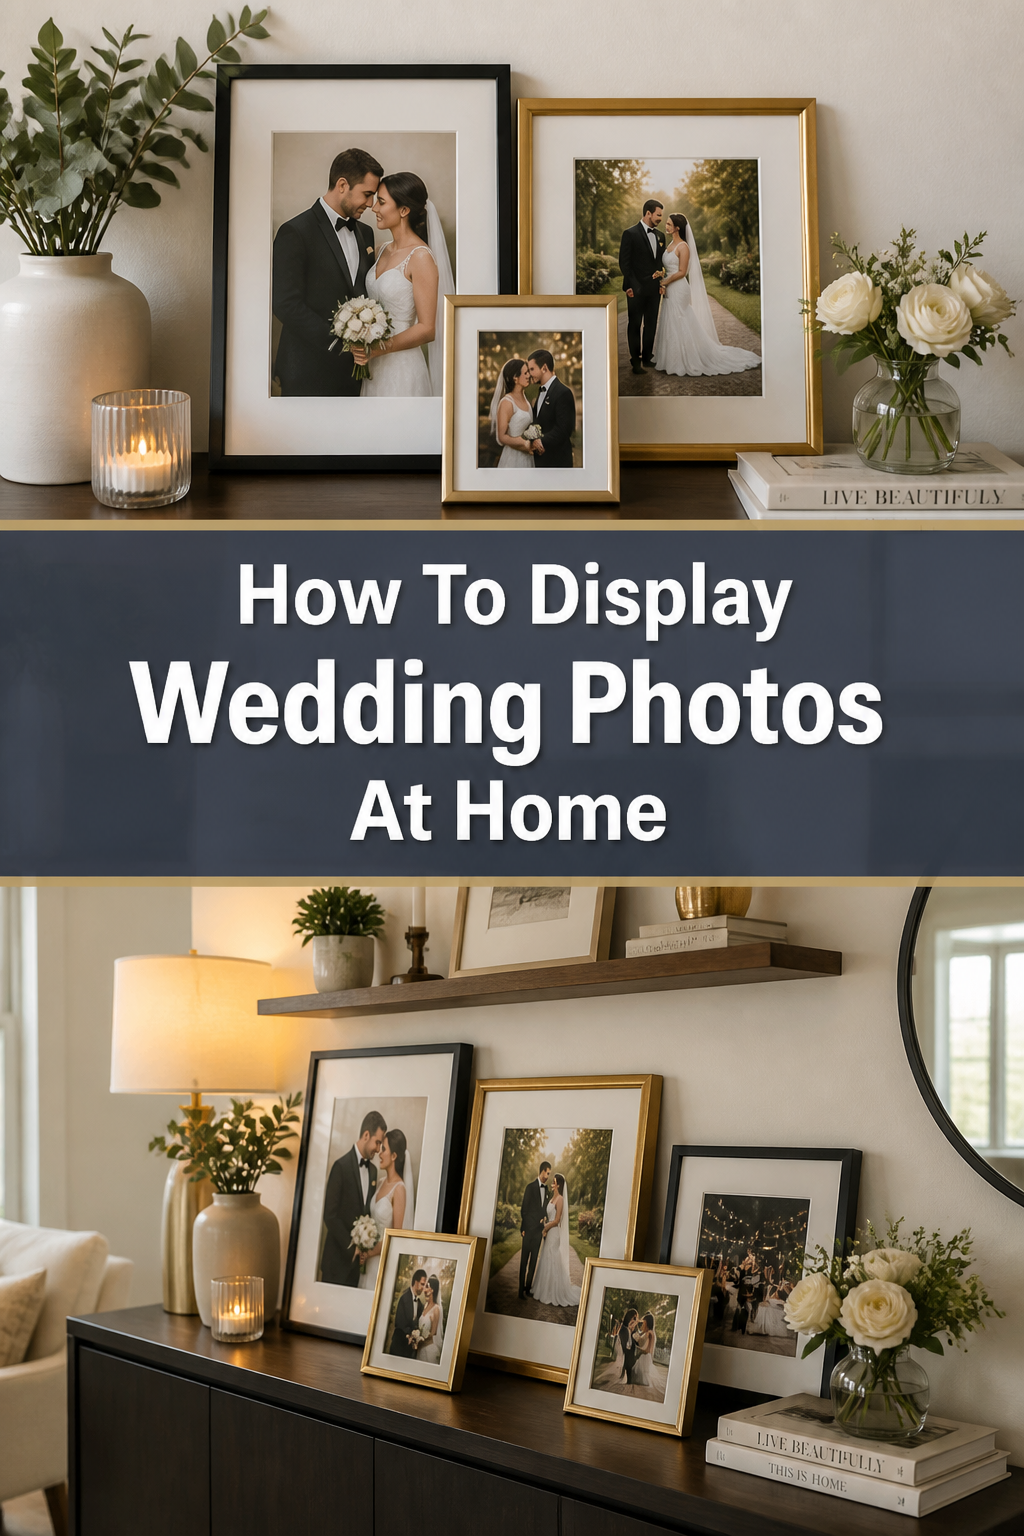
🔥 How To Display Wedding Photos At Home
Your wedding photos are more than just images; they are the visual heartbeat of your most cherished memories.
I remember the overwhelming feeling of looking at 800 high-resolution files and having no idea how to bring them into my physical living space without it feeling like a museum.
This guide draws from my years of interior styling experience to help you transform those digital files into a cohesive, stylish part of your home decor.
Quick Overview
Turning your wedding gallery into a home display is a rewarding project that bridges the gap between digital storage and daily inspiration.
- Time needed: 3 to 5 hours (spread over a few days for planning and installation)
- Difficulty: Intermediate
- What you’ll need: High-resolution photo prints, frames, measuring tape, painter’s tape, level, hammer or drill, and wall anchors.
Step-by-Step Instructions
Step 1: Curate Your Final Selection
Start by narrowing down your massive wedding gallery to a manageable “shortlist” of favorites.
Look for a mix of wide-angle shots that show the venue, intimate portraits of the two of you, and small detail shots like the flowers or rings.
Select photos that evoke a feeling rather than just those where everyone is looking perfectly at the camera.
Candid moments often make for the most timeless home decor because they feel less staged and more like a window into a real moment.
Pro Tip: Try to choose images that share a similar color palette or lighting style to ensure the final display feels unified rather than chaotic.
Step 2: Define Your Display Aesthetic
Decide whether you want a formal, symmetrical grid or a more relaxed, organic gallery wall.
A symmetrical grid works beautifully in modern or traditional homes, using identical frames and mats for a clean, sophisticated look.
An organic layout allows you to mix different frame sizes and even include other items like your framed wedding invitation or a dried flower from your bouquet.
Consider the existing vibe of your room so the photos complement your furniture and wall color rather than clashing with them.
Think about the “story” you want to tell, whether it is a chronological timeline or a collection of emotional highlights.
Step 3: Measure Your Wall Space
Take precise measurements of the wall area where you plan to hang the photos.
A common rule of thumb is to hang the center of your display at eye level, which is typically about 57 to 60 inches from the floor.
Account for furniture that might be sitting below the display, such as a sofa or a console table.
Leave at least 6 to 10 inches of breathing room between the top of your furniture and the bottom of the lowest frame.
If you are hanging photos above a staircase, you will need to follow the angle of the stairs to maintain a balanced look.
Step 4: Choose Frames and Matting
The frame you choose acts as the bridge between the photo and your room’s architecture.
Thin black or white frames offer a contemporary feel, while ornate gold or natural wood frames add warmth and a touch of vintage charm.
Use oversized mats to give your photos a professional, “gallery” appearance that draws the eye directly to the image.
Acid-free matting is essential to ensure your photos do not yellow or degrade over the years due to chemical reactions.
Consider non-glare glass or acrylic if the wall faces a window, as this prevents reflections from hiding your favorite shots.
Step 5: Create a Physical Mockup
Before you put a single hole in the wall, create templates of your frames using brown craft paper or newspaper.
Cut the paper to the exact size of each frame and label it so you know which photo goes where.
Use painter’s tape to stick these templates to the wall, moving them around until you find the perfect arrangement.
This allows you to step back and see how the scale of the photos works with the rest of the room without any permanent commitment.
Pro Tip: Take a photo of your paper mockup on your phone to reference later as you begin replacing the paper with actual frames.
Step 6: Prepare the Hardware
Different wall types require different hanging methods to ensure your precious photos stay secure.
For standard drywall, simple picture hooks are often enough for light frames, but heavier pieces will need plastic anchors or toggle bolts.
Check the back of your frames to see if they use wire, D-rings, or sawtooth hangers, as this will change where you place your nails.
If you are a renter or want to avoid holes, high-quality adhesive strips can work for smaller, lighter frames.
Make sure to weigh your frames beforehand to ensure the adhesive or hooks can actually support the load.
Step 7: Execute the Installation
Start with the central piece of your arrangement and work your way outward.
Use a level on top of every single frame to ensure nothing is tilted, even by a fraction of an inch.
Mark your nail spots directly onto the paper templates you taped up earlier, then nail right through the paper.
Once the nail is in, simply tear the paper away and hang your frame.
This method guarantees that your frames end up exactly where you planned them during the mockup stage.
Step 8: Incorporate Non-Wall Displays
Not every wedding photo needs to be hung on a wall; some look best on surfaces.
Consider a high-quality linen-bound wedding album placed on a coffee table or a dedicated bookshelf.
Use layered frames of different heights on a mantle or console table to create depth and visual interest.
Small “easel” style frames are perfect for nightstands or desks, providing a quiet daily reminder of your celebration.
Digital frames can also be a great secondary option for displaying the hundreds of “extra” photos that didn’t make the wall cut.
Common Mistakes to Avoid
Hanging Photos Too High
One of the most frequent errors is placing photos near the ceiling. This creates a disconnect between the art and the living space, making the room feel disjointed. Always aim for the “eye level” standard to keep the display grounded and engaging.
Ignoring the Lighting
Placing photos in direct sunlight will cause them to fade rapidly over time. If you have a bright room, invest in UV-protective glass. Conversely, a dark corner will hide the details of your photos, so consider adding a small picture light or a nearby lamp to highlight the display.
Inconsistent Spacing
When frames are spaced unevenly, the entire wall can feel cluttered or “off.” Use a spacer (like a small block of wood or a ruler) to ensure the distance between every frame is identical. Usually, two to three inches of space between frames is the sweet spot for most home galleries.
Using Low-Resolution Prints
Blowing up a low-resolution file for a large frame will result in a grainy, pixelated image. Always use the original high-resolution files provided by your photographer for any print larger than a 4×6. If you only have a social media version, keep the print size small to maintain clarity.
Troubleshooting
The Frames Keep Shifting
If your frames tilt every time a door slams or someone walks by, use small bits of adhesive putty or “bumper” pads on the bottom corners. This creates friction against the wall and keeps the frames perfectly level. It also protects your paint from scuffs and scratches.
The Layout Feels Too Crowded
If the wall feels heavy or overwhelming, try increasing the “white space” by using larger mats with smaller photos. This gives the eye a place to rest and makes the overall display feel more intentional and less like a collage. You can also try removing one or two frames to let the remaining ones breathe.
Colors Look Different in Print
Sometimes a photo looks great on a glowing phone screen but dull when printed on paper. This is often due to the “finish” of the paper. For wedding photos, a “lustre” or “pearl” finish is usually best because it offers the richness of glossy paper without the distracting shine and fingerprints.
Key Takeaways
- Curate with emotion: Choose a mix of portraits and candid moments that tell a complete story of your day.
- Plan before you plant: Use paper templates and painter’s tape to visualize the layout before making any holes in the wall.
- Consistency is key: Keep spacing uniform and choose a frame style that complements your existing home decor.
- Protect your investment: Use acid-free mats and UV-protective glass to ensure your photos last for decades.
- Vary the heights: Mix wall-mounted displays with tabletop frames and albums for a multi-dimensional look.
- Lighting matters: Ensure your display is well-lit but protected from the harsh, fading effects of direct afternoon sun.
Frequently Asked Questions
Should I use black and white or color photos?
This depends entirely on your home’s color scheme. Black and white photos offer a timeless, cohesive look that works in almost any room, especially if your wedding colors were very bright or clash with your furniture. Color photos are wonderful for adding vibrancy and warmth, particularly if your wedding had a specific palette you want to highlight.
Where is the best place in the house to display wedding photos?
The hallway, living room, and bedroom are the most popular choices. Hallways are great for “storytelling” galleries where people can linger and look at the details. Living rooms are ideal for one or two “statement” pieces, while the bedroom offers a more private, intimate space for your favorite romantic portraits.
How many photos is “too many” for one wall?
There is no hard rule, but balance is essential. For a large feature wall, a grid of 6 to 9 photos is common. If you have a smaller space, 3 frames in a row or a single large statement piece often looks more sophisticated than a dozen tiny frames. If you have a lot of photos you love, consider rotating them every year rather than trying to fit them all out at once.
Can I mix wedding photos with other family photos?
Yes, this is a beautiful way to show the growth of your family over time. To keep it looking intentional, try to use the same frame style or color for both the wedding photos and the newer family portraits. This creates a visual thread that ties the different life stages together into one cohesive story.
Our Top Recommended Finds
- Museum-Quality Gallery Frames: Look for frames that include pre-cut acid-free mats to give your photos that professional, elevated look instantly.
- Laser Level: This tool is a lifesaver for ensuring that a long row of frames is perfectly straight across a wall without having to guess.
- Linen-Bound Wedding Album: A high-quality physical album is a perfect companion to a wall display, allowing guests to see the photos that didn’t make it onto the wall.
Transform Your Space Today
Displaying your wedding photos is one of the fastest ways to make a house feel like a home. It turns a blank structure into a space filled with personal history and shared joy.
Once you have mastered the gallery wall, you might feel inspired to look at other areas of your home that need a personal touch. You could consider creating a travel-themed display or a heritage wall featuring photos of your parents and grandparents on their wedding days.
Don’t let those beautiful memories sit on a hard drive for another month. Pick your favorite five images tonight, order some prints, and start the process of surrounding yourself with the best day of your life.