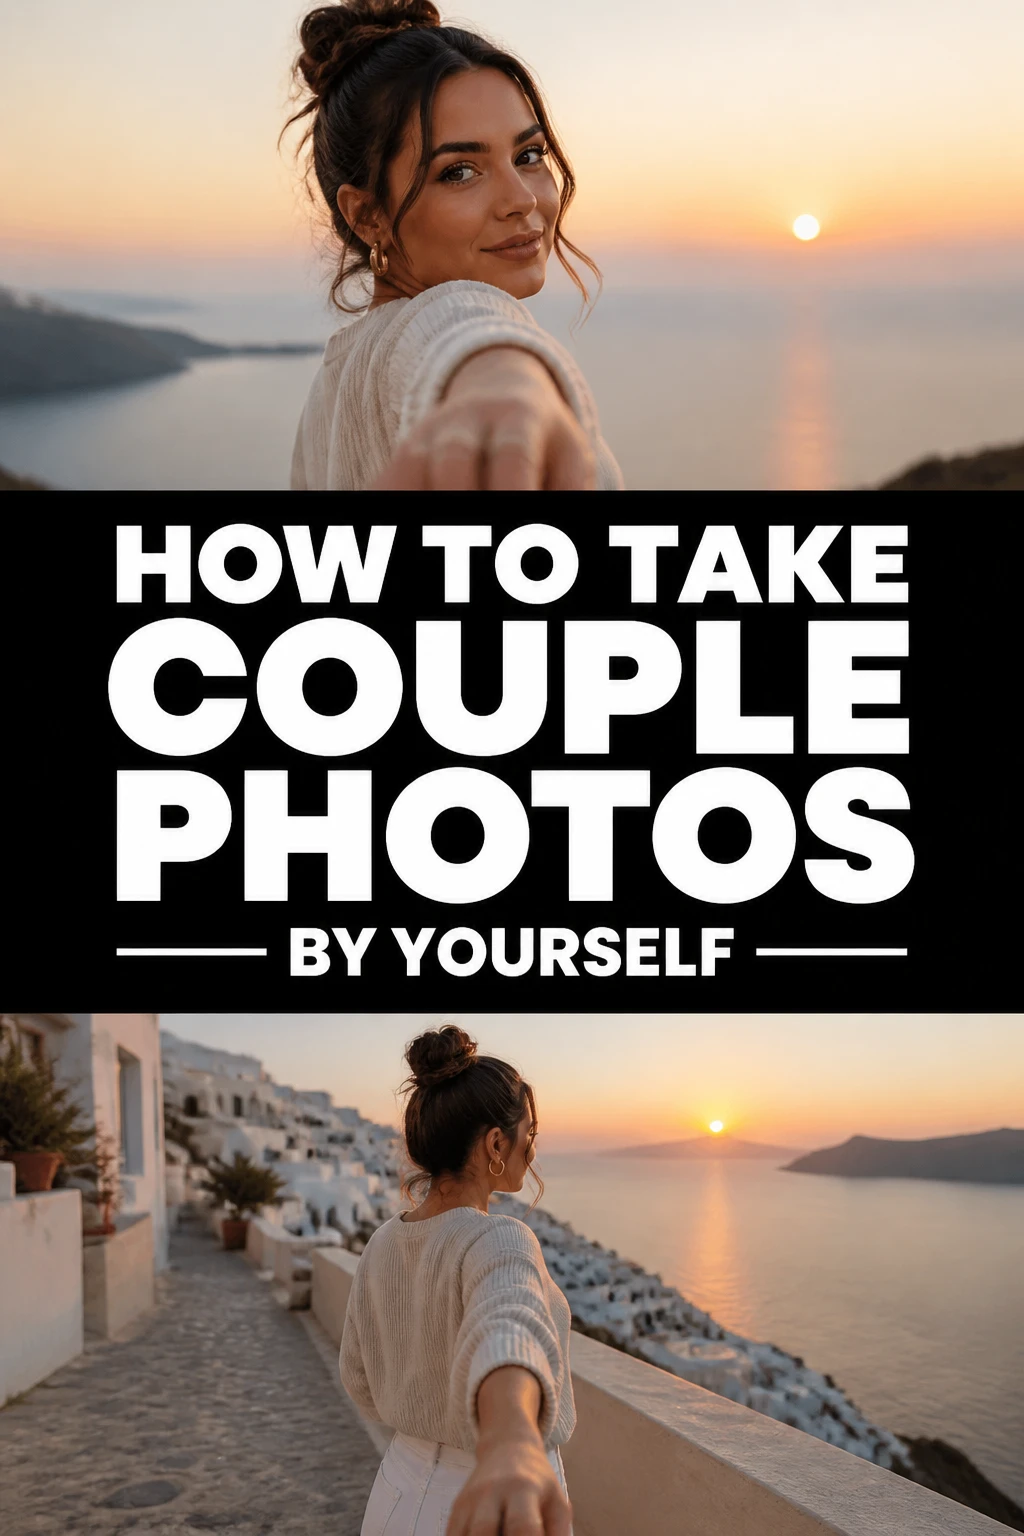
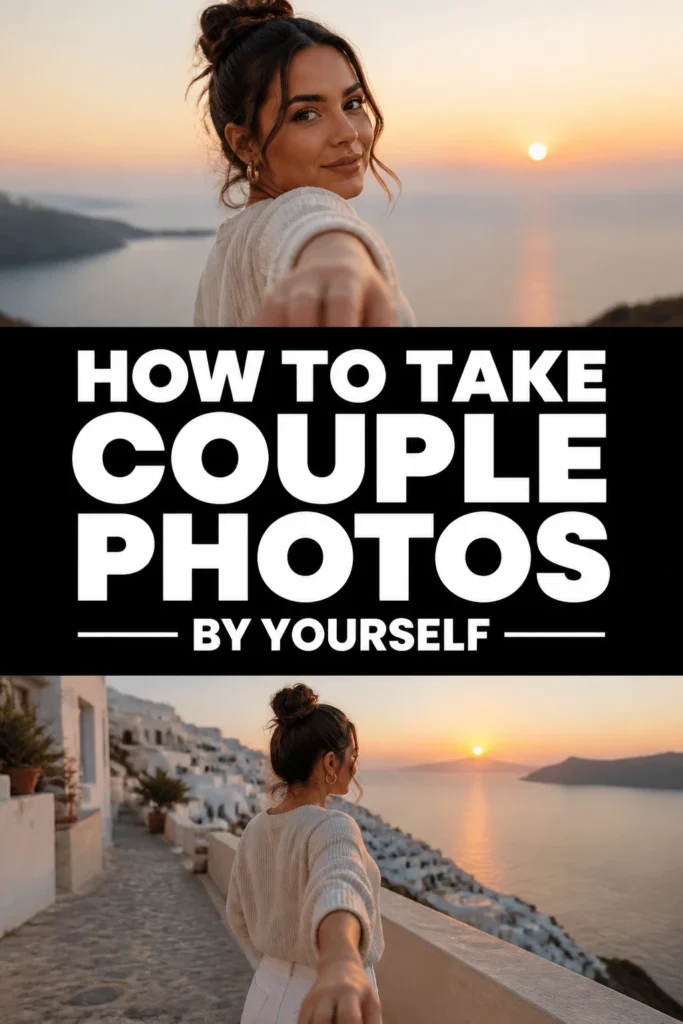
💡 How To Take Couple Photos By Yourself

Wedding Planning
No fluff, no drama. Just easy weekly advice, planning shortcuts, and gentle reminders to help you actually enjoy your engagement.
My partner and I cherish our shared memories. We discovered how simple it is to capture stunning couple photos, even without a third person. This guide shares all our best tips and tricks, honed through countless self-portraits.
You truly can create beautiful images that reflect your unique connection.
Get ready to transform your photo-taking game.
Quick Overview
This guide will empower you and your partner to capture professional-looking photos together, using just a few simple tools and techniques. You’ll learn how to plan, set up, pose, and troubleshoot for perfect results every time.
- Time needed: 45-90 minutes per photo session
- Difficulty: Beginner
- What you’ll need: Smartphone or camera, tripod, remote shutter, your partner
Step-by-Step Instructions
Step 1: Envision Your Perfect Shot
Before you even touch your camera, spend time talking with your partner. Discuss the kind of photos you both want to create. This initial brainstorm sets the stage for success.
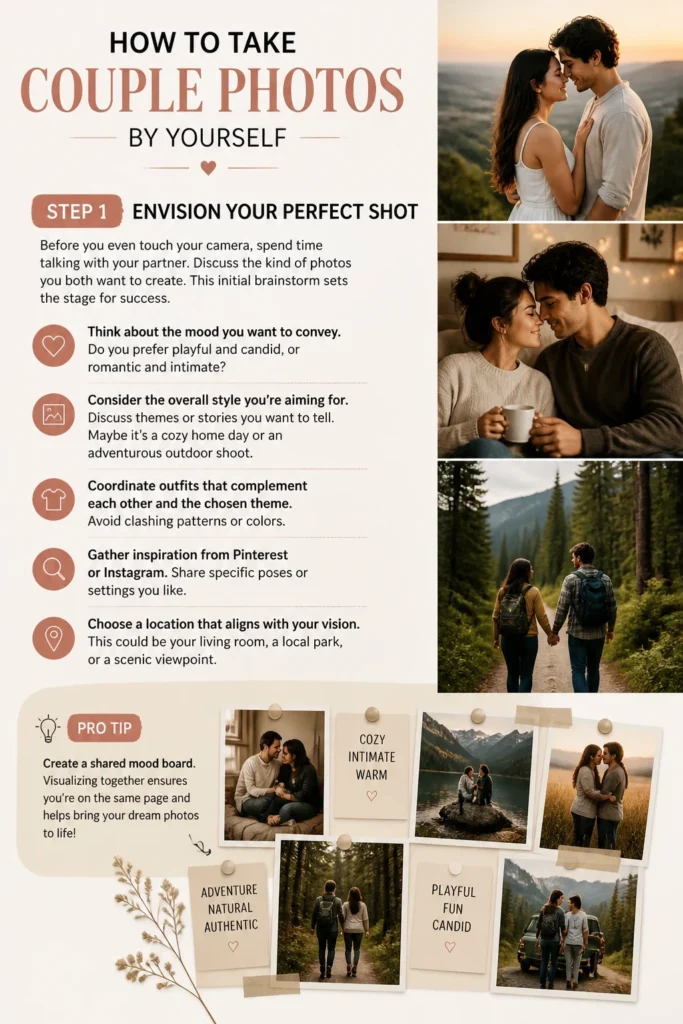
Think about the mood you want to convey. Do you prefer playful and candid, or romantic and intimate? Consider the overall style you’re aiming for.
- Discuss themes or stories you want to tell. Maybe it’s a cozy home day or an adventurous outdoor shoot.
- Coordinate outfits that complement each other and the chosen theme. Avoid clashing patterns or colors.
- Gather inspiration from Pinterest or Instagram. Share specific poses or settings you like.
- Choose a location that aligns with your vision. This could be your living room, a local park, or a scenic viewpoint.
Pro Tip: Create a shared mood board. Visualizing together ensures you’re both on the same page and excited about the shoot.
Step 2: Assemble Your Essential Gear
Having the right tools makes all the difference in achieving great self-portraits. You don’t need expensive equipment; often, your smartphone is enough. The key is stability and remote control.
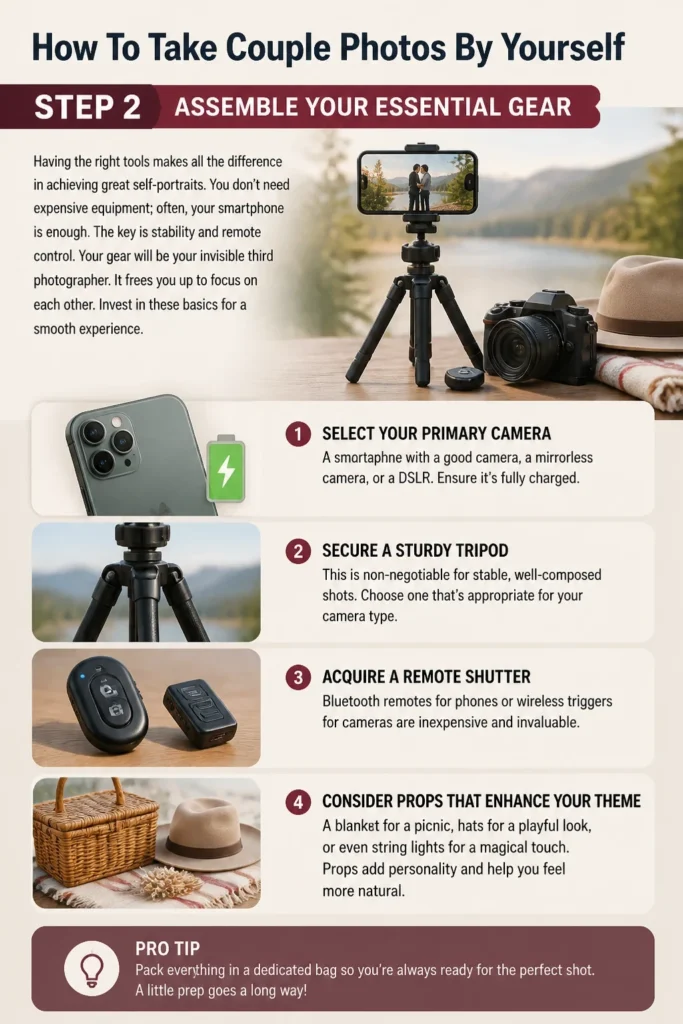
Your gear will be your invisible third photographer. It frees you up to focus on each other. Invest in these basics for a smooth experience.
- Select your primary camera: a smartphone with a good camera, a mirrorless camera, or a DSLR. Ensure it’s fully charged.
- Secure a sturdy tripod. This is non-negotiable for stable, well-composed shots. Choose one that’s appropriate for your camera type.
- Acquire a remote shutter. Bluetooth remotes for phones or wireless triggers for cameras are inexpensive and invaluable.
- Consider props that enhance your theme. A blanket for a picnic, hats for a playful look, or even coffee mugs for an indoor cozy feel.
- Pack a small bag with water, snacks, and any touch-up items like lip balm.
Step 3: Scout and Prepare Your Location
The background of your photo is just as important as the subjects. A well-chosen location adds depth and context to your couple portraits. Think about what will be in the frame.
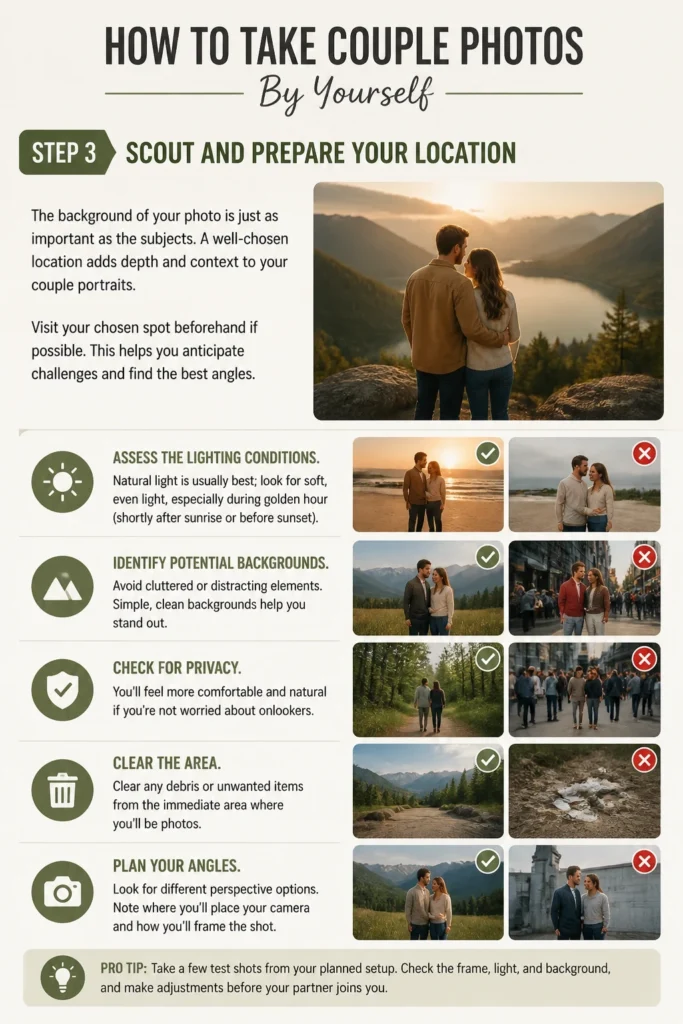
Visit your chosen spot beforehand if possible. This helps you anticipate challenges and find the best angles. Look for interesting textures, natural light, and privacy.
- Assess the lighting conditions. Natural light is usually best; look for soft, even light, especially during golden hour (shortly after sunrise or before sunset).
- Identify potential backgrounds. Avoid cluttered or distracting elements. Simple, clean backgrounds help you stand out.
- Check for privacy. You’ll feel more comfortable and natural if you’re not worried about onlookers.
- Clear any debris or unwanted items from the immediate area where you’ll be posing. A quick tidy-up makes a huge difference.
- Note any obstacles or uneven terrain that might affect tripod placement or posing.
Pro Tip: Practice a few poses at the location without your camera. This helps you get a feel for the space and movement.
Step 4: Set Up Your Camera for Success
This is where the technical magic happens. Proper camera setup ensures sharp, well-exposed images. Take your time to get this right before you step into the frame.
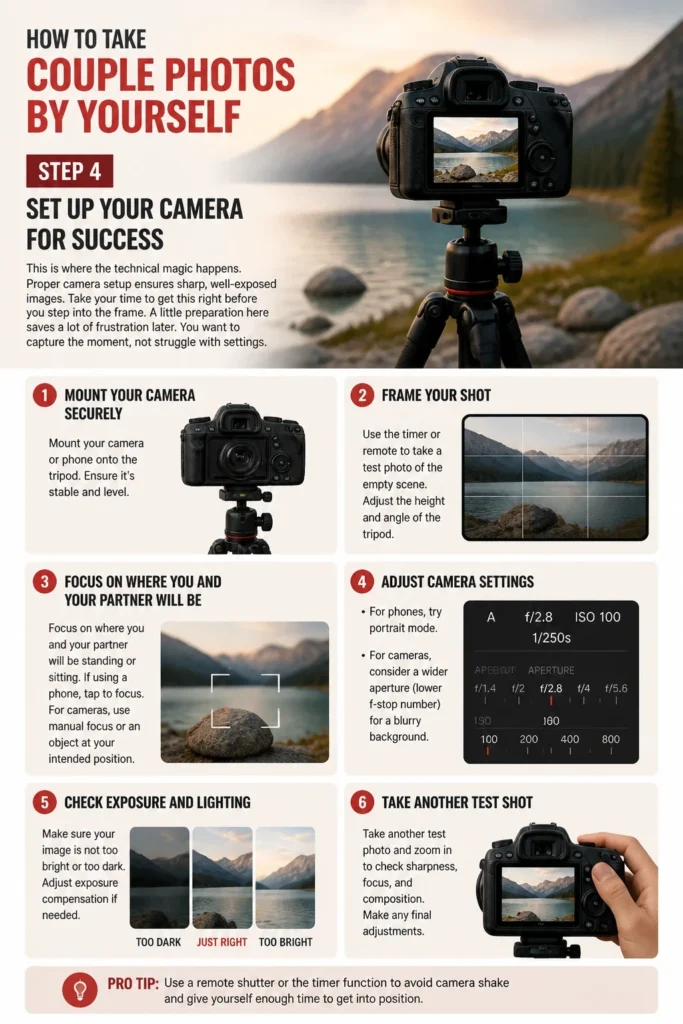
A little preparation here saves a lot of frustration later. You want to capture the moment, not struggle with settings. Mount your camera securely.
- Mount your camera or phone onto the tripod. Ensure it’s stable and level.
- Frame your shot. Use the timer or remote to take a test photo of the empty scene. Adjust the height and angle of the tripod.
- Focus on where you and your partner will be standing or sitting. If using a phone, tap to focus. For cameras, use manual focus or an object at your intended position.
- Adjust camera settings. For phones, try portrait mode. For cameras, consider a wider aperture (lower f-stop number) for a blurred background and a fast shutter speed to avoid blur.
- Set your camera’s timer or connect your remote shutter. A 10-second timer gives you time to get into position.
Step 5: Master the Remote and Timing
The remote shutter is your secret weapon for natural, unposed shots. It allows you to take multiple pictures without running back and forth to the camera. Practice using it until it feels intuitive.
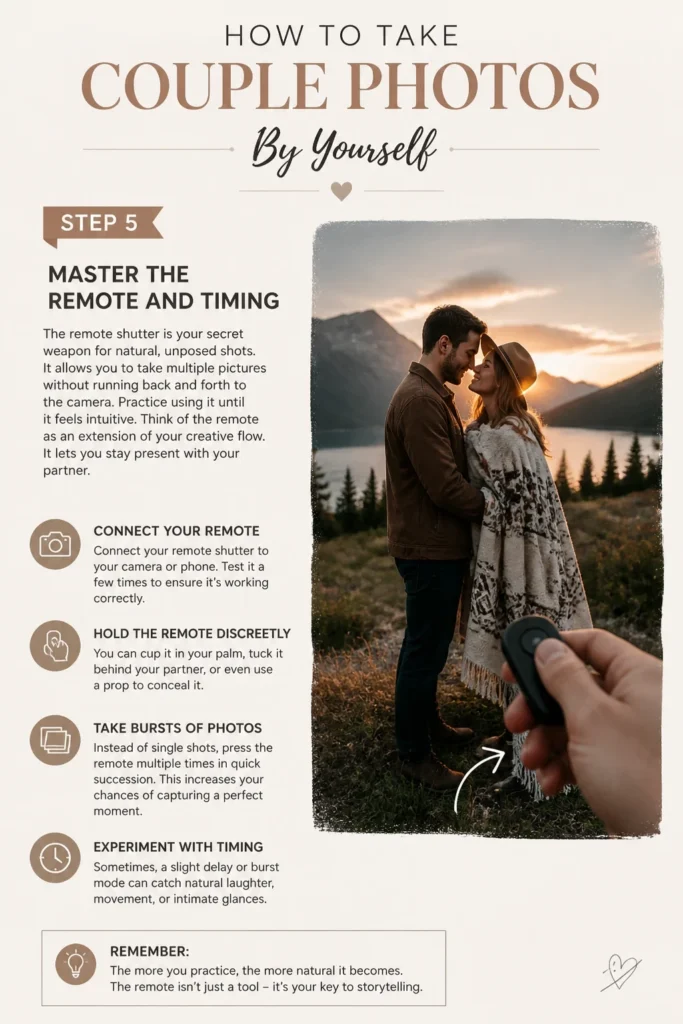
Think of the remote as an extension of your creative flow. It lets you stay present with your partner. Hide the remote in your hand or behind a prop if you prefer it out of sight.
- Connect your remote shutter to your camera or phone. Test it a few times to ensure it’s working correctly.
- Hold the remote discreetly. You can cup it in your palm, tuck it behind your partner, or even use a prop to conceal it.
- Take bursts of photos. Instead of single shots, press the remote multiple times in quick succession. This increases your chances of capturing a perfect moment.
- Experiment with timing. Sometimes, a shot right before or after a posed moment looks more authentic.
- Review your initial remote-triggered shots. Check for focus, exposure, and composition before continuing.
Step 6: Embrace Natural Posing and Interaction
The best couple photos show genuine connection. Forget stiff, forced poses. Instead, focus on interacting naturally with your partner. Your love story is unique, so let it shine through.
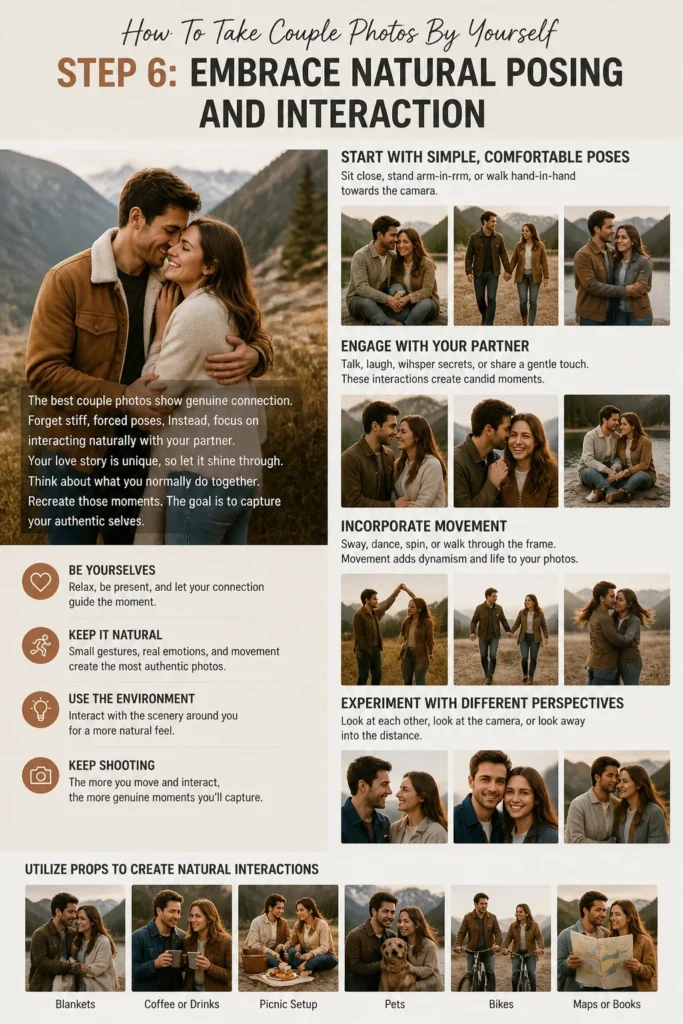
Think about what you normally do together. Recreate those moments. The goal is to capture your authentic selves.
- Start with simple, comfortable poses. Sit close, stand arm-in-arm, or walk hand-in-hand towards the camera.
- Engage with your partner. Talk, laugh, whisper secrets, or share a gentle touch. These interactions create candid moments.
- Incorporate movement. Sway, dance, spin, or walk through the frame. Movement adds dynamism and life to your photos.
- Experiment with different perspectives. Look at each other, look at the camera, or look away into the distance.
- Utilize props to create natural interactions. Share a drink, read a book together, or play a game.
- Don’t be afraid to be silly. Playful moments often result in the most memorable and genuine photographs.
Pro Tip: Take short breaks to review your photos on the camera. This helps you see what’s working and adjust your poses or interactions as needed.
Step 7: Review, Refine, and Re-shoot
The beauty of digital photography is the ability to review your work instantly. This step is crucial for learning and improving during your session. Don’t be afraid to make adjustments.
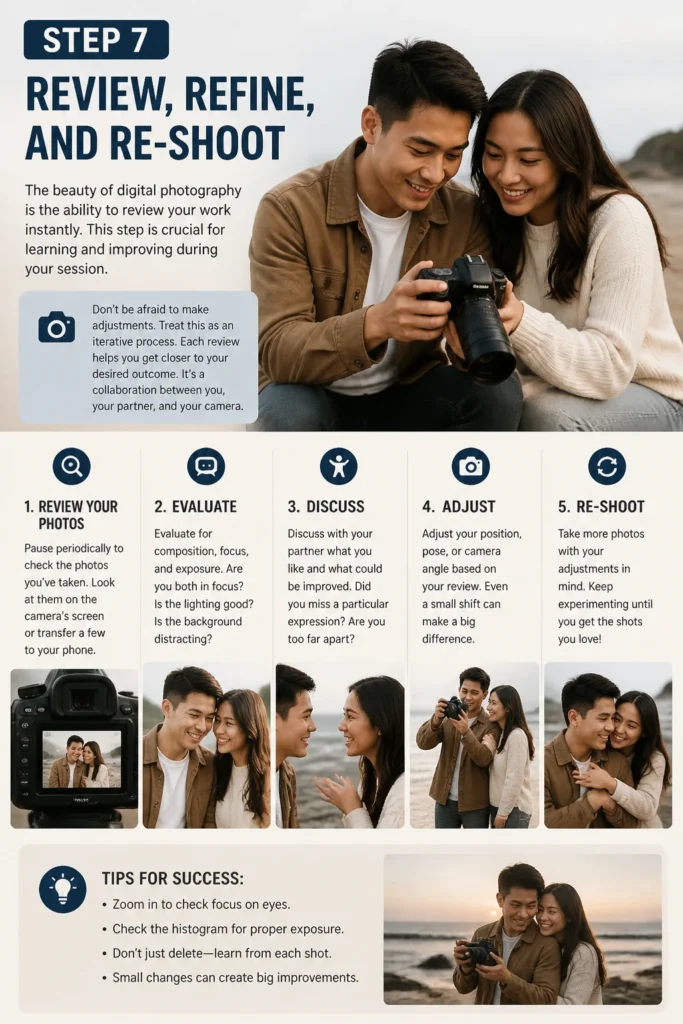
Treat this as an iterative process. Each review helps you get closer to your desired outcome. It’s a collaboration between you, your partner, and your camera.
- Pause periodically to check the photos you’ve taken. Look at them on the camera’s screen or transfer a few to your phone.
- Evaluate for composition, focus, and exposure. Are you both in focus? Is the lighting good? Is the background distracting?
- Discuss with your partner what you like and what could be improved. Did you miss a particular expression? Are you too far apart?
- Adjust your position, pose, or camera angle based on your review. Even a small shift can make a big difference.
- Take more photos, implementing the changes you discussed. Repeat this review-and-refine cycle until you’re happy.
Step 8: Enhance Your Images with Editing
Editing is the final touch that elevates good photos to great ones. You don’t need complex software; many free apps offer powerful tools for enhancement. A little post-processing goes a long way.
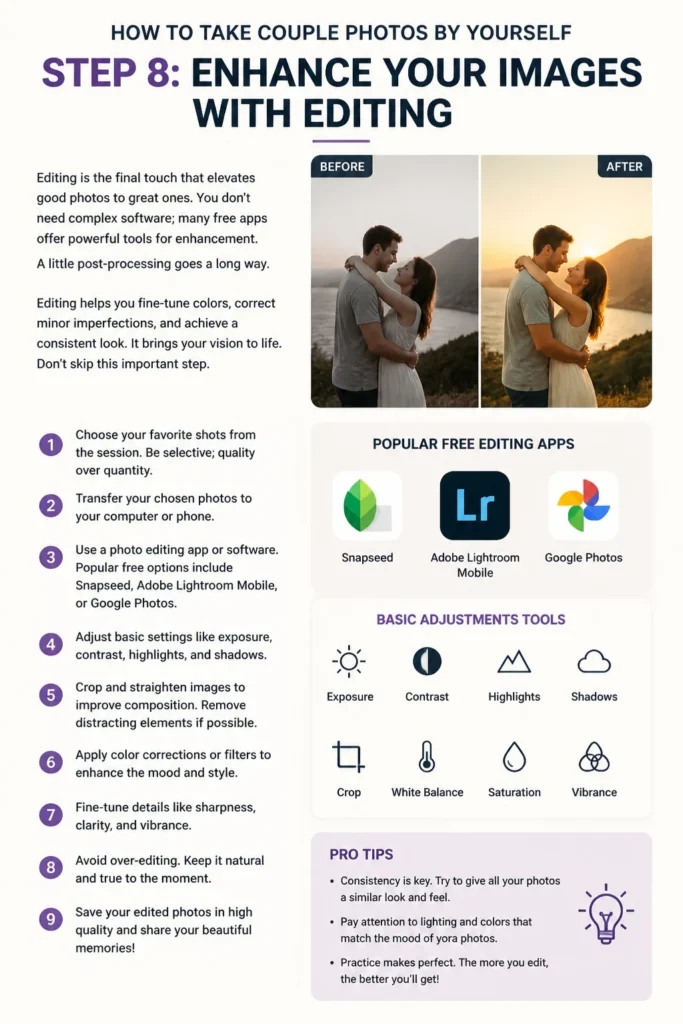
Editing helps you fine-tune colors, correct minor imperfections, and achieve a consistent look. It brings your vision to life. Don’t skip this important step.
- Choose your favorite shots from the session. Be selective; quality over quantity.
- Transfer your chosen photos to your computer or phone.
- Use a photo editing app or software. Popular free options include Snapseed, Adobe Lightroom Mobile, or Google Photos.
- Adjust basic settings like exposure, contrast, highlights, and shadows.
- Crop and straighten images to improve composition. Remove distracting elements if possible.
- Apply color corrections or filters to achieve a consistent look and feel.
- Save your edited photos in high resolution. Share them with loved ones or print them to cherish.
Common Mistakes to Avoid
Poor Lighting Choices
Many people forget that good lighting is the foundation of any great photograph. Shooting in harsh midday sun creates unflattering shadows and blown-out highlights. This makes subjects squint and colors look washed out.
Instead, aim for the “golden hour” shortly after sunrise or before sunset. The light is soft, warm, and magical. If shooting indoors, position yourselves near a large window, facing the light, for soft, even illumination.
Stiff or Unnatural Posing
When taking photos, couples often feel awkward and pose rigidly, resulting in forced-looking images. They might stand too far apart or have blank expressions. This misses the chance to show genuine connection.
Focus on interaction and movement. Hold hands, lean into each other, whisper, laugh, or simply look into each other’s eyes. Pretend the camera isn’t there and just enjoy being together.
Cluttered Backgrounds
A busy background can distract from the main subjects – you and your partner. Things like trash cans, power lines, or random people can draw the eye away from your beautiful connection. This makes the photo feel messy.
Always scan your background before taking a shot. Try to find clean, simple backdrops like a solid wall, open sky, or blurred natural foliage. A shallow depth of field (blurred background) also helps isolate you.
Forgetting to Review Shots
It’s easy to get caught up in the moment and keep snapping away without checking your results. You might discover later that all your photos are out of focus, poorly exposed, or badly framed. This wastes time and effort.
Take regular breaks to review your images on the camera screen. This allows you to catch and correct issues early in the session. You can adjust your pose, lighting, or camera settings immediately.
Troubleshooting
Photos are blurry or out of focus
This is a common frustration, especially with self-timer shots. It often happens when the camera focuses on the background or foreground instead of you. The camera might also move slightly during the shutter release.
Make sure your camera is securely mounted on a stable tripod. If using a camera, switch to manual focus and pre-focus on an object placed exactly where you’ll be. For phones, tap to focus on your intended spot before setting the timer. Use a remote shutter to minimize camera shake from pressing the button.
Awkward or unnatural poses
Feeling self-conscious in front of the camera can lead to stiff, uncomfortable-looking poses. It’s hard to relax when you’re thinking about how you look. This can make your photos feel less authentic.
Start by doing something natural that you’d normally do together, like walking, talking, or cuddling. Play music that you both enjoy to help you relax. Focus on interacting with your partner, not the camera. Movement and genuine laughter are your best friends.
Remote shutter isn’t working
A non-responsive remote can halt your session entirely. This usually points to a connectivity issue or low battery. It’s frustrating when technology doesn’t cooperate.
First, check the battery in your remote and replace it if needed. Ensure Bluetooth is enabled on your phone or camera and that the remote is properly paired. If it’s a new remote, you might need to consult its instructions for initial pairing. Try restarting both your camera/phone and the remote.
Key Takeaways
- Plan ahead: Discuss your vision, outfits, and location with your partner for a cohesive shoot.
- Equip yourself: A tripod and remote shutter are essential for stable, hands-free couple photos.
- Prioritize lighting: Soft, natural light, especially during golden hour, creates the most flattering images.
- Focus on connection: Engage naturally with your partner; genuine interactions make the best photos.
- Review and adjust: Check your photos frequently during the session to correct any issues on the spot.
- Edit your favorites: Post-processing enhances colors, sharpens details, and brings your vision to life.
Frequently Asked Questions
What’s the best time of day to take photos?
The “golden hour” is widely considered the best time. This is the hour after sunrise and the hour before sunset. The light is soft, warm, and produces beautiful, flattering tones. Avoid harsh midday sun, which creates strong shadows.
How can we make our photos look more natural?
The key is to interact with each other, not the camera. Talk, laugh, whisper, and move naturally. Play some music to set a relaxed mood. Focus on your connection, and the camera will simply capture that authentic moment.
What if we’re shy in front of the camera?
Start in a private, comfortable location where you feel at ease. Begin with simple, familiar poses like holding hands or sitting close. Don’t aim for perfection immediately. Focus on having fun together, and let the camera capture those relaxed moments.
Do I need a fancy camera, or is my phone enough?
Your smartphone is absolutely enough! Modern phone cameras are incredibly powerful. The most important tools are a good tripod and a remote shutter, which work perfectly with phones. A dedicated camera offers more control, but it’s not a requirement for stunning couple photos.
Our Top Recommended Finds
- Smartphone Tripod with Remote: A compact, versatile tripod that securely holds your phone and comes with a small Bluetooth remote. This combination is perfect for beginners.
- Flexible Mini Tripod: These tripods have bendable legs that can wrap around poles, branches, or sit on uneven surfaces, offering more creative angles. They’re great for adventurous couples.
- Portable Ring Light: If you’re shooting indoors or in low light, a small, battery-powered ring light can provide beautiful, even illumination and flattering catchlights in your eyes.
Your Love Story, Beautifully Captured
Taking couple photos by yourselves is more than just a photography technique. It’s an opportunity to connect, create lasting memories, and document your unique journey together. Each session becomes a shared adventure.
You have all the tools and knowledge you need right now. Don’t wait for a special occasion. Every day you share is worth celebrating and capturing.
Grab your camera, set up your tripod, and step into the frame with your beloved. Start creating those beautiful, authentic images today.
Wedding Planning
No fluff, no drama. Just easy weekly advice, planning shortcuts, and gentle reminders to help you actually enjoy your engagement.