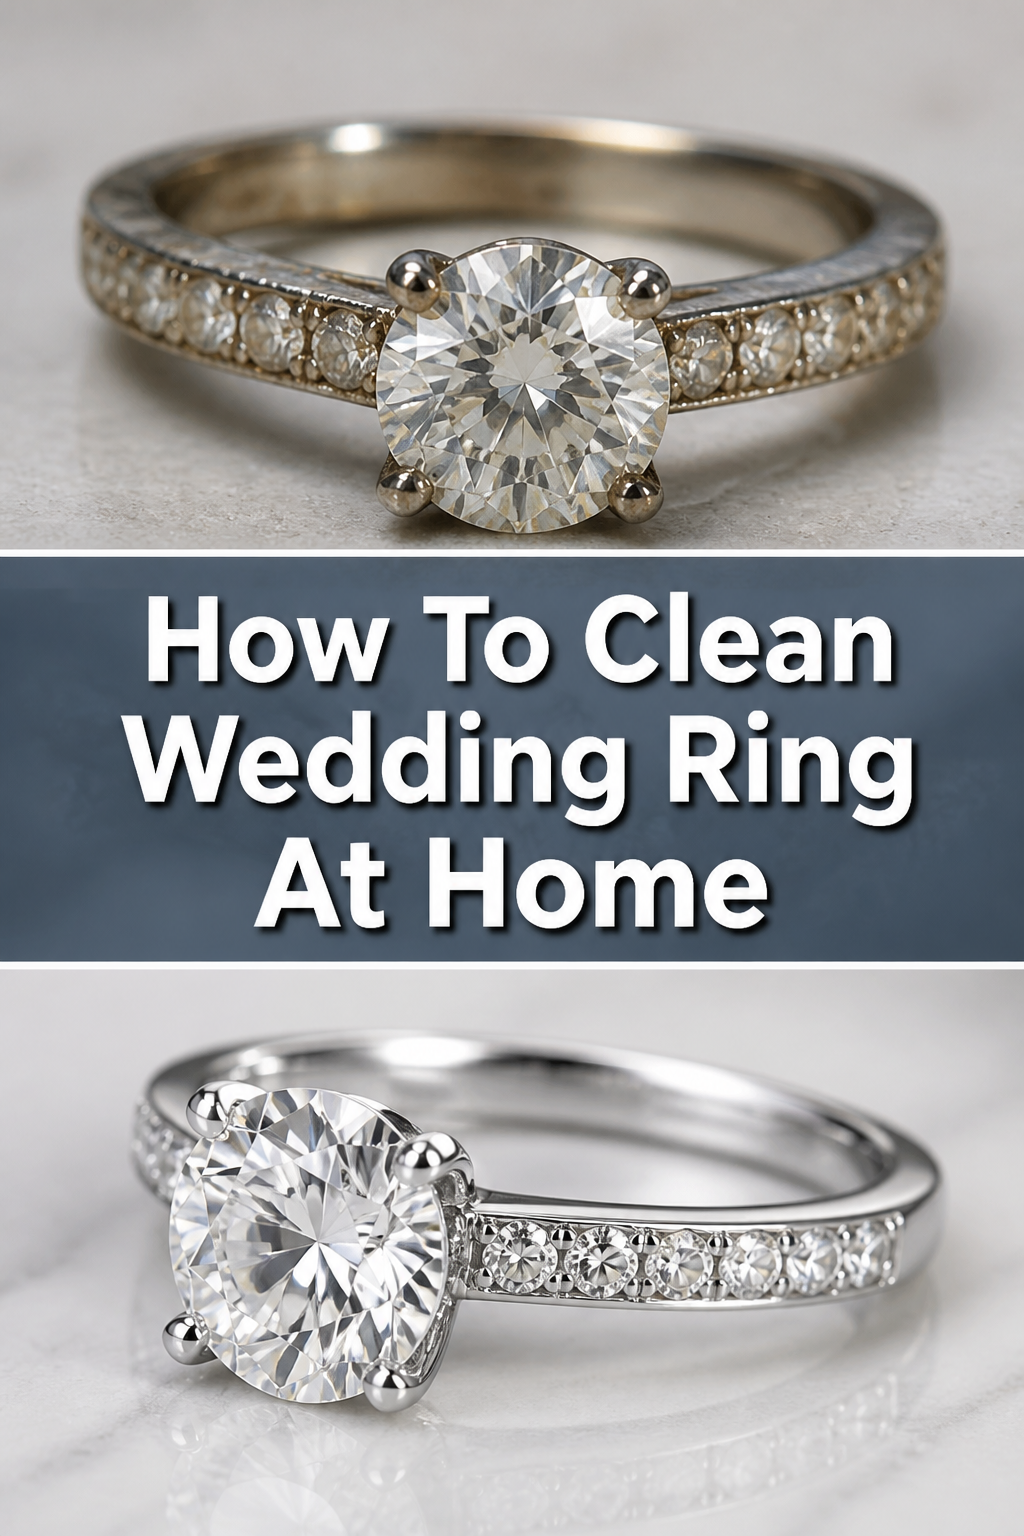
✨ How To Clean Wedding Ring At Home
My own wedding ring, a cherished symbol, often loses its sparkle amidst daily life. Over the years, I’ve perfected a gentle yet effective routine to restore its brilliance right from my kitchen.
This guide shares those proven methods, ensuring your precious symbol shines as brightly as your love. You don’t need expensive equipment or harsh chemicals to bring back its dazzling glow.
Trust these practical steps, honed through personal experience, to keep your most significant piece of jewelry looking its absolute best.
Quick Overview
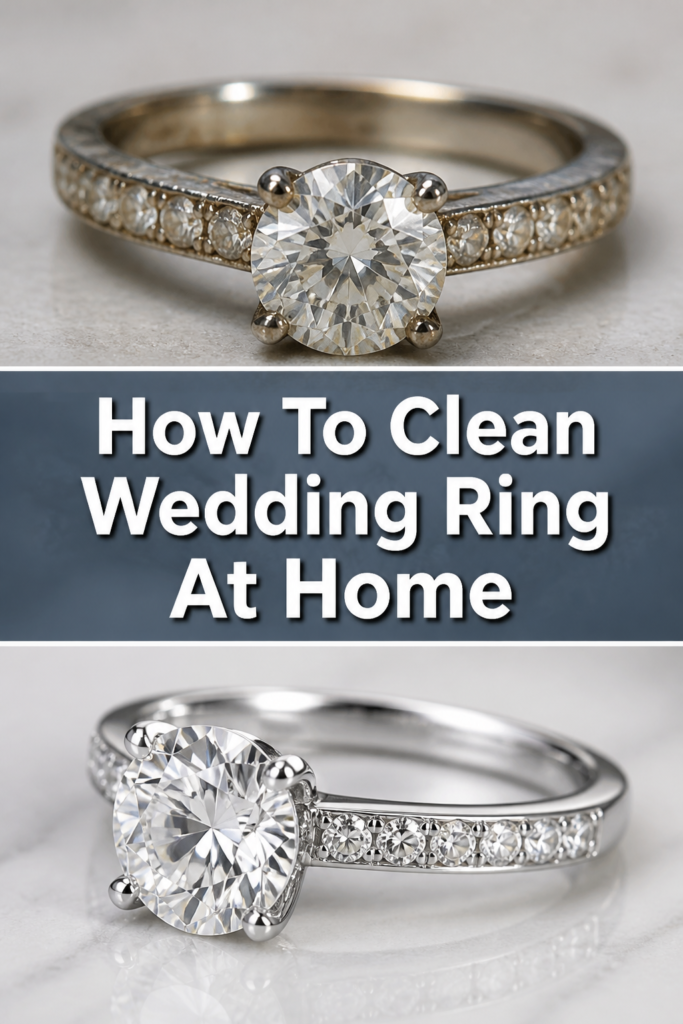
This guide will walk you through a simple, safe, and effective method to clean your wedding ring at home. You’ll learn how to prepare a gentle cleaning solution, safely scrub away grime, and restore your ring’s original luster.
By the end, your cherished ring will sparkle beautifully, reflecting the care you put into it.
- Time needed: 20-30 minutes (active cleaning) + 1-2 hours (soaking)
- Difficulty: Beginner
- What you’ll need: Mild dish soap, warm water, soft-bristle brush, two bowls, soft lint-free cloth
Step-by-Step Instructions
Step 1: Gather Your Cleaning Arsenal
Before you begin, ensure all your supplies are within easy reach. Having everything prepped makes the cleaning process smooth and efficient, preventing any last-minute searches.
This preparation also helps you avoid distractions while handling your precious jewelry, reducing the risk of misplacing anything important.
- Collect a small bowl or cup, specifically for mixing your cleaning solution.
- Find another clean bowl or container to use for rinsing your ring.
- Select a very mild dish soap. Look for brands known for being gentle, without harsh detergents or strong perfumes.
- Prepare a soft-bristle brush. An old, soft toothbrush is ideal, but a dedicated jewelry brush works perfectly too. Ensure its bristles are pliable and won’t scratch your ring’s metal or gemstones.
- Locate a soft, lint-free cloth for drying and polishing. Microfiber cloths are excellent choices as they absorb water well and leave no residue.
- Ensure you have access to lukewarm water, not hot, as extreme temperatures can sometimes affect certain gemstones or settings.
Pro Tip: Place a clean towel or paper towel on your workspace before starting. This provides a soft surface for your ring and catches any drips, keeping your area tidy.
Step 2: Prepare Your Workspace with Care
Setting up your cleaning area correctly is crucial for both safety and effectiveness. A well-prepared space minimizes potential accidents and makes the entire process more enjoyable.
Take a moment to ensure your surroundings are calm and secure, especially when dealing with such a sentimental item.
- Choose a flat, stable surface where you can work comfortably without interruption.
- Lay a soft, clean towel down. This creates a cushioned barrier, preventing your ring from rolling away or getting scratched if it’s accidentally dropped.
- Close the drain in your sink if you’re working near one. This is a critical step to prevent your ring from falling down the drain during rinsing.
- Ensure the lighting in your workspace is adequate. Good lighting allows you to clearly see any dirt or grime on your ring and ensures you don’t miss any spots during cleaning.
Step 3: Craft the Perfect Soaking Solution
The right cleaning solution is gentle yet powerful enough to loosen accumulated dirt and oils. Avoid harsh chemicals, which can damage delicate metals and gemstones over time.
This simple, homemade solution is safe for most diamond and precious metal rings, offering an effective clean without risks.
- Fill your first small bowl with lukewarm water. The water should be comfortably warm to the touch, not hot.
- Add a few drops of your chosen mild dish soap to the water. You only need a small amount; a little goes a long way.
- Gently stir the water with your finger or a clean spoon to create a soapy solution. You should see a light lather forming.
- Avoid using soaps with moisturizers, dyes, or strong fragrances. These additives can leave a film on your ring, making it appear dull rather than sparkling.
Step 4: Submerge and Let it Soak
Soaking is the most crucial step for loosening stubborn dirt and oils that accumulate in crevices. This passive cleaning allows the soap to penetrate and break down grime without any abrasive action.
Patience during this phase will lead to a much more effective and effortless clean later on.
- Carefully place your wedding ring into the prepared soapy solution. Ensure it is fully submerged.
- Allow the ring to soak for at least 20-30 minutes. For rings that haven’t been cleaned in a while or appear particularly dirty, extend the soaking time to 1-2 hours.
- Resist the urge to rush this step. The longer the grime has to soften, the easier it will be to remove.
- Observe the water; you might notice it becoming slightly cloudy as dirt lifts from the ring. This is a good sign that the solution is working.
Step 5: Gentle Scrubbing for Brilliance
After soaking, most of the grime should be softened and ready for removal. This step requires a light touch to avoid damaging your ring’s metal or setting.
Focus on all surfaces, paying special attention to areas where dirt tends to hide.
- Remove your ring from the soaking solution. Do not rinse it yet.
- Hold the ring securely over your prepared towel or a clean, soft surface.
- Dip your soft-bristle brush into the soapy solution to keep the bristles lubricated.
- Gently scrub all surfaces of your ring. Pay close attention to the underside of the main stone, where oils and lotions often collect and dull its sparkle.
- Brush around the prongs and any intricate details of the setting. These areas are notorious for trapping dirt.
- Use short, soft strokes. Avoid pressing too hard, as excessive force is unnecessary and could potentially loosen a stone or scratch the metal.
Pro Tip: For extremely tight spots, a wooden toothpick can be carefully used to dislodge stubborn debris. Always be gentle and avoid metal tools that could scratch.
Step 6: Thorough Rinsing for Purity
Rinsing is essential to remove all traces of soap and loosened dirt. Any soap residue left behind can dull your ring’s shine and attract new dirt more quickly.
This step ensures your ring is completely clean and ready to sparkle.
- Fill your second clean bowl with lukewarm, plain water. This will be your rinsing station.
- Carefully transfer your ring from the scrubbing area to the rinsing bowl.
- Swirl the ring gently in the clean water, ensuring all soap suds are washed away.
- Alternatively, if using a tap, keep the drain closed. Hold your ring securely under a slow stream of lukewarm running water. Rotate the ring to rinse all angles.
- Inspect the ring closely to ensure no soap bubbles or residue remain. If you see any, repeat the rinsing process.
Step 7: Careful Drying and Final Polish
Proper drying prevents water spots and prepares your ring for its final dazzling reveal. A soft, lint-free cloth is key to achieving a streak-free shine.
This final step brings out the true brilliance of your cleaned ring.
- Gently blot your ring with your soft, lint-free cloth. Avoid rubbing vigorously, which can sometimes leave tiny scratches on softer metals.
- Allow the ring to air dry completely for a few minutes on the clean towel. Ensure no moisture is trapped in any crevices, as this can lead to water spots or even corrosion over time.
- Once fully dry, use a clean, dry section of your microfiber cloth to gently buff your ring. This final polish will enhance its natural luster and bring out its ultimate sparkle.
- Admire your beautifully cleaned wedding ring, now restored to its brilliant glory.
Common Mistakes to Avoid
Using Harsh Chemicals
Many household cleaners, like bleach, ammonia-based products, or abrasive powders, are far too harsh for delicate jewelry. These chemicals can erode precious metals, discolor certain gemstones, and even dissolve the integrity of your ring’s setting over time.
Always stick to mild dish soap or specialized jewelry cleaners designed for your specific ring materials. Harsh chemicals can cause irreversible damage, making a professional repair necessary.
Aggressive Scrubbing
While scrubbing is part of the cleaning process, doing it too vigorously can be detrimental. Hard brushing can scratch softer metals like gold or platinum, and even damage the surface of certain gemstones.
More importantly, excessive force can loosen the prongs that hold your diamond or gemstone in place, leading to a potentially lost stone. Always use a very soft brush and apply gentle pressure.
Ignoring Specific Gemstone Needs
Not all gemstones are created equal, and some require special care. While diamonds are incredibly durable, softer stones like opals, pearls, emeralds, or turquoise can be damaged by even mild soap or prolonged water exposure.
Always research the specific cleaning requirements for all gemstones in your ring. If you have a mixed-stone ring, opt for the gentlest method suitable for the most delicate stone or consult a professional.
Improper Drying
Allowing your ring to air dry without proper blotting can lead to water spots, especially in hard water areas. These mineral deposits can leave a dull film on your ring, negating all your cleaning efforts.
Furthermore, moisture trapped in crevices can attract dirt more quickly or, in rare cases, contribute to corrosion. Always use a soft, lint-free cloth to gently blot and buff your ring until it is completely dry.
Troubleshooting
Ring Still Looks Dull
If your ring doesn’t sparkle as much as you’d hoped, it might be due to residual grime or soap film. The initial soak might not have been long enough for very stubborn dirt, or the rinsing wasn’t entirely thorough.
Try repeating the soaking and scrubbing steps, ensuring the ring soaks for an extended period (1-2 hours) and paying extra attention to scrubbing the underside of the stone and intricate settings. Follow with a very thorough rinse under running water and a diligent buff with a clean microfiber cloth.
Minor Scratch Appears
Accidental minor scratches can occur, especially on softer metals like gold, even with careful handling. If you notice a faint scratch, do not attempt to polish it out yourself with abrasive materials, as this can worsen the damage.
For minor surface scratches, a professional jeweler can often buff them out safely. If the scratch is deeper or you’re unsure, it’s always best to consult a professional for assessment and repair.
Gemstone Seems Loose
A loose gemstone is a serious concern and should be addressed immediately to prevent loss. If you notice your diamond or gemstone rattling slightly in its setting, or if a prong appears bent, stop wearing the ring.
Do not attempt to fix it yourself, as you could cause further damage or entirely dislodge the stone. Take your ring to a trusted jeweler as soon as possible. They can inspect the setting, tighten prongs, and make any necessary repairs to secure your precious stone.
Key Takeaways
- Regular, gentle cleaning prevents grime buildup and maintains your ring’s sparkle.
- Always use mild dish soap and lukewarm water, avoiding harsh chemicals.
- A good soak is crucial for loosening stubborn dirt and oils.
- Use a soft-bristle brush and gentle pressure to clean all surfaces, especially under the stone.
- Thorough rinsing and careful drying with a lint-free cloth prevent dullness and water spots.
- Be mindful of specific gemstone needs; some require extra care or professional cleaning.
- Address any signs of damage, like a loose stone, immediately with a professional jeweler.
Frequently Asked Questions
How often should I clean my wedding ring?
For optimal sparkle, a quick clean using the gentle dish soap method once a week is ideal. This routine prevents the buildup of lotions, oils, and everyday grime that can dull its shine. A more thorough soak can be done once a month or as needed.
Can I use toothpaste to clean my ring?
No, it’s best to avoid using toothpaste. While it might seem like a quick fix, toothpaste contains abrasive particles that can scratch the metal of your ring, especially softer metals like gold. It can also leave a residue that dulls the shine over time. Stick to mild soap and water for safe cleaning.
Is ultrasonic cleaning safe for all rings?
Ultrasonic cleaners use high-frequency sound waves to create vibrations that dislodge dirt. While effective for many diamond and solid metal rings, they are not safe for all. Certain gemstones (like emeralds, opals, or pearls), rings with surface coatings, or those with loose stones can be damaged by the vibrations. Always consult a jeweler before using an ultrasonic cleaner on your specific ring.
When should I take my ring to a professional?
It’s a good idea to have your wedding ring professionally inspected and cleaned at least once a year. Jewelers can check for loose prongs, worn settings, or any other potential issues you might not notice. They also have specialized tools and solutions for a deep, safe clean, ensuring your ring remains in pristine condition for years to come.
Our Top Recommended Finds
- Gentle Dish Soap: Look for clear, dye-free, and fragrance-free varieties. These are less likely to leave residue or cause adverse reactions.
- Soft-Bristle Jewelry Brush: A dedicated jewelry brush often has finer, softer bristles than a toothbrush, designed specifically for delicate settings and surfaces.
- Microfiber Polishing Cloth: Essential for a streak-free dry and a brilliant final buff. These cloths are highly absorbent and won’t scratch your precious metals or gemstones.
Reclaim Your Ring’s Radiance Today
Your wedding ring is more than just jewelry; it’s a profound symbol of love and commitment. Keeping it clean ensures its beauty reflects the enduring nature of your bond.
Don’t let daily life dim its sparkle. Take a few moments today to follow these simple, effective steps and restore your ring to its original, breathtaking brilliance.
Embrace the joy of seeing your cherished symbol shine anew. For other jewelry pieces, consider researching their specific care needs to keep your entire collection gleaming.