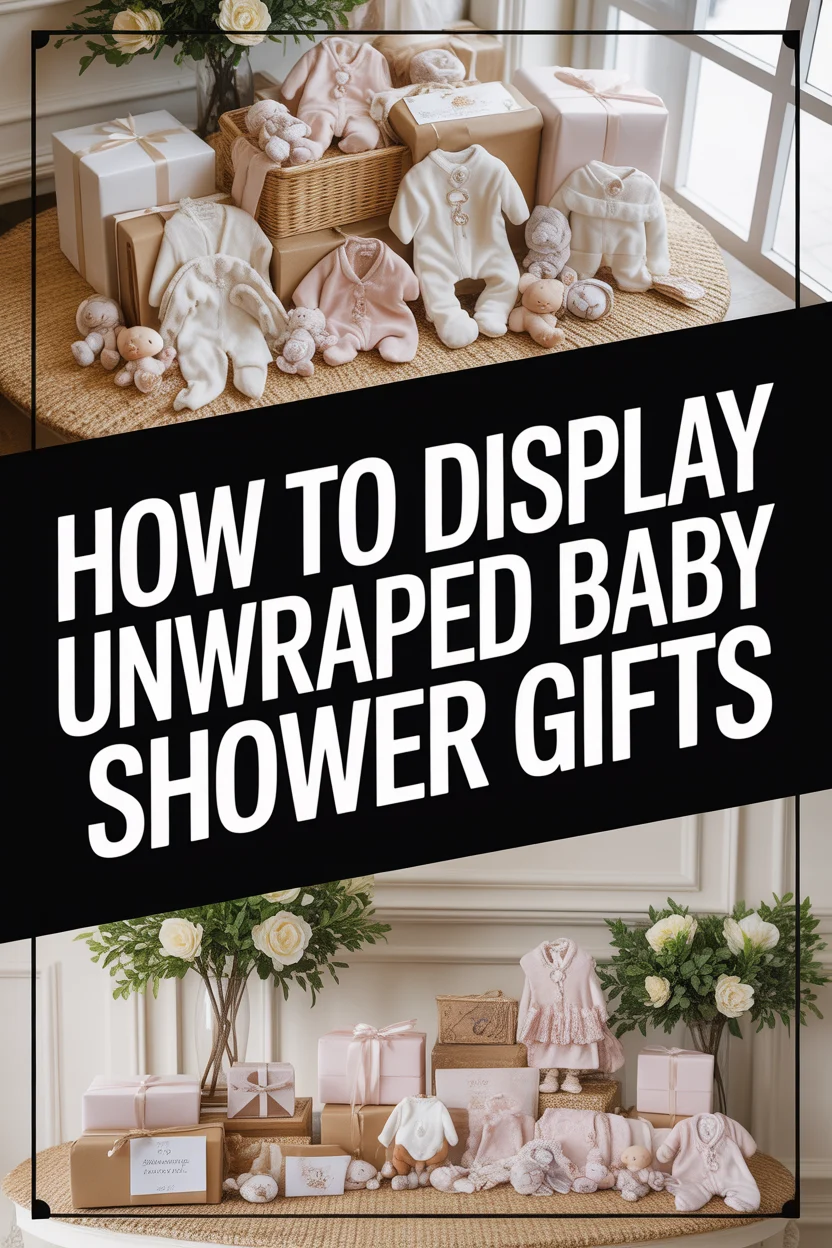
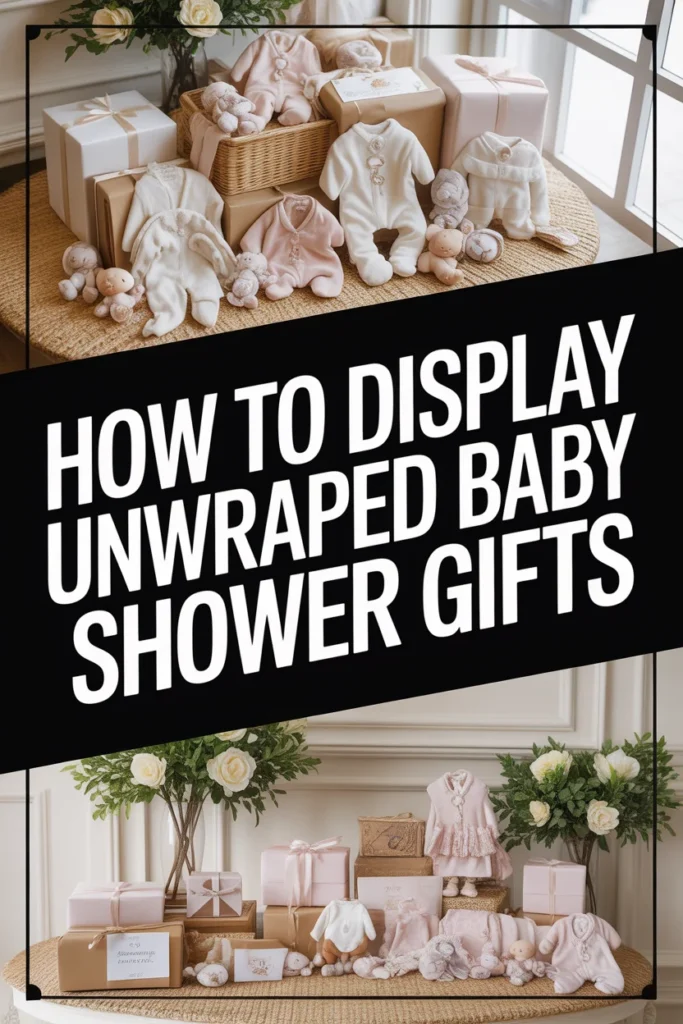
✨ How To Display Unwrapped Baby Shower Gifts

Wedding Planning
No fluff, no drama. Just easy weekly advice, planning shortcuts, and gentle reminders to help you actually enjoy your engagement.
Organizing a baby shower is a joyous occasion, but handling the mountain of gifts afterward can feel overwhelming. I remember my first time hosting, faced with a sea of brightly wrapped boxes. The idea of unwrapping everything just to put it away seemed chaotic.
Then, a friend suggested displaying the unwrapped treasures for everyone to admire. This simple shift transformed the entire experience. Not only did it make gift organization easier, but it also created a beautiful, interactive focal point for the celebration. You too can create this stunning display with ease.
Quick Overview
This guide will help you transform a pile of unwrapped baby shower gifts into a beautiful, organized, and photo-ready display. You will learn how to categorize, arrange, and add personal touches, making the process smooth and enjoyable.
- Time needed: 1-3 hours (depending on gift volume)
- Difficulty: Beginner
- What you’ll need: Tables, tablecloths, risers/boxes, baskets/bins, labels, camera, optional decorative items.
Step-by-Step Instructions
Step 1: Plan Your Display Area
First, select the ideal location for your gift display. Consider a spot that is easily accessible but out of the main traffic flow. A large wall or an unused corner often works best.
Measure the available space to determine how many tables or surfaces you will need. Think about where guests will gather and ensure they can view the gifts without feeling cramped. This initial planning prevents last-minute scrambling.
Pro Tip: Choose an area with good natural light, especially if you plan on taking photos of the beautiful display later.
Step 2: Gather Your Supplies
Collect all necessary items before you begin arranging. This includes tables, clean tablecloths, and various props for creating height. Risers, sturdy boxes, or even overturned laundry baskets covered with fabric can work wonders.
Stock up on baskets, bins, or decorative boxes to contain smaller items. Don’t forget labels, markers, and a camera for documenting the gifts and givers. Having everything ready saves time and reduces stress.
Step 3: Sort and Categorize Gifts
Before placing anything, unwrap all the gifts carefully. As you unwrap, immediately sort items into logical categories. Think about how a nursery is organized.
Common categories include clothing (further sorted by size), feeding supplies, bath items, diapers, toys, books, and nursery decor. This systematic approach makes placement much easier and creates a cohesive look.
Step 4: Arrange Foundation Pieces
Position your main tables or display surfaces first. These form the base of your entire setup. Ensure they are stable and covered with clean tablecloths that match your shower’s theme or color scheme.
Place the largest and bulkiest items on the tables as your anchors. Diaper boxes, large toys, or baby gear like bouncers should go towards the back or ends of the display. This establishes a strong visual foundation.
Step 5: Create Visual Interest with Height and Depth
To avoid a flat, uninspired display, utilize risers and varying heights. Place smaller tables or sturdy boxes underneath tablecloths to create different levels. This adds dynamic visual appeal.
Group similar items together, arranging them from tallest to shortest on each level. Place items slightly behind each other to create depth, making the display feel richer and more engaging. A well-layered display draws the eye in.
Pro Tip: Use clear acrylic risers for a modern, sleek look that keeps the focus on the gifts themselves.
Step 6: Incorporate Decorative Elements
Once the gifts are arranged, enhance the display with thoughtful decorations. Balloons, fresh flowers, or small baby-themed props can elevate the entire presentation. These elements tie the gifts into the overall party aesthetic.
Add personal touches, such as framed photos of the parents-to-be or a small sign welcoming the baby. These details make the display feel unique and heartfelt, celebrating the new family. Keep decorations subtle so they don’t overshadow the gifts.
Step 7: Label and Document
As gifts are displayed, attach small labels indicating the giver’s name. This is crucial for thank-you notes later. You can use pre-printed tags or simple sticky notes.
Take photos of the entire display, and close-ups of specific gifts. This serves as a wonderful memory and a practical reference for thank-you card writing. Assign a trusted friend or family member to help with this important task.
Pro Tip: Create a simple spreadsheet on your phone or a physical list as gifts are unwrapped. Note the item and the giver’s name instantly.
Step 8: Final Touches and Walk-Through
Before guests arrive, step back and evaluate your display. Check for any empty spaces that could be filled or areas that look too cluttered. Adjust items as needed to achieve balance.
Ensure that guests can easily navigate around the display. Check the lighting and make sure all labels are clearly visible. A final walk-through helps catch any overlooked details, ensuring a perfect presentation.
Common Mistakes to Avoid
Overcrowding the Display
A common pitfall is trying to fit too many items into a small space. This makes the display look messy and overwhelming. Gifts lose their individual charm when they are crammed together. Instead, use fewer items per section, or expand your display area if possible. Give each gift room to breathe and be appreciated.
Ignoring Flow and Accessibility
Placing the gift display in a high-traffic area or blocking pathways creates frustration for guests. They won’t be able to comfortably view the items. Always consider guest movement and ensure there’s ample space to walk around and admire the gifts without feeling squeezed. A well-placed display enhances the guest experience.
Forgetting to Categorize
Throwing all the gifts together without any order makes it difficult for guests to appreciate the variety. It also complicates the eventual put-away process. Categorizing items by type or size brings instant order and makes the display visually appealing and practical for the parents. Grouping makes sense to the eye.
Lack of Personalization
A generic display misses an opportunity to celebrate the unique family. While the gifts are exciting, adding a personal touch makes the display truly special. Incorporate elements that reflect the parents’ personalities or the baby’s nursery theme. Small details create a memorable and heartfelt presentation.
Troubleshooting
Limited Space for Display
If you have a small venue, it can feel challenging to display all the gifts effectively. Instead of one large table, consider using multiple smaller surfaces or even shelves. Focus on vertical space by using tall risers or tiered stands. You might also choose to display only a selection of the most visually appealing gifts, keeping the rest neatly stored nearby.
Gifts Look Disorganized Despite Sorting
Sometimes, even after sorting, the display might still appear chaotic. This often happens when items within a category aren’t further arranged. Try grouping by color or size within each category. Use baskets or clear bins to contain smaller, similar items, which instantly tidies up the look. Consistency in your arrangement style helps create visual harmony.
Display Lacks a “Wow” Factor
If your display feels a bit flat, it might be missing a focal point or some decorative flair. Introduce a statement piece, like a large, beautifully arranged floral bouquet or a personalized backdrop. Add string lights or fairy lights for a magical glow. Incorporate textures through different fabrics or ribbons. Even small, strategically placed decorative items can make a big impact.
Key Takeaways
- Plan Ahead: Select your display area and gather all supplies beforehand to ensure a smooth setup.
- Categorize for Clarity: Sort unwrapped gifts into logical categories for easy arrangement and viewing.
- Use Height and Depth: Employ risers and varying levels to create visual interest and prevent a flat display.
- Document Everything: Label gifts with givers’ names and take photos for thank-you notes and memories.
- Personalize the Display: Add decorative elements and personal touches to make the setup unique and heartfelt.
- Prioritize Accessibility: Ensure guests can comfortably view and move around the gift display without obstruction.
Frequently Asked Questions
Should all gifts be unwrapped for the display?
Yes, for the most effective and visually appealing display, it is recommended to unwrap all gifts. This allows guests to clearly see each item and appreciate the generosity. If a guest insists on keeping a gift wrapped, you can place it in a designated area.
How do I manage very large or unusually shaped gifts?
Place oversized gifts strategically at the ends or back of your display area. They can serve as anchors or backdrops for smaller items. For odd shapes, consider using large, attractive baskets or bins to contain them, or position them individually where they won’t disrupt the flow.
What if I don’t have many decorative items for the display?
Don’t worry if you’re short on decorative elements. A clean, organized display of the gifts themselves can be beautiful. Focus on immaculate sorting, clear categorization, and thoughtful arrangement. White tablecloths and good lighting can create an elegant, minimalist look.
Is it acceptable to mix wrapped and unwrapped gifts in the display?
While possible, it’s generally best to keep the display consistent. If some gifts must remain wrapped, consider creating a separate, designated “wrapped gift” area. This maintains the clean, organized look of your unwrapped display and avoids a cluttered appearance.
Our Top Recommended Finds
- Decorative Woven Baskets: Perfect for grouping smaller items like bath supplies or pacifiers, adding texture and order.
- Crisp White Tablecloths: A clean, neutral base that makes any gift stand out and provides a cohesive look regardless of your theme.
- Clear Acrylic Risers: Essential for creating varying heights and visual layers, making your display dynamic and professional without distraction.
Transforming Chaos into Celebration: Your Beautiful Baby Shower Display Awaits
Creating a beautiful display of unwrapped baby shower gifts is more than just organizing; it’s about celebrating the upcoming arrival and the generosity of your loved ones. You’ve now got all the tools to turn a potential pile into a stunning focal point.
This thoughtful presentation enhances the entire baby shower experience, making it memorable for everyone. Imagine the joy on the parents-to-be’s faces as they see all the love laid out. Don’t wait for the last minute; start envisioning your gorgeous display today!
Wedding Planning
No fluff, no drama. Just easy weekly advice, planning shortcuts, and gentle reminders to help you actually enjoy your engagement.