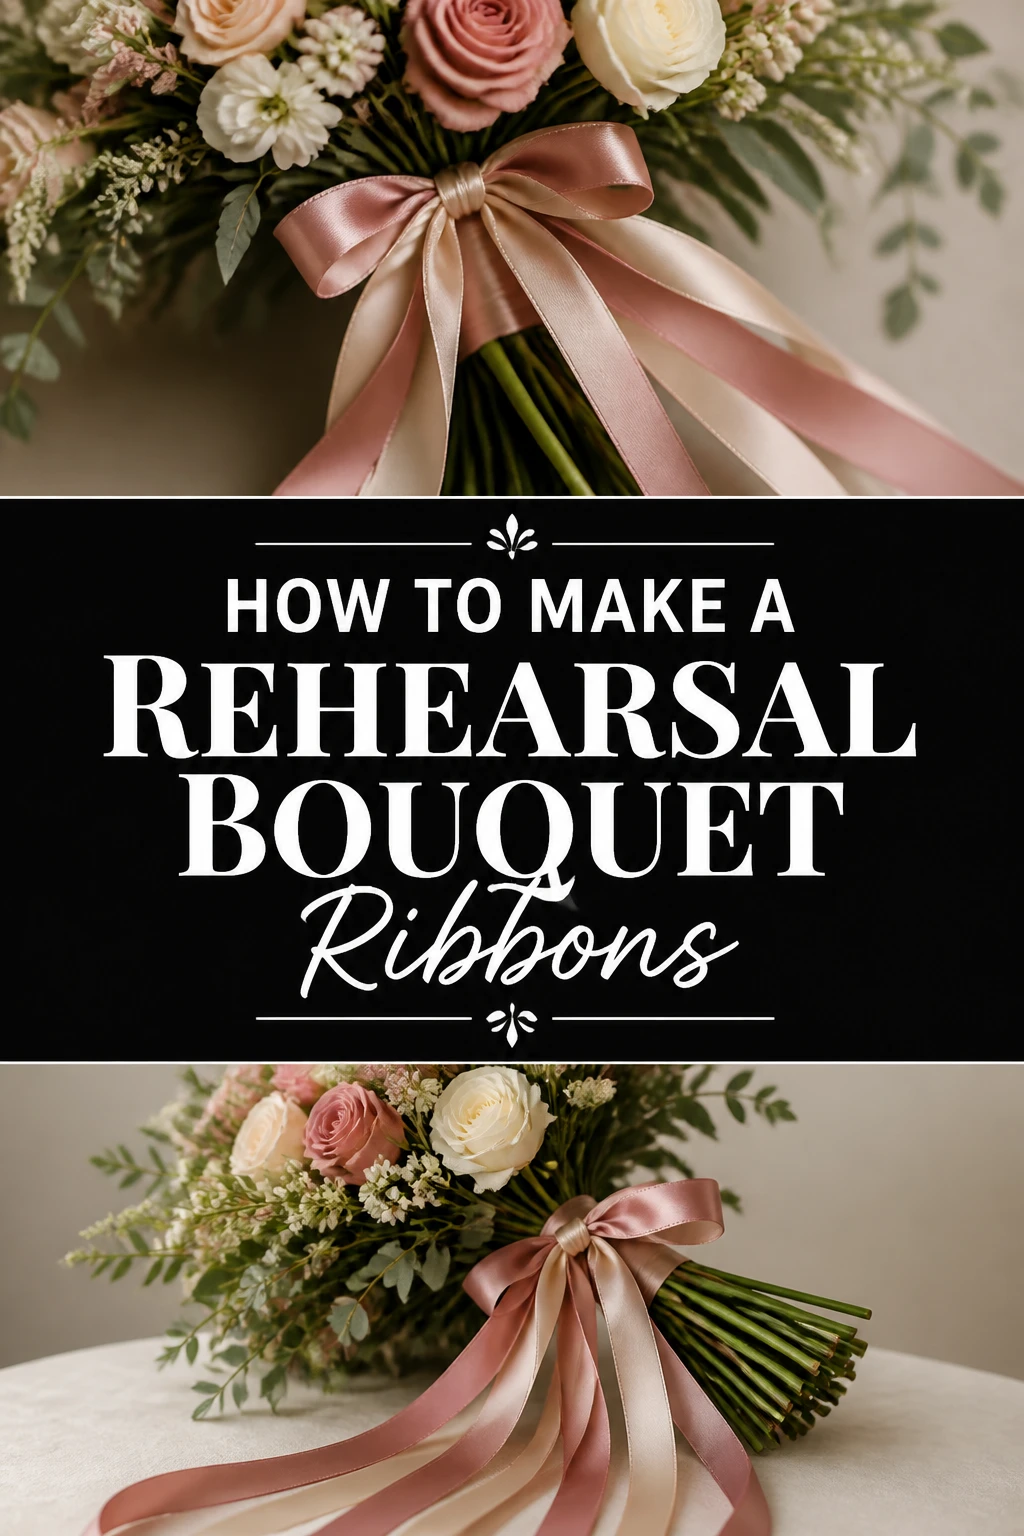
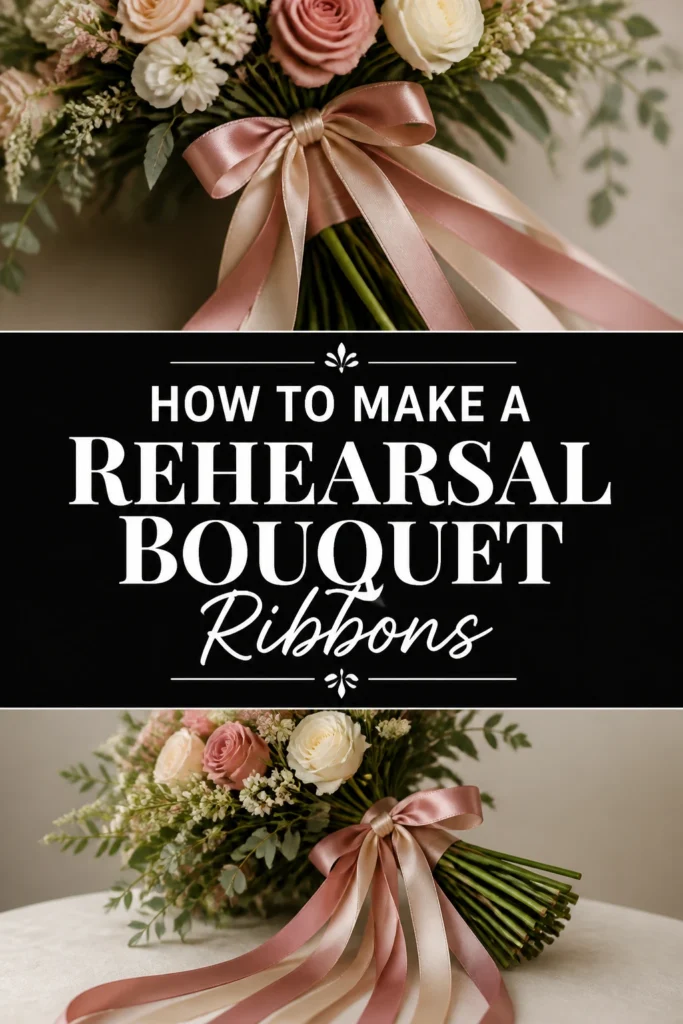
💐 How To Make A Rehearsal Bouquet Ribbons

Wedding Planning
No fluff, no drama. Just easy weekly advice, planning shortcuts, and gentle reminders to help you actually enjoy your engagement.
Planning a rehearsal dinner often involves many small, thoughtful touches.
I remember feeling overwhelmed by all the details for my own wedding rehearsal, but creating a beautiful rehearsal bouquet was a simple, joyful task that made a big impact.
This guide shares my practical experience, helping you craft elegant ribbons that will elevate any rehearsal bouquet.
Quick Overview
You are about to learn how to create stunning ribbon accents for a rehearsal bouquet, adding a personalized and elegant touch without stress.
- Time needed: 45-75 minutes
- Difficulty: Beginner
- What you’ll need: Various ribbons, scissors, floral tape, pins, and an optional charm or locket.
Step-by-Step Instructions
Step 1: Gather Your Materials
Collect all your chosen ribbons. Consider different textures and widths that complement your wedding colors or the rehearsal dinner theme.
Lay them out to visualize how they will look together.
Ensure you have sharp scissors, floral tape, and a few corsage pins readily available.
Pro Tip: Choose ribbons in varying lengths. Some can be shorter, designed to peek out, while others should drape elegantly for a more dramatic effect.
Step 2: Determine Ribbon Lengths
Decide on the desired length for each ribbon strand. A good starting point is to have them long enough to extend past the bouquet’s base by at least 12-18 inches.
Consider the height of the person carrying the bouquet and how much drape you prefer.
Cut each ribbon to its individual length, adding a few extra inches for trimming later.
Step 3: Prepare the Ribbon Ends
Finish the ends of your ribbons to prevent fraying and add a polished look. You can cut them at an angle, in a V-shape, or even use a fabric sealant.
Angled cuts are classic and easy to achieve with sharp scissors.
A V-cut adds a touch of sophistication and is simple to master.
Step 4: Layer and Arrange Ribbons
Group your ribbons together at one end. Start with your widest or most dominant ribbon, then layer thinner or accent ribbons on top.
Experiment with the order until you like the arrangement.
Hold them firmly together at the point where they will attach to the bouquet stem.
Pro Tip: Mix textures like satin, velvet, organza, and grosgrain for visual interest and depth. This creates a richer, more luxurious feel.
Step 5: Secure the Ribbon Bundle
Wrap the gathered end of your ribbon bundle tightly with floral tape. Start about an inch down from the top edge of the ribbons.
Overlap the tape as you go, extending about 2-3 inches down the bundle.
This creates a secure anchor point that will attach easily to the bouquet stem.
Step 6: Attach to the Rehearsal Bouquet
Integrate the ribbon bundle with your rehearsal bouquet. If using a pre-made bouquet, gently tuck the taped end of the ribbons into the existing wrapped stem.
For a DIY bouquet, incorporate the ribbons during the final wrapping of the stems.
Ensure the ribbons hang freely and are not tangled.
Step 7: Finalize the Attachment
Reinforce the attachment point. Use a corsage pin or two, pushing them through the floral tape and into the bouquet’s stem wrapping.
This prevents the ribbons from shifting or falling during the rehearsal.
Make sure the pins are securely hidden within the layers of ribbon or tape.
Step 8: Add Personal Touches (Optional)
Enhance your ribbons with a personal charm or locket. You can tie it onto one of the longer ribbons or attach it directly to the floral tape with a small jump ring.
This adds sentimental value and a unique detail.
Consider a small photo locket or a charm representing something meaningful to the couple.
Step 9: Adjust and Refine
Inspect the overall look of your rehearsal bouquet ribbons. Gently separate any ribbons that are sticking together.
Trim any uneven ends or adjust the drape as needed.
Stand back and ensure the ribbons fall beautifully and complement the bouquet.
Common Mistakes to Avoid
Using Too Few Ribbons
Sometimes, people opt for just one or two ribbons, thinking simplicity is key. However, a rehearsal bouquet often benefits from a fuller, more luxurious cascade of ribbons.
Too few ribbons can look sparse and less intentional.
Aim for at least 4-6 different ribbons to create volume and visual interest, even if some are very thin.
Incorrect Ribbon Lengths
Cutting all your ribbons to the exact same length can result in a stiff, uniform appearance that lacks natural flow. Ribbons should ideally have varying lengths.
Some should be shorter to add texture near the bouquet’s base, while others should be longer to create a graceful drape.
Always consider the overall silhouette you want to achieve.
Skipping End Finishing
Leaving ribbon ends raw or simply cut straight can lead to fraying, especially with satin or silk ribbons. This quickly makes the bouquet look unkempt.
Always take the extra minute to cut ends at an angle, a V-shape, or use a fabric sealant.
This small step significantly enhances the professionalism and longevity of your design.
Insecure Attachment
A common oversight is not securely attaching the ribbon bundle to the bouquet. If not taped and pinned firmly, the ribbons can slip, twist, or even detach during handling.
Always use ample floral tape to create a strong anchor point.
Follow up with one or two corsage pins pushed deep into the bouquet’s stem wrap for added stability.
Troubleshooting
Ribbons Keep Slipping or Twisting
If your ribbons aren’t staying in place, the initial floral tape wrap might not have been tight enough or extensive enough. The ribbons need a firm base.
Remove the ribbons, re-bundle them, and wrap the top 2-3 inches with floral tape, pulling it taut as you go.
Ensure you’re also using corsage pins to secure the entire bundle into the bouquet’s stem wrapping.
Ribbons Look Flat or Lifeless
This usually happens when all ribbons are the same width, material, or length, or when there aren’t enough ribbons used. A lack of variation can make the design appear one-dimensional.
Consider adding more ribbons of different widths and textures, such as sheer organza or textured grosgrain, to create more visual depth.
Varying the lengths will also introduce movement and volume, making the ribbons appear fuller and more dynamic.
Ends are Fraying
Fraying often occurs with natural fiber ribbons or if the ends weren’t properly sealed or cut. Even a slight tug can start the unraveling process.
Trim the frayed ends cleanly with sharp scissors, cutting at a sharp angle or into a V-shape.
For extra protection, apply a small amount of clear fabric sealant (like Fray Check) to the newly cut edges and allow it to dry completely.
Key Takeaways
- Vary ribbon lengths and textures for a dynamic, elegant drape.
- Always finish ribbon ends to prevent fraying and maintain a polished look.
- Use floral tape and corsage pins for a secure, long-lasting attachment.
- Personalize your ribbons with charms or lockets for sentimental value.
- Practice layering and arrangement to achieve your desired aesthetic.
- Don’t underestimate the impact of varied widths and materials for visual richness.
Frequently Asked Questions
What types of ribbons are best for a rehearsal bouquet?
Satin, silk, chiffon, velvet, and grosgrain ribbons are all excellent choices. Mixing textures like a smooth satin with a sheer organza creates beautiful contrast and dimension.
Consider the overall style of your wedding and rehearsal dinner to guide your choices.
How long should the ribbons be?
A good starting point is to have the longest ribbons extend 12-18 inches below the base of the bouquet. However, vary the lengths so some are shorter, creating layers and movement.
The ideal length can also depend on the size of the bouquet and the desired dramatic effect.
Can I use pre-made ribbon bundles?
While pre-made ribbon bundles exist, creating your own allows for complete customization in terms of color, texture, and length. This ensures a unique look that perfectly matches your vision.
DIY bundles are often more personal and cost-effective than custom-ordered options.
How do I prevent ribbons from wrinkling?
Store your finished bouquet or ribbon bundle carefully, ideally hanging it or laying it flat in a protective box. If wrinkles appear, gently steam the ribbons from a distance.
Avoid direct heat or ironing unless you know the fabric can withstand it, as some delicate materials can melt or scorch.
Crafting Elegance for Your Special Day
Creating rehearsal bouquet ribbons is more than just a craft; it’s an opportunity to infuse personal style and heartfelt detail into your celebration.
These simple steps transform ordinary ribbons into a beautiful cascade, adding a touch of grace to the rehearsal dinner.
Consider exploring different color palettes or incorporating meaningful family heirlooms into your design for an even more personal touch.
Start gathering your favorite ribbons today and enjoy the rewarding process of making something truly special.
Wedding Planning
No fluff, no drama. Just easy weekly advice, planning shortcuts, and gentle reminders to help you actually enjoy your engagement.