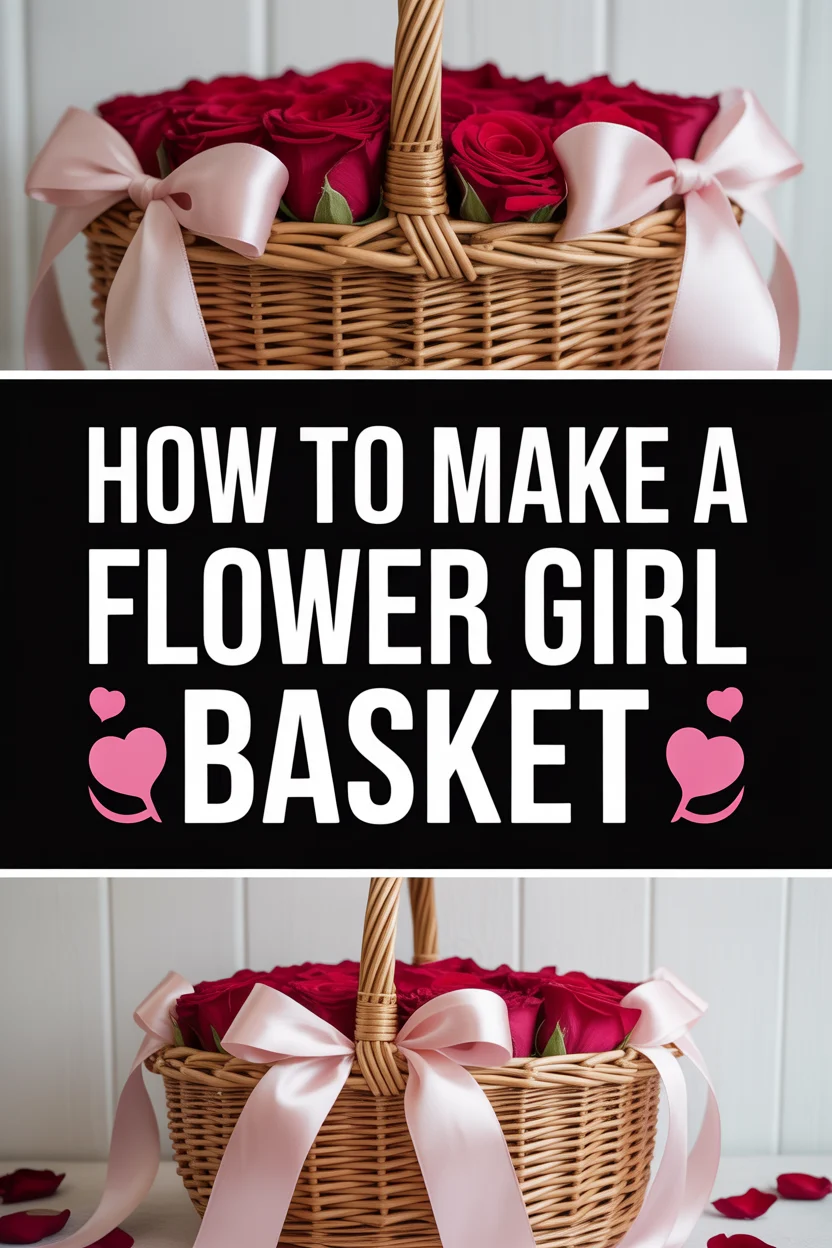
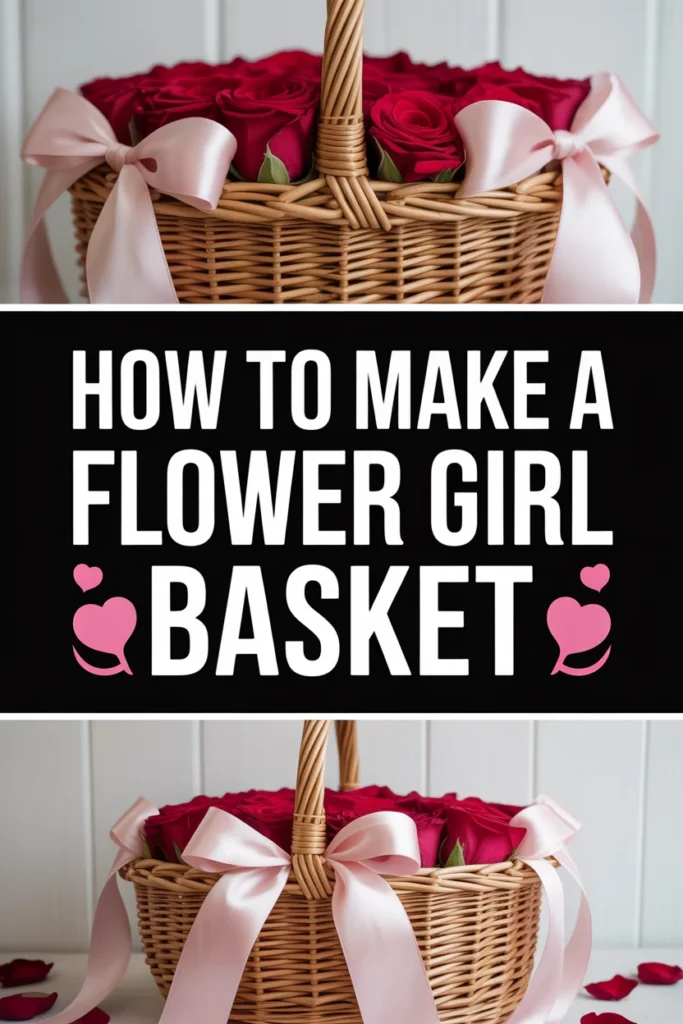
🌸 How To Make A Flower Girl Basket

Wedding Planning
No fluff, no drama. Just easy weekly advice, planning shortcuts, and gentle reminders to help you actually enjoy your engagement.
Creating a flower girl basket adds a special, personal touch to any wedding day.
I remember making one for my niece, and the joy on her face holding a basket crafted just for her was priceless.
This guide draws on hands-on experience to help you make your own beautiful basket with confidence.
Quick Overview
You’re about to craft a charming flower girl basket, perfect for a wedding’s big day.
This project allows for creativity and personalization, making it a truly unique accessory.
- Time needed: 2-4 hours (depending on design complexity)
- Difficulty: Beginner
- What you’ll need: A basket, various ribbons, fabric for lining, floral wire, scissors, hot glue gun, and chosen embellishments.
Step-by-Step Instructions
Step 1: Gather Your Supplies
Before you begin, ensure you have all your materials ready and organized.
Having everything at hand makes the crafting process much smoother and more enjoyable.
- Select a sturdy basket. Woven wicker or straw baskets are popular choices.
- Choose ribbons in wedding colors. Satin, grosgrain, or lace ribbons work well.
- Pick a fabric for the lining. Silk, satin, or tulle are elegant options.
- Gather embellishments like artificial flowers, pearls, rhinestones, or small charms.
- Ensure you have essential tools: sharp scissors, a hot glue gun with plenty of glue sticks, and floral wire if using artificial flowers.
Pro Tip: Lay out all your chosen items together to see if the colors and textures complement each other before you start cutting or gluing. This helps visualize the final look.
Step 2: Prepare the Basket
Start by giving your chosen basket a clean foundation.
A little preparation here ensures your decorations adhere well and last.
- Clean the basket thoroughly. Use a dry cloth to wipe away any dust or debris from inside and out.
- Inspect for any loose strands or rough edges. Trim them carefully with scissors to prevent snags.
- Consider a base coat if desired. For a painted basket, apply a thin layer of spray paint and let it dry completely.
Step 3: Line the Basket
Adding a fabric lining gives the basket a softer, more luxurious feel and helps contain petals.
This step also hides any imperfections of the basket’s interior.
- Measure the basket’s interior. You’ll need enough fabric to cover the bottom and sides, with some overhang.
- Cut your chosen fabric. Create a circle or square for the bottom and a long strip for the sides.
- Attach the lining using hot glue. Start by securing the bottom piece, then carefully glue the side strip around the interior perimeter.
- Smooth out any wrinkles as you go. Fold the top edge of the fabric over the basket’s rim and glue it down neatly for a finished look.
Pro Tip: For a more gathered or ruffled look, cut the side fabric strip slightly longer than needed and gently pleat it as you glue it into place.
Step 4: Decorate the Handle
The handle is a prominent feature and offers a great opportunity for decoration.
Wrapping it with ribbon creates a soft, elegant grip.
- Choose a ribbon for wrapping the handle. A wider satin ribbon often works best for full coverage.
- Secure one end of the ribbon to the base of the handle with a small dab of hot glue.
- Wrap the ribbon tightly and evenly around the entire handle. Overlap each wrap slightly to prevent gaps.
- Finish by securing the other end of the ribbon to the handle’s base with glue. Trim any excess neatly.
Step 5: Add Outer Embellishments
Now comes the fun part: bringing your basket to life with decorative elements.
This is where your personal style truly shines through.
- Arrange artificial flowers or greenery. Create small clusters or a single focal point on the basket’s exterior.
- Attach these elements with hot glue or floral wire. Ensure they are firmly secured and won’t fall off.
- Incorporate other details like pearls, rhinestones, or small charms. Place them strategically to enhance the design.
- Consider a delicate lace trim around the basket’s rim. Glue it carefully in place for an added touch of elegance.
Pro Tip: Before gluing anything permanently, experiment with different arrangements. Take a photo of your favorite layout to guide you.
Step 6: Create a Bow or Ribbon Detail
A well-placed bow adds a classic and charming finish to the basket.
It can be the centerpiece of your decoration.
- Fashion a bow from your chosen ribbon. You can make a simple loop bow or a more elaborate multi-loop design.
- Attach the bow to the basket. A popular spot is where the handle meets the basket, or centered on the front.
- Secure the bow firmly with hot glue. Make sure it’s straight and symmetrical.
- Drape additional ribbons if desired. Let them hang gracefully from the bow or around the basket’s sides.
Step 7: Consider Inner Details
While the outside is beautiful, the inside can also hold a little secret charm.
These small details add to the overall thoughtfulness of the basket.
- Place a small pillow or cushion inside for petals to rest on. This also adds a plush touch.
- Glue a small decorative element. A single pearl or tiny flower hidden inside adds a sweet surprise.
- Ensure the interior is smooth. Double-check that no glue residue or rough edges could snag the flower girl’s dress.
Step 8: Final Touches and Inspection
A thorough final check ensures your basket is perfect and ready for its important role.
This step guarantees durability and beauty.
- Examine all glued areas. Press down on any embellishments that feel loose to ensure they are secure.
- Trim any stray threads or visible glue strings. Use fine scissors for precision.
- Check the handle’s stability. Make sure it feels strong enough to be carried comfortably by a little one.
- Wipe down the basket gently with a clean, dry cloth to remove any fingerprints or dust.
Common Mistakes to Avoid
Over-Decorating
It’s easy to get carried away with all the beautiful embellishments available. Too many elements can make the basket look cluttered and detract from its elegance. Aim for a balanced design, allowing each decoration to stand out without competing for attention.
Choosing the Wrong Size Basket
A basket that is too large can be cumbersome for a small flower girl to carry. Conversely, one that’s too small might not hold enough petals or look proportional. Consider the age and size of the flower girl when selecting your base basket to ensure comfort and visual appeal.
Forgetting Durability
Flower girls, especially young ones, can be quite active. If embellishments aren’t securely attached, they risk falling off during the ceremony. Always use ample hot glue, and consider reinforcing heavier items with floral wire to ensure everything stays in place.
Rushing the Glue/Drying Process
Patience is key when working with adhesives. Applying too much pressure or moving components before the glue has fully set can lead to weak bonds or shifting decorations. Allow each glued section sufficient time to dry and cure, especially for critical attachments.
Troubleshooting
Ribbon Unraveling
If your ribbon edges start to fray or unravel, you can quickly fix this. Apply a tiny dot of clear fabric glue or a clear nail polish to the very edge of the ribbon. This seals the fibers and prevents further unraveling, keeping your design crisp.
Embellishments Falling Off
Should an embellishment come loose, reattach it promptly. Clean off any old glue residue from both the embellishment and the basket. Apply a fresh, generous amount of hot glue to the back of the embellishment and press it firmly into place, holding it until the glue sets.
Basket Feeling Flimsy
If the basket itself feels less sturdy than desired, especially the handle, you can reinforce it. Wrap the handle more tightly with an additional layer of ribbon, securing both ends with extra glue. For a woven basket, a thin layer of clear craft sealant can add rigidity to the entire structure.
Key Takeaways
- Preparation is crucial; gather all supplies before starting.
- Measure and cut fabric carefully for a neat basket lining.
- Wrap the handle securely for both beauty and comfort.
- Layer embellishments thoughtfully to avoid an overcrowded look.
- Use hot glue generously but precisely to ensure durability.
- Always perform a final check for loose items or rough edges.
Frequently Asked Questions
What kind of basket is best for a flower girl?
Woven wicker, straw, or even small metal baskets are excellent choices. Look for one with a comfortable handle and a size appropriate for a young child to carry easily. The style should also complement the overall wedding theme.
How much ribbon do I need for the handle and decorations?
It’s always better to have more than you think you’ll need. For wrapping a standard basket handle, about 2-3 yards of ribbon is a good starting point. For bows and additional embellishments, an extra 5-10 yards, depending on complexity, is advisable.
Can I use fresh flowers instead of artificial ones?
Yes, you can use fresh flowers, but there are considerations. They will need to be added on the day of the wedding to ensure freshness. You might also want to use floral foam or water tubes hidden within the basket to keep them hydrated, which adds weight.
How far in advance can I make the flower girl basket?
If you’re using artificial flowers and durable materials, you can make the basket several weeks or even months in advance. Store it in a cool, dry place away from direct sunlight to preserve its colors and condition until the big day.
Our Top Recommended Finds
- High-Temperature Hot Glue Gun Kit: Essential for secure, quick adhesion of all your decorations. Look for one with fine-tip nozzles.
- Assorted Satin Ribbon Pack: Provides a variety of colors and widths, giving you flexibility to match any wedding palette.
- Faux Flower Assortment: Offers realistic-looking blooms in various sizes, perfect for long-lasting, beautiful embellishments without the worry of wilting.
Crafting Memories, One Petal At A Time
You now have the tools and confidence to create a beautiful flower girl basket.
This handmade item will be a cherished part of a truly special day.
Why not gather your supplies this week and start bringing your vision to life?
Wedding Planning
No fluff, no drama. Just easy weekly advice, planning shortcuts, and gentle reminders to help you actually enjoy your engagement.