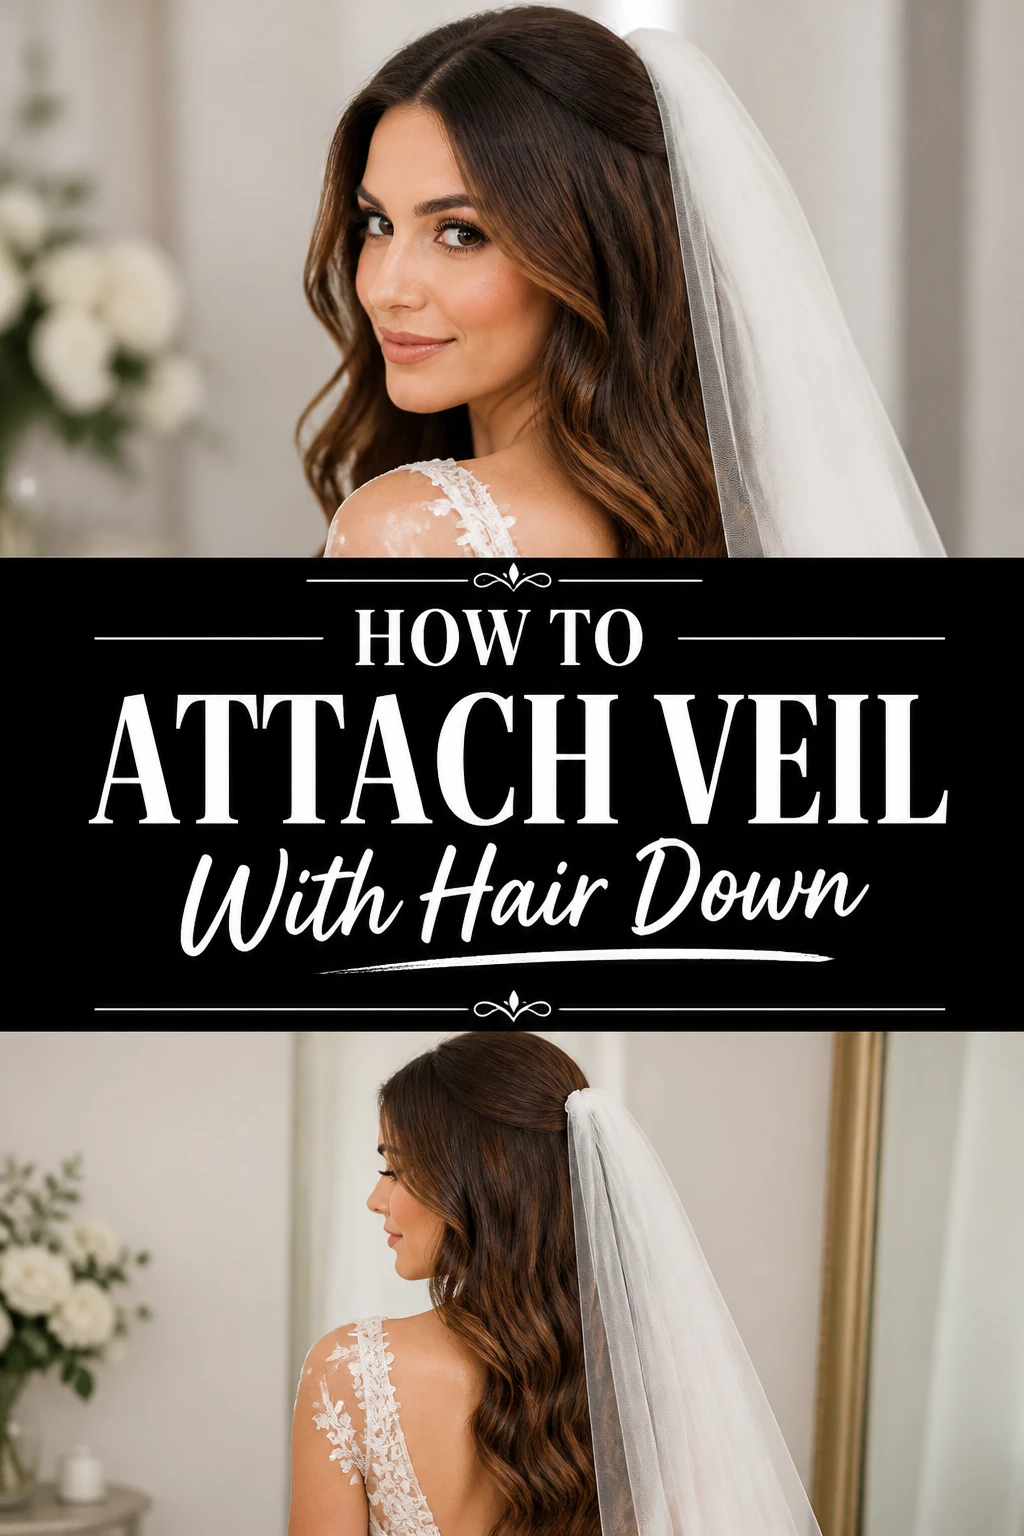
👰♀️ How To Attach Veil With Hair Down

Wedding Planning
No fluff, no drama. Just easy weekly advice, planning shortcuts, and gentle reminders to help you actually enjoy your engagement.
Many brides dream of wearing their hair down on their special day, flowing beautifully around their shoulders. It’s a look that combines romance with natural elegance. Successfully attaching a veil to loose hair can seem tricky, but it is absolutely achievable with the right technique. I’ve personally guided countless individuals through this process, ensuring their veil stays perfectly in place all day.
This guide provides practical, step-by-step instructions based on years of experience. You’ll learn how to secure your veil confidently and beautifully, even with your hair down.
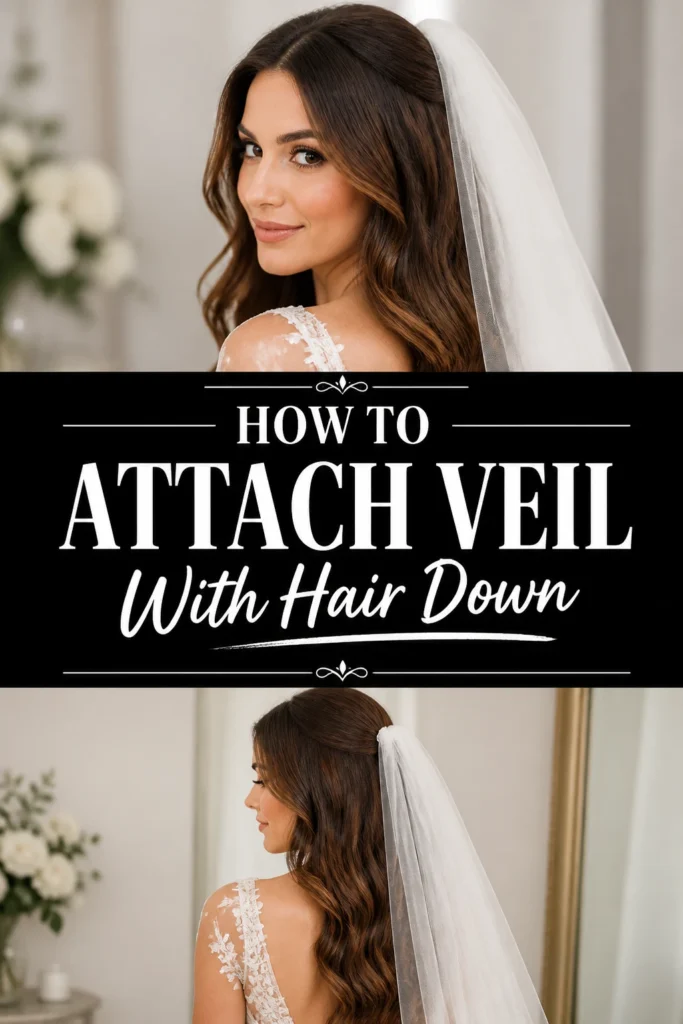
Quick Overview
This guide will walk you through preparing your hair, choosing the right placement, and securely attaching your veil. You’ll master techniques to keep it stable and stunning throughout your event.
- Time needed: 20-30 minutes (initial setup), 5-10 minutes (daily practice)
- Difficulty: Beginner
- What you’ll need: Veil, bobby pins, teasing comb, strong hold hairspray, optional small elastic band or clear hair ties.
Step-by-Step Instructions
Step 1: Gather Your Tools
Before you begin, lay out all your necessary items within easy reach. This prevents frantic searching mid-process. Having everything organized makes the attachment smoother and more efficient.
You will need your veil, a good quality teasing comb, plenty of bobby pins (choose a color that blends with your hair), and a strong-hold hairspray. If your hair is particularly fine or slippery, consider having a few small elastic bands or clear hair ties on hand.
Step 2: Prepare Your Hair
Your hair should be styled exactly how you intend to wear it for the event before attaching the veil. This means it should be curled, straightened, or waved as desired. Trying to style your hair after the veil is in place can dislodge it.
Ensure your hair is completely dry and has a good texture. If your hair is very soft or silky, a light texturizing spray or dry shampoo can provide a little grip. This initial preparation is key to a secure foundation.
Step 3: Identify the Veil’s Attachment
Most veils come with an attached comb. This comb is usually made of clear plastic or metal, and it’s the primary way the veil connects to your hair. Take a moment to examine it.
Some veils might have loops or clips instead of a comb. Understanding how your specific veil is designed to attach will guide your technique. If it’s a comb, note its size and the direction of the teeth.
Pro Tip: If your veil comb feels flimsy or has sharp edges, you can gently wrap the metal prongs with a thin ribbon or floral tape. This adds comfort and a little extra grip.
Step 4: Choose the Placement
Decide exactly where on your head you want the veil to sit. Common placements include the crown of the head, the back of the head, or lower down towards the nape. Consider your hairstyle and the overall look you want to achieve.
A higher placement at the crown can add volume and drama, while a lower placement creates a more understated, romantic feel. Experiment with different spots in front of a mirror to find your ideal position. Mark this spot mentally or with a temporary clip.
Step 5: Create a Secure Base
This is the most critical step for attaching a veil with hair down. Loose hair alone often lacks the structure to hold a veil securely. You need to build a “nest” or a “shelf” for the comb to rest in.
First, identify the section of hair where the veil comb will sit. Take a small, horizontal section of hair about 1-2 inches wide, directly where the veil will be placed. Lift this section up.
Now, use your teasing comb to backcomb or “tease” the underside of this section vigorously. Focus on the roots, creating a dense, tangled cushion. Spray this teased section with strong-hold hairspray.
Alternatively, for extremely fine hair, you can create a small, tight horizontal braid in that section. Secure the ends of the braid with a clear elastic. This braid provides an incredibly strong anchor for the veil comb.
Pro Tip: For extra security, after teasing, you can create a small “ponytail” with the teased section using a clear elastic. This creates a very firm base for the comb to slide into. Make sure it’s concealed by the surrounding hair.
Step 6: Insert the Veil Comb
With your secure base prepared, carefully take your veil. Hold the veil comb with the teeth facing downwards, towards your scalp. Gently slide the comb into the teased section of hair.
The teeth of the comb should catch onto the teased hair or weave into the small braid you created. Push it in until it feels snug and secure. The comb should be fully embedded in your hair, not just resting on top.
Step 7: Secure with Pins
Once the veil comb is in place, you’ll reinforce its hold with bobby pins. This is where the magic happens for stability. Take a bobby pin and insert it horizontally through the fabric loop of the veil comb, then push it into the teased hair beneath.
Angle the bobby pin downwards, away from the comb, and into the hair. Use a criss-cross pattern for maximum security. For example, insert one bobby pin from the left side through the comb and into the hair, then another from the right side through the comb and into the hair, crossing over the first pin.
Use at least 4-6 bobby pins, depending on the weight of your veil and the security needed. Ensure each pin is firmly anchored into the prepared hair base. The pins should be hidden from view as much as possible.
Step 8: Conceal the Attachment
After all the pins are in place, gently arrange the surrounding loose hair to cover the veil comb and bobby pins. You want the veil to appear as though it’s magically floating from your hair. Use your fingers or a wide-tooth comb to smooth the hair over the attachment point.
A light mist of hairspray can help keep these concealing strands in place. Ensure no pins or the comb itself are visible from any angle. Have someone check from all sides, including from above.
Step 9: Final Adjustments and Hold
Once the veil is attached and concealed, gently tug on it to test its stability. It should feel firm and not shift easily. If it feels loose, add more bobby pins or re-tease the base.
Finish by liberally spraying the entire attachment area with strong-hold hairspray. This will lock everything in place and prevent any stray hairs from coming loose. Stand still for a moment to allow the hairspray to dry and set.
Congratulations, your veil is now beautifully and securely attached to your hair down!
Common Mistakes to Avoid
Not Preparing the Hair Base
Many people try to slide the veil comb directly into loose, un-teased hair. This is a common error that almost guarantees the veil will slip or fall out. Loose hair lacks the necessary friction and structure to hold a comb securely, especially with movement. Always take the time to create a strong, teased, and sprayed foundation for the comb.
Using Too Few Pins or Incorrectly Placed Pins
Relying on just one or two bobby pins is often insufficient, particularly for heavier veils. Pins need to be inserted through the veil comb itself and anchored firmly into the prepared hair base. Simply pinning around the comb will not provide the necessary security. Always use at least 4-6 pins in a criss-cross pattern, ensuring they go through the comb’s loops and into the teased hair.
Placing the Veil Incorrectly
Choosing a placement that doesn’t suit your hair type or head shape can cause issues. For example, placing a heavy veil too high on very fine hair without a substantial base can make it top-heavy and unstable. Experiment with placement beforehand to ensure it feels balanced and looks right with your chosen hairstyle. Consider the weight of your veil when deciding on its position.
Forgetting Hairspray or Using Weak Hold Products
Hairspray is your best friend when attaching a veil to hair down. Skipping this step or using a light-hold spray will significantly reduce the longevity of your veil’s attachment. Strong-hold hairspray is crucial for locking in the teased base and setting the bobby pins. Apply it generously to the base before and after inserting the comb and pins.
Troubleshooting
Veil Feels Loose or Is Slipping
If your veil feels like it’s not securely attached or is starting to slip, the base might not be strong enough. Gently remove the veil and re-tease the section of hair where it will sit. Apply more strong-hold hairspray to the teased section. Consider adding a small, tight horizontal braid for extra grip if your hair is very fine. Re-insert the comb and use more bobby pins, ensuring they criss-cross through the comb’s loops and into the hair.
Veil Comb or Bobby Pins Are Showing
If you can see the attachment hardware, it detracts from the seamless look. Take a small section of hair from above the veil attachment and gently smooth it over the exposed comb and pins. You can use a fine-tooth comb to carefully pull a few strands over the area. A light mist of hairspray will help these strands stay in place, effectively concealing the hardware. Have someone check from various angles to ensure complete concealment.
Hair Gets Tangled During Attachment
Working with hair down can sometimes lead to tangles, especially when teasing or inserting pins. To prevent this, ensure your hair is thoroughly detangled before you start. Work in small, controlled sections when teasing and pinning. If a tangle occurs, gently use your fingers or a wide-tooth comb to work it out, being careful not to dislodge the veil. Avoid pulling too hard on the veil once it’s inserted, as this can create more tangles.
Key Takeaways
- Always prepare a strong, teased, and sprayed hair base for the veil comb.
- Use a minimum of 4-6 bobby pins, inserted in a criss-cross pattern through the veil comb and into the hair base.
- Choose your veil placement carefully, considering your hairstyle and the veil’s weight.
- Conceal the veil comb and bobby pins with surrounding hair for a seamless look.
- Strong-hold hairspray is essential for locking everything in place and providing lasting security.
- Practice the attachment process a few times before your event to build confidence and refine your technique.
Frequently Asked Questions
Can I attach the veil myself with hair down?
While it’s certainly possible to attach a veil yourself, especially after practicing, it’s often easier and more effective to have a trusted friend, family member, or professional stylist help you. They can ensure the placement is correct and that all pins are hidden from all angles, which is hard to do on your own.
What if my hair is very fine and doesn’t hold teasing well?
For very fine hair, teasing alone might not provide enough grip. In this case, create a small, tight horizontal braid in the section where the veil will sit. Secure the ends of this braid with clear elastic. The veil comb can then be inserted directly into this braid, providing a very strong anchor. Texturizing spray or dry shampoo can also help.
Does the color of the veil comb matter?
Ideally, the veil comb should be clear or match your hair color to blend in seamlessly. However, since the goal is to fully conceal the comb with your hair, its color becomes less critical. If it’s visible, you can gently wrap it with ribbon or use extra hair to cover it.
How long will the veil stay securely attached?
When attached correctly with a proper hair base, sufficient bobby pins, and strong-hold hairspray, a veil should stay securely in place for many hours, even through dancing and movement. Regular checks throughout the day can ensure it remains perfect.
Our Top Recommended Finds
- Strong Hold Hairspray: Look for a salon-quality hairspray specifically labeled “strong hold” or “extra firm hold.” This is crucial for lasting power.
- Good Quality Bobby Pins: Invest in pins that match your hair color and have a firm grip. Avoid flimsy, cheap pins that lose their tension quickly.
- Teasing Comb with a Tail: A comb with a fine-tooth end for teasing and a pointed tail for sectioning hair will be incredibly useful for precise application.
Embrace Your Radiant Look
Attaching your veil with your hair down is a beautiful choice that perfectly blends classic romance with modern elegance. With these detailed steps, you now have the knowledge and confidence to achieve this stunning look. Don’t let the fear of a slipping veil deter you from your dream hairstyle.
Take the time to practice these techniques before your big day or event. The more you practice, the more confident and skilled you’ll become. Your radiant, veil-adorned look is within reach. Start preparing today to ensure your hair and veil are picture-perfect!
Wedding Planning
No fluff, no drama. Just easy weekly advice, planning shortcuts, and gentle reminders to help you actually enjoy your engagement.