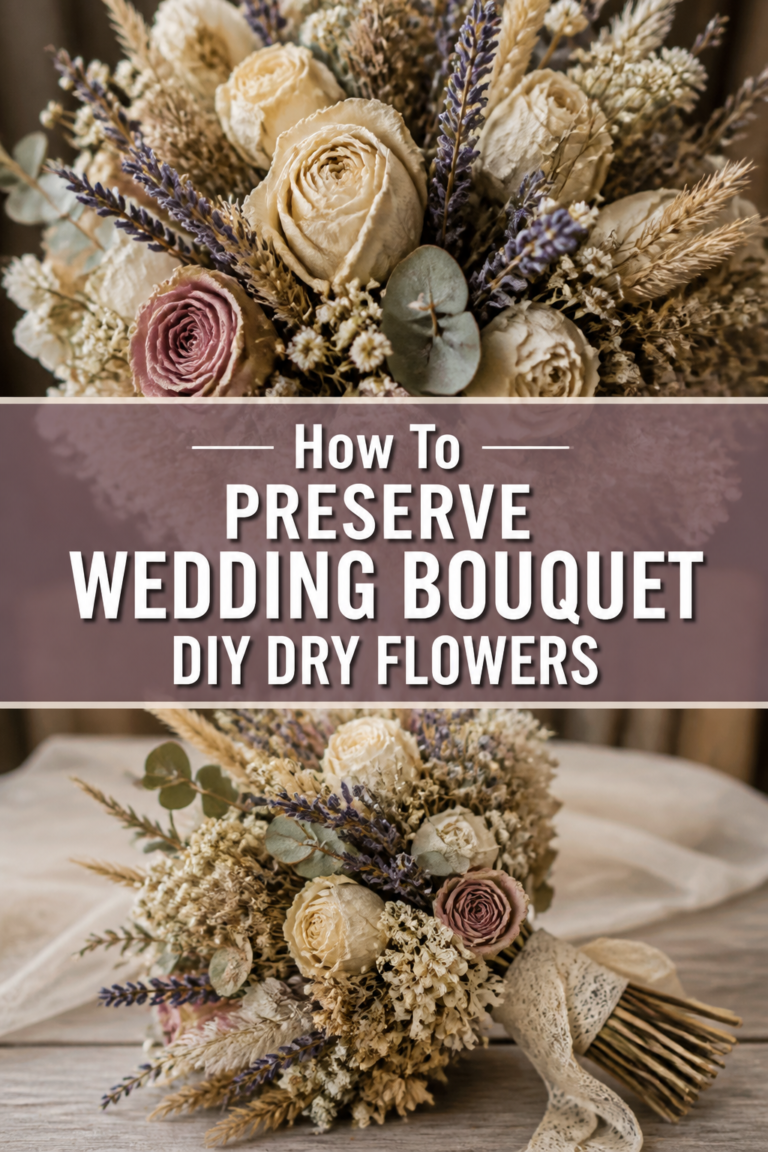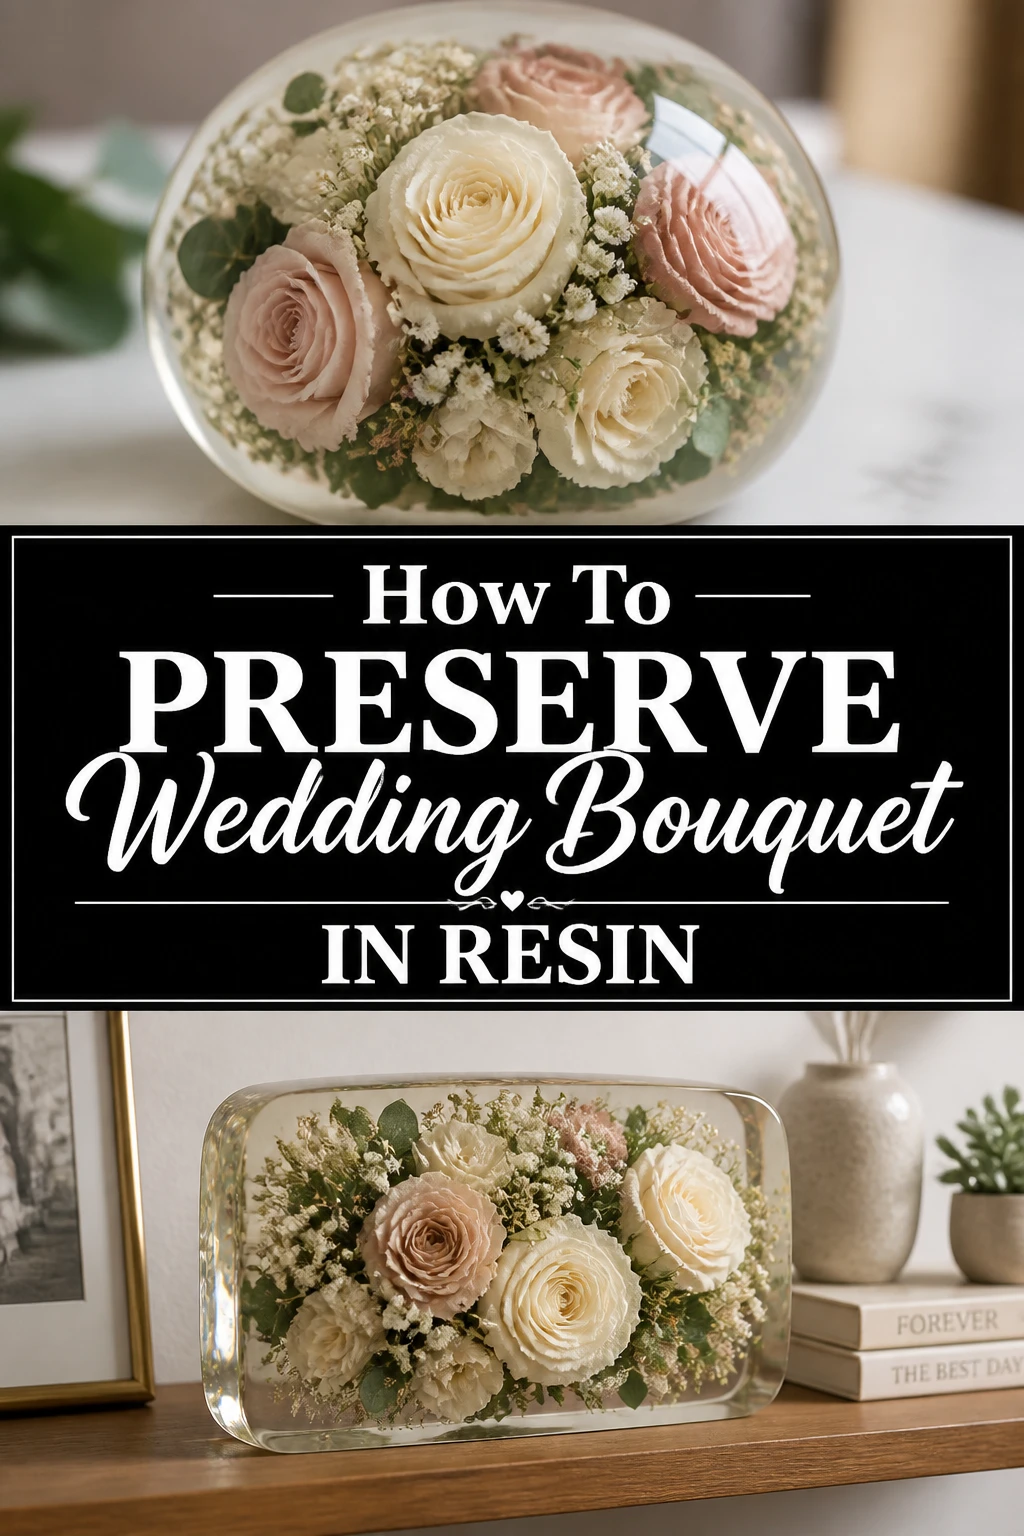
💐 How To Preserve Wedding Bouquet In Resin

Wedding Planning
No fluff, no drama. Just easy weekly advice, planning shortcuts, and gentle reminders to help you actually enjoy your engagement.
Your wedding bouquet is a beautiful collection of memories that usually fades within a week.
I remember staring at my own wilted roses days after my ceremony, wishing I could freeze that moment in time forever.
After years of perfecting the art of floral resin casting, I have developed a foolproof method to help you turn your bridal blooms into a crystal-clear heirloom.
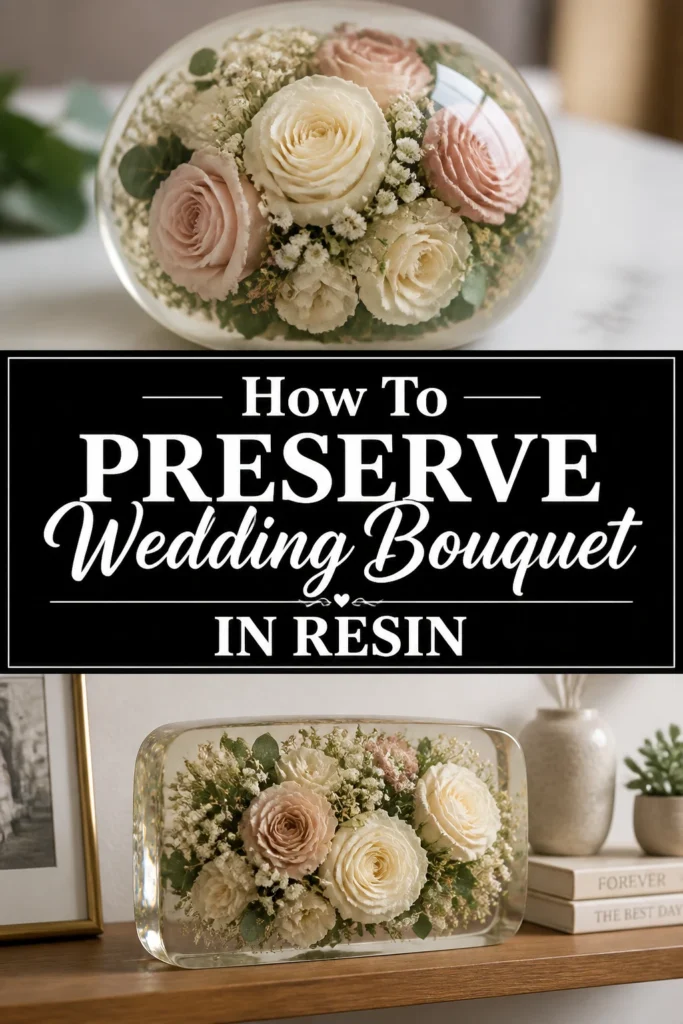
Quick Overview
Preserving flowers in resin is a slow, rewarding craft that requires patience and precision to avoid ruining your sentimental petals.
- Time needed: 3 to 4 weeks (including drying time and curing stages)
- Difficulty: Intermediate
- What you’ll need: Deep pour epoxy resin, silica gel crystals, airtight container, silicone mold, mixing cups, stir sticks, and safety gear.
Step-by-Step Instructions
Step 1: Dry Your Flowers Completely
Select the healthiest blooms from your bouquet as soon as the wedding is over to ensure the colors stay vibrant.
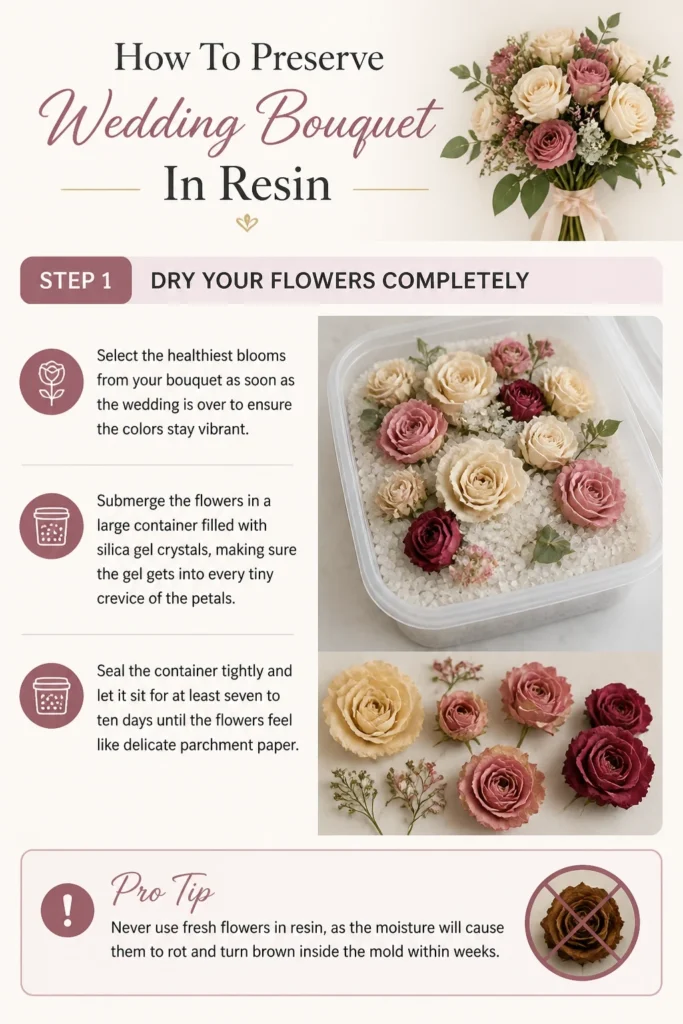
Submerge the flowers in a large container filled with silica gel crystals, making sure the gel gets into every tiny crevice of the petals.
Seal the container tightly and let it sit for at least seven to ten days until the flowers feel like delicate parchment paper.
Pro Tip: Never use fresh flowers in resin, as the moisture will cause them to rot and turn brown inside the mold within weeks.
Step 2: Prepare Your Workspace and Safety Gear
Set up your project in a well-ventilated room with a consistent temperature between 70 and 75 degrees Fahrenheit.
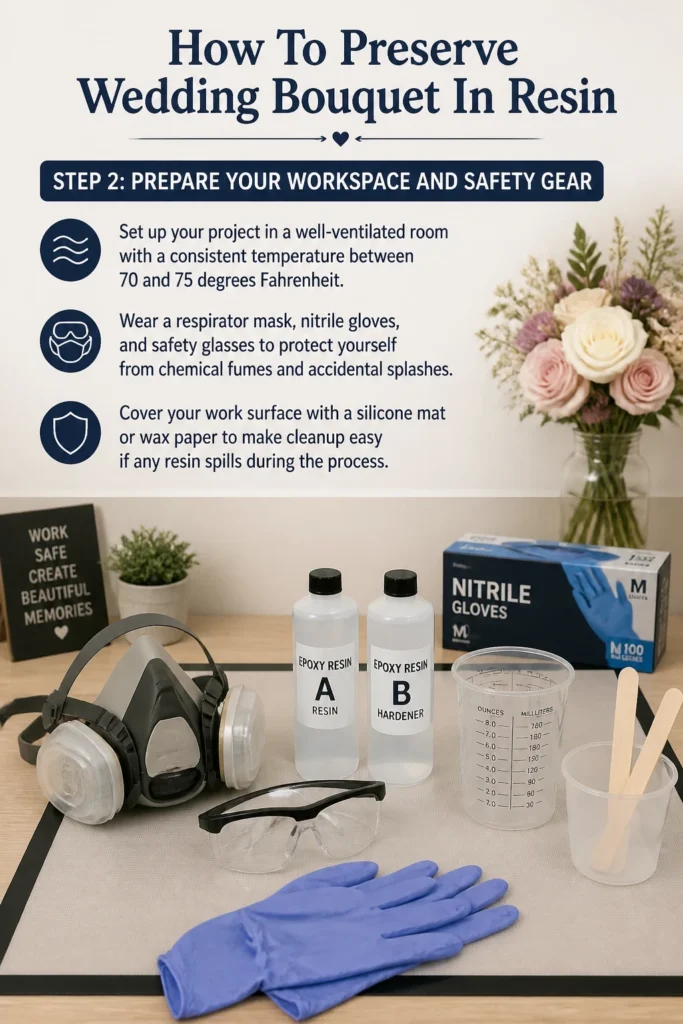
Wear a respirator mask, nitrile gloves, and safety glasses to protect yourself from chemical fumes and accidental splashes.
Cover your work surface with a silicone mat or wax paper to make cleanup easy if any resin spills during the process.
Step 3: Choose the Right Resin and Mold
Purchase a “Deep Pour” epoxy resin rather than a standard coating resin to prevent the project from overheating.
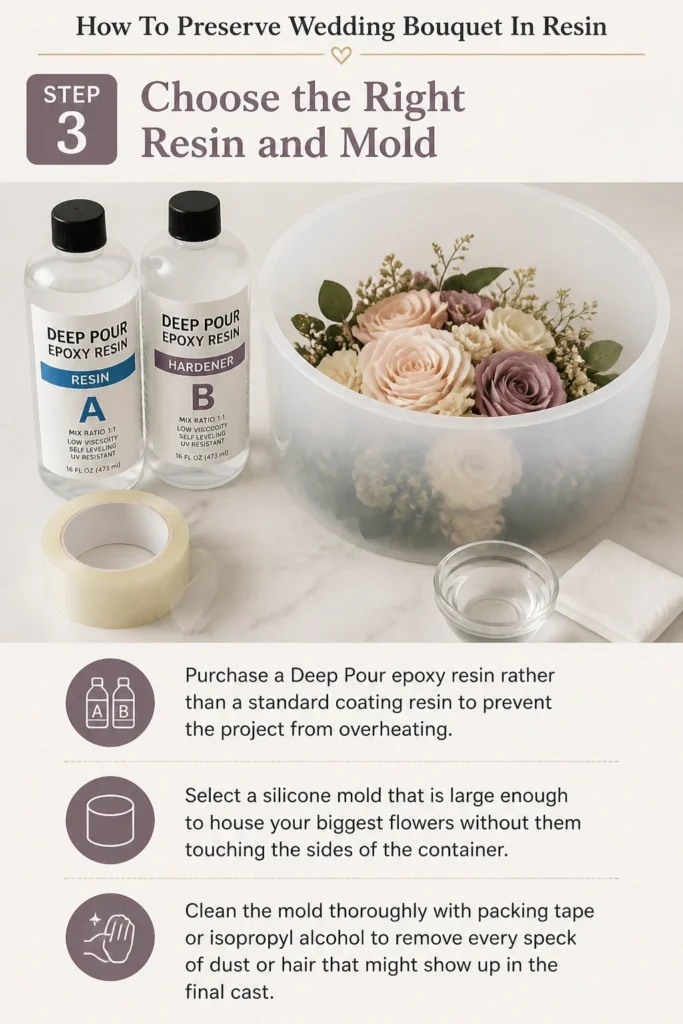
Select a silicone mold that is large enough to house your biggest flowers without them touching the sides of the container.
Clean the mold thoroughly with packing tape or isopropyl alcohol to remove every speck of dust or hair that might show up in the final cast.
Step 4: Measure and Mix the First Layer
Follow the manufacturer’s instructions exactly to measure the resin and hardener by volume or weight in a clean mixing cup.
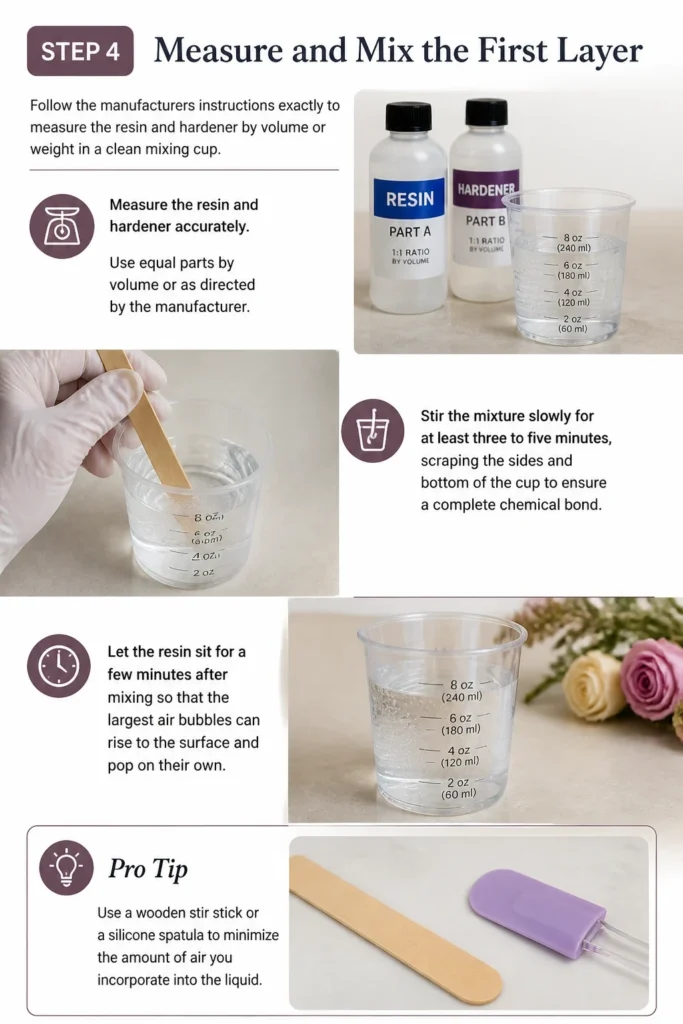
Stir the mixture slowly for at least three to five minutes, scraping the sides and bottom of the cup to ensure a complete chemical bond.
Let the resin sit for a few minutes after mixing so that the largest air bubbles can rise to the surface and pop on their own.
Pro Tip: Use a wooden stir stick or a silicone spatula to minimize the amount of air you incorporate into the liquid.
Step 5: Pour the Base Layer
Pour a thin layer of resin, about half an inch deep, into the bottom of your silicone mold.
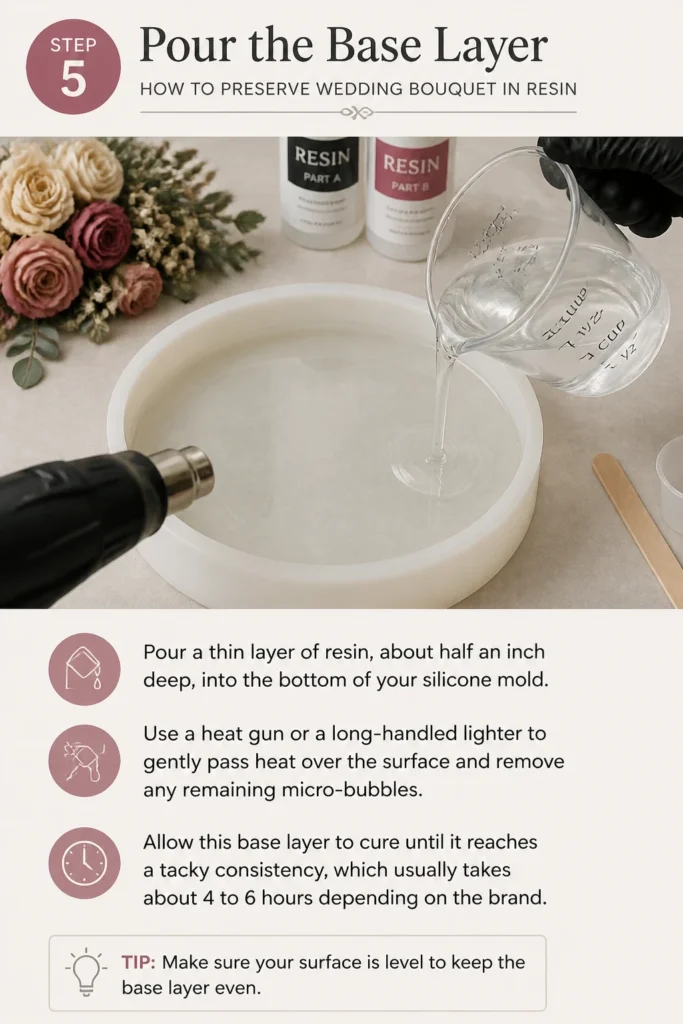
Use a heat gun or a long-handled lighter to gently pass heat over the surface and remove any remaining micro-bubbles.
Allow this base layer to cure until it reaches a “tacky” consistency, which usually takes about 4 to 6 hours depending on the brand.
Step 6: Arrange Your Dried Flowers
Place your dried flowers onto the tacky base layer, positioning them face down if you plan for the bottom of the mold to be the front of the piece.
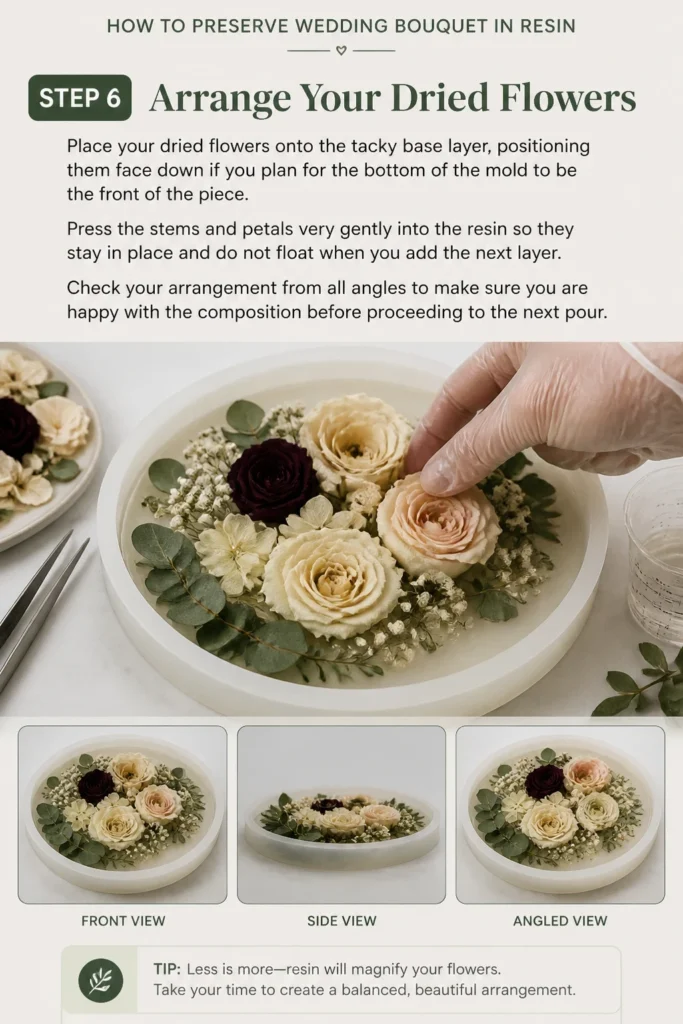
Press the stems and petals very gently into the resin so they stay in place and do not float when you add the next layer.
Check your arrangement from all angles to make sure you are happy with the composition before proceeding to the next pour.
Step 7: Pour in Multiple Stages
Mix a second batch of resin and pour it slowly over the flowers until they are partially submerged.
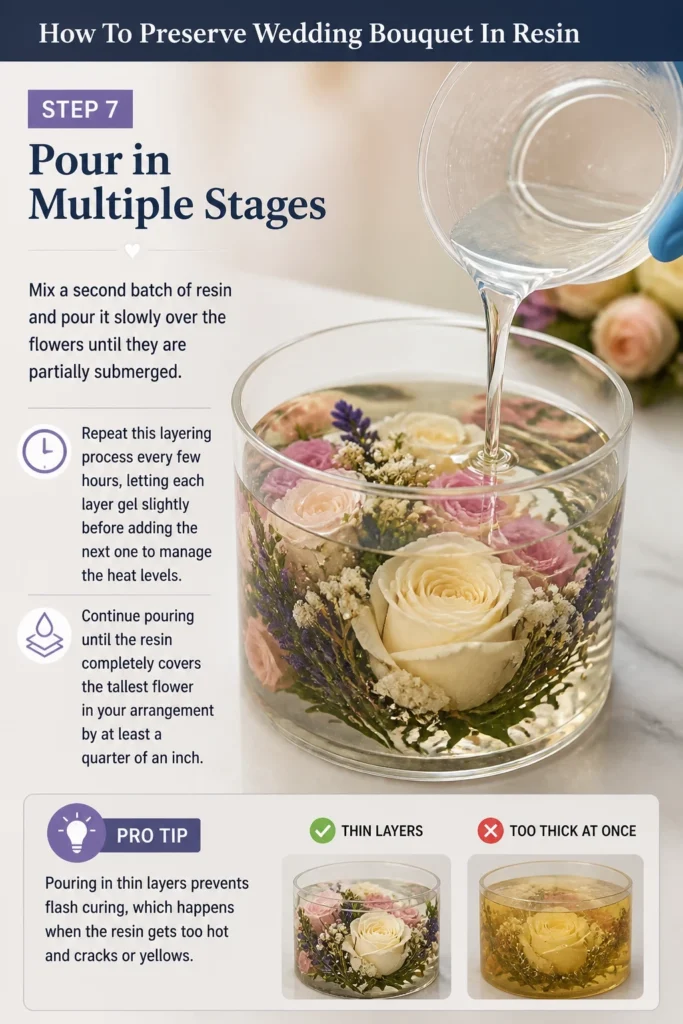
Repeat this layering process every few hours, letting each layer gel slightly before adding the next one to manage the heat levels.
Continue pouring until the resin completely covers the tallest flower in your arrangement by at least a quarter of an inch.
Pro Tip: Pouring in thin layers prevents “flash curing,” which happens when the resin gets too hot and cracks or yellows.
Step 8: Remove Bubbles and Debris
Inspect the mold for any trapped air bubbles that might be clinging to the underside of the flower petals or leaves.
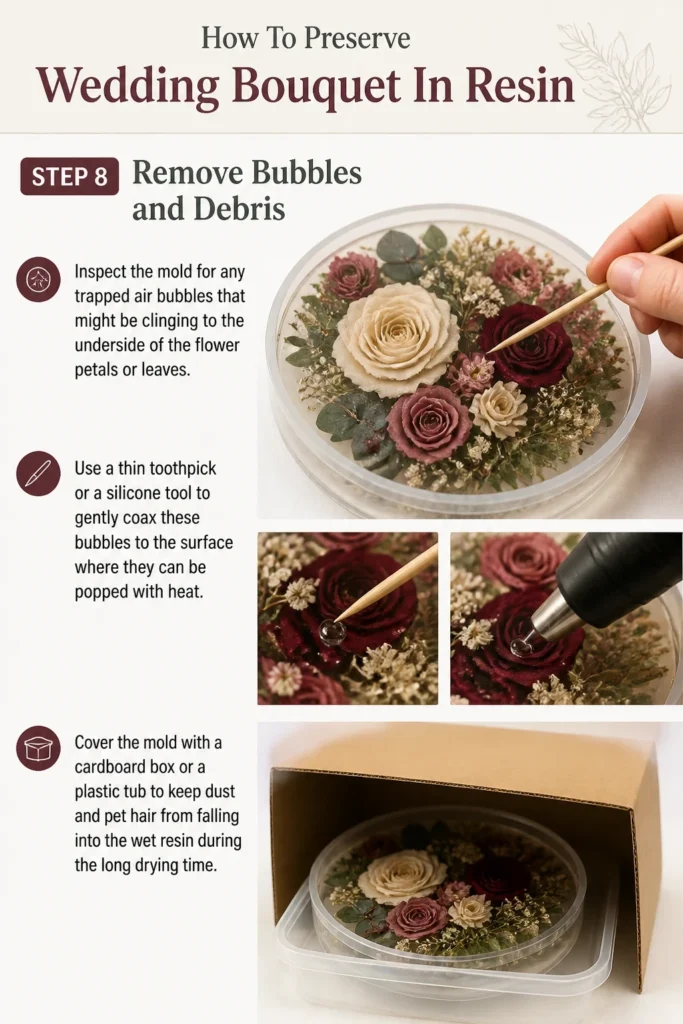
Use a thin toothpick or a silicone tool to gently coax these bubbles to the surface where they can be popped with heat.
Cover the mold with a cardboard box or a plastic tub to keep dust and pet hair from falling into the wet resin during the long drying time.
Step 9: Cure and Demold
Wait at least 48 to 72 hours for the resin to fully harden before you attempt to touch or move the mold.
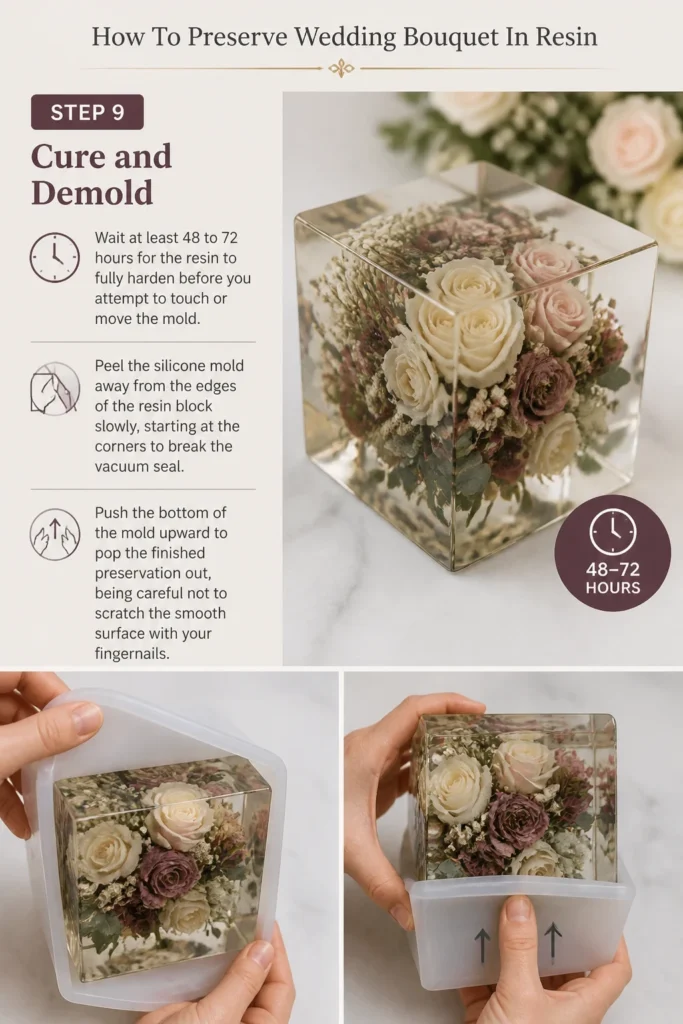
Peel the silicone mold away from the edges of the resin block slowly, starting at the corners to break the vacuum seal.
Push the bottom of the mold upward to pop the finished preservation out, being careful not to scratch the smooth surface with your fingernails.
Step 10: Sand and Polish the Edges
Check the top edge of your resin block for any sharp “lips” or uneven spots that formed during the curing process.
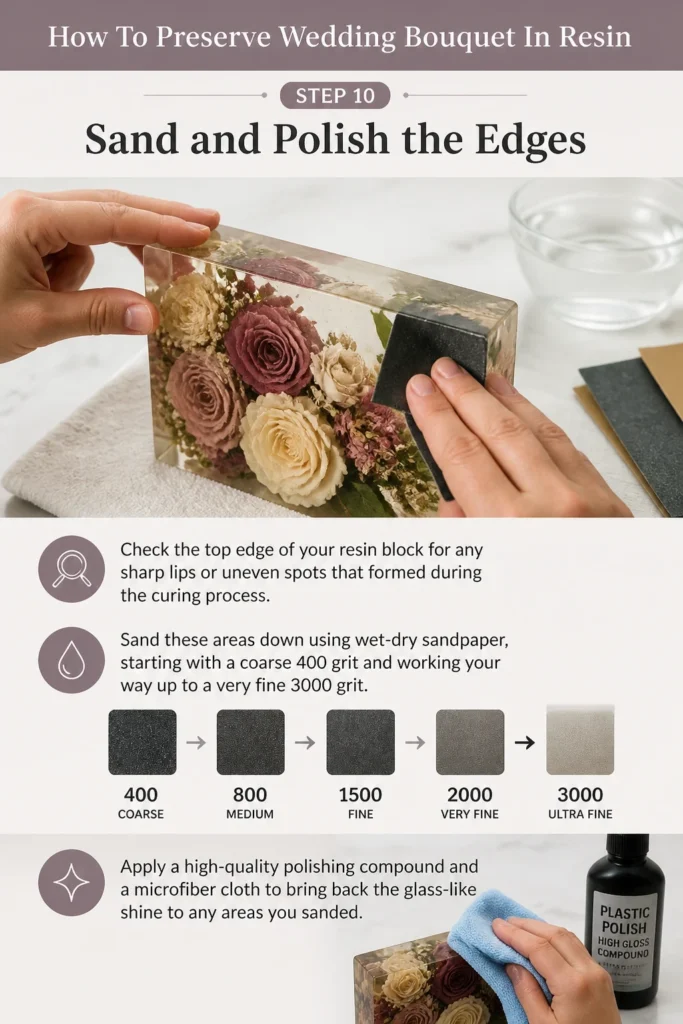
Sand these areas down using wet-dry sandpaper, starting with a coarse 400 grit and working your way up to a very fine 3000 grit.
Apply a high-quality polishing compound and a microfiber cloth to bring back the glass-like shine to any areas you sanded.
Common Mistakes to Avoid
Using Flowers That Are Not Fully Dry
If there is even a tiny amount of moisture left in the stems or the center of a rose, the flower will turn grey or brown inside the resin. This moisture can also create a cloudy “fog” around the flower that ruins the clarity of your piece. Always give your flowers extra time in the silica gel to ensure they are completely dehydrated.
Pouring Too Much Resin at Once
Epoxy resin creates heat as it cures through a chemical reaction. If you pour a thick block all at once, the heat can become so intense that it smokes, cracks, or even burns your delicate flowers. Stick to the layering method to keep the temperature low and the finish crystal clear.
Mixing Ratios Based on Guesswork
Resin is a precise chemical and will not harden correctly if the ratio of resin to hardener is off by even a small amount. Some resins are measured by weight while others are measured by volume, so you must read the label carefully. An improper mix will result in a sticky, tacky mess that never fully cures.
Ignoring the Room Temperature
Working in a room that is too cold will cause the resin to become thick and full of stubborn bubbles that won’t pop. Conversely, a room that is too hot will speed up the curing process too much, leading to potential yellowing. Maintain a steady, moderate temperature for the best results.
Troubleshooting
The Resin Surface is Sticky or Tacky
This usually happens when the resin wasn’t mixed thoroughly or the ratio was slightly incorrect. If the piece is only slightly tacky, you can sometimes fix it by pouring a very thin “top coat” of properly mixed resin over the surface. If the entire block is soft, it unfortunately cannot be saved and will need to be redone with new flowers.
Large Bubbles Are Trapped Under Petals
Bubbles often get trapped in the deep folds of roses or peonies as you pour the resin. To prevent this, you can “dip” your dried flowers into a small cup of liquid resin before placing them in the mold to coat the petals. If the resin has already cured, you can drill a tiny hole to the bubble, fill it with fresh resin using a syringe, and polish the spot later.
The Flowers Are Floating to the Top
Dried flowers are incredibly light and will naturally want to float to the surface of the liquid resin. This is why the “tacky layer” method is so important for securing the blooms. If they start to drift, you can use a popsicle stick to gently hold them down for a few minutes until the resin thickens enough to keep them in place.
Key Takeaways
- Always use silica gel to dry your wedding flowers completely before they touch any resin.
- Choose a deep pour epoxy resin specifically designed for large, thick projects to avoid overheating.
- Pour your resin in multiple thin layers rather than one large pour to ensure clarity and safety.
- Wear a respirator and gloves at all times to protect yourself from the chemical components of the epoxy.
- Be patient and allow the full curing time before removing the piece from the mold to avoid fingerprints.
- Keep your workspace dust-free and temperature-controlled for a professional, glass-like finish.
Frequently Asked Questions
Can I use any type of resin for flower preservation?
No, you should specifically look for “Deep Pour” or “Casting” resin. Standard “Tabletop” or “Coating” resins are designed for very thin layers and will overheat if poured into a deep mold. Using the wrong resin can lead to yellowing, bubbles, or even melting the silicone mold.
Will the flowers keep their original color forever?
While resin protects the flowers from air and moisture, all organic material will eventually fade slightly over many years. To slow this process, keep your resin block out of direct sunlight, as UV rays are the primary cause of flower fading. You can also look for resins that contain UV inhibitors to help maintain the vibrancy.
How do I get the bubbles out without a vacuum chamber?
You can achieve great results by warming your resin bottles in a warm water bath before mixing to thin the liquid. Pouring the resin very slowly down the side of the mixing cup and the mold also prevents air from being trapped. A quick pass with a heat gun or torch on each layer will pop any bubbles that reach the surface.
Is it possible to preserve a bouquet that is already several years old?
Yes, as long as the flowers were air-dried and are still in one piece, you can put them in resin. Old flowers are extremely brittle, so you must handle them with incredible care when placing them in the mold. The resin will actually help protect them from further crumbling once they are encased.
Our Top Recommended Finds
- Silica Gel Desiccant: This is essential for drying flowers while maintaining their three-dimensional shape and color. Look for the version with indicating beads that change color when they need to be dried out in the oven.
- Deep Pour Epoxy Resin Kit: Look for a brand that advertises high UV resistance and a long cure time. These kits are formulated to stay clear and handle the depth required for large floral arrangements.
- Large Square or Hexagon Silicone Molds: These heavy-duty molds are designed to hold the weight of the resin without bulging at the sides. They provide the best structural integrity for a professional-looking display piece.
Transform Your Wedding Memories Into Art
Preserving your wedding bouquet in resin is a beautiful way to keep the magic of your special day alive in your home.
Once you have mastered the basic casting technique, you might consider creating smaller resin pieces like jewelry or coasters using leftover petals.
You could even experiment with adding gold leaf or glitter to your floral designs for an extra touch of bridal shimmer.
Gather your supplies today and start the drying process so you can enjoy your wedding flowers for decades to come.
Wedding Planning
No fluff, no drama. Just easy weekly advice, planning shortcuts, and gentle reminders to help you actually enjoy your engagement.