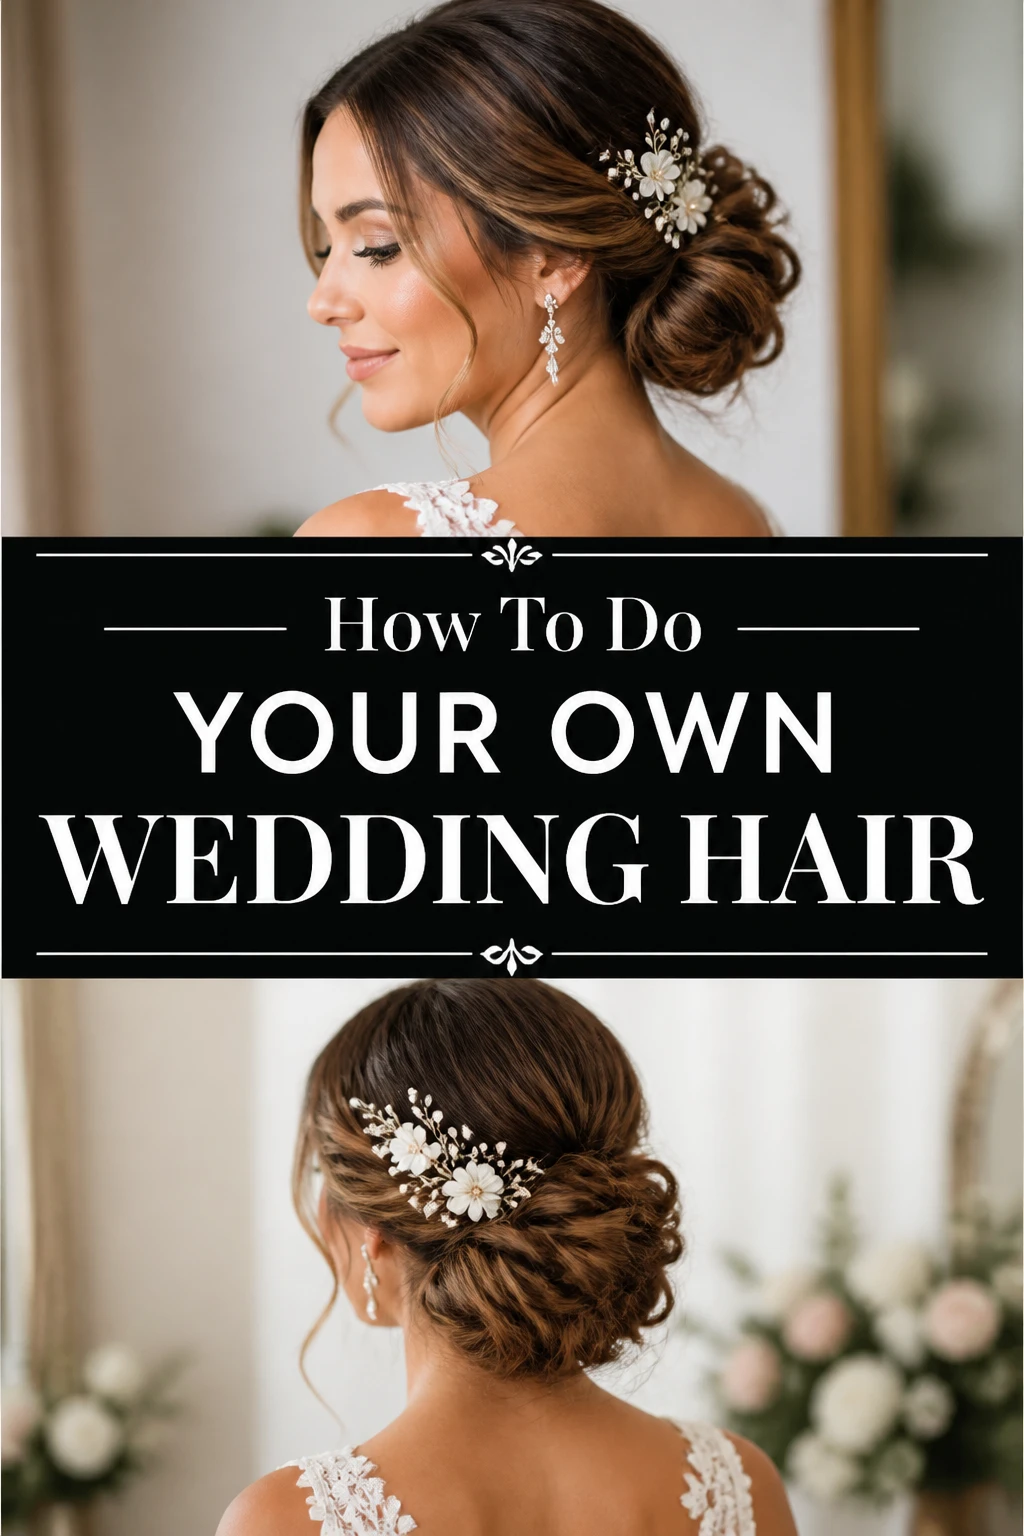
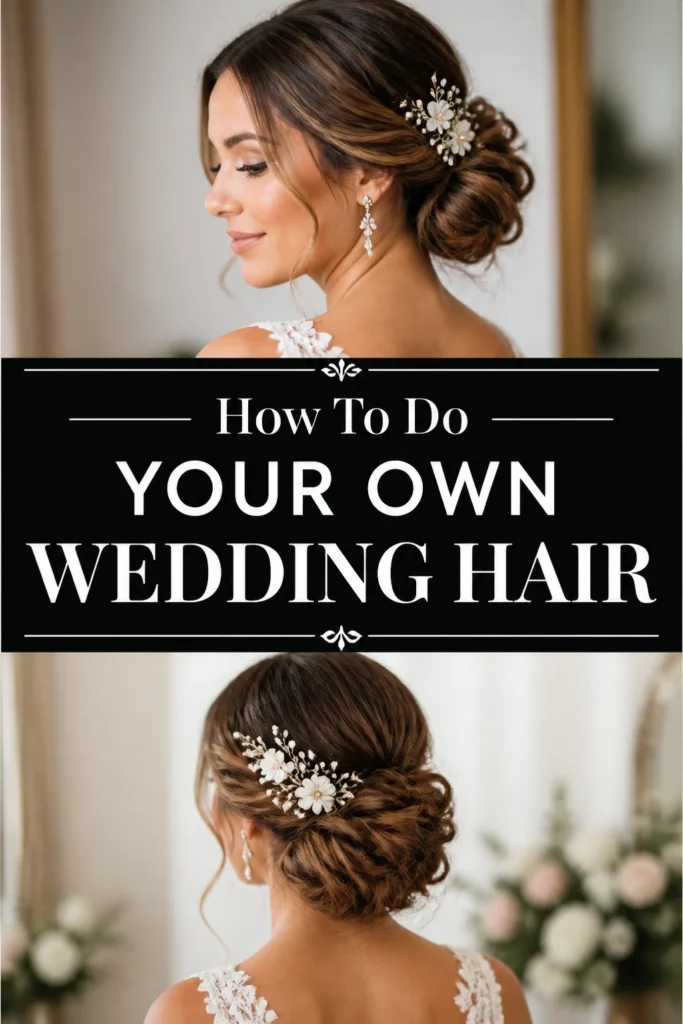
💍 How To Do Your Own Wedding Hair

Wedding Planning
No fluff, no drama. Just easy weekly advice, planning shortcuts, and gentle reminders to help you actually enjoy your engagement.
Taking control of your wedding day look is one of the most empowering decisions a bride can make.
I remember the quiet morning of my own ceremony, sipping coffee and curling my own strands while everyone else was rushing around.
It allowed me to look exactly like myself, stay within my budget, and avoid the stress of a stylist who might not “get” my vision.
Quick Overview
Doing your own hair requires patience, practice, and the right set of tools to ensure your style lasts from the first photo to the final dance.
- Time needed: 2 to 3 hours (including prep and trial runs)
- Difficulty: Intermediate
- What you’ll need: Professional-grade curling iron, texturizing spray, hairpins, clear elastics, and a sturdy hand mirror.
Step 1: Prepare Your Canvas
Wash your hair at least 24 hours before you plan to style it for the big day.
Freshly washed hair is often too slippery and “silky” to hold a curl or stay pinned in an intricate updo.
Natural oils provide the “grit” necessary for your accessories and pins to stay securely in place for twelve hours or more.
Apply a lightweight volumizing mousse to damp hair during your final pre-wedding wash to build internal structure.
Blow-dry your hair using a round brush, focusing on lifting the roots away from the scalp to prevent a flat appearance.
Pro Tip: If your hair is naturally very oily, use a small amount of dry shampoo on your roots the night before to absorb excess moisture.
Step 2: Master the Trial Run
Schedule at least three full practice sessions in the month leading up to your wedding date.
Wear a white shirt or a top with a similar neckline to your dress during these trials to see how the hair falls against the fabric.
Timing yourself during these sessions is vital so you can build a realistic wedding morning schedule that includes a buffer for mistakes.
Photograph your hair from every angle—front, back, and both profiles—to see how it looks through a camera lens.
Check these photos in different lighting conditions, such as natural sunlight and indoor warm light, to ensure the texture looks soft rather than crunchy.
Step 3: Section With Precision
Divide your hair into four main quadrants: the crown, the two sides, and the nape of the neck.
Using professional sectioning clips will prevent hair from tangling and allow you to focus on one area at a time without feeling overwhelmed.
Start at the bottom of your head and work your way up toward the top to ensure every layer receives equal attention.
Leave out the small pieces around your face that you want to use for framing or “tendrils” later in the process.
Securing these face-framing pieces with a separate clip ensures they don’t get accidentally tucked into the main body of the style.
Pro Tip: Use a rattail comb to create perfectly straight parts, as messy sections can lead to visible lumps in your final style.
Step 4: Build Texture and Volume
Spray each section with a heat protectant and a light-hold hairspray before applying any heat tools.
Use a 1-inch or 1.25-inch curling iron to create a base of waves, even if you plan on doing a sleek updo.
The curl provides the “memory” the hair needs to stay put and adds the necessary volume to make the style look professional.
Tease the hair at the crown gently using a fine-tooth comb to create a subtle lift that prevents a “flat-headed” look in photos.
Smooth over the very top layer of the teased section with a soft-bristle brush so the volume looks natural and intentional.
Step 5: Secure the Foundation
Anchor your style using a ponytail or a series of crisscrossed bobby pins if you are doing an updo.
If you are choosing a low bun, secure a ponytail at the nape of your neck using a clear elastic that won’t snap under pressure.
Ensure the tension is tight enough to feel secure but not so tight that it causes a headache or pulls your skin uncomfortably.
Insert bobby pins with the wavy side facing down toward your scalp for maximum grip and stability.
Avoid “opening” the pins with your teeth, as this weakens the tension of the metal and can damage your tooth enamel.
Pro Tip: Spray your bobby pins with dry shampoo or hairspray before inserting them to give them extra “stick” against your hair strands.
Step 6: Sculpt the Final Shape
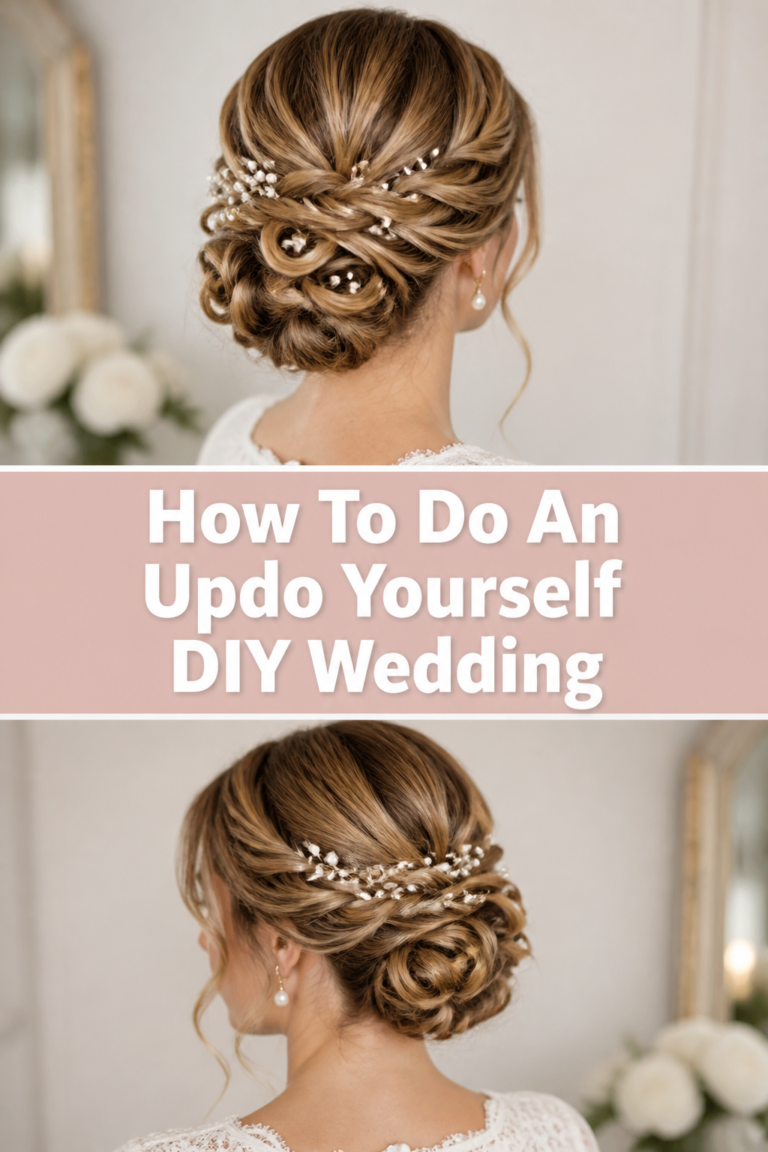
Twist or braid the remaining sections of hair and wrap them around your base to create the desired silhouette.
For a romantic look, pull gently on the edges of your braids or twists to “pancake” them and make them look fuller.
Check the balance of the style in your hand mirror frequently to ensure one side isn’t significantly heavier or wider than the other.
Hide the ends of your hair by tucking them under the main bulk of the style and securing them with “U-shaped” hairpins.
These pins are better for holding volume in place without flattening the shape you have worked so hard to build.
Step 7: Refine the Face-Framing Pieces
Release the front sections you clipped away earlier and decide how you want them to drape.
Use a flat iron or curling wand to add a soft “S-wave” that directs the hair away from your eyes and toward your cheekbones.
This creates an open, welcoming look that highlights your makeup and prevents hair from falling into your face during the vows.
Apply a tiny drop of hair oil or serum to your fingertips and run them through these front pieces to add shine and eliminate frizz.
Be careful not to use too much product here, as the hair closest to your face is most prone to looking greasy.
Step 8: Set and Seal
Mist the entire style with a high-hold, fine-mist hairspray from about twelve inches away.
Avoid holding the can too close, as this can create wet spots that ruin the texture and make the hair look stiff.
Use a clean toothbrush sprayed with hairspray to gently smooth down any “flyaways” along your part or at the nape of your neck.
Attach your veil or hair accessories last, ensuring they are anchored into the structural pins you placed earlier.
Shake your head gently from side to side to make sure nothing feels loose or like it might fall out during the reception.
Pro Tip: Keep a “touch-up kit” with extra pins and a travel-sized hairspray in your bridal suite for quick fixes throughout the night.
Common Mistakes to Avoid
Using Brand New Products
The morning of your wedding is not the time to try a new luxury hair oil or a different brand of hairspray. You have no way of knowing how your hair will react to the ingredients or if the product will weigh your hair down. Stick to the products you used during your successful trial runs to avoid any greasy or crunchy surprises.
Over-Handling the Hair
Touching your hair too much while styling can lead to frizz and loss of curl definition. Once a section is curled or pinned, try to leave it alone until you are ready for the final shaping. The heat from your hands can break down the styling products and cause the hair to lose its hold faster than intended.
Ignoring the Weather
Failing to account for humidity, wind, or rain is a recipe for a hair disaster. If you are getting married outdoors in a humid climate, a sleek down-do will likely fall flat or frizz within an hour. Choose a style that works with your natural texture and the environment you will be in for the majority of the day.
Troubleshooting
Visible Bobby Pins
If you can see the metal of your pins shining through your hair, you need to re-insert them more deeply. Try “weaving” the pin into the hair by catching a small amount of the top layer and then pushing it down into the base. You can also find pins that specifically match your hair color—blonde, brunette, or black—to make them virtually invisible.
The Style Feels Loose
If your updo feels like it is sliding down your neck, do not just add more pins to the outside. You need to create a “bridge” of support by crossing two pins in an ‘X’ shape at the very center of the style. This ‘X’ creates a locking mechanism that holds the weight of the hair much more effectively than single pins.
Curls Falling Flat
When curls won’t hold, it is usually because the hair was too “clean” or the sections were too large. Try re-curling smaller sections and pinning each curl to your head while it is still hot. Let the hair cool completely in the pinned position before letting it down to “set” the shape permanently.
Key Takeaways
- Preparation is everything: Wash your hair the day before and use texturizing products to create a workable base.
- Practice makes perfect: Perform multiple trial runs to master the movements and timing of your chosen style.
- Use the right tools: Invest in professional-grade pins, elastics, and heat tools for a long-lasting finish.
- Anchor your style: Build a strong foundation with crossed bobby pins or a secure ponytail before adding decorative elements.
- Weatherproof your look: Choose a style that suits your environment and use a high-quality setting spray.
- Stay calm: Give yourself plenty of time on the wedding morning to avoid rushing and making mistakes.
Frequently Asked Questions
Can I do my own hair if I want to wear extensions?
Yes, but you must practice clipping them in so the tracks are completely hidden by your natural hair. Use high-quality human hair extensions that can be heat-styled along with your own strands for a seamless blend. It is often easier to use extensions for “down” styles or half-up looks rather than complex updos if you are doing it yourself.
How do I keep my hair from frizzing if it rains?
The best defense against rain is an anti-humidity spray that creates a moisture barrier around the hair shaft. If the forecast looks wet, consider an updo rather than leaving your hair down, as tucked-away hair is less likely to show frizz. Keep an umbrella and a silk scarf handy to protect your hair while moving between locations.
Should I use a curling iron or a wand?
A curling iron with a clamp is generally better for DIY brides because it allows for more control over the ends of the hair. A wand is great for beachy waves, but the ends can sometimes look “fish-hooked” or messy if you aren’t an expert. The clamp helps smooth the cuticle and provides a more polished, “bridal” finish.
Our Top Recommended Finds
- Professional Titanium Curling Iron: Titanium barrels heat up quickly and evenly, providing curls that last much longer than ceramic alternatives.
- Dry Texturizing Spray: This is the “secret sauce” for DIY hair as it adds volume and grip without the stickiness of traditional hairspray.
- Nonslip Bobby Pins: Look for pins with a matte finish or a “long-hold” coating that prevents them from sliding out of fine or silky hair.
Perfecting Your Bridal Glow
Once you have mastered your wedding hair, you might find yourself feeling more confident about other aspects of your DIY beauty routine.
Consider looking into professional makeup application techniques or long-lasting nail options to complete your transformation.
The skills you learn while practicing your wedding hair will serve you for years to come whenever you have a special event to attend.
Start your first practice session today by simply sectioning your hair and experimenting with different curl patterns.
Wedding Planning
No fluff, no drama. Just easy weekly advice, planning shortcuts, and gentle reminders to help you actually enjoy your engagement.