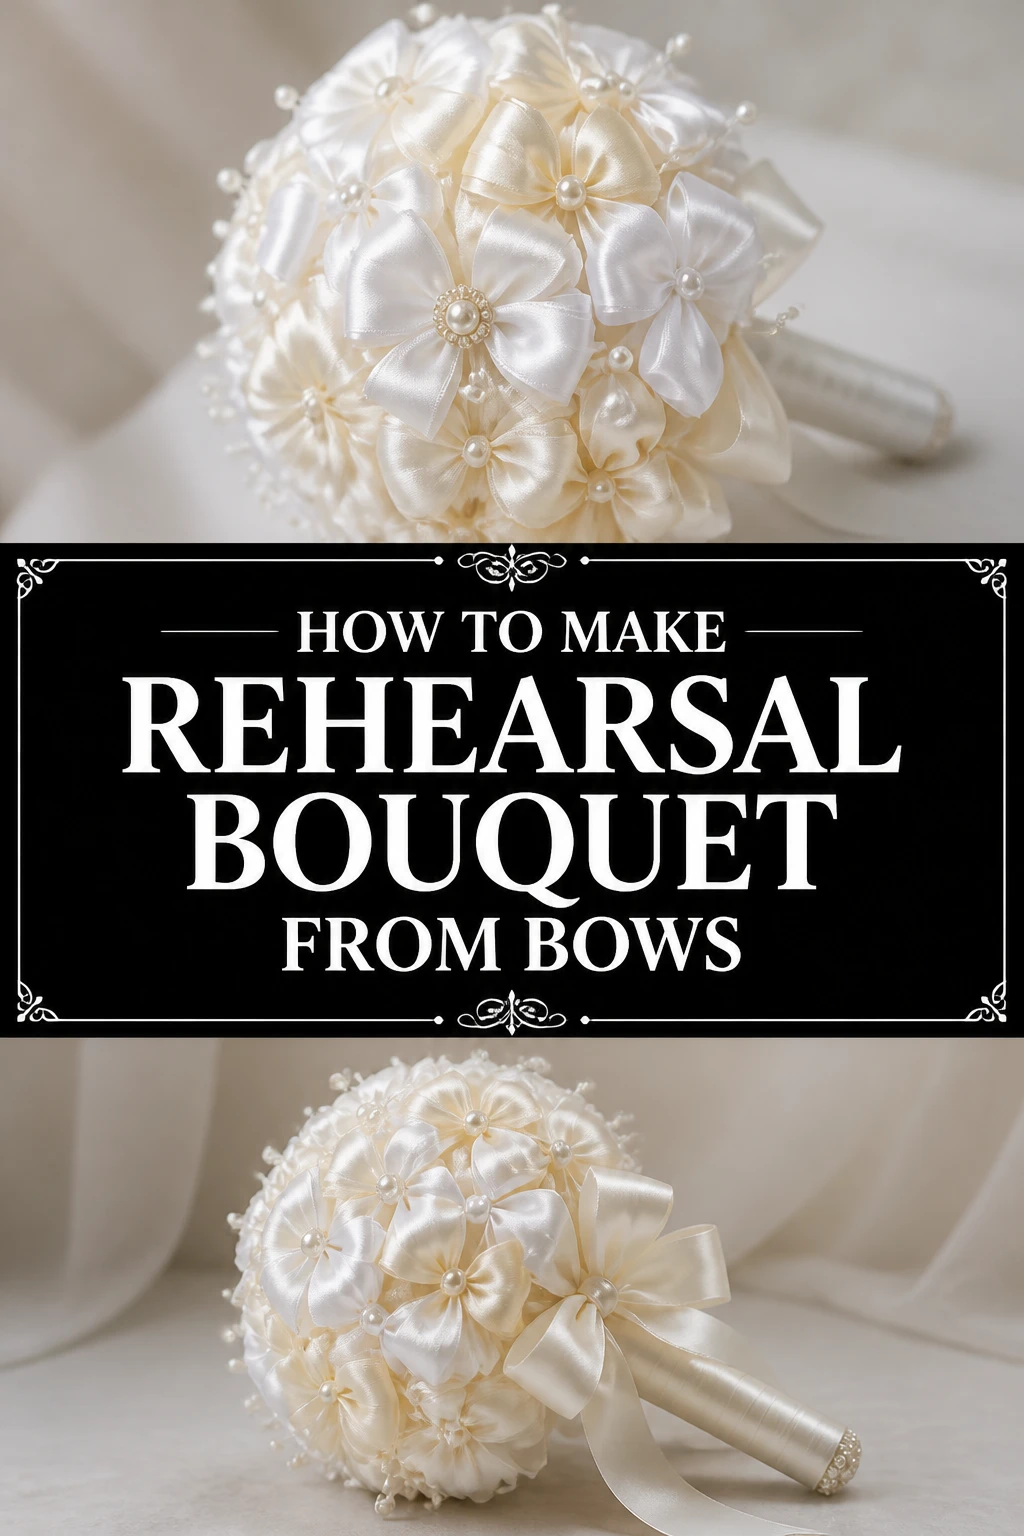
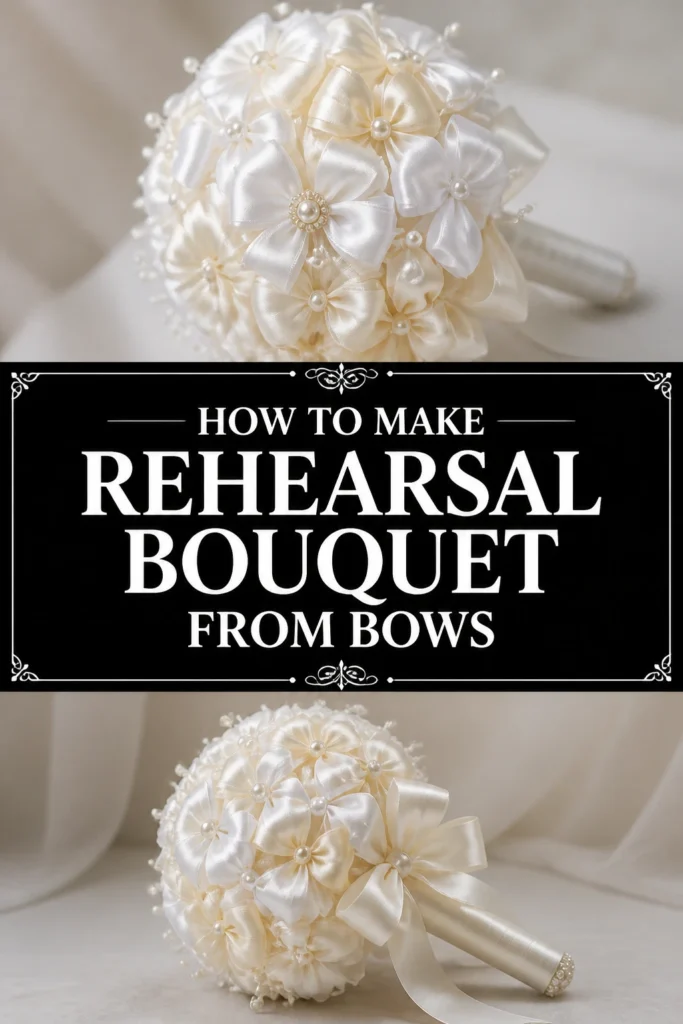
💐 How To Make Rehearsal Bouquet From Bows

Wedding Planning
No fluff, no drama. Just easy weekly advice, planning shortcuts, and gentle reminders to help you actually enjoy your engagement.
Planning a wedding involves countless details, and sometimes the smallest touches create the most cherished memories.
I remember helping my sister organize her rehearsal dinner; we wanted something special, a keepsake from the bridal shower that could also serve a purpose.
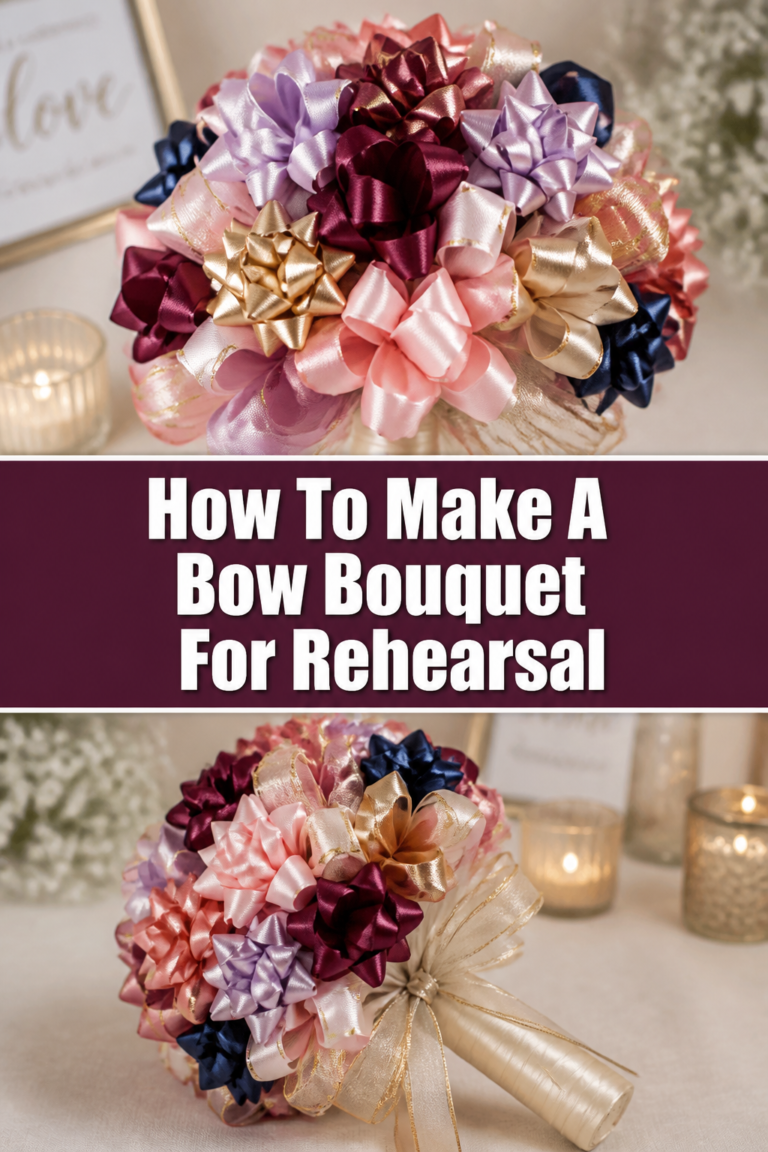
That’s how we discovered the joy of crafting a rehearsal bouquet from bows, and I’m excited to share exactly how you can create your own beautiful, sentimental piece.
Quick Overview
You’re about to transform simple gift bows into a charming rehearsal bouquet, a delightful tradition that captures the love and well wishes from your bridal shower.
This guide walks you through each step, ensuring a beautiful result.
- Time needed: 1-2 hours
- Difficulty: Beginner
- What you’ll need: Assorted gift bows, floral wire, floral tape, scissors, ribbon, optional embellishments.
Step-by-Step Instructions
Step 1: Gather Your Materials
The foundation of your rehearsal bouquet begins with collecting all the bows from your bridal shower gifts.
These bows represent the generosity and love from your guests, making the bouquet truly unique.
You will also need a few crafting essentials readily available at any craft store.
Ensure you have floral wire (20-24 gauge is ideal), green floral tape, sharp scissors, and a length of wider ribbon for the handle.
Pro Tip: Ask a trusted friend or family member to collect all the bows during the bridal shower. This ensures none are lost and keeps the surprise for the bride.
Step 2: Prepare Each Bow
Carefully remove any adhesive backing or ties from each bow.
You want the bow to be as flat as possible on one side, ready for wiring.
Some bows come with elastic bands or twist ties; gently snip these off.
The goal is to have the bow itself intact, free from any excess material that might interfere with wiring.
Step 3: Wire Each Bow
Cut a piece of floral wire, about 6-8 inches long, for each bow.
Bend the wire in half to create a U-shape.
Thread the bent end of the wire through the center back of each bow.
Pull the wire through until the bow rests at the bend, then twist the two wire ends together tightly right below the bow base.
This creates a sturdy stem for each individual bow, allowing it to be easily manipulated and incorporated into the bouquet.
Pro Tip: For bows with a very flat or thin base, you might need to create a small “anchor” by twisting the wire around a tiny piece of cardboard or fabric on the back of the bow before twisting the main stem. This prevents the wire from pulling through.
Step 4: Tape Each Wired Bow
Starting just below the bow where you twisted the wire, begin wrapping the floral tape down the entire length of the wire stem.
Stretch the tape slightly as you wrap; this activates its adhesive properties.
Overlap the tape as you go, ensuring the wire is completely covered.
The floral tape not only conceals the wire but also provides a more uniform, finished look and adds a bit of grip.
Repeat this process for every single wired bow, creating a collection of individual bow “flowers.”
Step 5: Begin Assembling the Bouquet
Select the largest or most central bow to be the focal point of your bouquet.
Hold this bow in one hand.
Start adding other wired and taped bows around the central one, one by one.
Arrange them in a pleasing, natural-looking cluster, mimicking the way real flowers would sit in a bouquet.
Vary the sizes and colors of the bows to create visual interest.
Keep rotating the bouquet as you add bows to ensure an even distribution.
Step 6: Secure the Bouquet STEM
Once you are happy with the arrangement and have used all your bows, gather all the wire stems tightly together.
Ensure they form a firm, cohesive bundle.
Starting from just below the lowest bows, begin wrapping floral tape tightly around all the combined stems.
Work your way down the entire length of the stems, creating a strong, unified handle.
This taping process secures the arrangement and prevents individual bows from shifting.
Pro Tip: As you wrap the floral tape, pull it taut. This stretching action helps the tape adhere to itself and creates a much stronger bond, preventing the bouquet from falling apart during handling.
Step 7: Trim and Shape the Stems
Once the stems are securely taped together, use strong scissors or wire cutters to trim the ends of the wires to an even length.
Aim for a comfortable handle size, typically 6-8 inches from the base of the bows.
Ensure all wire ends are neatly tucked in or covered by the tape to avoid any sharp edges.
You can gently bend the entire stem slightly if you desire a curved handle.
Step 8: Add the Finishing Ribbon Wrap
To give your rehearsal bouquet a polished, elegant finish, wrap the entire taped stem with a decorative ribbon.
Choose a ribbon color that complements the wedding theme or the bows themselves.
Begin by securing one end of the ribbon with a dab of hot glue or a pin at the top of the taped stem, just under the bows.
Wrap the ribbon tightly and smoothly down the entire length of the handle, overlapping slightly as you go.
Secure the bottom end of the ribbon with another dab of hot glue or a pin.
You can add a decorative bow or charm to the top of the handle for an extra touch.
Common Mistakes to Avoid
Not Wiring Bows Securely
A common pitfall is not twisting the floral wire tightly enough at the base of each bow.
If the wire is loose, the bows will wobble or even fall off the stem, compromising the bouquet’s structure.
Always ensure the wire is firmly twisted, creating a stable base for each individual bow.
Skipping Floral Tape on Individual Stems
Some might be tempted to skip taping each wire stem individually, thinking it’s an unnecessary extra step.
However, this tape is crucial for several reasons: it covers sharp wire, provides a uniform color, and allows for easier manipulation of each bow into the final arrangement.
Always tape each wired bow before assembly.
Overloading the Bouquet
While it’s exciting to use every single bow, trying to fit too many into the bouquet can make it appear bulky and unwieldy.
An overloaded bouquet can lose its shape and become difficult for the bride to hold.
Focus on a balanced, aesthetically pleasing arrangement, even if it means not using every single bow collected.
Uneven Stem Lengths
If the wire stems are not trimmed to a relatively even length before wrapping the final ribbon, the handle can feel lumpy and uncomfortable.
Uneven stems also make the final ribbon wrap look less polished.
Take the time to trim all the wires to a consistent length for a smooth, ergonomic handle.
Troubleshooting
Bows Keep Falling Off Their Stems
If your bows are detaching from their wire stems, the initial wiring wasn’t secure enough.
Rewire the problematic bows, ensuring the floral wire is threaded deeply through the bow’s base and twisted very tightly right at the connection point.
You can also add a small dot of hot glue to reinforce the wire-to-bow connection before taping.
Bouquet Feels Loose or Unstable
A wobbly bouquet often indicates that the main stem (all individual wires bundled together) wasn’t taped tightly enough.
Unwrap the outer ribbon and re-tape the entire bundle of stems with floral tape, pulling it taut as you wrap.
Ensure continuous, overlapping layers of tape to create a firm, solid handle.
Ribbon Wrap Looks Messy or Unfinished
A messy ribbon wrap usually happens if the ribbon isn’t pulled tight enough or if the ends aren’t secured properly.
Remove the existing ribbon and re-wrap, ensuring you apply consistent tension as you spiral down the handle.
Use a small amount of hot glue at both the start and end of the wrap to keep the ribbon firmly in place.
Key Takeaways
- Collect all bridal shower bows to create a sentimental and unique rehearsal bouquet.
- Wire each bow individually with floral wire, bending and twisting for a secure stem.
- Wrap each wired stem with floral tape to cover wire and provide a cohesive look.
- Assemble bows gradually, building around a central piece for a balanced arrangement.
- Secure the entire bouquet stem tightly with floral tape for stability and a firm handle.
- Trim all wire ends evenly for comfort and a polished finish.
- Wrap the handle with decorative ribbon to complete the elegant presentation.
Frequently Asked Questions
Can I use any type of gift bow?
Most standard gift bows work well for this project. Flat-backed bows are often the easiest to wire. Avoid bows that are excessively heavy or made from very delicate, easily torn materials, as they may not hold up to wiring.
How far in advance can I make the bouquet?
Since the materials are non-perishable, you can make the rehearsal bouquet as soon as you collect the bows from the bridal shower. Storing it in a dry, safe place will keep it pristine until the rehearsal.
What if I don’t have enough bows?
If you find yourself with fewer bows than desired, you can supplement with new, store-bought bows in coordinating colors. You can also add other small, lightweight embellishments like silk flowers or decorative picks to fill out the bouquet.
Can the bride keep the bouquet after the rehearsal?
Absolutely! The rehearsal bouquet is often kept by the bride as a cherished memento of her bridal shower and the journey to her wedding day. It’s a lovely keepsake that can be displayed or preserved.
Our Top Recommended Finds
- Floral Wire (22-24 Gauge): Essential for creating sturdy, pliable stems for each bow.
- Green Floral Tape: Activates with stretching to securely bind wires and create a natural-looking stem.
- Satin or Grosgrain Ribbon: Perfect for wrapping the handle, adding a touch of elegance and comfort.
Craft Your Keepsake Today!
Creating your rehearsal bouquet from bows is more than just a craft project; it’s an act of love, turning well wishes into a tangible keepsake.
Imagine the smiles and memories it will evoke, not just on the rehearsal day, but for years to come.
Gather your bows, follow these simple steps, and embark on this delightful journey.
Your beautiful, personalized rehearsal bouquet awaits!
Wedding Planning
No fluff, no drama. Just easy weekly advice, planning shortcuts, and gentle reminders to help you actually enjoy your engagement.