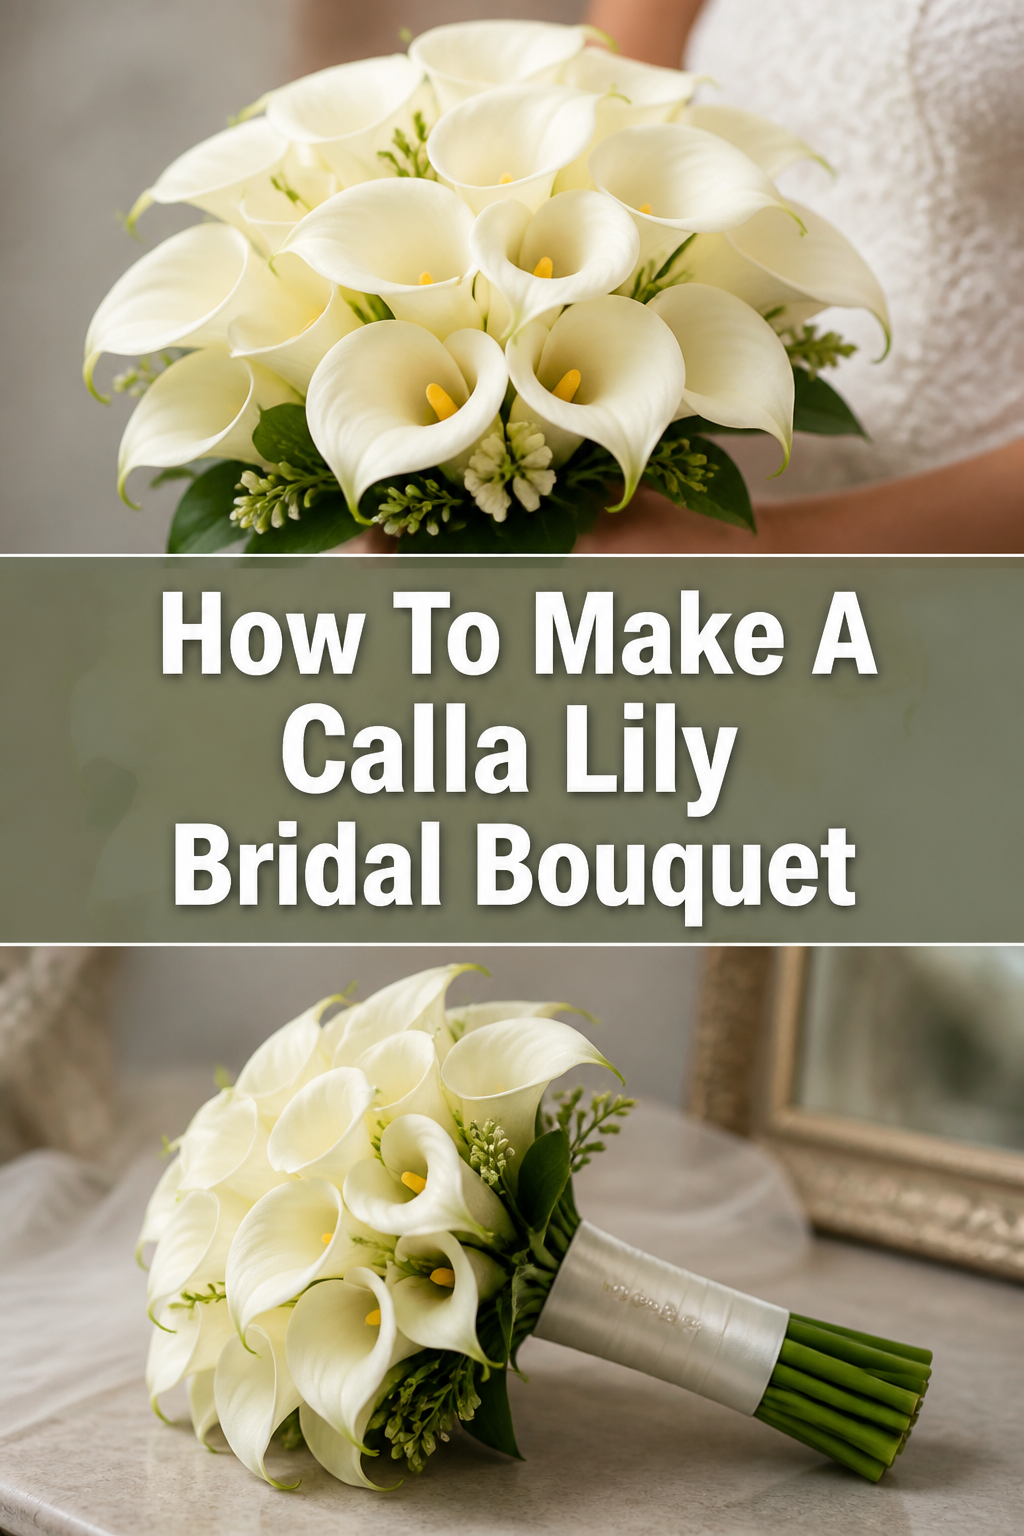
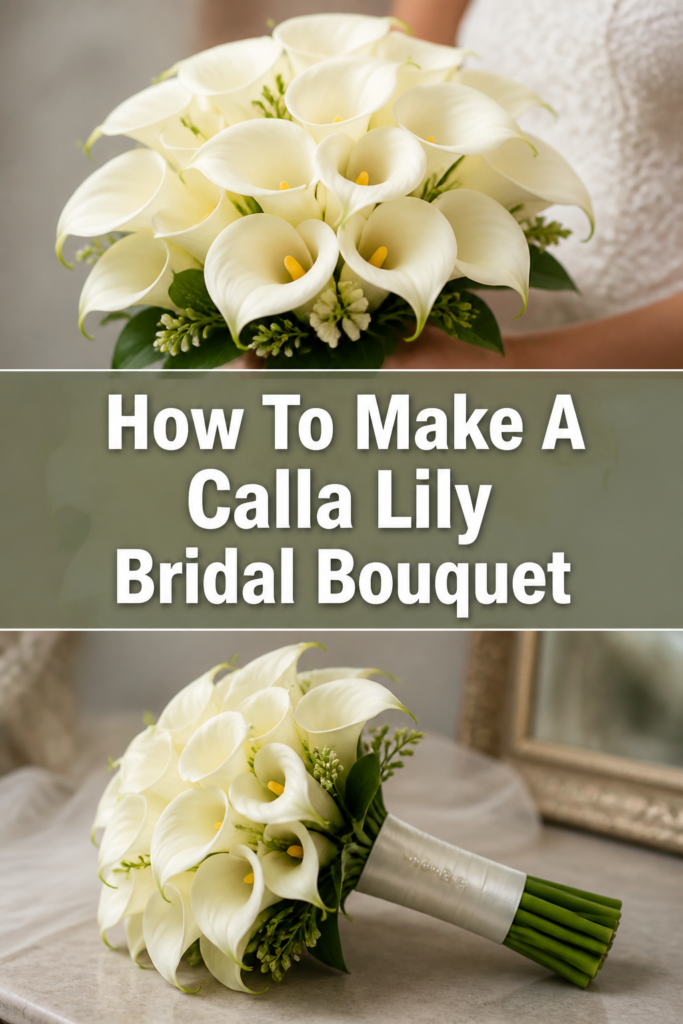
💐 How To Make A Calla Lily Bridal Bouquet
I still remember the first time I held a fresh bunch of calla lilies, feeling the cool, waxy texture of their stems.
After designing dozens of wedding arrangements, I have learned that these flowers require a gentle touch and a specific technique to look their best.
This guide will walk you through the professional secrets of crafting a bouquet that looks expensive and stays crisp throughout your entire wedding day.
Quick Overview
Creating a calla lily bouquet is a rewarding project that focuses on clean lines and architectural beauty.
- Time needed: 45 to 60 minutes (plus hydration time)
- Difficulty: Intermediate
- What you’ll need: 15-25 calla lilies, floral tape, ribbon, pins, and sharp shears
Step-by-Step Instructions
Step 1: Select Your Blooms Carefully
Choose calla lilies that are just beginning to open rather than those in full bloom.
Look for stems that are firm and fleshy, as soft or mushy stems indicate the flower is past its prime.
If you want a classic look, opt for the large white Zantedeschia aethiopica, or choose mini callas for a more modern, colorful palette.
Pro Tip: Buy about 20% more flowers than you think you need to account for any accidental stem breakage during the assembly process.
Step 2: Prepare and Hydrate the Stems
Trim the bottom of each stem at a 45-degree angle using sharp, clean floral shears or a knife.
Place the flowers in a clean bucket filled with lukewarm water and a packet of floral preservative for at least four hours.
This allows the stems to drink deeply, making them more flexible and less likely to snap when you start arranging them.
Step 3: Clean the Foliage and Stems
Remove any small leaves or bumps along the length of the stems where you will be holding the bouquet.
Use a soft, damp cloth to gently wipe away any dust or pollen from the flower heads and the green stems.
Be careful not to squeeze the stems too hard, as calla lilies bruise easily and will show dark marks if handled roughly.
Step 4: Establish the Center of the Bouquet
Pick three of your strongest, straightest lilies to form the core of your arrangement.
Hold them in your non-dominant hand, crossing the stems slightly just below the flower heads.
Keep these center flowers at the same height to create a level focal point for the rest of the bouquet to build upon.
Pro Tip: Hold the stems loosely at first to avoid crushing the delicate cellular structure of the calla lily stalks.
Step 5: Use the Spiral Technique
Add one stem at a time, rotating the bouquet slightly in your hand after each addition.
Place each new stem at an angle, so the stems begin to form a spiral pattern below your hand.
This technique ensures the flower heads fan out beautifully while the handle remains manageable and comfortable to hold.
Step 6: Adjust the Heights
Slide individual stems up or down within your grip to create a slightly domed or flat-topped shape.
Check the bouquet in a mirror to ensure the silhouette looks balanced from every angle the guests might see.
Make sure the “faces” of the calla lilies are pointing outward and slightly upward for the best visual impact.
Step 7: Secure the Bundle with Floral Tape
Wrap waterproof floral tape around the stems at the highest point of the handle, usually about two inches below the flower heads.
Pull the tape tight as you wrap so it stretches and sticks to itself, creating a firm bond.
Continue wrapping downward for about three to four inches to create a stable base for your ribbon.
Step 8: Trim the Handle to Size
Cut the bottom of the stems so the handle is roughly six to seven inches long.
Ensure all stems are cut to the exact same length for a professional, clean finish.
Use a sharp blade to avoid fraying the ends of the stems, which can impede water intake later.
Pro Tip: If the bouquet feels too heavy, you can trim the handle slightly shorter, but leave enough room for two hands to grip it comfortably.
Step 9: Apply the Decorative Ribbon
Start the ribbon at the top of the taped area and wrap it downward in overlapping layers.
Leave about half an inch of the green stems showing at the bottom to allow the bouquet to sit in water without soaking the ribbon.
Secure the end of the ribbon by folding it under and pinning it upward into the stems with decorative corsage pins.
Step 10: Final Mist and Storage
Spray the flower heads with a finishing mist to seal in moisture and prevent wilting.
Place the finished bouquet in a heavy vase with only an inch or two of water to keep it hydrated until the ceremony starts.
Keep the arrangement in a cool, dark place away from direct sunlight or drafty air conditioners.
Common Mistakes to Avoid
Using Dull Cutting Tools
Using scissors that are not sharp enough will crush the hollow stems of the calla lily. This prevents the flower from drinking water and leads to premature wilting. Always use professional-grade floral shears or a very sharp utility knife for every cut.
Wrapping the Tape Too Low
If you secure the stems too far down the handle, the flower heads will flop around and lose their shape. The tension needs to be high up, near the base of the blooms, to keep the arrangement tight. This provides the structural integrity needed for the bouquet to last through the photos and the ceremony.
Neglecting the Stem Ends
Many people forget to leave the very bottom of the stems exposed when wrapping with ribbon. If the ribbon touches the water in the vase, it will wick the moisture upward and become soggy and stained. Always keep a small gap of bare stem at the base of your handle.
Troubleshooting
The Flower Heads are Drooping
Calla lilies can sometimes lose their turgidity if they aren’t hydrated properly before assembly. If a head starts to sag, try “pulsing” the stem by placing it in very warm (not boiling) water for thirty minutes. This can often force water up into the head and stiffen the stem back up.
The Stems are Slippery and Shifting
Calla lily stems naturally produce a slightly slimy sap when cut. If the flowers are sliding around while you are trying to arrange them, wipe the stems dry with a paper towel. You can also use a small piece of floral tape to bind small groups of three stems together before combining them into the larger bouquet.
Key Takeaways
- Always hydrate your lilies for several hours before you attempt to build the bouquet.
- Use the spiral technique to create a professional shape and a comfortable handle.
- Secure the stems with waterproof floral tape before adding decorative ribbon.
- Leave a small portion of the stems exposed at the bottom to prevent the ribbon from getting wet.
- Handle the blooms gently to avoid bruising the waxy petals and stems.
- Store the finished bouquet in a cool, dark spot in a small amount of water.
Frequently Asked Questions
How far in advance can I make a calla lily bouquet?
You can safely make the bouquet one day before the wedding. Just ensure it stays in a cool environment and is placed in a vase with fresh water. Calla lilies are quite hardy compared to roses or hydrangeas, so they hold up well overnight.
Do I need to use floral foam for this bouquet?
No, calla lily bouquets are best made as hand-tied arrangements. Their stems are thick and fleshy, making them difficult to insert into foam without causing damage. A hand-tied approach also allows the stems to remain in direct contact with water until the moment you walk down the aisle.
How many calla lilies do I need for a standard bridal bouquet?
For a standard-sized bouquet, 18 to 24 mini calla lilies usually provide a full and lush look. If you are using the large, standard calla lilies, you may only need 7 to 10 stems because the heads are significantly larger. It depends on whether you want a delicate or a dramatic appearance.
Can I mix calla lilies with other flowers?
Yes, they pair beautifully with roses, orchids, or eucalyptus. However, because calla lilies have such distinct, smooth stems, they are often featured alone for a “clean” look. If you do mix them, make sure the other flowers have similar hydration needs and stem strengths.
Our Top Recommended Finds
- Professional Floral Shears: Look for high-carbon steel blades that provide a clean, bypass cut. These prevent the stems from being crushed during the trimming process.
- Waterproof Floral Tape: This is essential for securing the stems. Unlike standard tape, it maintains its grip even when exposed to the moisture from the flower stems.
- Pearl-Headed Corsage Pins: These add a touch of elegance to the ribbon handle. They are functional for holding the ribbon in place and double as a beautiful decorative element.
Bring Your Floral Vision To Life
Now that you have the technical steps down, you can experiment with different ribbon textures or color gradients.
Try practicing with a small bunch of grocery store lilies first to get a feel for the spiral technique and the weight of the stems.
Once you master the handle wrap, you will have a professional skill that can be used for bridesmaids’ bouquets and boutonnieres as well.
Start gathering your supplies today so you have plenty of time to create the perfect arrangement for your special day.