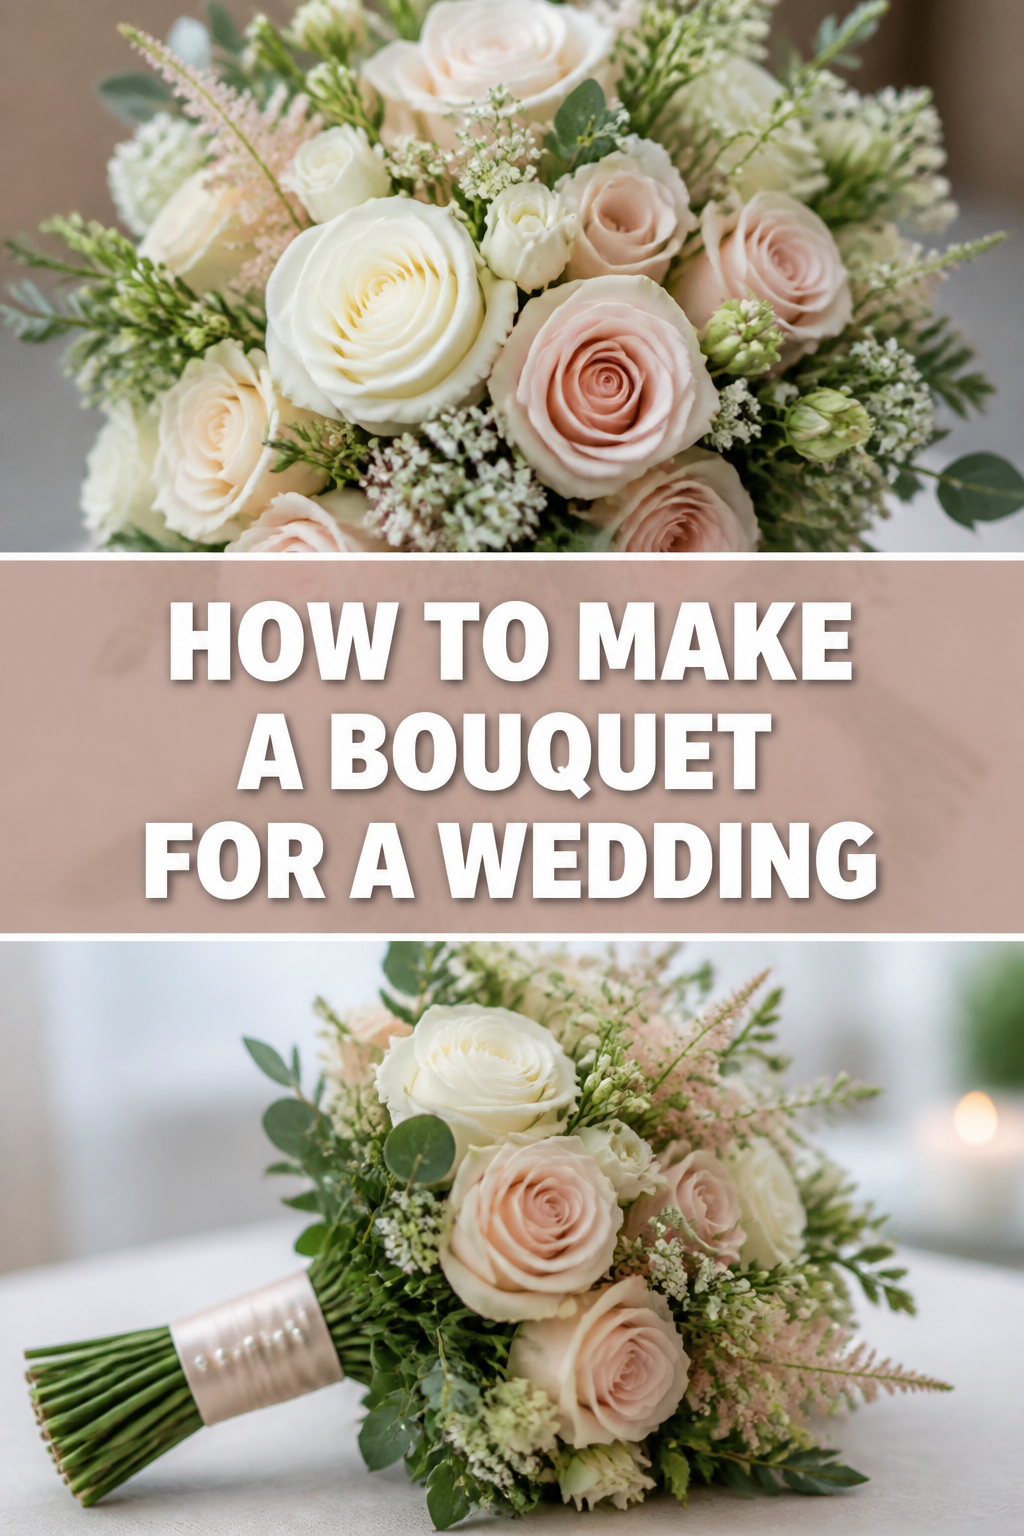
💐 How To Make A Bouquet For A Wedding
Creating a wedding bouquet can feel like a daunting task, but it’s incredibly rewarding. I remember the immense joy I felt crafting a bouquet for my sister’s special day. This guide will walk you through each step, ensuring you can achieve that same sense of pride and beauty.
You’ll gain the confidence and skills to design a stunning, personalized bouquet.
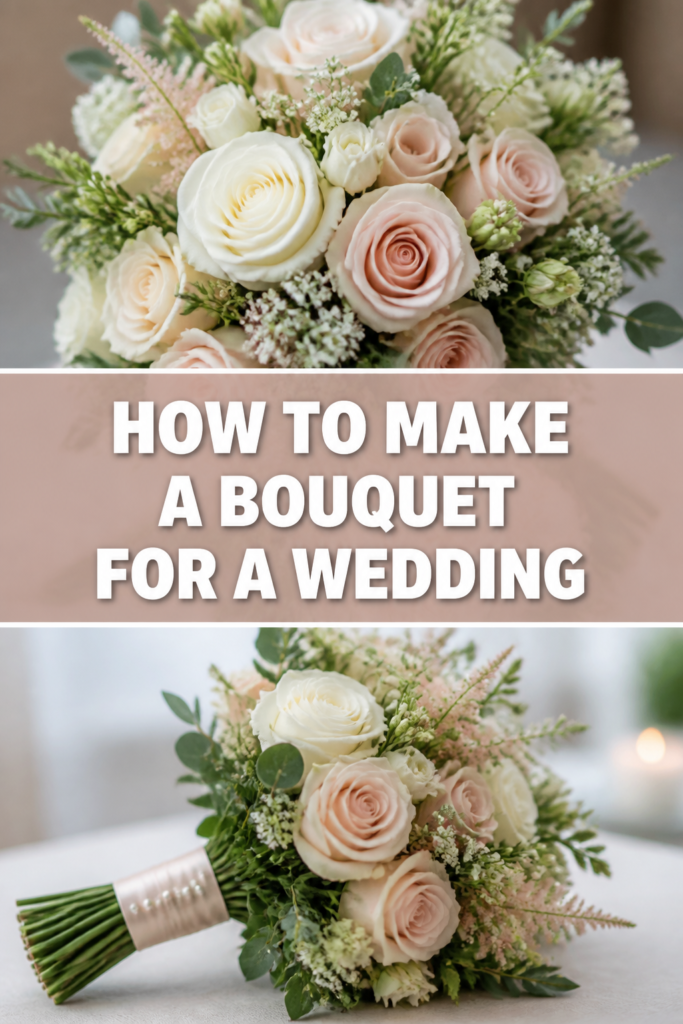
Quick Overview
This guide will empower you to construct a beautiful, professional-looking wedding bouquet with your own hands. You’ll learn the essential techniques from flower preparation to final presentation.
- Time needed: 2-4 hours (including prep and assembly)
- Difficulty: Intermediate
- What you’ll need: Fresh flowers, assorted greenery, floral shears, floral tape, ribbon, pins.
Step-by-Step Instructions
Step 1: Gather Your Supplies and Vision
Collect all your chosen flowers, greenery, and necessary tools before you begin. Lay them out on a clean, spacious work surface. Having everything at hand streamlines the process significantly.
Consider the wedding’s color palette, theme, and the bride’s personal style when selecting your blooms. This initial vision guides all your choices.
Pro Tip: Order your flowers from a reputable wholesaler or local flower farm a few days in advance. This ensures freshness and gives you time for proper conditioning.
Step 2: Prepare Your Flowers and Greenery
Unpack your flowers carefully and remove any damaged petals or leaves. Strip all foliage from the bottom two-thirds of each stem. This prevents leaves from sitting in water and rotting, which can contaminate the water and shorten flower life.
Trim each stem at an angle using sharp floral shears. Place them immediately into buckets of clean, fresh water. Allow them to hydrate for at least 3-4 hours, or ideally overnight, in a cool, dark place.
Step 3: Establish Your Focal Point
Select your largest, most striking flower or a cluster of smaller, complementary blooms. This will be the center of your bouquet. Hold it comfortably in your non-dominant hand.
This focal point acts as the anchor around which the rest of the bouquet will be built. It sets the tone and general size.
Step 4: Build Your Greenery Collar
Begin adding pieces of greenery around your focal flower. Hold the stems at an angle, spiraling them in the same direction. This creates a natural, rounded shape.
Incorporate different textures and shades of greenery. This provides a lush backdrop for your flowers and adds depth to the bouquet. Ensure the greens frame the focal bloom without overpowering it.
Step 5: Incorporate Secondary Flowers
Add your secondary flowers, such as roses, peonies, or hydrangeas, around the greenery. Continue using the spiral technique, placing each new stem at an angle. Rotate the bouquet as you work to ensure even distribution.
Vary the height and placement of these flowers slightly. This creates visual interest and a more organic, less stiff appearance. Step back occasionally to assess the overall shape.
Pro Tip: The spiral technique is crucial for a well-structured bouquet. All stems should cross at a single point in your hand, forming a spiral down the handle. This allows the bouquet to stand upright on its own.
Step 6: Add Filler Flowers and Texture
Introduce smaller, delicate filler flowers like spray roses, astilbe, or wax flower. These fill in gaps and add intricate texture. They also help to bridge the larger blooms, making the bouquet cohesive.
Tuck them into spaces between your main flowers and greenery. Be careful not to overcrowd the bouquet; aim for a balanced, airy feel. This step truly brings the bouquet to life.
Step 7: Refine the Shape and Balance
Examine your bouquet from all angles. Look for any empty spots or areas that appear too dense. Gently adjust the placement of stems to create a harmonious shape.
Ensure the bouquet feels balanced in weight and visual appeal. You might need to add a few more pieces of greenery or a small flower here or there. The goal is a pleasing, rounded dome or a more organic, free-flowing form, depending on your vision.
Step 8: Secure the Stems
Hold the bouquet firmly at the point where all stems cross. This is your binding point. Use floral tape to wrap tightly around the stems, starting just below your hand.
Wrap downwards about 3-4 inches, then back up to the starting point. Overlap the tape slightly with each revolution. This creates a strong, secure handle that will hold the bouquet together.
Step 9: Trim and Wrap the Handle
Trim all the stems to an even length using your sharp floral shears. Aim for a comfortable handle length, usually around 6-8 inches from the binding point. Ensure the cut is clean and even.
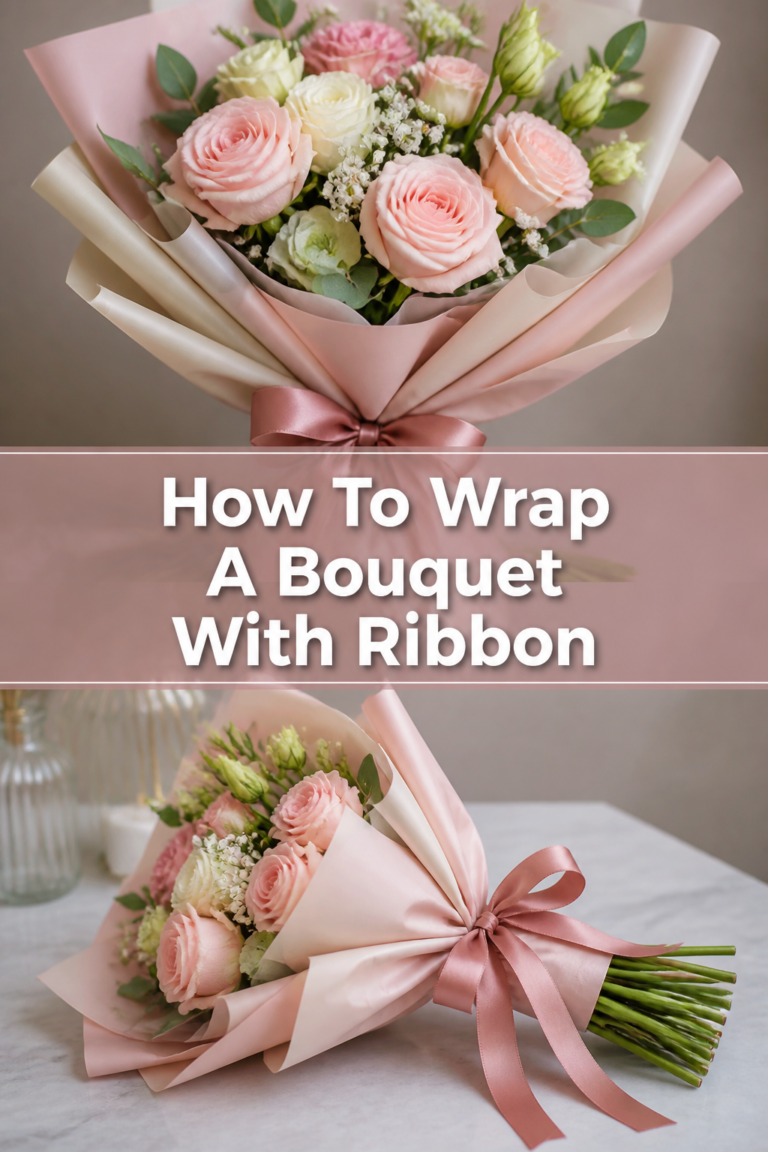
Wrap the floral tape with your chosen ribbon. Start at the top of the taped section, securing the ribbon with a floral pin. Wrap downwards, overlapping slightly, then back up. Finish by securing the ribbon with another pin or a decorative knot.
Step 10: Final Touches and Hydration
Mist the bouquet lightly with water, especially the flower heads. Place the bouquet in a vase with a small amount of fresh water, just enough to cover the stem ends. Do not submerge the entire bouquet.
Store the bouquet in a cool, dark place until needed. For transport, ensure it’s kept upright and protected from direct sunlight or extreme temperatures. A final check for loose petals or leaves completes the process.
Common Mistakes to Avoid
Over-tightening the Hand-Hold
Many beginners squeeze the bouquet too tightly while assembling it. This can bruise stems and prevent the spiral technique from working effectively. Hold the bouquet firmly but gently, allowing stems to move slightly as you add new ones.
Forgetting to Condition Flowers
Skipping the conditioning step is a common error that leads to wilting. Flowers need time to drink water after being cut and transported. Always give them several hours, or overnight, to rehydrate before assembling.
Using Too Many Flower Varieties
While variety can be beautiful, too many different types of flowers can make a bouquet look chaotic and busy. Stick to a primary flower, a few secondary flowers, and one or two fillers. This creates a more cohesive and elegant design.
Uneven Stem Lengths Before Wrapping
If you don’t trim all stems to a uniform length after binding, the bouquet won’t sit properly in a vase. It also looks unprofessional. Always make a clean, even cut across all stems for a polished finish.
Troubleshooting
Bouquet Feels Loose or Falls Apart
If your bouquet feels unstable, the binding point was not tight enough. Carefully re-tape the stems, ensuring the floral tape is pulled taut and wrapped securely multiple times around the critical crossing point. You might need to remove some ribbon to do this.
Flowers Wilting Quickly
This usually indicates improper conditioning or exposure to heat. Ensure flowers are deeply hydrated before assembly and kept in a cool, dark place. If wilting occurs, recut stems and place them in fresh, cool water immediately. A floral anti-transpirant spray can also help.
Bouquet Looks Lopsided or Unbalanced
Step back and examine the bouquet from all angles. Identify the heavier or denser side. Gently adjust stems by pushing them deeper or pulling them out slightly. Add a few extra pieces of greenery or a small flower to the lighter side to rebalance the visual weight. Rotation during assembly helps prevent this.
Key Takeaways
- Plan your design: Visualize the final look, considering flower types and colors.
- Properly condition flowers: Strip leaves and hydrate stems for longevity.
- Master the spiral technique: This ensures a stable and beautifully shaped bouquet.
- Secure binding is crucial: Tightly wrap stems with floral tape for a sturdy handle.
- Trim stems evenly: Create a clean, professional finish for the bouquet’s base.
- Hydrate and store correctly: Keep the finished bouquet fresh until the wedding.
Frequently Asked Questions
What are the best flowers for a wedding bouquet?
Classic choices include roses, peonies, ranunculus, hydrangeas, and lilies. For a more modern look, consider dahlias, anemones, or garden roses. The best flowers are those that reflect the bride’s style and hold up well out of water.
Can I make the bouquet a day or two in advance?
Yes, you can certainly assemble the bouquet one or two days before the wedding. After assembly, ensure it is properly hydrated and stored in a cool, dark place, like a refrigerator (away from ripening fruits that release ethylene gas). Mist it lightly periodically.
How can I keep my bouquet fresh on the wedding day?
Keep the bouquet in water for as long as possible before the ceremony. Transport it in a vase with a small amount of water. Avoid direct sunlight, heat, or strong drafts. A light misting before photos can also refresh the blooms.
How much does it cost to DIY a wedding bouquet?
The cost varies widely depending on your flower choices and where you purchase them. Generally, you can expect to spend anywhere from $50-$200 for high-quality fresh flowers and supplies. This is often significantly less than a professionally made bouquet.
Our Top Recommended Finds
- Professional Floral Shears: Essential for clean cuts that help flowers absorb water efficiently. A sharp pair makes a huge difference.
- High-Quality Floral Tape: This self-adhesive tape provides a strong, waterproof bind without damaging delicate stems. Opt for a durable, non-stretchy variety.
- Satin or Velvet Ribbon: Choose a ribbon that complements the wedding’s aesthetic. A luxurious ribbon adds a beautiful finishing touch to the handle.
Embrace Your Inner Florist
Crafting a wedding bouquet is more than just arranging flowers; it’s about pouring love and personal touch into a significant symbol. You now have the knowledge and steps to create something truly memorable.
Don’t be afraid to experiment with different flower combinations for other events, or even just for your home. The joy of working with flowers is a skill that keeps on giving. Start planning your floral masterpiece today and enjoy every moment of the creative journey.