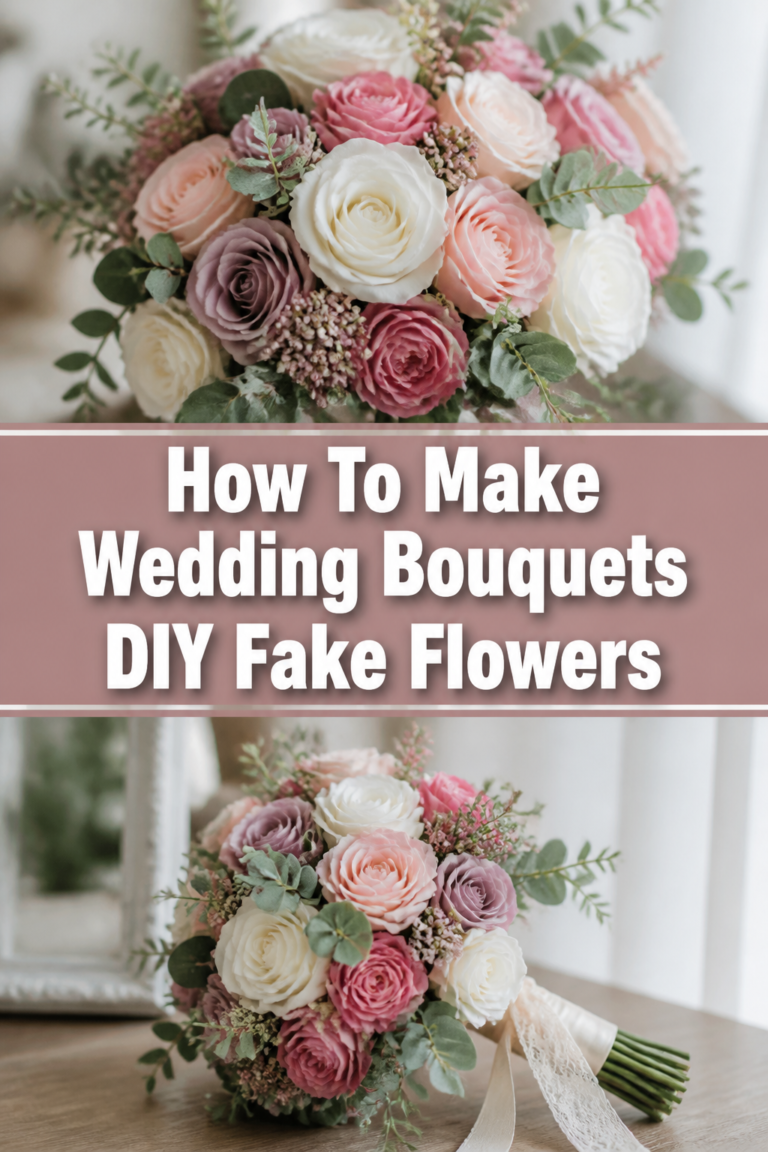
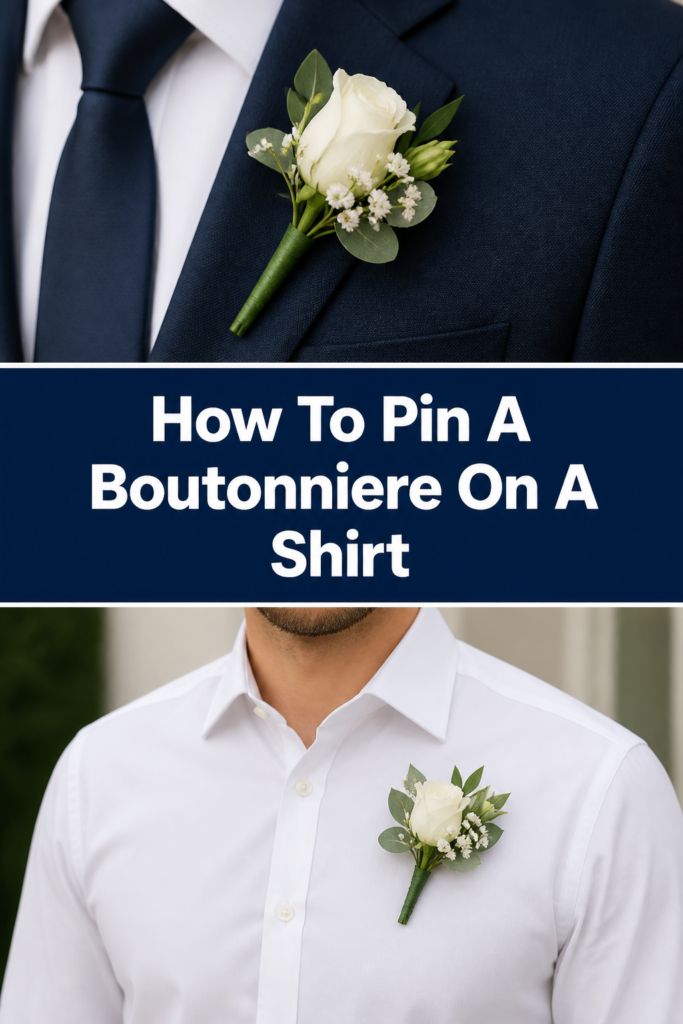
🌹 How To Pin A Boutonniere On A Shirt
A boutonniere is the final touch that elevates a simple shirt into a statement of elegance.
I have spent years helping nervous grooms and prom-goers perfect their look just minutes before the photos start.
This guide ensures your floral accent stays secure and stylish all through the event.
Quick Overview
Before you begin, it helps to understand the scope of the task. Pinning a flower to a shirt is slightly more difficult than pinning it to a sturdy suit lapel, but it is perfectly manageable with a little patience.
- Time needed: 5 to 10 minutes
- Difficulty: Beginner
- What you’ll need: A fresh boutonniere, two pearl-headed pins, a steady hand, and a mirror.
Step-by-Step Instructions
Step 1: Prepare the Shirt and Space
Find a well-lit area with a full-length mirror or a friend to assist you. It is much harder to pin a flower on yourself than it is to have someone else do it for you.
Ensure the shirt is buttoned all the way up and tucked in properly. If the shirt is loose or wrinkled, the weight of the flower will cause the fabric to sag and look messy.
Clear any distractions from your workspace so you can focus on the delicate task of handling the pin and the flower. You do not want to be rushed when working with sharp objects near expensive fabric.
Pro Tip: If you are pinning the flower on yourself, do it while wearing the shirt to ensure the weight sits correctly on your body.
Step 2: Identify the Correct Placement
Locate the left side of the shirt, which is the side over your heart. This is the traditional and most aesthetically pleasing position for any floral accent.
Visualize a vertical line running down from the midpoint of the left shoulder. You want the boutonniere to sit roughly four inches below the shoulder seam, centered on that imaginary line.
Adjust the height based on your frame. Taller individuals can place the flower slightly higher, while shorter individuals should aim for the center of the chest area to maintain visual balance.
Step 3: Position the Boutonniere
Hold the boutonniere by the stem, just below the flower head. The flower should be facing forward, looking directly at the person standing in front of you.
Place the flower against the shirt fabric to test the look. The top of the bloom should not be touching the collar, as this can cause the flower to tilt or get crushed when you move your head.
Check the angle of the stem. It should point straight down toward your belt line, creating a clean, vertical silhouette that complements the lines of your shirt.
Pro Tip: Use a small piece of clear tape on the back of the stem to temporarily hold it in place while you reach for your pins.
Step 4: Insert the First Pin
Reach inside the shirt with one hand to pull the fabric slightly away from your skin. This creates a safe gap so you do not accidentally prick yourself with the needle.
Push the pin through the fabric from the back side of the shirt to the front. You want the sharp end to emerge just above the thickest part of the stem.
Guide the pin over the top of the stem. Do not try to shove the pin through the center of the stem, as this can cause the flower to break or leak sap onto your clothing.
Step 5: Execute the Weaving Technique
Angle the pin downward at a slight diagonal. This “weaving” motion is the secret to a secure fit that will not wobble as you walk or dance.
Push the pin back through the fabric to the inside of the shirt. At this point, the pin should be “trapping” the stem against the shirt fabric like a staple.
Slide the pin down until the pearl head is flush against the inside of the shirt. This keeps the sharp point hidden and prevents it from snagging on anything during the event.
Step 6: Secure with a Second Pin
Evaluate the stability of the flower. If the bloom is large or heavy, a single pin will likely allow it to swing or tilt forward away from your chest.
Repeat the pinning process about an inch lower on the stem. This second anchor point provides the structural integrity needed for long hours of wear.
Ensure the second pin is parallel to the first. Keeping your pins organized and hidden makes the final presentation look professional and polished.
Pro Tip: For very thin dress shirts, place a small piece of cardboard or a heavy business card inside the shirt pocket to provide extra support for the pins.
Step 7: Final Adjustments and Safety Check
Look in the mirror and move around. Walk a few steps, shrug your shoulders, and lean forward to see if the boutonniere stays flat against your chest.
Feel the inside of the shirt with your fingers. Make sure no sharp points are touching your skin, as a small prick can become very irritating over several hours.
Straighten the flower head one last time. Sometimes the act of pinning can rotate the bloom, so give it a gentle nudge to ensure it is perfectly upright.
Common Mistakes to Avoid
Pinning Too High or Too Low
Placing the flower too close to the collar makes the outfit look crowded. It also risks the flower being crushed every time you turn your head. Conversely, pinning it too low near the stomach looks unintentional and sloppy. Aim for the “sweet spot” directly over the pectoral muscle for the most classic look.
Driving the Pin Through the Stem
Many people assume the pin must go through the flower itself to hold it. This is a mistake because flower stems are often brittle or filled with water. Piercing the stem can cause the flower to wilt prematurely or snap off entirely. The pin should act as a bridge over the stem, pressing it firmly against the fabric.
Using Only One Pin for Heavy Flowers
Roses and lilies are significantly heavier than they look. If you only use one pin, the weight of the bloom will pull the fabric downward, creating an unsightly bulge in your shirt. Always use two pins for larger arrangements to distribute the weight and keep the flower upright.
Leaving the Pin Head Visible
The pearl head of the pin is meant to be a tool, not a decoration. While some people like the look of the pearl on the outside, it is traditionally kept hidden on the inside of the shirt. This creates a “floating” effect for the flower that looks much cleaner and more sophisticated.
Troubleshooting
The Flower is Sagging the Fabric
This is a common issue with lightweight cotton or silk shirts. The fabric simply doesn’t have the tension to hold the weight of the flower. To fix this, you can pin the boutonniere through both the shirt and the strap of an undershirt or even a pair of suspenders. This transfers the weight to a sturdier layer of clothing.
The Stem is Too Long
If the stem of the boutonniere is peeking out from the bottom or hitting your belt, it needs to be shortened. Use a pair of wire cutters or heavy scissors to trim the stem at an angle. Make sure to wrap the freshly cut end in a bit of floral tape to prevent any moisture from staining your shirt.
The Pin is Sliding Out
If the pin feels loose, the fabric may be too smooth. You can create more friction by “weaving” the pin through the fabric more than twice. Instead of a simple in-and-out, try to catch the fabric three times. This creates a series of tension points that will lock the pin in place even if you are moving around a lot.
Key Takeaways
- Left Side Always: The boutonniere always goes on the wearer’s left side, over the heart.
- Weave the Pin: Use an in-and-out motion through the fabric to create a secure anchor.
- Avoid the Stem: Never pierce the actual stem; instead, pin over it to hold it against the shirt.
- Two Pins are Better: Use a second pin for stability, especially with top-heavy flowers like roses.
- Check for Safety: Ensure the sharp point of the pin is tucked safely back into the fabric or hidden behind the stem.
- Fabric Support: Use an undershirt or a hidden piece of cardstock if the shirt fabric is too thin to support the weight.
Frequently Asked Questions
Can I use a safety pin instead of a floral pin?
While a safety pin can work in an emergency, it is not recommended. Safety pins tend to bunch the fabric and can leave larger holes in delicate shirt material. Floral pins are long and thin, allowing them to slide through the weave of the fabric without causing permanent damage.
Which way should the flower face?
The “face” or the most attractive side of the bloom should be pointing directly forward. If the flower has a natural curve, it should curve slightly toward your shoulder rather than toward your chin. This ensures the flower looks like a natural extension of your attire.
Should I remove the plastic wrap from the stem?
Most professional boutonnieres come with the stems wrapped in green floral tape. Do not remove this tape, as it holds the structure together and keeps the moisture inside. If there is a clear plastic water vial on the end, you should generally remove it before pinning, as it is too heavy and bulky for a shirt.
How do I stop the flower from wilting?
Keep the boutonniere in the refrigerator until the very moment you are ready to leave. Avoid touching the petals, as the oils from your fingers can cause them to brown. If the event is outdoors in the heat, choose hardier flowers like orchids or succulents which last much longer without water.
Our Top Recommended Finds
- Professional Floral Pins: These are longer than standard sewing pins and feature a large pearl head that is easy to grip and hide.
- Self-Adherent Floral Tape: This is perfect for wrapping stems or shortening a boutonniere that feels too long or unstable.
- Small Wire Cutters: A dedicated tool for trimming stems ensures you get a clean cut without crushing the delicate water-carrying veins of the flower.
Perfecting Your Formal Presentation
Now that your boutonniere is securely fastened, you can focus on enjoying your special event with confidence. A well-pinned flower stays in place through handshakes, hugs, and hours on the dance floor.
If you found this guide helpful, you might also want to learn how to fold a pocket square to complement your new floral accent. Taking the time to master these small details makes a massive difference in your overall appearance.
Go ahead and check your reflection one last time. You are ready to make a great impression and celebrate in style.