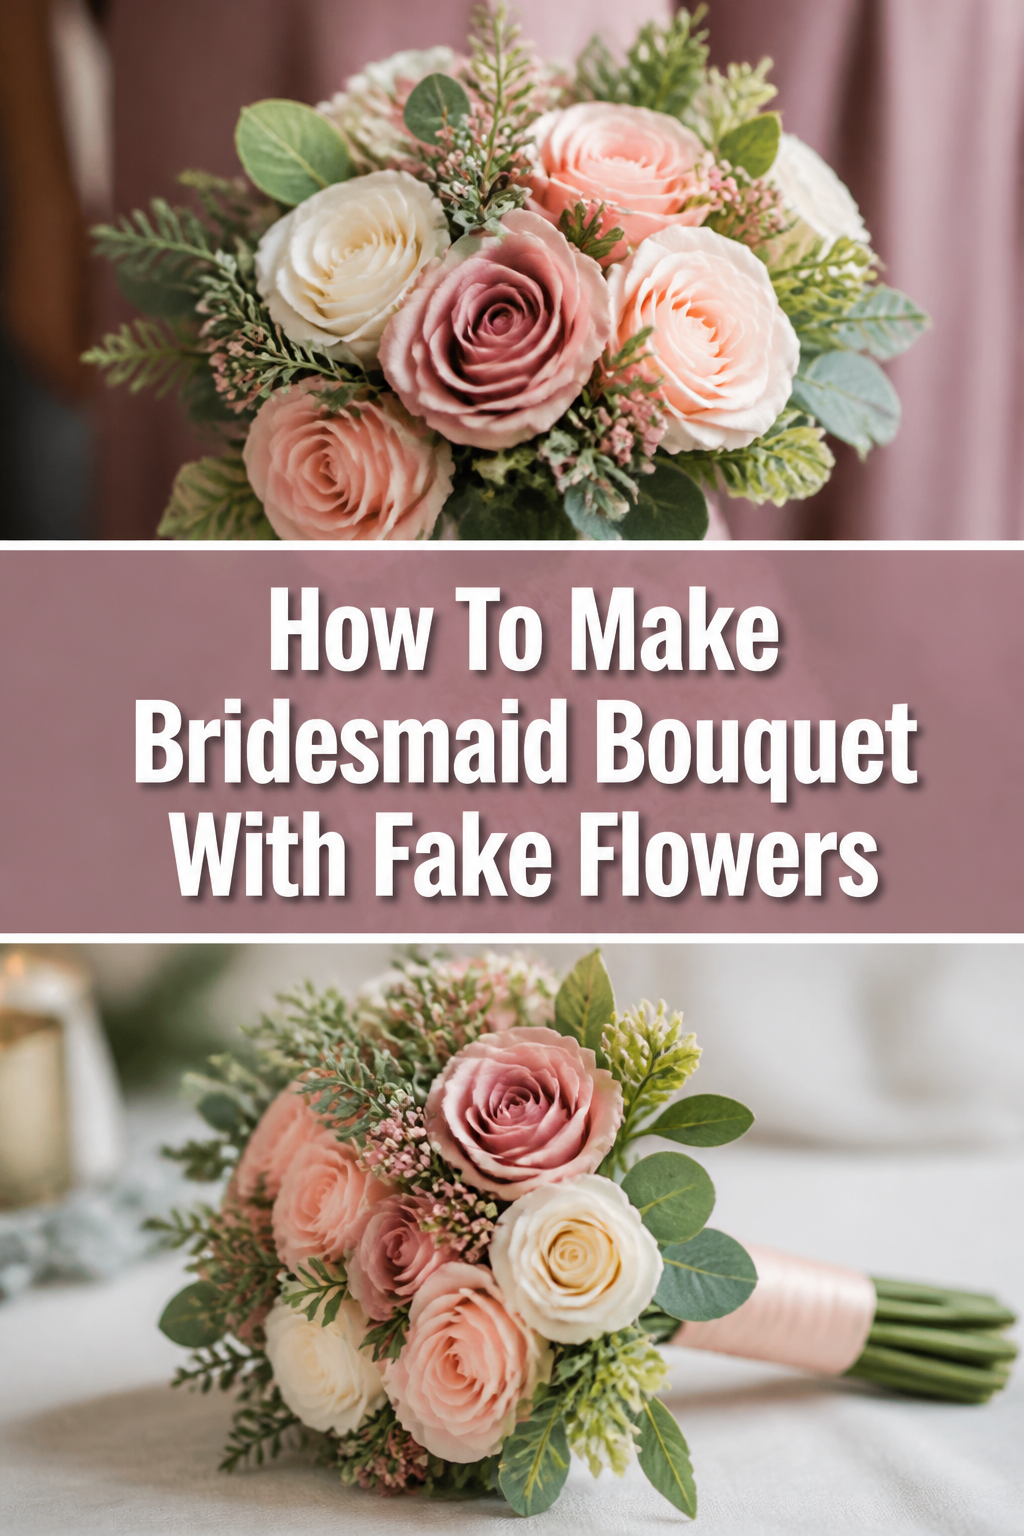
💐 How To Make Bridesmaid Bouquet With Fake Flowers
Planning a wedding can be exciting, but also quite a project. Crafting beautiful bridesmaid bouquets doesn’t have to add to your stress. I’ve spent countless hours creating stunning arrangements for various events, and I can tell you that fake flowers are a secret weapon for lasting beauty. This guide shares my hands-on experience, helping you create gorgeous, durable bouquets with confidence.
Quick Overview
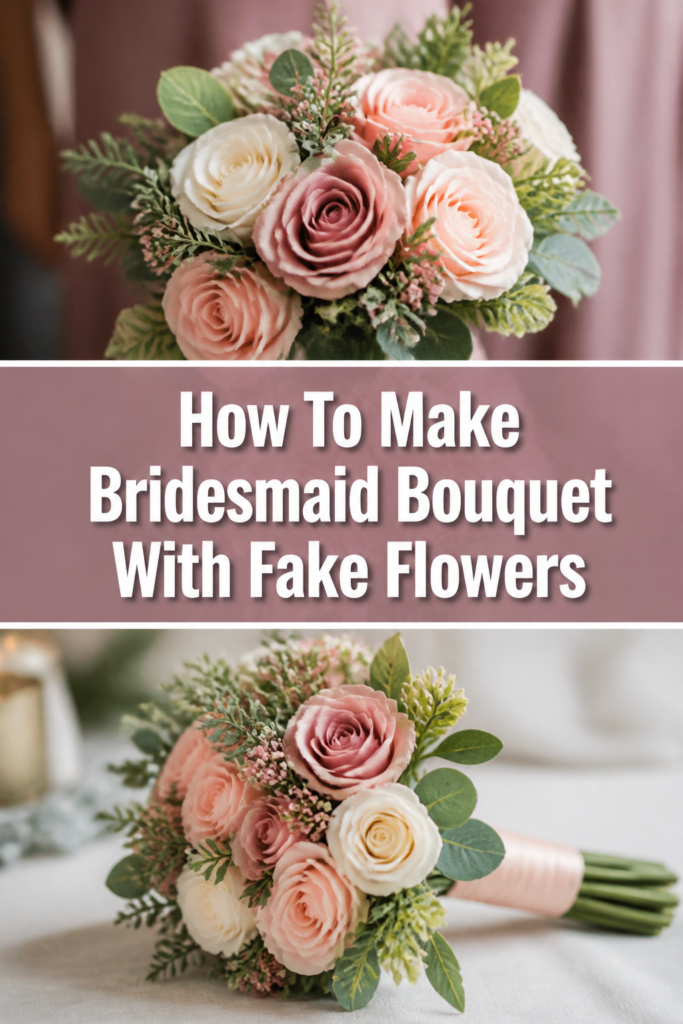
This guide will walk you through creating a beautiful, lasting bridesmaid bouquet using artificial flowers. You’ll learn how to select materials, arrange them artfully, and finish the handle professionally. The result will be a stunning accessory that your bridesmaids can cherish long after the wedding day.
- Time needed: 1-2 hours per bouquet
- Difficulty: Beginner to Intermediate
- What you’ll need: Assorted fake flowers and greenery, floral wire, floral tape, sharp wire cutters, ribbon, hot glue gun (optional).
Step-by-Step Instructions
Step 1: Gather Your Materials
Start by collecting all the items you’ll need for your bouquet. This preparation step saves time and prevents interruptions later on. Ensure you have a clean, spacious workspace ready for assembly.
- Select your artificial flowers and greenery. Choose a variety of sizes, textures, and shades that complement your wedding colors.
- Ensure you have strong floral wire, preferably 22-26 gauge, for reinforcing stems.
- Acquire a roll of green floral tape, which is self-adhesive and crucial for securing stems.
- Find sharp wire cutters capable of snipping through thick floral stems.
- Choose your ribbon for the handle wrap. Satin, velvet, or lace are popular choices.
Pro Tip: Buy extra flowers and greenery. It’s always better to have too many options than too few, allowing for more creative freedom and replacements if needed.
Step 2: Prepare Your Flowers and Greenery
Proper preparation ensures each stem is ready for arrangement. This step provides flexibility and makes the bouquet easier to handle. You’ll want to work with individual stems rather than large bunches.
- Separate all flower and greenery bunches into individual stems.
- Trim excess leaves or small plastic nubs from the base of the flower heads.
- Bend or gently manipulate any plastic stems that are too stiff or oddly shaped.
- Lengthen any short stems by attaching a piece of floral wire alongside the existing stem, wrapping it tightly with floral tape.
Step 3: Build Your Base with Focal Flowers
The focal flowers are the stars of your bouquet. Start with 2-3 of your largest or most prominent blooms. This creates the central point around which the rest of the bouquet will grow.
- Hold one focal flower firmly in your non-dominant hand. This will be the very center.
- Add a second focal flower slightly below and to one side of the first.
- Place a third focal flower on the opposite side, creating a triangular base.
- Secure these initial stems together by wrapping them tightly with floral tape, starting just below the flower heads and working your way down about 2-3 inches.
Step 4: Incorporate Filler and Greenery
Now it’s time to add volume, texture, and natural beauty. Filler flowers and greenery soften the edges and fill any gaps. This step gives the bouquet its organic, lush appearance.
- Insert smaller filler flowers, like hydrangeas or baby’s breath, around the focal points.
- Weave in greenery sprigs, such as eucalyptus or fern, to create depth and a natural backdrop.
- Rotate the bouquet as you add elements, ensuring even distribution of flowers and foliage.
- Continue to wrap the growing bundle of stems with floral tape every few additions to keep everything secure.
Pro Tip: Step back frequently to assess the shape and balance. Hold the bouquet at arm’s length to see it from different angles, just as it will be viewed.
Step 5: Expand and Refine the Shape
Gradually build out the bouquet, adding more flowers and greenery. Focus on creating a pleasing, rounded shape that isn’t too uniform. Aim for a natural, slightly asymmetrical look.
- Add flowers in layers, building outwards from the center.
- Vary the heights of your flowers slightly to create visual interest.
- Tuck in smaller blooms and greenery to fill any remaining gaps.
- Ensure the bouquet has a consistent dome or rounded shape from all sides.
- Use floral tape to wrap the entire bundle of stems tightly once you’re happy with the arrangement. Wrap from just below the flower heads all the way down to your desired handle length.
Step 6: Trim and Prepare the Handle
A comfortable and aesthetically pleasing handle is essential for your bridesmaid. This step ensures the bouquet is easy to hold and looks neat. Uneven stems can make the final wrap challenging.
- Hold the bouquet with the stems facing up.
- Measure the desired length for the handle, usually around 6-8 inches from the base of the flowers.
- Cut all the stems evenly at this measured point using your sharp wire cutters.
- Wrap the entire trimmed handle tightly with another layer of floral tape. This creates a smooth base for the ribbon and prevents any sharp edges.
Step 7: Wrap the Handle with Ribbon
The ribbon wrap provides a polished finish and hides the floral tape. This is where you add a touch of elegance and integrate your wedding colors. A well-wrapped handle is comfortable to hold.
- Start by securing one end of your chosen ribbon to the top of the handle, just below the flowers, using a small dot of hot glue or a pin.
- Wrap the ribbon tightly and smoothly around the handle, overlapping slightly as you go.
- Continue wrapping down to the bottom of the handle.
- Secure the end of the ribbon at the bottom with another small dot of hot glue or a pin.
- Add a decorative bow or trailing ribbons if desired, securing them with glue or by tucking them into the existing wrap.
Step 8: Final Inspection and Touches
Give your finished bouquet a thorough once-over. This last check ensures everything is perfect and ready for the big day. Small adjustments can make a big difference.
- Gently fluff any compressed flowers or leaves.
- Check for any visible floral tape or stray wires. Tuck them in or cover them.
- Ensure the handle feels secure and comfortable in hand.
- Mist the bouquet lightly with a floral sealant spray (optional) to protect against dust and UV fading, though this is less critical for high-quality fake flowers.
Common Mistakes to Avoid
Overstuffing the Bouquet
A common pitfall is trying to squeeze too many flowers into one bouquet. This can make the arrangement look cluttered, heavy, and unnatural. Instead, focus on creating balance and allowing each flower to have its moment. A less-is-more approach often yields a more elegant result.
Forgetting Stem Preparation
Neglecting to trim and wire stems properly can lead to a messy, unstable bouquet. Short or flimsy stems make it difficult to build a sturdy base. Always take the time to prepare each stem, ensuring they are all of a usable length and thickness.
Using the Wrong Tape or Wire
Using regular adhesive tape instead of floral tape, or using wire that’s too thin, will compromise the bouquet’s integrity. Floral tape adheres to itself and provides a strong, flexible bond. Use appropriate gauge floral wire for reinforcement to prevent flowers from drooping.
Uneven Handle Wrapping
A poorly wrapped handle can be uncomfortable to hold and detracts from the overall aesthetic. Ensure your ribbon is wrapped tightly, smoothly, and consistently. Take your time to create a neat finish, securing the ends properly so they don’t unravel.
Troubleshooting
Bouquet Feels Loose or Unstable
If your bouquet feels like it might fall apart, the stems likely aren’t taped tightly enough. Unwrap the floral tape from the handle, carefully re-gather the stems, and re-tape them much more firmly. Ensure each new addition is taped securely into the main bundle.
Flowers Look Too “Fake”
Sometimes artificial flowers can appear stiff or overly plastic. Gently bend and manipulate the petals and leaves to give them a more natural, organic shape. You can also use a hairdryer on a low, warm setting (held at a distance) to slightly soften and reshape plastic petals, but be very cautious not to melt them.
Handle Feels Uncomfortable
If the handle is too bulky, thin, or has sharp edges, it will be unpleasant to hold. Before applying the final ribbon, ensure the underlying floral tape wrap creates a smooth, even cylinder. You can add a thin layer of cotton batting or foam around the taped stems before wrapping with ribbon for extra padding.
Key Takeaways
- Careful selection of artificial flowers and greenery is key to a beautiful, realistic bouquet.
- Proper stem preparation, including trimming and wiring, ensures a sturdy and manageable arrangement.
- Build your bouquet in layers, starting with focal flowers and gradually adding fillers and greenery.
- Regularly secure stems with floral tape to maintain the bouquet’s shape and stability.
- A well-trimmed and ribbon-wrapped handle provides a comfortable grip and a polished finish.
- Avoid common mistakes like overstuffing or neglecting stem prep for best results.
- Take your time and enjoy the creative process; artificial flowers offer flexibility and durability.
Frequently Asked Questions
How many fake flowers do I need for one bridesmaid bouquet?
The number of flowers depends on their size and the desired fullness of the bouquet. A typical bridesmaid bouquet might use 3-5 focal flowers, 5-7 filler flowers, and 4-6 sprigs of greenery. It’s always best to have extra on hand for flexibility.
Can I mix real and fake flowers in a bridesmaid bouquet?
Yes, you absolutely can! Mixing high-quality fake flowers with real greenery or a few fresh blooms can create a very convincing and beautiful hybrid bouquet. Just be mindful of the weight and how fresh elements will need to be hydrated until the event.
How far in advance can I make these bouquets?
One of the greatest advantages of fake flowers is their longevity. You can make these bouquets months in advance, reducing wedding week stress. Just store them carefully in a dust-free environment, away from direct sunlight.
How do I store the finished bridesmaid bouquets?
Store your finished bouquets in a cool, dry place away from direct sunlight to prevent fading. A large box or garment bag can protect them from dust and getting crushed. Placing tissue paper between bouquets can also help maintain their shape.
Our Top Recommended Finds
- High-Quality Silk Roses: Look for silk or “real touch” roses; their texture and appearance are incredibly lifelike and elevate the entire bouquet.
- Ergonomic Wire Cutters: Investing in comfortable, sharp wire cutters will save your hands and make precise cuts easier, especially with thicker stems.
- Double-Sided Satin Ribbon: This type of ribbon has a luxurious feel and drapes beautifully, adding a sophisticated touch to your bouquet handles.
Your Beautiful Bouquets Await
Creating your own bridesmaid bouquets with fake flowers is a rewarding project. You’ll save money, enjoy a stress-free planning process, and craft lasting keepsakes. Imagine the joy of seeing your vision come to life.
Why wait to start? Gather your inspiration and materials today. Dive into this creative journey and craft stunning bouquets that will be cherished for years to come.