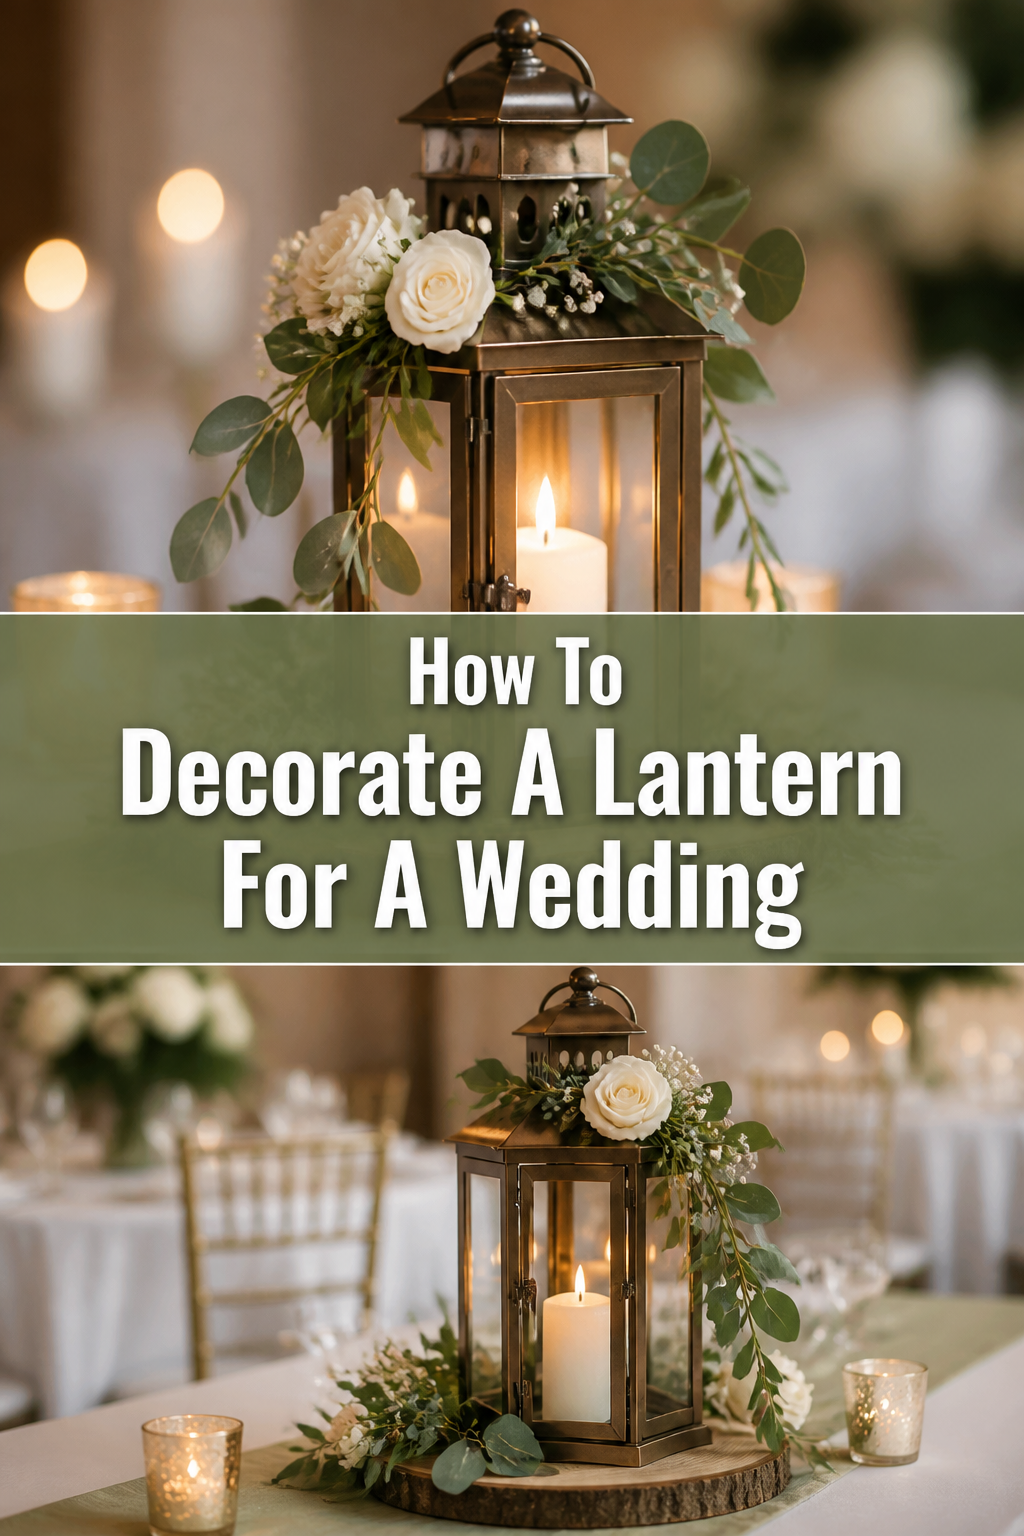
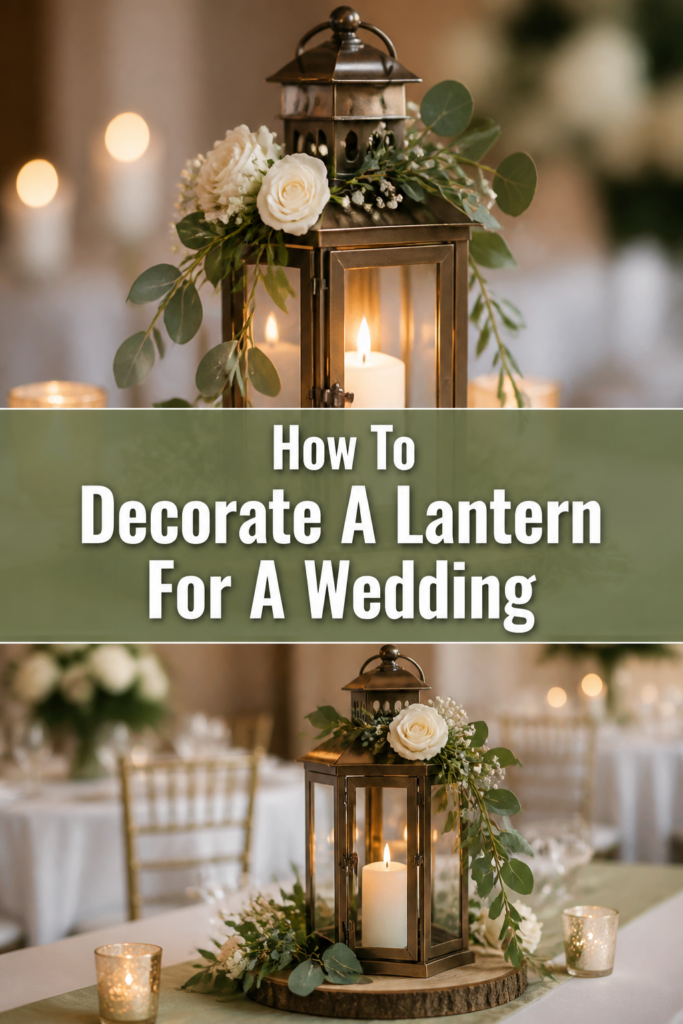
🕯️ How To Decorate A Lantern For A Wedding
Creating beautiful wedding decor can be a truly rewarding experience. Transforming simple lanterns into enchanting focal points adds a personal touch to your special day.
I’ve helped countless couples bring their wedding visions to life, and decorating lanterns is one of my favorite ways to add charm and elegance. This guide will walk you through every step, ensuring your lanterns glow with love and style.
Quick Overview
Decorating lanterns for your wedding lets you infuse your personality into the celebration. You’ll learn to select materials, assemble your design, and create stunning pieces that enhance your venue. This project is perfect for adding a bespoke touch.
- Time needed: 2-4 hours per batch of 5-10 lanterns (depending on complexity)
- Difficulty: Beginner to Intermediate
- What you’ll need: Lanterns, floral elements, ribbon, lighting, glue, wire cutters, scissors
Step-by-Step Instructions
Step 1: Select Your Lanterns
The foundation of your decor is the lantern itself. Consider the overall theme and style of your wedding when making your choice. Lanterns come in various materials like metal, wood, glass, or even paper.
Choose a size that suits its intended placement. Larger lanterns work well as centerpieces, while smaller ones are perfect for lining aisles or hanging. Ensure they are sturdy enough to hold your chosen decorations.
Pro Tip: Buy one sample lantern first to test your decorating ideas. This helps you refine your design before committing to a larger purchase for all your lanterns.
Step 2: Gather Your Decorating Materials
Once you have your lanterns, it’s time to collect all the embellishments. This step ensures you have everything on hand before you begin the creative process. A well-stocked workspace makes decorating much smoother.
List out all the items you plan to use. Collect flowers (fresh or silk), greenery, ribbons, fairy lights, candles (LED recommended), wire, floral tape, hot glue gun, and scissors.
Step 3: Clean and Prepare Each Lantern
Before adding any decorations, make sure your lanterns are spotless. Dust and smudges can detract from the final look of your beautiful creations. A clean surface also helps adhesives stick better.
Wipe down each lantern thoroughly with a damp cloth, then dry completely. Remove any price tags or labels. Check for any loose parts and secure them if necessary.
Step 4: Plan Your Design Theme and Layout
Visualizing your design beforehand saves time and prevents mistakes. Think about the overall aesthetic you want to achieve for your wedding. Sketching out a few ideas can be incredibly helpful.
Decide if you want a rustic, elegant, bohemian, or modern look. Consider where the lanterns will be placed at the venue. Lay out your chosen materials around one lantern to get a feel for the arrangement.
Step 5: Incorporate Internal Lighting
The glow from within the lantern is crucial for setting the mood. LED candles or fairy lights are the safest and most practical choices for weddings. They offer a warm ambiance without the fire hazard of real flames.
Place your chosen LED candles or fairy lights inside the lantern. Arrange them to maximize their light distribution. Ensure battery packs are discreetly hidden and easily accessible for turning on/off.
Pro Tip: Opt for warm white LED lights for a classic, romantic glow. Cool white can sometimes look too stark for a wedding setting.
Step 6: Add Floral Elements and Greenery
Flowers and greenery bring life and natural beauty to your lanterns. Whether you choose fresh blooms or high-quality silk, they instantly elevate the design. This is where your chosen theme truly starts to shine.
Attach small floral arrangements or individual blooms to the top, bottom, or sides of the lantern. Use floral wire or hot glue to secure them. Weave greenery around the lantern’s frame for a lush effect.
Step 7: Drape or Tie Ribbons and Fabric
Ribbons and fabric add texture, color, and a touch of elegance. They can complement your wedding colors and tie the whole look together. This step allows for a lot of personalization.
Tie bows around the lantern handle or base. Drape sheer fabric like tulle or organza over the top. Secure the fabric with a discreet dab of hot glue or a small piece of floral wire.
Step 8: Personalize with Tags or Charms
Adding small, personalized details makes your lanterns unique. This could be a custom tag, a charm, or even a small photo. These touches make the decor feel truly special to your day.
Attach small custom tags with your initials or wedding date to the lantern handle. Hang a delicate charm that matches your wedding theme. Ensure these additions are securely fastened.
Step 9: Review and Refine Your Design
Step back and look at your decorated lantern with fresh eyes. This critical review allows you to catch any imperfections or areas that need a little more attention. It’s about achieving a balanced and polished look.
Check for any visible glue strings or loose elements. Adjust flowers or ribbons for better symmetry. Ensure all lighting elements are working correctly and are positioned well.
Step 10: Plan for Placement and Display
Think about how your lanterns will be displayed at the venue. This includes considering hanging options, surface stability, and overall arrangement. Proper placement enhances their impact.
Decide if lanterns will be hung from shepherd hooks, suspended from ceilings, or placed on tables. Test any hanging mechanisms to ensure they are secure. Consider grouping lanterns of different sizes for visual interest.
Common Mistakes to Avoid
Over-Decorating
It’s easy to get carried away with too many elements. A cluttered lantern loses its elegance and can look busy instead of beautiful. The goal is sophistication, not excess.
Focus on a few key elements that complement each other. Allow the lantern’s design to show through, rather than completely obscuring it with decorations. Less is often more when aiming for a refined look.
Ignoring Safety Precautions
Using real candles in lanterns can be a significant fire hazard, especially with fabric or dried floral elements. This is a common oversight that can lead to serious problems. Venue rules often prohibit open flames for good reason.
Always opt for battery-operated LED candles or fairy lights. These provide the same warm glow without any risk. Double-check that all electrical elements are working safely and correctly.
Choosing the Wrong Scale
A tiny lantern might get lost on a large reception table, while an oversized one could overwhelm a delicate tablescape. The size of your lantern should match its intended display area.
Measure your tables or display areas before purchasing lanterns. Visualize the final arrangement to ensure your lanterns are proportional. A mix of sizes can work well, but ensure each individual lantern fits its specific spot.
Forgetting Weather Considerations
If your wedding is outdoors, your carefully decorated lanterns could be ruined by rain, wind, or extreme heat. Many decorative elements are not weather-resistant. This can lead to last-minute stress.
Use weather-proof materials for outdoor events, such as silk flowers and waterproof LED lights. Secure hanging lanterns extra firmly against wind. Have a backup plan to move them indoors if the weather turns unexpectedly.
Troubleshooting
Lanterns Look Sparse or Undecorated
Sometimes, after decorating, a lantern might still feel a bit empty or unfinished. This can happen if the chosen elements are too small or not abundant enough. The overall effect might be less impactful than desired.
Try adding more greenery to fill gaps, or incorporate a larger central flower. You can also layer different textures of ribbon for more volume. Consider adding a few more strands of fairy lights to increase the glow.
Decorations Aren’t Staying Put
It’s frustrating when flowers or ribbons start to detach from the lantern, especially on the big day. This usually indicates insufficient adhesive or an improper attachment method. You need a secure hold for lasting beauty.
Re-attach elements using a stronger adhesive, like a hot glue gun with high-quality glue sticks. For heavier items, use floral wire wrapped around the lantern frame. Ensure surfaces are clean and dry before applying glue.
Battery Life for Lights is Too Short
You want your lanterns to glow throughout the entire evening, but sometimes LED lights dim or go out prematurely. This can be due to old batteries or lights that consume power quickly. A consistent glow is key.
Always use fresh, high-quality batteries for all your LED lights. Consider purchasing lights with a timer function to conserve battery life. Test all lights for several hours beforehand to ensure they last for your desired duration.
Key Takeaways
- Plan your design early: Decide on a theme and gather all materials before starting.
- Prioritize safety: Always use LED candles or fairy lights instead of real flames.
- Balance your decor: Avoid over-decorating; let the lantern’s form and a few key elements shine.
- Match scale to placement: Choose lantern sizes appropriate for their intended display area.
- Consider the environment: Use weather-resistant materials for outdoor weddings.
- Test everything: Check lights and secure all decorations for a flawless display.
Frequently Asked Questions
Should I use fresh or silk flowers for my lanterns?
Both fresh and silk flowers have their advantages. Fresh flowers offer natural beauty and fragrance, but they are perishable and more delicate. Silk flowers are durable, cost-effective, and can be prepared well in advance.
For ease of preparation and longevity, especially for DIY projects, high-quality silk flowers are often recommended. If you love the scent and look of fresh flowers, consult with your florist for sturdy options that last.
What kind of lights are best for wedding lanterns?
Battery-operated LED candles or fairy lights are the best choice for wedding lanterns. They are safe, energy-efficient, and come in various styles and color temperatures. You can choose from flickering candles to delicate string lights.
Look for options with a timer function for convenience. Warm white lights typically create the most romantic and inviting ambiance. Ensure you have enough batteries for all your chosen lights.
How do I hang lanterns securely at my venue?
Securely hanging lanterns requires the right hardware and careful planning. You might use shepherd hooks for lining aisles, or fishing line and ceiling hooks for suspending them indoors. Always check with your venue about their hanging policies.
Use strong, clear fishing line for an invisible look. For heavier lanterns, opt for sturdy wire or chain. Ensure all knots are tight and hooks are rated for the weight of your decorated lantern.
Can I reuse my decorated wedding lanterns?
Absolutely! Decorating lanterns for your wedding is an investment of time and creativity, and they can certainly be reused. You can repurpose them for home decor, garden accents, or even future events.
Simply remove any wedding-specific elements like personalized tags. You can then re-decorate them for different seasons or occasions. This makes them a beautiful and lasting memento of your special day.
Our Top Recommended Finds
- Assorted Metal Lanterns: A set of varying sizes provides visual interest and versatility for different display areas.
- Warm White LED Fairy Lights: Battery-operated strings with a timer function offer a soft, romantic glow and convenience.
- High-Quality Silk Floral Assortment: Choose a mix of blooms and greenery that complements your wedding colors for a cohesive look.
Crafting Your Wedding’s Radiant Glow
Decorating lanterns for your wedding is more than just a task; it’s an act of love. Each carefully placed flower and every sparkling light adds to the magic of your special day. You’re not just creating decor; you’re crafting memories.
Now is the perfect time to start bringing your vision to life. Gather your supplies, embrace your creativity, and watch as your lanterns transform into breathtaking statements of your unique love story. Begin your decorating journey today!