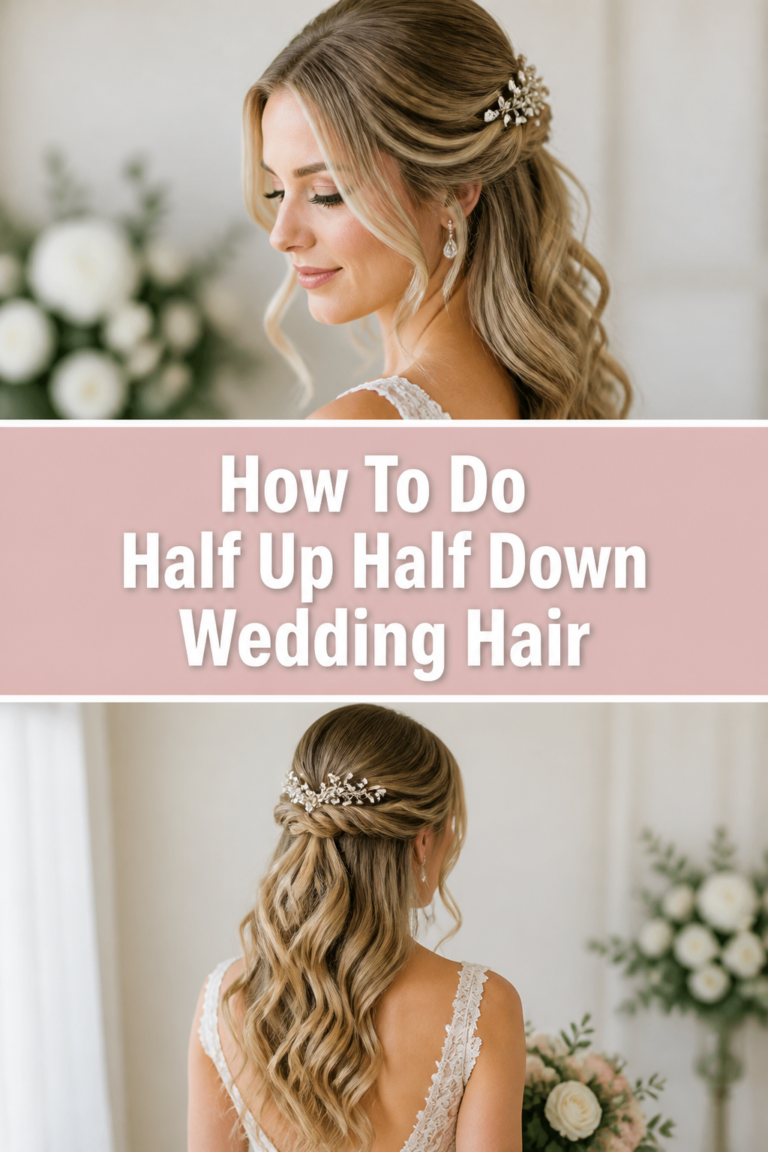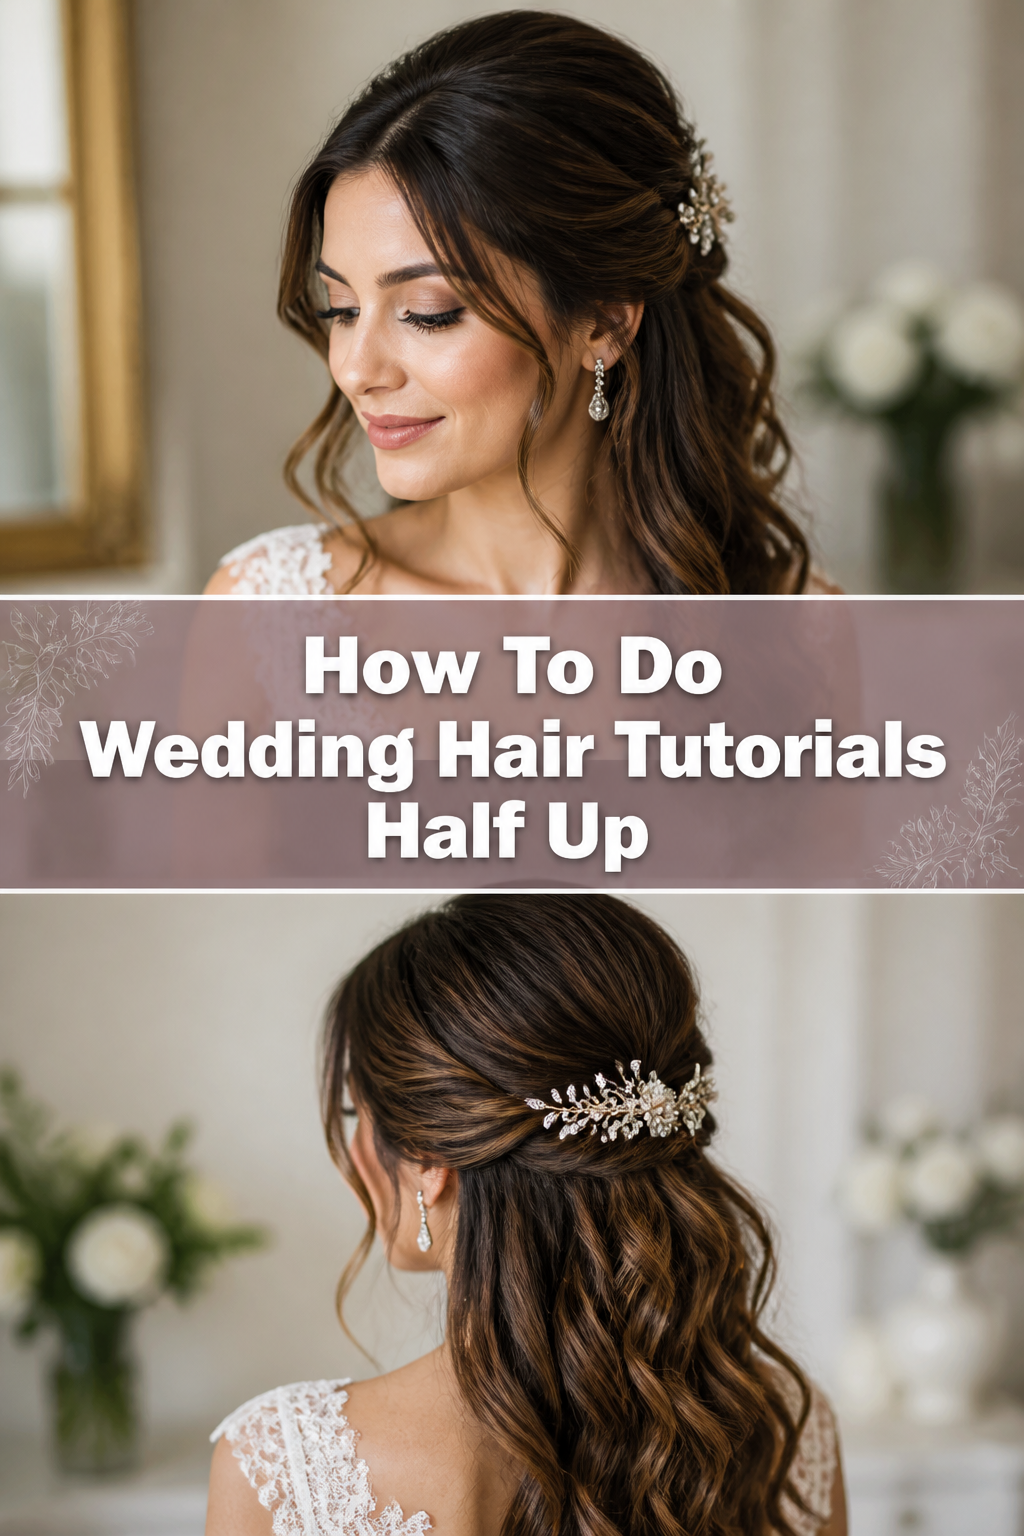
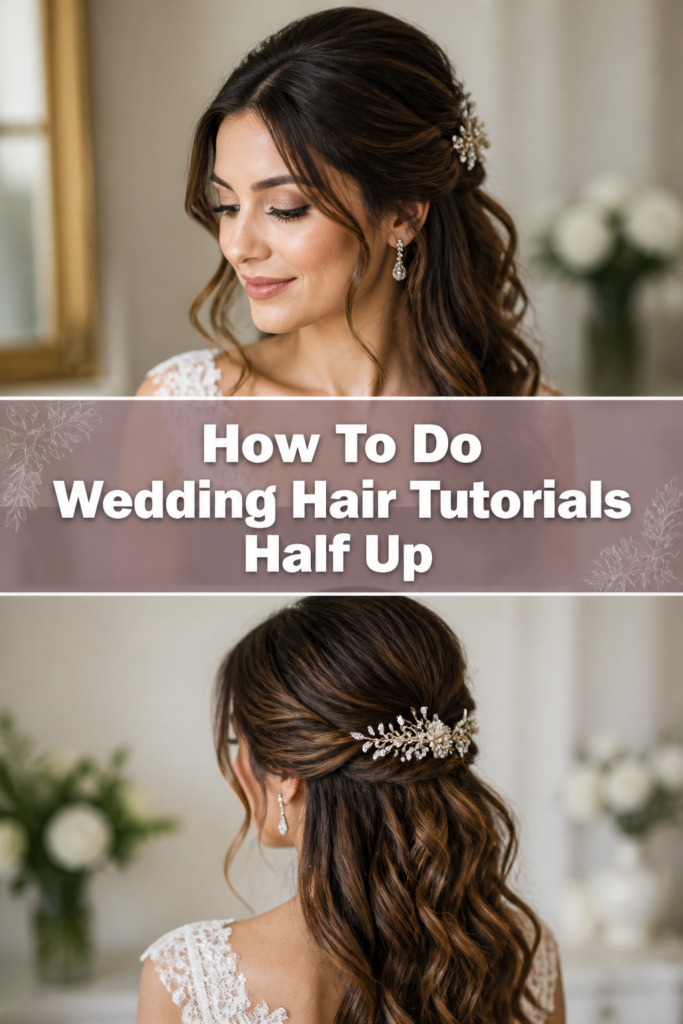
👰♀️ How To Do Wedding Hair Tutorials Half Up
Getting ready for a wedding day means aiming for a stunning look that feels natural and lasts all day. A half-up hairstyle offers the perfect blend of elegance and practicality, keeping hair off the face while showcasing beautiful length and texture. I’ve helped countless friends and family members achieve their dream bridal hair, and this guide shares all the secrets.
You can absolutely create a gorgeous half-up wedding style yourself or for a loved one with the right techniques. This tutorial simplifies the process, making sophisticated bridal hair accessible to everyone. Let’s create something beautiful together.
Quick Overview
This guide walks you through creating a beautiful, lasting half-up wedding hairstyle. You’ll learn how to build volume, secure the style, and add those final, polished touches.
- Time needed: 60-90 minutes (including prep and curling)
- Difficulty: Intermediate
- What you’ll need: Heat protectant, curling wand/iron, hairspray, dry shampoo, texture spray, teasing comb, bobby pins, clear elastic, sectioning clips.
Step-by-Step Instructions
Step 1: Prep Your Hair for Success
Start with clean, dry hair. Freshly washed hair can be too slippery, so consider washing it the day before or using dry shampoo on the roots for added grip and volume. This initial preparation sets the foundation for a long-lasting style.
Apply a heat protectant spray generously throughout your hair. This crucial step shields your strands from damage during styling. Ensure every section is covered before you introduce any heat.
Pro Tip: If your hair is very fine or struggles to hold a curl, mist a light hold hairspray through each section before curling. This adds extra grit and memory to the hair.
Step 2: Create Beautiful Curls
Section your hair horizontally, starting from the nape of your neck. Clip the top sections out of the way. This organized approach ensures every strand gets attention.
Curl small sections of hair using your curling wand or iron. For a softer look, curl away from your face around the front. Alternate the direction of curls on subsequent sections to create more texture and bounce, preventing a uniform, stiff appearance.
Release each curl into your palm after removing it from the heat. Allow it to cool for a few seconds before gently dropping it. This cooling period helps the curl set and last longer throughout the day. Continue this process until all your hair is curled.
Step 3: Build Volume at the Crown
Once all your hair is curled and cooled, gently finger-comb through the curls to break them up slightly. Avoid brushing them out completely, as this can loosen the waves too much. You want a soft, flowing look, not perfectly defined spirals.
Section the top portion of your hair, from ear to ear, across the crown. Clip away the rest of your hair. This isolated section is where you’ll build your volume.
Take small subsections from the crown and tease or backcomb them at the roots using a fine-tooth comb. Spray a little hairspray on each teased section for extra hold. This technique creates a cushion of volume that will support your half-up style.
Step 4: Form the Half-Up Section
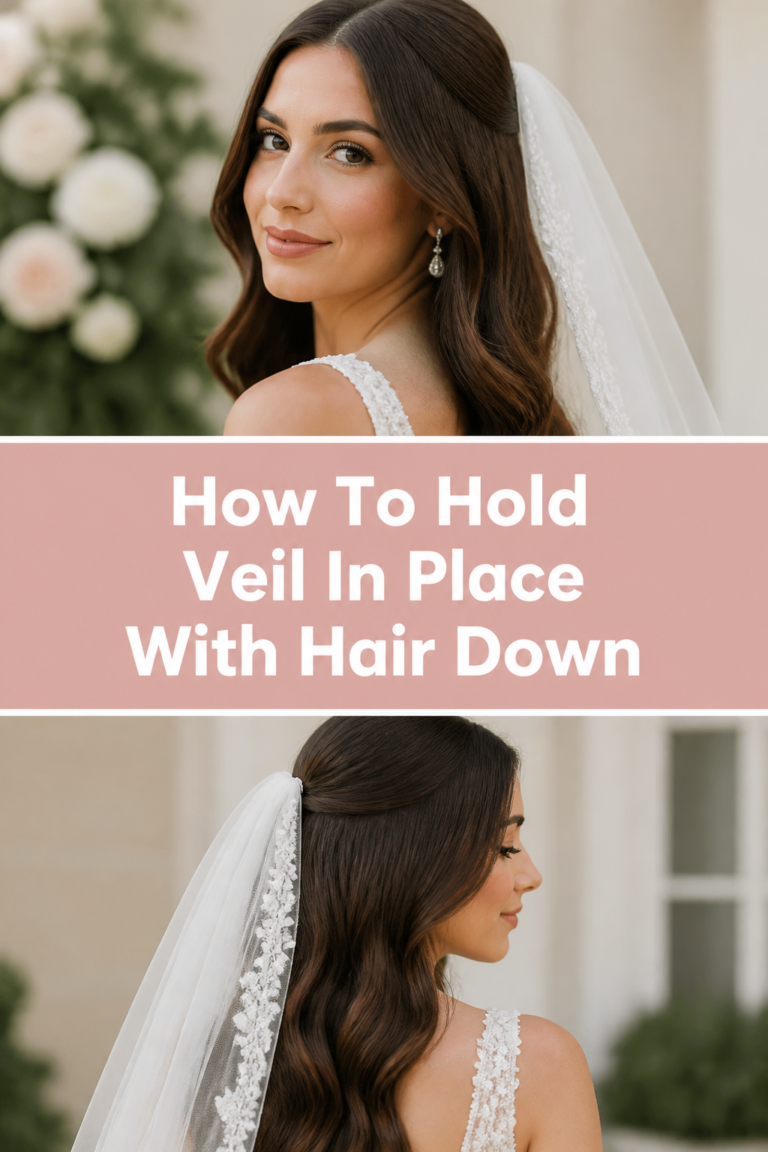
Gather the top section of your hair, starting from just above your ears and going back to the crown. Aim for a diagonal line from the temples upwards. This creates a flattering lift and keeps the front pieces soft.
Smooth the top layer of this gathered section gently with a brush or your fingers. Be careful not to flatten the teased volume underneath. You want a polished surface over the voluminous base.
Secure this section with a clear elastic band. Place the elastic snugly but not too tightly, allowing for comfortable wear. This creates the foundation for your half-up style.
Step 5: Add Texture and Detail
Gently pull small pieces of hair from the secured half-up section. This technique, often called “pancaking,” softens the look and adds a romantic, ethereal feel. Be subtle; you’re just aiming for a little extra width and softness.
Spray a texture spray throughout the lengths of your hair. This enhances the waves and provides a touch more hold without stiffness. It gives that desirable undone, yet polished, look.
Adjust any face-framing pieces. Pull out a few small strands around your temples or ears if you want a softer, more relaxed aesthetic. Curl these pieces away from your face for a flattering sweep.
Pro Tip: For extra security, slide two bobby pins crisscrossed into the elastic band from underneath. This creates an anchor that will prevent the half-up section from slipping.
Step 6: Refine and Secure
Inspect your style from all angles using a handheld mirror. Look for any areas that need more volume, less volume, or a little more smoothing. A perfectionist’s eye now saves adjustments later.
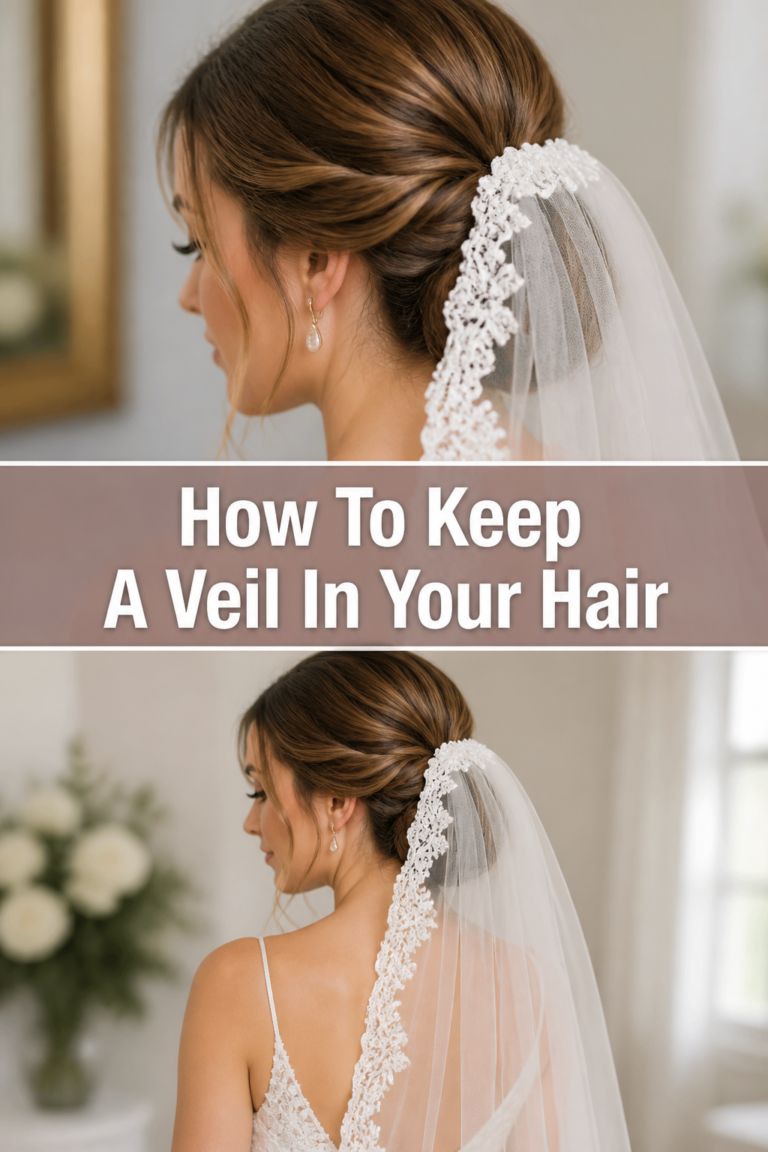
Place any decorative pins, combs, or a veil where desired. Ensure these accessories are securely fastened. Bobby pins can be used to anchor them discreetly into the hair, weaving them through the base of the half-up section or into the teased crown.
Finish with a generous mist of strong-hold hairspray. Hold the can about 10-12 inches away from your head to ensure an even application. This final step locks everything in place, ready for a day full of celebrations.
Common Mistakes to Avoid
Over-Brushing Curls
Brushing through freshly curled hair too vigorously will completely undo your hard work. This can turn beautiful waves into a frizzy mess or straight hair, losing all the volume and bounce you created. Instead, use your fingers or a wide-tooth comb to gently separate the curls once they are completely cool, maintaining their shape and integrity.
Skipping Heat Protectant
Neglecting heat protectant is a common oversight that leads to damaged hair. Without this barrier, hot tools can cause dryness, breakage, and dullness, making your hair look unhealthy and less vibrant. Always apply a generous amount before curling to keep your strands protected and looking their best.
Using Too Much Product Too Soon
Applying heavy hairspray or styling creams at the beginning of the process can make hair stiff and difficult to work with. This can lead to a crunchy texture and an unnatural look, preventing you from achieving a soft, flowing style. Introduce products gradually and strategically, saving stronger hold sprays for the very end.
Not Securing Properly
A half-up style that isn’t properly secured will inevitably fall out or sag throughout the day. This creates a messy appearance and requires constant adjustments, which is the last thing you want on a special occasion. Use clear elastic bands, crisscrossed bobby pins, and sufficient teasing to build a stable foundation.
Troubleshooting
My Curls Fall Flat Quickly
If your curls struggle to hold, ensure your hair is completely dry before curling. Apply a lightweight mousse or texturizing spray before you begin, and mist each section with a light-hold hairspray before applying heat. Allow each curl to cool completely in your hand or pinned up before releasing it, as this setting time is crucial for longevity.
The Half-Up Section Feels Too Loose or Saggy
This usually means the base isn’t secure enough. Go back to the section you gathered and ensure you’ve teased enough hair at the crown to create a solid anchor. Use a clear elastic band that is snug, and reinforce it with two bobby pins crossed over each other, pushing them into the elastic from underneath. This creates a strong hold point.
I Can’t Get Enough Volume at the Crown
Building volume requires proper teasing technique. Take smaller subsections of hair, lift them straight up, and push the comb down towards the scalp in short, repetitive motions. Spray each teased section with hairspray before moving to the next. For very fine hair, a volumizing powder applied to the roots before teasing can make a significant difference.
Key Takeaways
- Proper hair preparation, including dry shampoo and heat protectant, is crucial for a lasting style.
- Curling hair in alternating directions and allowing curls to cool helps create texture and longevity.
- Teasing at the crown builds essential volume and a stable foundation for the half-up section.
- Secure the half-up section with a clear elastic and reinforce with crisscrossed bobby pins for durability.
- Use texture spray to enhance waves and finger-comb for a soft, romantic finish.
- Always finish with a strong-hold hairspray to lock the entire style in place for the day.
Frequently Asked Questions
Can I do this style on short hair?
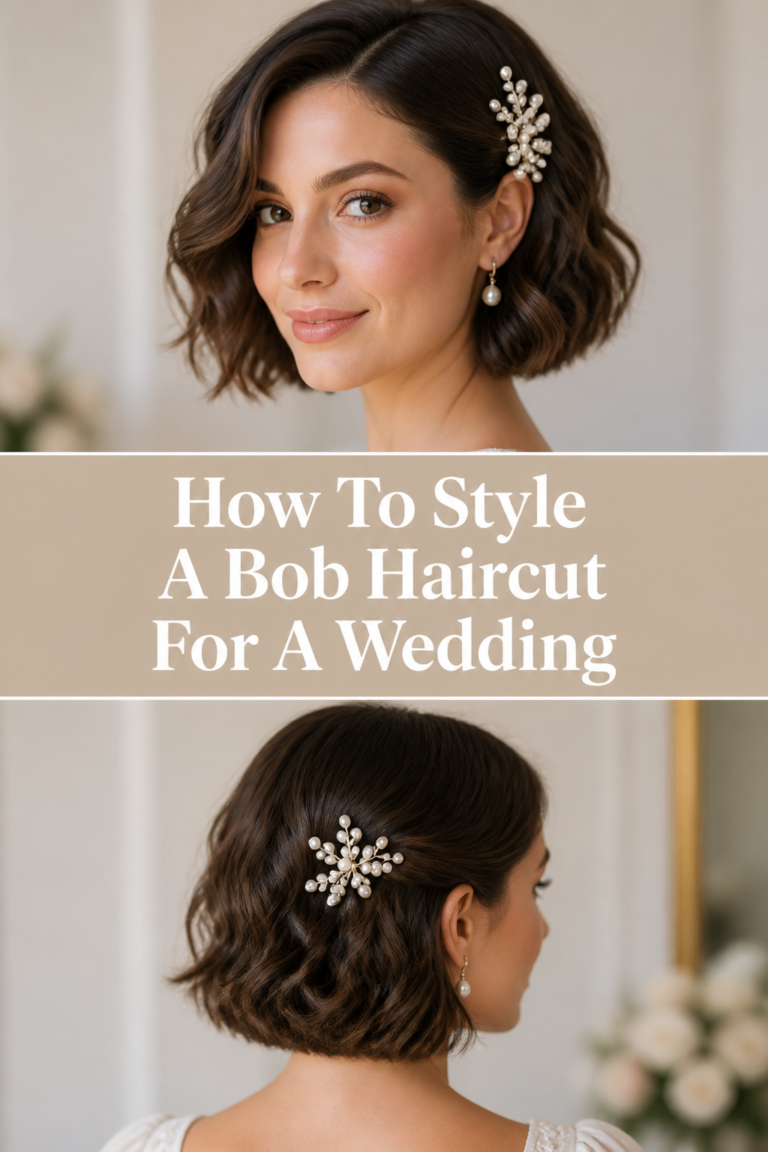
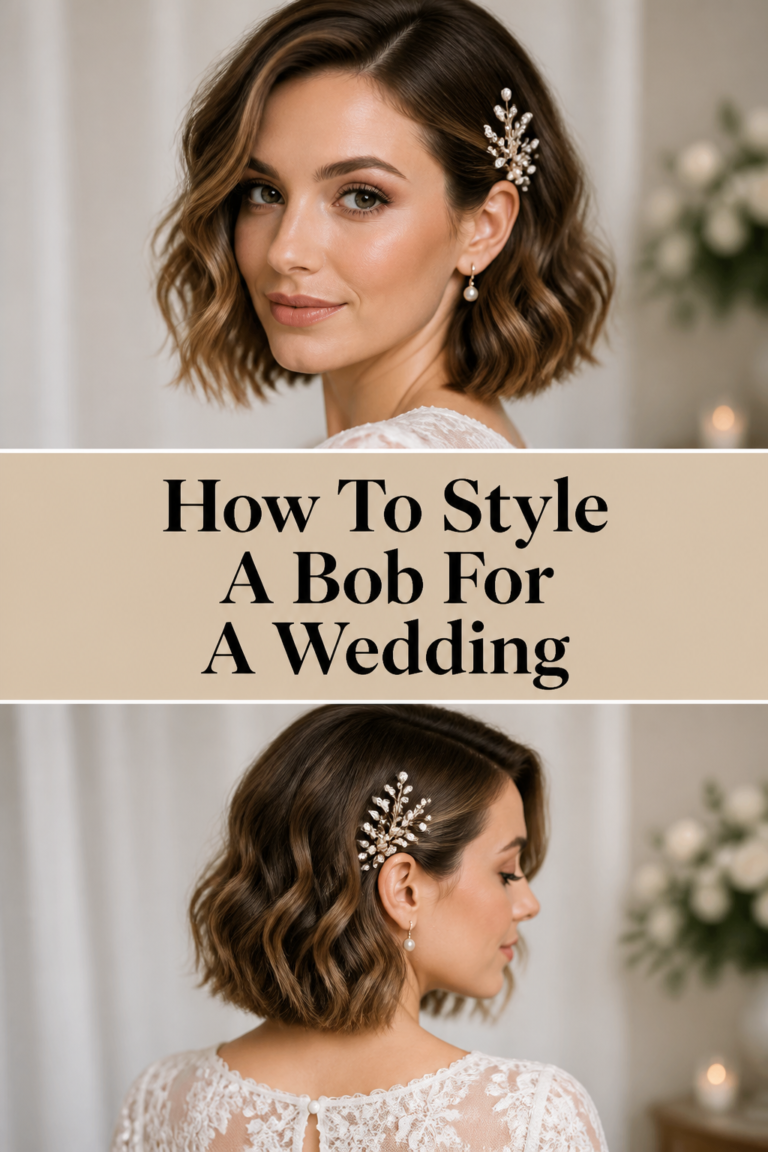
This half-up style works best on medium to long hair lengths, typically shoulder-length or longer. Shorter hair might not have enough length to gather into a half-up section while still leaving significant hair down. If your hair is on the shorter side, focus on creating volume at the crown and securing just a small top section.
How do I make sure it lasts all day and night?
Longevity comes from thorough preparation and strategic product use. Start with day-old hair or use dry shampoo for grip. Use heat protectant and a light hairspray before curling, allowing curls to cool completely. Tease generously at the crown and secure the half-up section firmly with both an elastic and bobby pins. Finish with a strong-hold hairspray.
What if my hair is very fine and doesn’t hold a curl?
Fine hair benefits greatly from texturizing products. Apply a volumizing mousse to damp hair before drying, or a texture spray/volumizing powder at the roots of dry hair. Use smaller sections when curling and ensure each curl cools completely before touching it. Pin curls up to cool for even better hold.
Should I wash my hair the day of the wedding?
It’s generally recommended to wash your hair the day before the wedding. Freshly washed hair can be too soft and slippery, making it harder to hold curls and updos. Day-old hair has a natural texture and grip that is ideal for styling, helping the curls and pins stay in place much better.
Our Top Recommended Finds
- Good Quality Curling Wand: A 1-inch to 1.25-inch barrel creates beautiful, natural-looking waves perfect for bridal styles. Look for one with adjustable heat settings.
- Strong Hold Hairspray: A non-tacky, flexible but firm hold hairspray is essential. It locks in the style without making it feel stiff or crunchy, allowing for movement.
- Teasing Comb with a Pintail: This dual-purpose tool is invaluable for creating volume at the roots and for precise sectioning. The pintail end helps separate hair cleanly.
Your Perfect Day, Your Perfect Hair
You now have all the tools and knowledge to create a truly beautiful half-up wedding hairstyle. From the initial prep to the final, lasting touches, each step contributes to a stunning look that feels authentic to you. Imagine walking down the aisle, or celebrating with loved ones, feeling confident and radiant.
Don’t hesitate to practice this style a few times before the big day. Experiment with different accessories or face-framing pieces to find what you love most. Take this guide, gather your tools, and begin crafting the elegant hair you’ve envisioned. Your beautiful wedding day awaits.