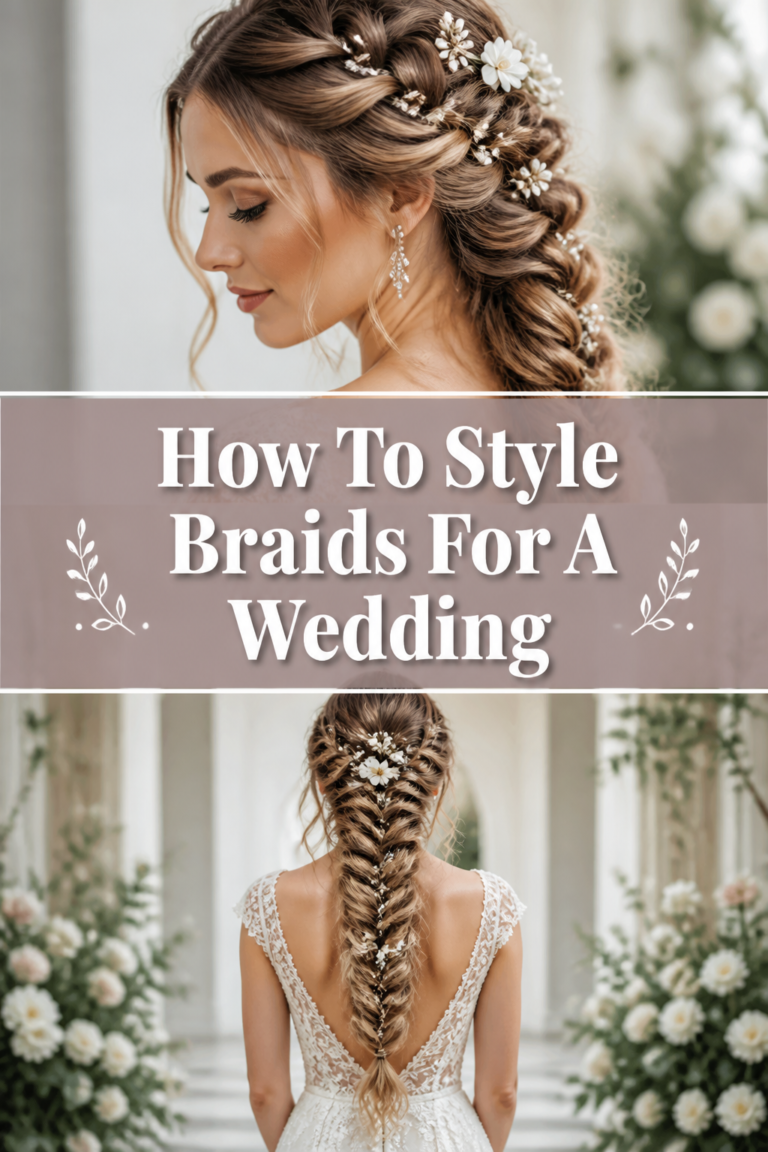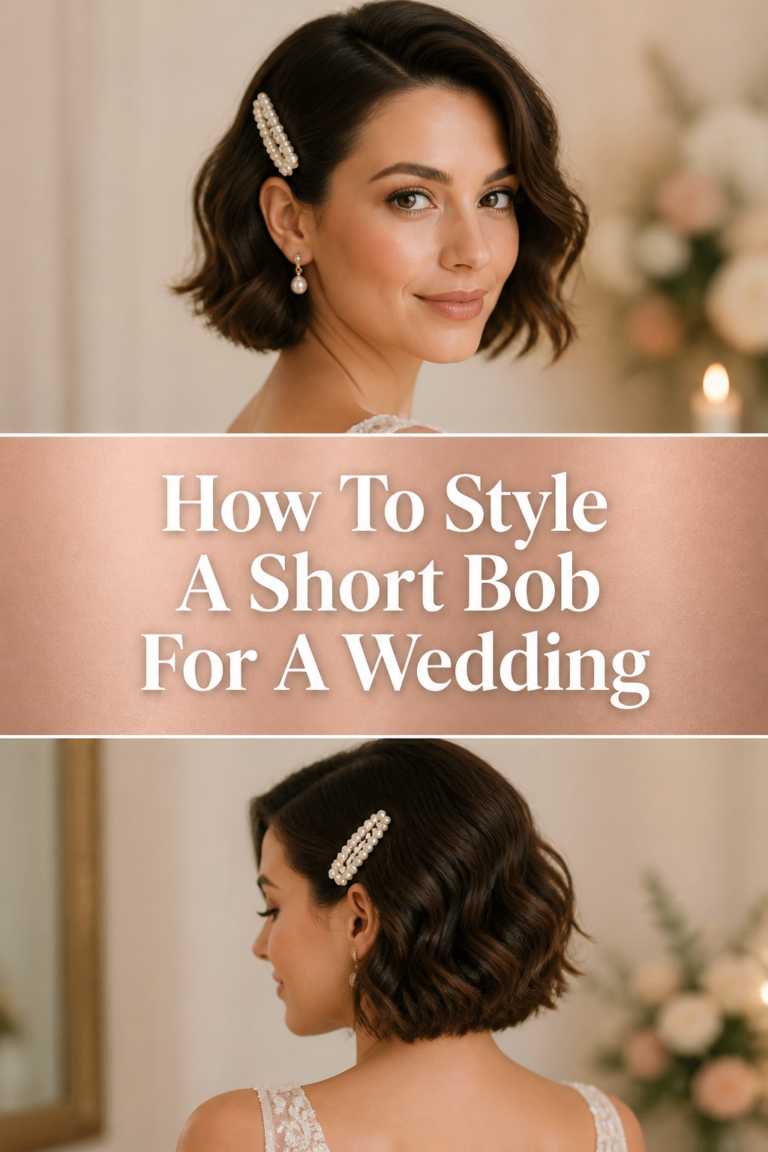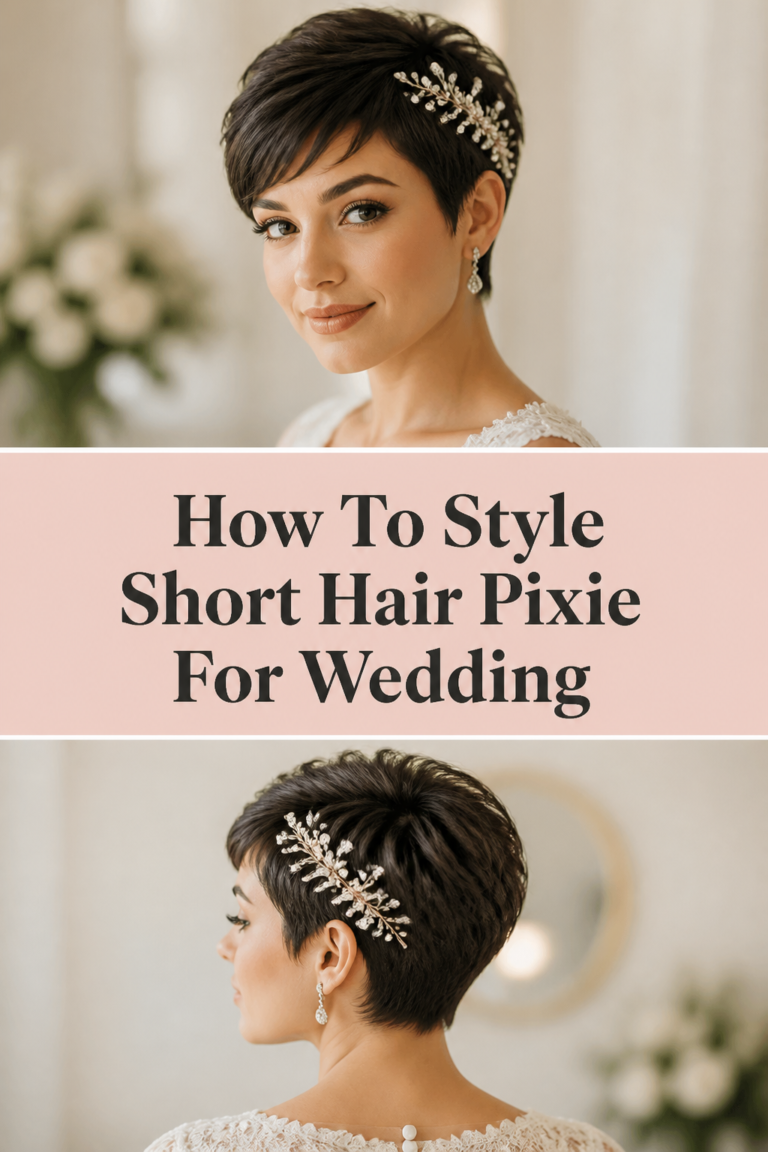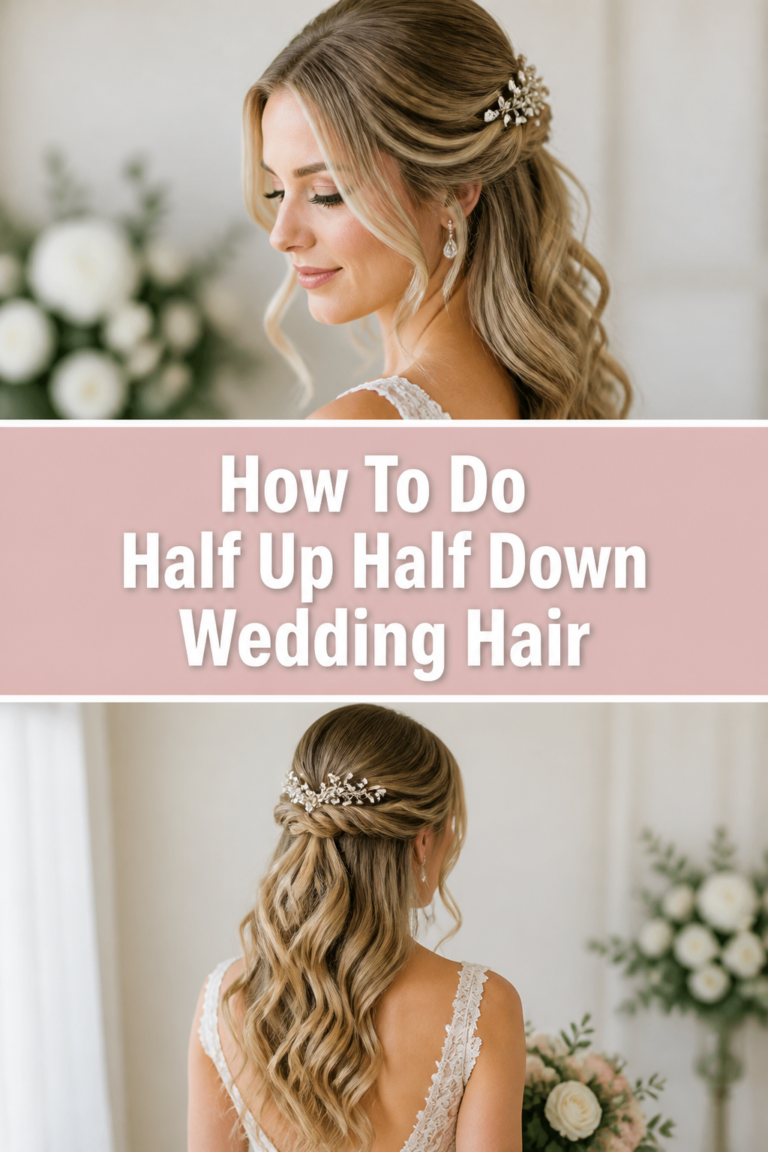
✨ How To Style Short Hair For Wedding
Short hair is often overlooked in the world of bridal beauty, but it offers a sophisticated canvas that long hair simply cannot match.
I have spent over a decade styling hair for high-stakes events, and I can tell you that a well-executed short style radiates a modern, chic energy that is perfect for the altar.
This guide will walk you through the precise techniques needed to ensure your short tresses look intentional, elegant, and photograph beautifully from every angle.
Quick Overview
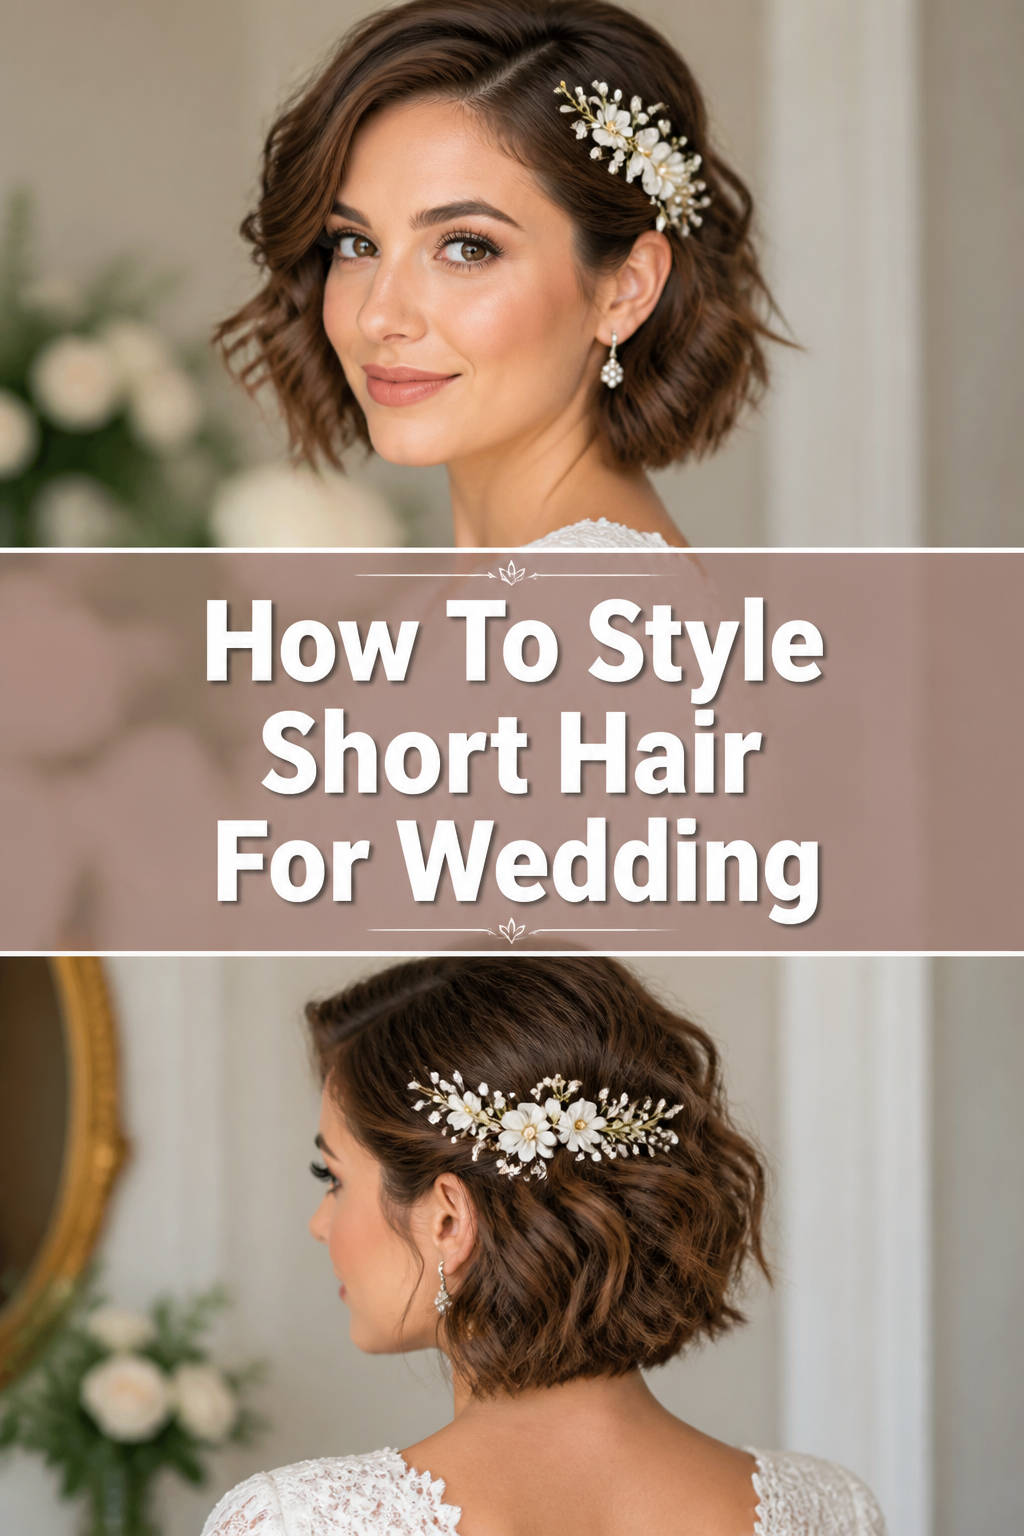
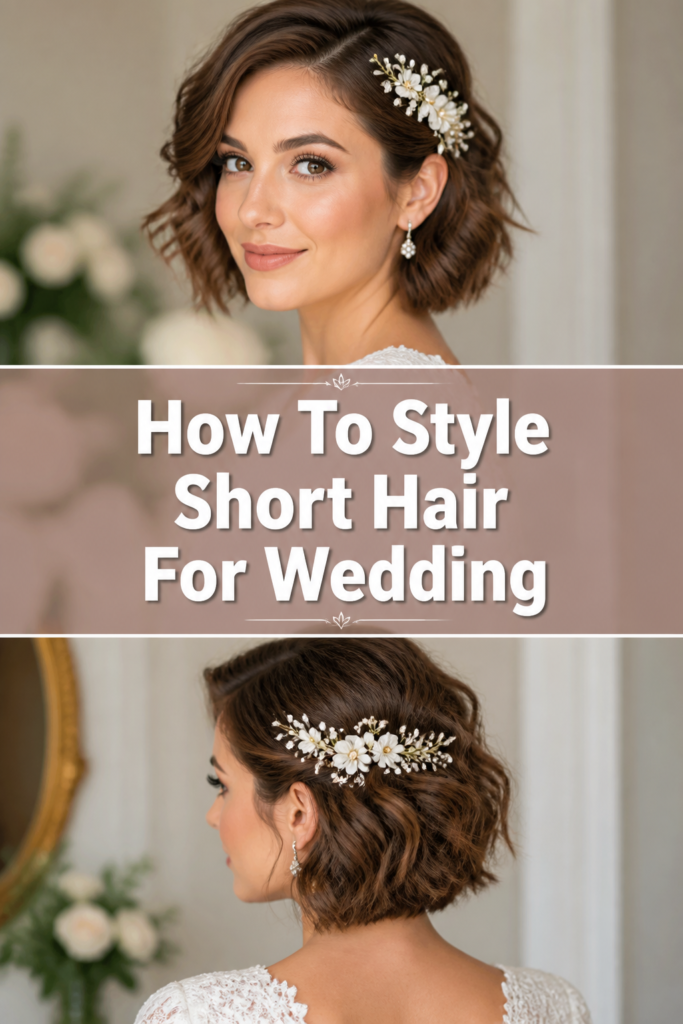
This tutorial focuses on creating a “Textured Romantic Wave,” a versatile look that works for bobs, lobs, and even longer pixie cuts.
- Time needed: 45 to 60 minutes
- Difficulty: Intermediate
- What you’ll need: 1-inch curling iron, heat protectant, volumizing mousse, fine-tooth comb, bobby pins, and a high-hold finishing spray.
Step-by-Step Instructions
Step 1: Prepare the Foundation
Start with hair that was washed the night before rather than the morning of the wedding.
Freshly washed hair is often too slippery and “fluffy” to hold a structured style for eight or more hours.
Apply a golf-ball-sized amount of volumizing mousse to your damp roots if you are washing it, or use a dry texture spray on dry hair to create “grip.”
Pro Tip: If your hair is naturally very fine, use a clarifying shampoo the day before to remove any heavy silicone buildup that might weigh the style down.
Step 2: Shield and Protect
Mist a professional-grade heat protectant evenly throughout your hair, focusing on the mid-lengths and ends.
Short hair shows damage more easily than long hair because the ends are closer to your face and the camera lens.
Comb the product through with a wide-tooth comb to ensure every strand is coated before you introduce any heat tools.
Step 3: Build Maximum Volume
Blow-dry your hair upside down using a medium heat setting to encourage the roots to stand up away from the scalp.
For short styles, the “lift” at the crown is what separates a daily look from a formal wedding aesthetic.
Use a small round brush at the top of your head, pulling the hair upward and slightly forward as you dry it to create a soft, face-framing height.
Step 4: Section with Precision
Divide your hair into three main horizontal tiers: the nape of the neck, the middle section, and the crown.
Short hair requires smaller sections than long hair to ensure the heat penetrates the hair shaft evenly and creates a defined shape.
Clip the top sections away securely so you can focus on the bottom layer without interference from the rest of your hair.
Pro Tip: Use “no-crease” clips to hold your sections so you don’t end up with awkward horizontal lines in your finished look.
Step 5: Create the Waves
Wrap a one-inch vertical section of hair around a curling wand, leaving the last half-inch of the ends out for a modern, lived-in feel.
For a classic wedding look, curl the hair away from your face on both sides to open up your features for the photographer.
Hold the hair on the iron for only five to seven seconds; short hair heats up very quickly and you want to avoid a “crunchy” appearance.
Step 6: Let the Curls Set
Resist the urge to touch or brush the curls while they are still warm to the touch.
The “set” is the most important part of the process because the hair bonds reform into their new shape as they cool down.
Pin each curl to your head with a small clip if your hair is notoriously stubborn and tends to lose its shape quickly.
Step 7: Define the Texture
Apply a pea-sized amount of light pomade or styling cream to your fingertips once the hair is completely cool.
Rake your fingers through the curls gently to break them up into soft, romantic waves rather than tight ringlets.
Shake your head slightly to let the hair fall naturally, then use your fingers to piece out specific sections around your jawline.
Step 8: Place the Accessories
Slide a decorative comb or a cluster of pearl pins into the side with less volume to create an elegant asymmetry.
If you are wearing a veil, tuck it into the crown area where you created the most lift in Step 3.
Cross two bobby pins in an “X” shape underneath the accessory to provide a hidden anchor that won’t budge during the reception.
Pro Tip: Spray the bobby pins with hairspray before inserting them to give them extra “teeth” and prevent them from sliding out of short hair.
Step 9: The Final Seal
Mist the entire style with a fine-mist, flexible-hold hairspray from about twelve inches away.
Avoid heavy, “helmet-head” sprays that make the hair look stiff or plastic in high-definition wedding photos.
Check the back of your head with a hand mirror to ensure the waves are seamless and no scalp is peeking through the sections.
Common Mistakes to Avoid
Overloading on Heavy Products
Many people think short hair needs more product to stay in place, but the opposite is actually true.
Too much wax or heavy oil will make short hair look greasy and flat within a few hours of the ceremony.
Stick to lightweight mousses and dry sprays that provide structure without adding significant weight or moisture.
Neglecting the Back of the Head
It is easy to focus only on what you see in the mirror, but your guests will see the back of your head throughout the ceremony.
Short hair can often “split” at the crown or show the tracks of where you sectioned it if you aren’t careful.
Always use a double-mirror setup to ensure the texture is consistent from the forehead all the way down to the nape of the neck.
Using the Wrong Size Curling Tool
Using a large two-inch barrel on short hair will only result in a slight bend that disappears within minutes.
Conversely, a tiny half-inch iron might create “Shirley Temple” curls that look dated and too tight for a modern wedding.
A one-inch barrel is the “goldilocks” size for most short styles, providing enough loop for a wave without sacrificing length.
Troubleshooting
The Hair Looks Too Frizzy
Frizz usually happens when the hair cuticle is blown open by heat or humidity without being sealed properly.
To fix this, take a tiny drop of hair oil, rub it between your palms until they are warm, and lightly skim your hands over the surface of the hair.
Do not pump the oil directly onto the hair; the “skim” method ensures you only tame the flyaways without collapsing the volume.
The Curls Are Dropping Too Fast
If your waves are disappearing before you even leave the house, your hair might be too soft or “healthy” to hold a style.
Next time, skip the conditioner on the day you wash your hair, as conditioner closes the cuticle and makes it very slippery.
For an immediate fix, hit the hair with a blast of “cool shot” from your hairdryer while the curls are still pinned to help lock the shape in place.
The Accessory Keeps Sliding Down
Short hair often lacks the bulk needed to hold heavy metal clips or large floral pieces.
Create a “base” by teasing a small section of hair where you want the accessory to sit and spraying that teased area with firm-hold spray.
This creates a dense “mat” of hair that the accessory can grip onto, ensuring it stays put through the first dance.
Key Takeaways
- Prep is everything: Use day-old hair and volumizing products to create the necessary grip for a long-lasting style.
- Direction matters: Always curl away from the face to highlight your features and create a sophisticated, open look.
- Cooling is non-negotiable: Never brush out your waves until they are 100% cool to the touch, or they will lose their definition.
- Less is more: Use professional, lightweight products to avoid a greasy appearance in photos.
- Anchor your accessories: Use the “X” pinning method and hairspray-coated pins to keep clips from sliding out of short strands.
- Check every angle: Use a hand mirror to ensure the back of the style looks as polished as the front.
Frequently Asked Questions
Can I wear a veil with a pixie cut?
Yes, you absolutely can wear a veil with very short hair by using a thin, wire headband as an anchor point.
You can sew the veil directly onto the headband or use small bobby pins to attach the veil’s comb to the band hidden under your hair.
This provides a stable foundation that doesn’t rely on the length of your hair to stay in place.
Should I get my hair trimmed right before the wedding?
It is best to get your final “wedding trim” about one to two weeks before the big day.
This allows the hair to settle and prevents that “just-cut” look which can sometimes appear too sharp or blunt in photos.
A two-week buffer also gives you time to adjust if the stylist took off slightly more length than you anticipated.
How do I keep my short hair from looking flat during a summer wedding?
Humidity is the enemy of volume, so you should use a humidity-resistant finishing spray as your final step.
Consider carrying a small bottle of dry shampoo in your emergency kit to absorb any sweat or oil that might accumulate during an outdoor ceremony.
A quick puff of dry shampoo at the roots can instantly revive a wilting style and add back the lost height.
Our Top Recommended Finds
- Professional 1-Inch Ceramic Curling Iron: Ceramic barrels distribute heat more evenly than metal ones, which is vital for preventing hot spots on short hair.
- Dry Texture Spray: This product provides the “grit” of a sea salt spray without the drying crunch, making it perfect for building wedding-day volume.
- Silk Hair Wrap: If you are styling your hair the night before or want to protect it during a nap, a silk wrap prevents friction and keeps your waves intact.
Perfecting Your Signature Bridal Glow
Now that you have mastered the technical side of styling short hair, you can focus on the small details that make the look your own.
Think about how your hairstyle will interact with your neckline; a high-neck dress often looks best with hair tucked behind the ears, while a strapless gown pairs beautifully with soft, face-framing waves.
I recommend doing at least two full “trial runs” of this style before the wedding day to get a feel for how your specific hair texture reacts to the tools.
Once you feel confident in the process, you can walk down the aisle knowing your short hair looks modern, intentional, and absolutely stunning.