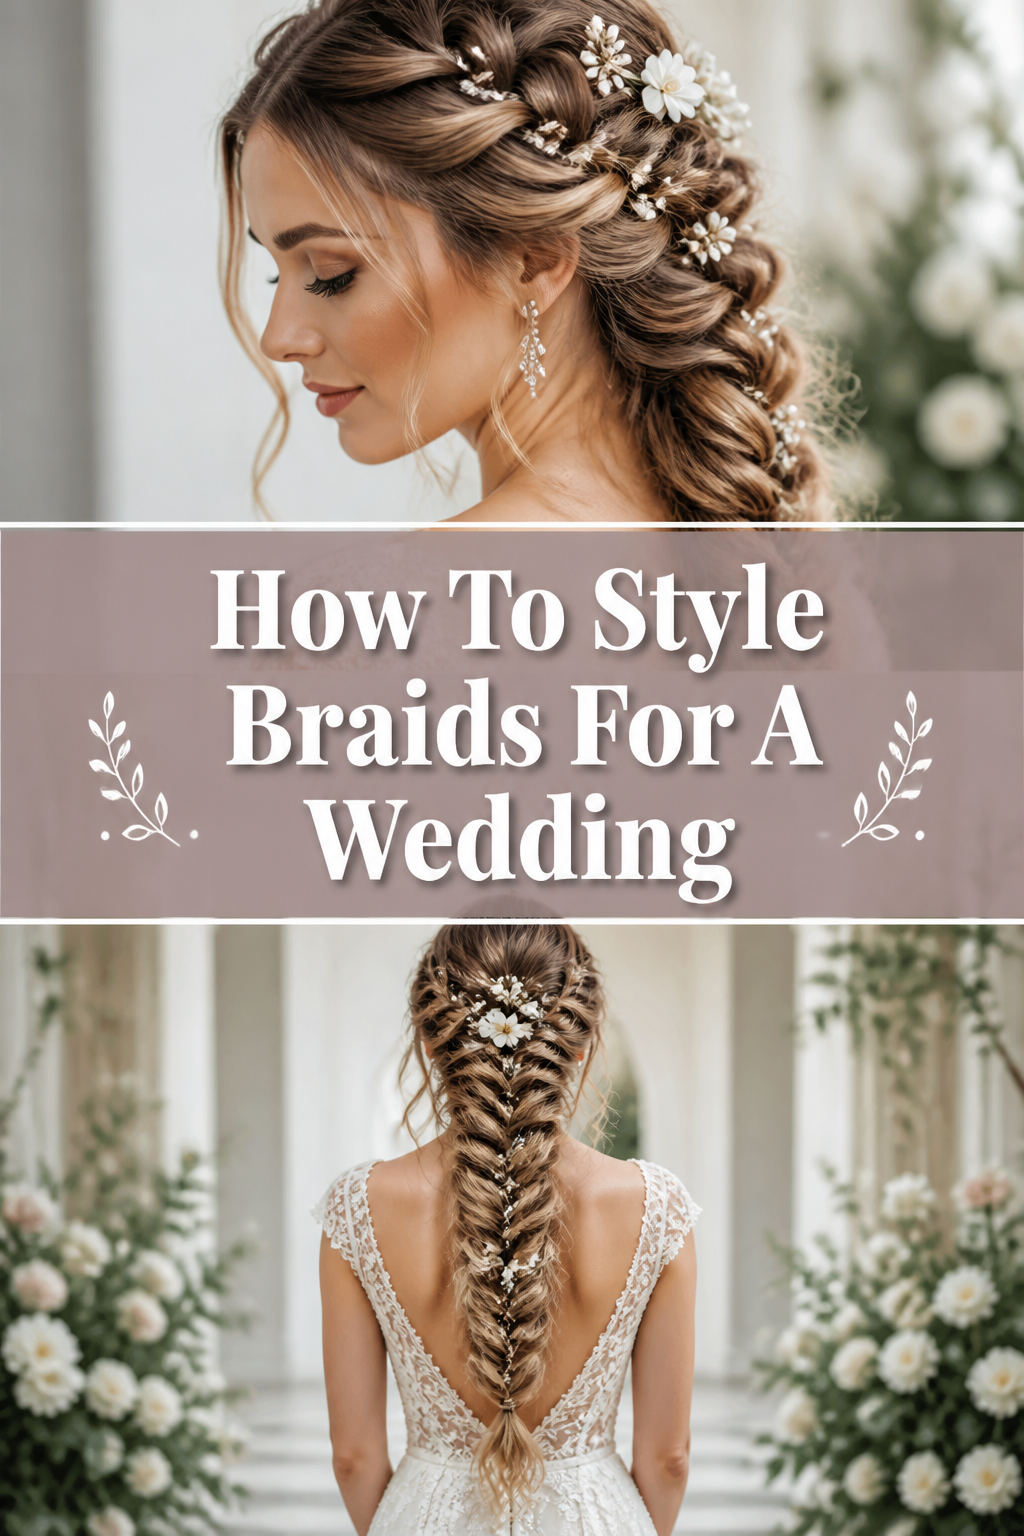
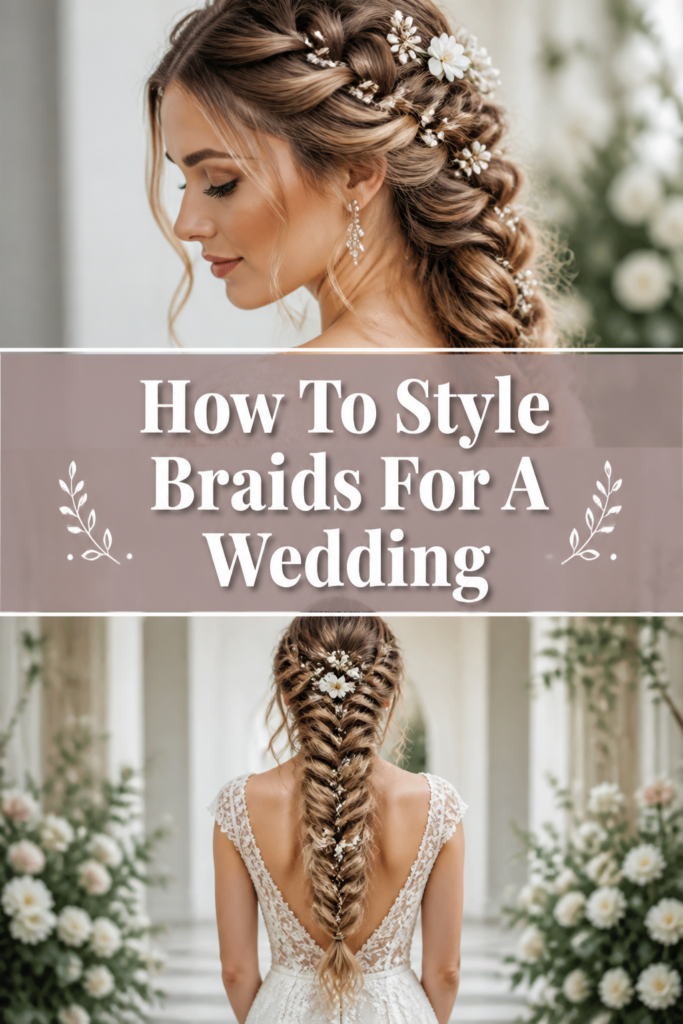
💍 How To Style Braids For A Wedding
I have spent years behind the scenes of bridal suites, helping nervous brides and bridesmaids find the perfect balance between elegance and durability.
Braids are my secret weapon because they stay secure through hours of photos, dancing, and heartfelt hugs.
This guide draws on that hands-on experience to help you create a professional-looking wedding hairstyle that lasts until the final toast.
Quick Overview
Styling braids for a wedding requires a blend of precision and softness to ensure the look doesn’t feel too casual or too stiff.
- Time needed: 45 to 90 minutes depending on hair length
- Difficulty: Intermediate
- What you’ll need: Rat-tail comb, clear elastics, bobby pins, dry shampoo, texturizing spray, and hairspray
Step-by-Step Instructions
Step 1: Prep the hair for maximum grip
Start with hair that was washed the day before rather than the morning of the wedding.
Squeaky-clean hair is often too slippery to hold a complex braid, making it difficult to keep the sections tight and neat.
Apply a generous amount of dry shampoo or texturizing spray to the roots and mid-lengths to create “grit.”
Pro Tip: If the hair is naturally very fine, use a small crimping iron on the roots of the inner sections to add hidden volume and prevent the braid from looking flat.
Step 2: Section the hair strategically
Divide the hair into three main sections: the crown, the left side, and the right side.
Use your rat-tail comb to create clean lines, as messy sections will lead to tangles halfway through the braiding process.
Clip the side sections away and focus on the back first, as this usually serves as the anchor for your entire style.
Step 3: Choose your primary braiding technique
Decide between a French braid for a classic, integrated look or a Dutch braid for a more 3D, “pop-out” effect.
For weddings, the Dutch braid is often preferred because it makes the hair look thicker and more intricate in photographs.
Begin braiding at the crown, keeping your tension consistent but not so tight that it pulls uncomfortably on the scalp.
Step 4: Incorporate the side sections
Release the side sections once the main back braid is established or reached the nape of the neck.
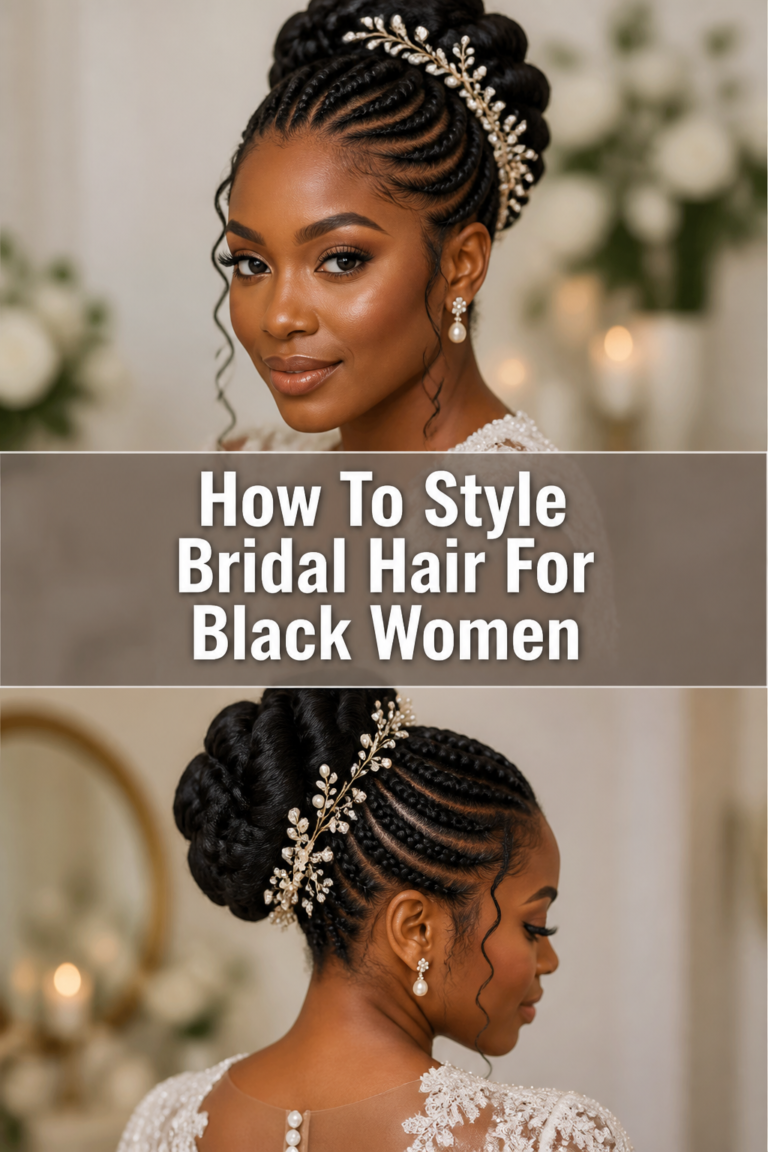
You can braid these sides separately and then wrap them around the main braid to create a “crown” effect.
Ensure you leave a few small strands out around the face to soften the look and provide a romantic, ethereal frame.
Pro Tip: When pulling hair from the sides, use the arch of the eyebrow as a guide for where to start the most prominent part of the braid.
Step 5: Pancake the braid for volume
Hold the end of the braid firmly with one hand while using the other to gently tug at the outer loops of the braid.
This technique, known as “pancaking,” makes even thin hair look like a thick, luxurious plait.
Work from the bottom of the braid upward to ensure you don’t accidentally pull the entire structure out of its elastic.
Step 6: Secure the ends and hide the elastics
Use clear mini-elastics that match the hair color as closely as possible to tie off the ends.
Wrap a small sliver of hair around the elastic and tuck it into the band or secure it with a small pin to hide the plastic.
Tuck the tail of the braid under the main structure if you are going for an updo, or let it hang over one shoulder for a more relaxed vibe.
Step 7: Pin the style into place
Insert bobby pins using the “locking” method: push the pin in the opposite direction of the hair’s flow, then flip it and push it into the braid.
This ensures the pins stay hidden and the style remains rock-solid during a night of heavy dancing.
Check the profile and back views using a hand mirror to make sure no pins are visible and the shape is symmetrical.
Step 8: Add bridal accessories
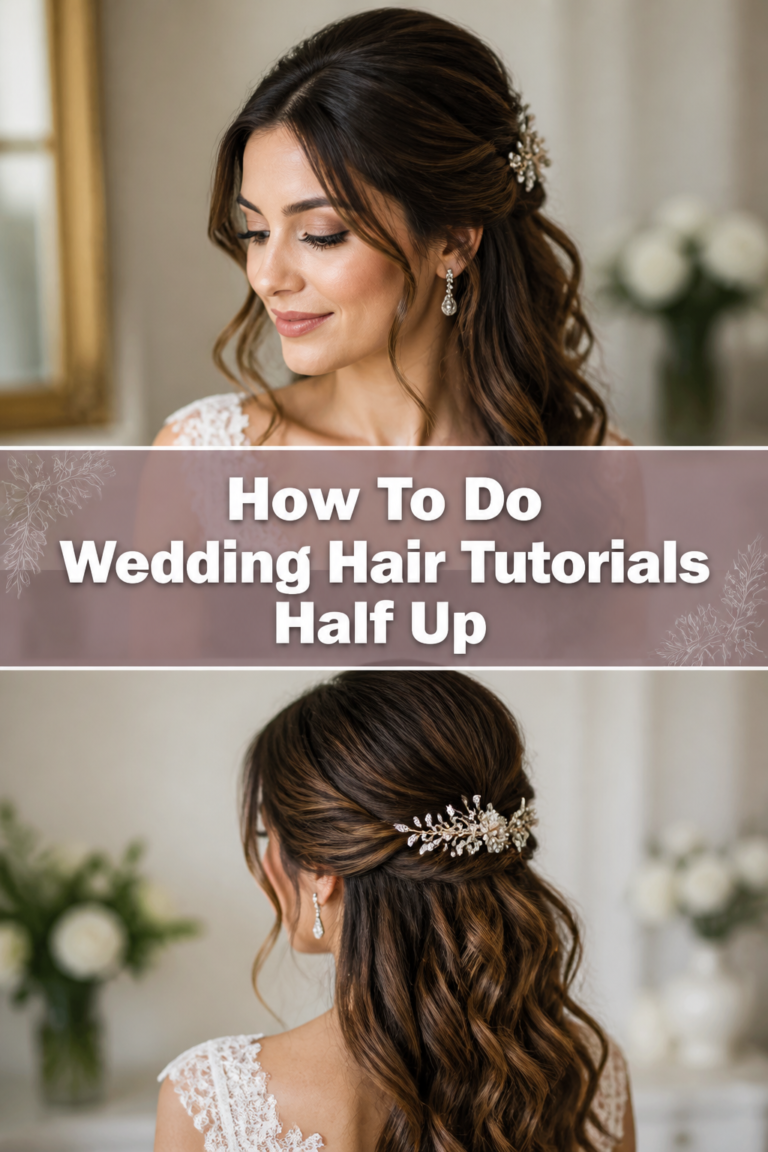
Place decorative pins, pearls, or fresh flowers into the “valleys” of the braid where they can be anchored securely.
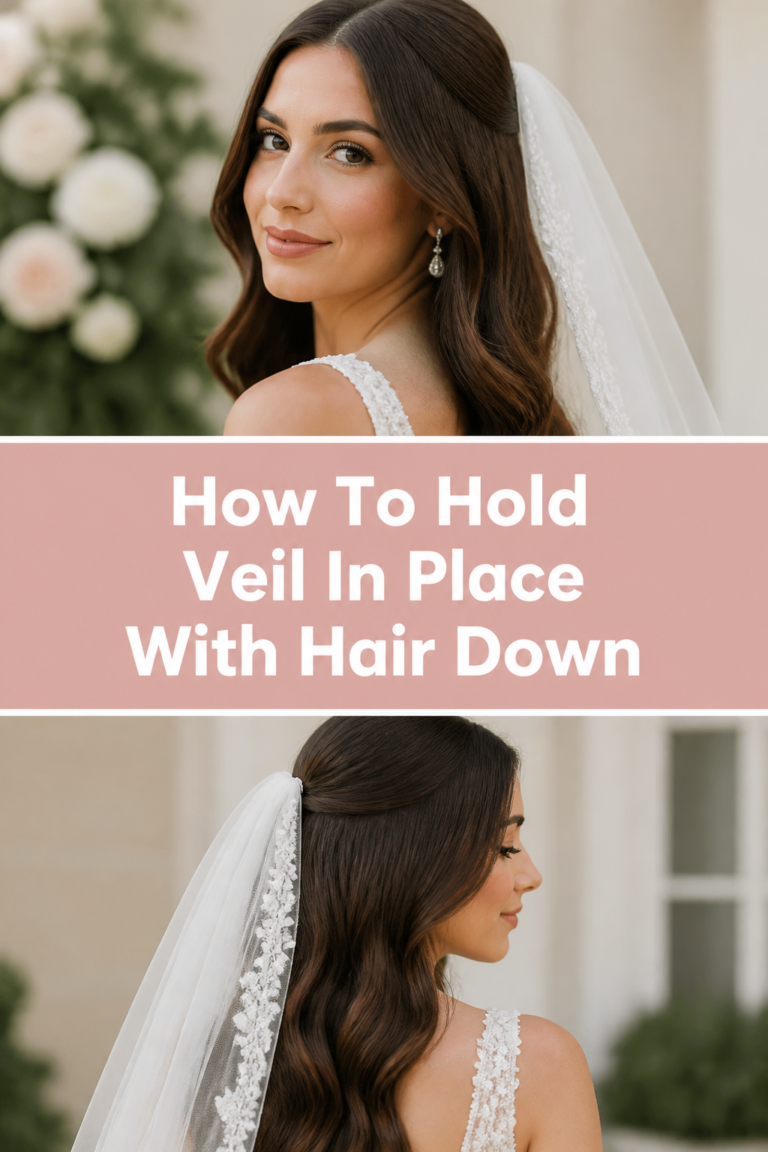
If you are using a veil, slide the comb just above the thickest part of the braid to give it a sturdy foundation.
Mist the accessories lightly with hairspray before putting them in to help them grip the hair fibers.
Step 9: Finalize with setting spray
Spray a flexible-hold hairspray over the entire head from about twelve inches away.
Use a clean toothbrush dipped in hairspray to gently smooth down any stubborn flyaways along the hairline.
Finish with a light mist of shine spray to give the braids a healthy, photo-ready glow under the wedding lights.
Common Mistakes to Avoid
Braiding hair while it is still damp
Many people think braiding wet hair will make it easier to manage, but this is a mistake for wedding styles. Wet hair is more elastic and prone to breakage, and as it dries, the braid will shrink and become frizzy. Always ensure the hair is 100% dry before you begin the styling process to maintain the integrity of the look.
Using too much heavy oil or serum
While you want the hair to look shiny, excessive oil makes the hair too slippery to hold a braid. It can also make the hair look greasy in high-flash photography, which is the last thing a bride wants. Stick to lightweight texturizing products during the braiding and only use a tiny drop of serum at the very end for shine.
Forgetting to check the “360-degree” view
It is easy to focus only on the front or the back, but wedding guests will see the hair from every angle. If the sides are neglected, the transition from the front to the back can look disjointed or flat. Constantly rotate the chair or use multiple mirrors to ensure the silhouette looks balanced from every possible perspective.
Troubleshooting
The braid feels loose or starts to sag
If the braid feels like it is sliding down, do not try to fix it by adding more hairspray. Instead, take a large bobby pin and hook it through the center of the braid, then anchor it to the hair underneath that is closer to the scalp. This creates an internal “shelf” that supports the weight of the hair without ruining the external aesthetic.
Frizz is appearing in the middle of the braid
Frizz often happens when the hair sections are not smoothed properly before being crossed over. To fix this mid-braid, apply a tiny amount of pomade or hair wax to your fingertips and run them down the section of hair before continuing. This “glues” the flyaways into the strand so they stay tucked inside the braid.
The hair is too short to reach the back
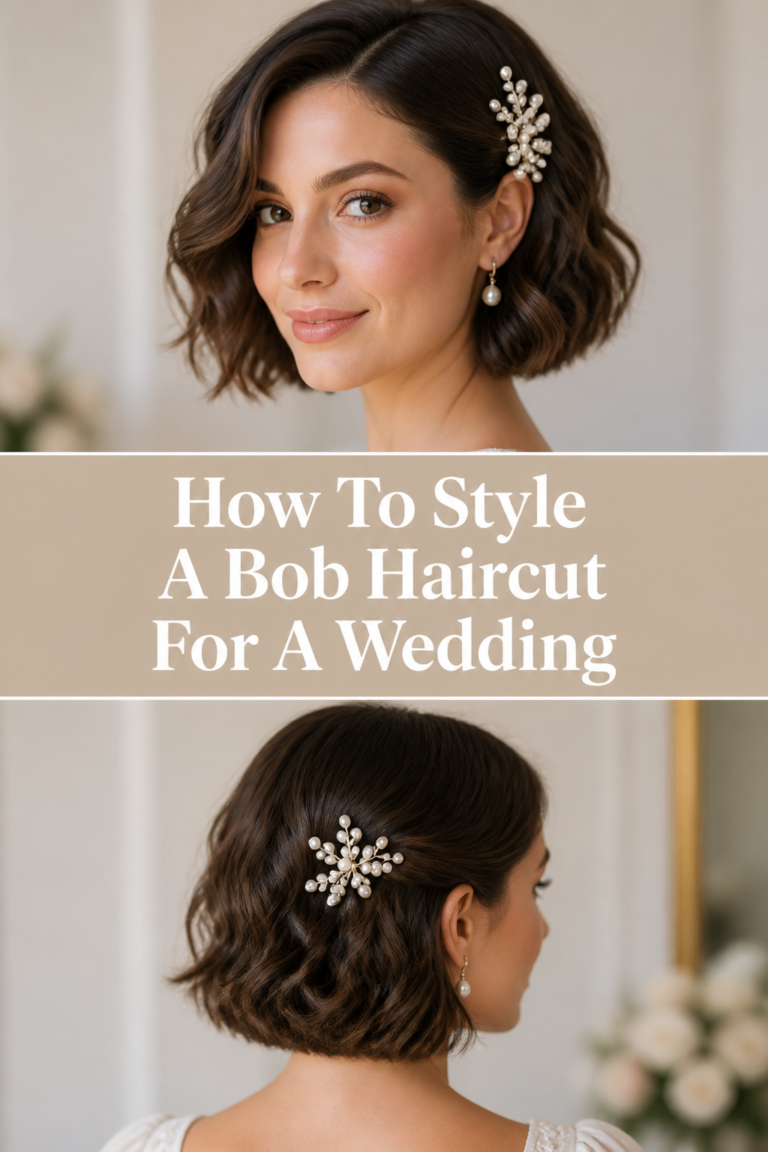
For shorter layers that won’t stay in the braid, use “hidden” pins that match the hair color perfectly. You can also use a small amount of lash glue on the very tips of short layers to stick them to the underside of a larger section. This is a pro secret for keeping bob-length hair looking like a full bridal updo.
Key Takeaways
- Preparation is vital: Use day-old hair and texturizing products to give the braid the necessary grip and longevity.
- Pancake for impact: Gently pulling the loops of the braid outward creates the illusion of thickness and luxury.
- Lock your pins: Use the “turn and push” method with bobby pins to ensure the style survives the reception.
- Balance the frame: Always leave soft tendrils around the face to prevent the look from appearing too severe or “tight.”
- Check your angles: Use a mirror to ensure the style looks cohesive from the front, back, and sides.
Frequently Asked Questions
Can I style braids for a wedding if I have very short hair?
Yes, you can still incorporate braids by focusing on the crown or the sides. Side-swept Dutch braids that transition into a small pinned twist can create the illusion of longer hair. Alternatively, you can use high-quality clip-in extensions to add the length needed for a more elaborate braided updo.
How do I keep my braids from looking too casual?
The difference between a “gym braid” and a “wedding braid” lies in the volume and the finish. By pancaking the braid and adding elegant accessories like pearls or gold wire, you immediately elevate the look. Ensuring the hair has a polished shine rather than a matte, messy texture also helps maintain a formal appearance.
Should I braid my hair myself or hire a professional?
If you are the bride, hiring a professional is usually recommended to reduce stress on the big day. However, if you are a guest or bridesmaid, you can certainly achieve a beautiful look yourself with enough practice. Start practicing the specific style at least three weeks before the event to master the hand movements.
Will braids work with a veil?
Braids are actually one of the best foundations for a veil because the plaits provide a secure place for the comb to grip. If you plan on wearing a heavy cathedral veil, make sure your braid is anchored with extra pins to support the weight. You can easily remove the veil for the reception without disturbing the braided style underneath.
Our Top Recommended Finds
- Professional Rat-Tail Comb: A carbon-fiber comb is essential for creating crisp parts and smooth sections without generating static.
- Matte Texturizing Powder: This provides instant volume at the roots and gives the hair the “tacky” feel needed to keep braids from sliding.
- U-Shaped Hair Pins: These are different from standard bobby pins and are perfect for tucking flowers or securing thick braids without squashing them.
Perfecting Your Bridal Aesthetic
Once you have mastered the basic structure of the wedding braid, you can begin to experiment with different textures and placements.
Consider trying a fishtail braid for a boho-chic beach wedding or a sleek crown braid for a more traditional church ceremony.
The most important thing is to wear the style with confidence and ensure it feels comfortable enough to last for twelve hours or more.
Start practicing your chosen look tonight so you can walk into the wedding suite feeling prepared and inspired.