👰 How To Create A Guest List For Wedding
Creating your wedding guest list can feel like navigating a minefield of emotions and expectations. I remember the initial overwhelm, wondering how we’d ever fit everyone we loved into our budget and venue. This guide comes from experience, offering a clear path through the process.
You’re about to build the foundation for your entire wedding celebration. Let’s make it a joyful, manageable journey, ensuring your special day is surrounded by the people who truly matter to you both.

Quick Overview
This guide will walk you through the essential steps to construct a thoughtful and practical wedding guest list. You’ll learn how to categorize guests, manage expectations, and make informed decisions that align with your wedding vision.
- Time needed: 4-8 hours (spread over several sessions)
- Difficulty: Intermediate
- What you’ll need: Spreadsheet software, pen and paper, your partner, clear communication
Step-by-Step Instructions
Step 1: Understand Your Budget and Venue Capacity
Your guest list is intrinsically linked to your wedding budget and your chosen venue’s capacity. These two factors are non-negotiable boundaries that will shape every decision you make. Before writing a single name, establish a realistic guest count ceiling.
Sit down with your partner and discuss your financial comfort zone. Research potential venues and note their maximum guest capacities for both ceremony and reception. This initial understanding prevents heartache later on.
Pro Tip: Always aim for a guest list slightly below your venue’s maximum capacity. This provides a buffer and ensures comfortable spacing for everyone.
Step 2: Establish Your Core Circles (A, B, C Lists)
Start by creating a preliminary “brainstorming” list, writing down everyone you can think of. Don’t filter or judge at this stage. Once you have a comprehensive raw list, begin categorizing.
A common method is to use A, B, and C lists. Your A-list includes immediate family, closest friends, and essential people you absolutely cannot imagine celebrating without. This is your non-negotiable core group.
Your B-list might include extended family, close friends you see less often, or colleagues you genuinely enjoy. The C-list then encompasses acquaintances, distant relatives, or friends of parents you feel obliged to invite. This tiered approach helps with prioritization.
Step 3: Consult with Key Stakeholders
A wedding is often a family affair, and involving key individuals early can prevent misunderstandings. Schedule dedicated, calm conversations with your partner’s parents and your own parents, if they are contributing financially or are very involved. Ask them for their “must-invite” lists.
It’s crucial to set clear expectations during these discussions. Explain your budget and venue constraints upfront. Discuss how many guests each side can realistically contribute to the final count.
Pro Tip: Provide parents with a specific number of invites they can contribute, rather than an open-ended request. This helps manage expectations from the start.
Step 4: Prioritize and Categorize Guests
Now, it’s time to consolidate all the names into one master list. Use a spreadsheet for this, with columns for “Couple’s Side,” “Relationship,” “A/B/C List,” and “Plus One.” Begin moving names from the brainstorming lists into their respective A, B, or C categories.
Be honest and pragmatic in your prioritization. Consider factors like how recently you’ve seen someone, their significance in your current life, and mutual relationships. This step requires tough decisions, so approach it as a team with your partner.
Step 5: Consider the “Plus One” Question
Deciding on plus ones can significantly impact your guest count. Establish a clear policy early on and apply it consistently to avoid favoritism. Common approaches include offering a plus one only to married couples, engaged couples, or those in long-term, established relationships.
You might also offer a plus one to any single guest who wouldn’t know many other people at the wedding. Whatever your rule, communicate it clearly on your invitations and stick to it. Consistency is key to fairness.
Pro Tip: For single guests, consider if they are part of a larger friend group attending. If they have friends there, a plus one might not be necessary.
Step 6: Review and Refine Your List
Once you have a categorized master list, step back and review it critically. Compare your total guest count against your budget and venue capacity. If you’re over, you’ll need to make cuts, usually starting from the C-list and moving up.
Read through every name and ask yourselves, “Do we genuinely want this person there to celebrate our marriage?” and “Have we spoken to this person in the last year?” This helps filter out obligation invites. Make sure the numbers for each side of the family and friends feel balanced and fair.
Step 7: Prepare for RSVPs and Tracking
Your guest list isn’t just about names; it’s about tracking responses. Add columns to your spreadsheet for “Invitation Sent,” “RSVP Received,” “Attending,” “Meal Choice,” and “Thank You Note Sent.” This proactive organization will save you immense stress later.
As RSVPs come in, update your spreadsheet diligently. This allows you to track your final headcount, manage meal requests, and understand who still needs a follow-up. A well-maintained list is your best friend for wedding planning.
Common Mistakes to Avoid
Not Setting Clear Boundaries Early
Many couples start their guest list without a firm grasp of their budget or venue limits. This often leads to an inflated list that needs drastic cuts later, causing stress and potential arguments. Always define your maximum guest count upfront based on practical constraints.
Forgetting the “Plus One” Policy
Failing to establish a consistent plus one policy can lead to confusion, awkward conversations, and an unexpectedly higher guest count. Decide on your rules for guests bringing dates early in the process and apply them universally to avoid perceived unfairness.
Delaying the Discussion with Families
Putting off conversations with parents about their desired guest contributions can create tension. Parents might assume they have unlimited invites, leading to disappointment when confronted with a limited quota. Proactively discuss expectations and numbers early on.
Overlooking Venue Capacity
Some couples fall in love with a venue only to realize it can’t comfortably accommodate their desired number of guests. Always confirm the venue’s maximum capacity before solidifying your guest list, ensuring there’s enough space for everyone to enjoy themselves.
Troubleshooting
Too Many Guests, Not Enough Space
If your guest list is significantly over capacity, revisit your A, B, and C lists. Start by making cuts from the C-list entirely. Then, critically review your B-list. Consider if there are groups of people (e.g., distant work colleagues) who could be moved to a “maybe” list for a potential second round of invites if space opens up. Focus on the core people who actively participate in your lives.
Disagreements with Family Over Invites
When family members insist on inviting people you don’t know or don’t want, maintain a united front with your partner. Reiterate your budget and capacity limits calmly. Offer a specific number of invites they can use, giving them agency within your boundaries. You can also suggest they host a separate, smaller gathering with those individuals if they are truly important to them.
Feeling Overwhelmed by the Process
The guest list can be emotionally draining. If you feel overwhelmed, take a break. Break the task down into smaller, manageable chunks. Focus on one category at a time (e.g., just your immediate family). Remember that this is a shared task with your partner; lean on each other for support and decision-making. Celebrate small victories as you finalize sections.
Key Takeaways
- Always begin by understanding your budget and venue capacity to set realistic guest limits.
- Categorize guests into A, B, and C lists for structured prioritization and easier decision-making.
- Communicate early and clearly with key family members about their guest contributions and expectations.
- Establish a consistent “plus one” policy to ensure fairness and manage your final headcount effectively.
- Regularly review and refine your list, making cuts when necessary to align with your practical constraints.
- Utilize a detailed spreadsheet for tracking invites, RSVPs, and other crucial guest information.
Frequently Asked Questions
When should we start creating our guest list?
You should start creating your preliminary guest list as soon as you get engaged and have a rough idea of your wedding size. A more finalized version should be ready before you book your venue, as capacity is a major factor. The detailed list, including addresses, should be complete 6-8 months before the wedding to allow time for invitations.
How do we handle children at the wedding?
Decide early if you want an “adults-only” wedding or if children are welcome. If you opt for adults-only, state this clearly on your invitation (e.g., “Adult reception to follow”). If children are welcome, specify who is invited by name on the invitation. Be consistent with your policy to avoid confusion or hurt feelings.
What if someone expects an invite but doesn’t get one?
It’s impossible to invite everyone. If someone expresses disappointment, be polite but firm. You can say something like, “We had to make some incredibly difficult decisions to keep our wedding intimate/within our budget, and we truly wish we could have invited everyone.” Avoid over-explaining or apologizing excessively.
Is it okay to have an A-list and B-list?
Yes, it is perfectly acceptable and often practical to have an A-list and a B-list, especially if you have a tight budget or venue capacity. Send invitations to your A-list first. If you receive enough “regrets” to free up space, then send invitations to your B-list. Be mindful of timing to ensure B-list guests have ample time to RSVP.
Our Top Recommended Finds
- Digital Spreadsheet Software (Google Sheets/Excel): Essential for organizing names, addresses, RSVPs, and meal choices. It allows for easy sorting and filtering.
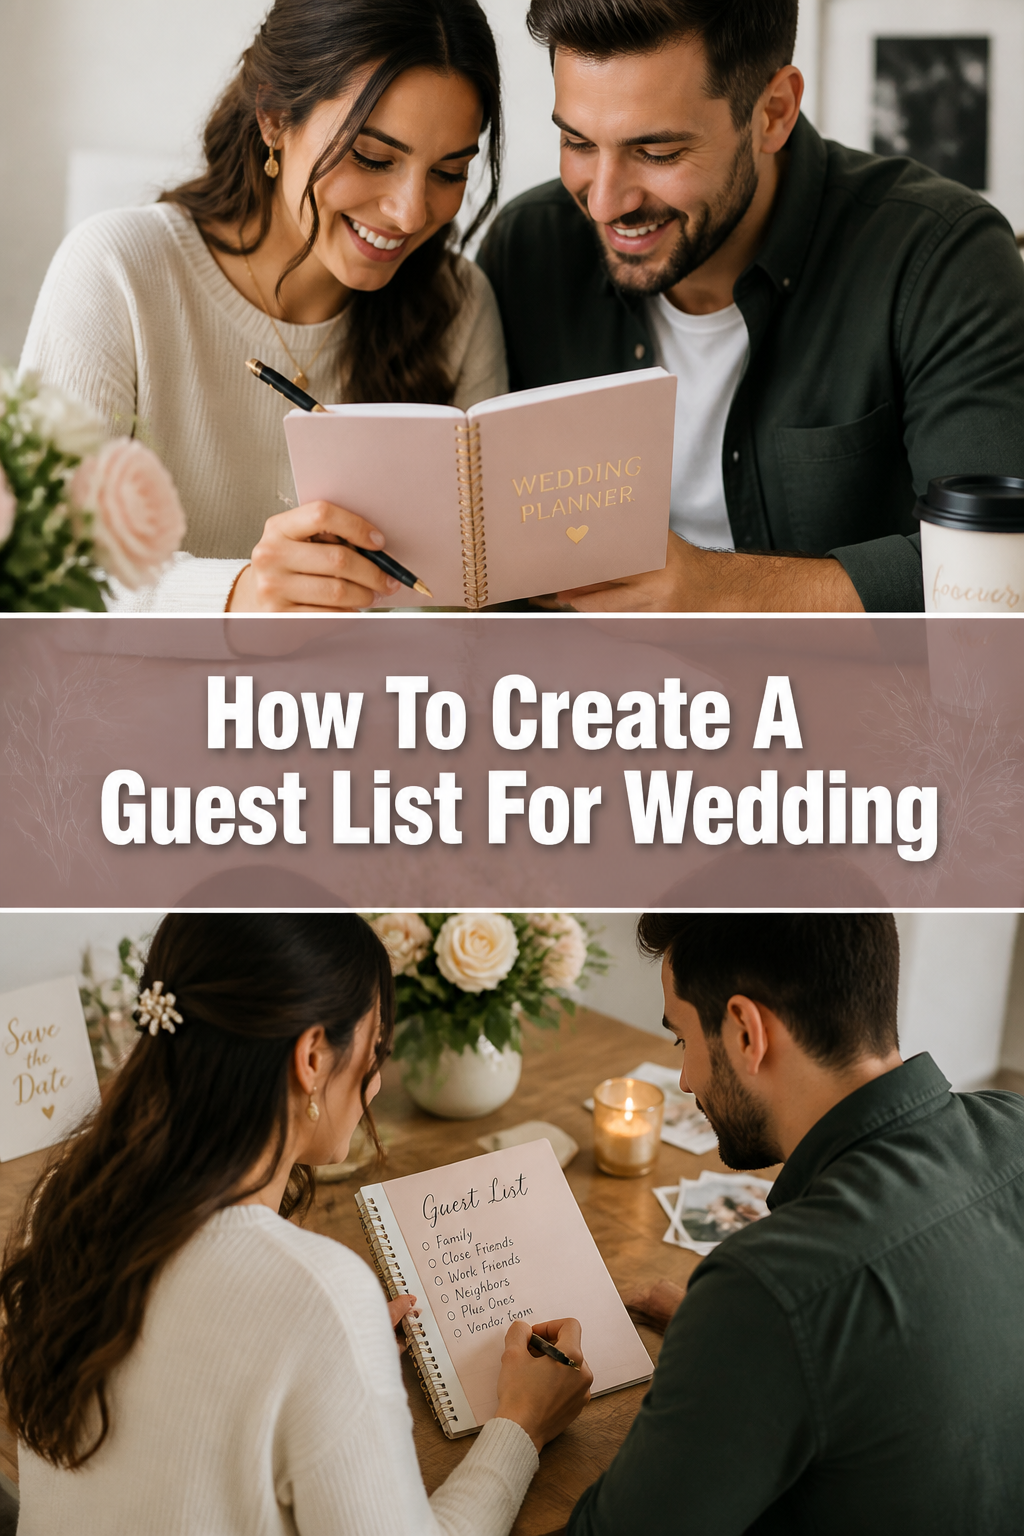
- Wedding Planner Notebook: A physical notebook provides a dedicated space for initial brainstorming, notes from family discussions, and a break from screens.
- Guest List Management App: Many wedding planning apps offer integrated guest list features, helping you track invitations, RSVPs, and even seating charts from your phone.
Your Wedding Vision Takes Shape
Crafting your wedding guest list is more than just writing names; it’s about defining the intimate circle that will witness your most cherished moments. It’s a significant step in bringing your entire wedding vision to life. By following these practical steps, you’re not just making a list, you’re curating an experience.
Take a deep breath, work together, and trust the process. Your perfect guest list is within reach, paving the way for a truly unforgettable celebration. Start today, and watch your dream wedding become a reality, one name at a time.