✨ How To Dress Up A Plain Wedding Dress
Your wedding day is a celebration of your unique love story, and your dress should reflect that individuality.
A plain wedding dress offers a beautiful canvas, full of potential for personalization and transformation.
Having helped many brides discover the hidden charm in simple gowns, I know with the right touches, your dress can truly shine, becoming a breathtaking expression of your style.
Quick Overview
This guide will show you how to elevate a simple wedding dress into a stunning, personalized masterpiece, ensuring you feel absolutely radiant.
- Time needed: 2-4 hours (for planning and selection, additional time for fittings/alterations)
- Difficulty: Intermediate
- What you’ll need: Bridal accessories, embellishments, fabric swatches, inspiration, possibly a seamstress
Step-by-Step Instructions
Step 1: Assess Your Dress and Vision
Examine your dress’s current silhouette, fabric, and overall feel. A simple A-line might lend itself to a dramatic belt, while a sleek sheath could benefit from intricate back details.
Consider the fabric type. Delicate lace or silk might require lighter embellishments, whereas a structured satin can support bolder additions. Your dress’s foundation dictates what can be added harmoniously.
Envision your ideal bridal look. Are you dreaming of vintage romance, modern minimalism, or bohemian whimsy? This initial vision will guide all your subsequent choices.
Pro Tip: Take clear photos of your dress from all angles in good lighting. This helps you visualize changes and share ideas with professionals or trusted friends.
Step 2: Define Your Style Story
Pinpoint the aesthetic you want to achieve. This step is crucial for ensuring all your chosen elements work together seamlessly, creating a cohesive and stunning ensemble.
Research different bridal styles. Look at photos of real weddings, designer collections, and even fashion editorials to gather inspiration that resonates with your personal taste.
Create a mood board, either digitally or physically. Collect images of dresses, accessories, hairstyles, and decor that embody your desired look. This visual guide prevents mismatched elements.
Step 3: Embrace the Power of Accessories
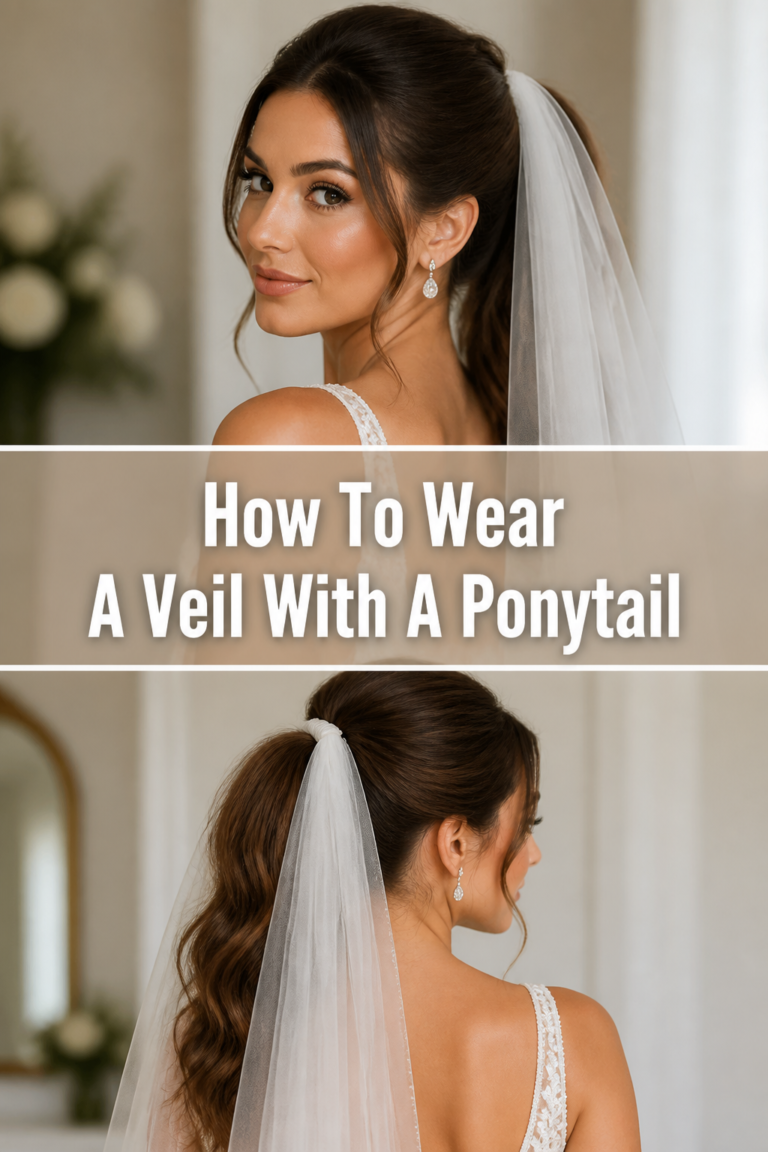
Select your veil with purpose. A dramatic cathedral veil adds instant grandeur, while a delicate birdcage veil offers a charming vintage touch. Consider the veil’s length and embellishments.
Choose jewelry that complements your dress’s neckline and your overall style. Statement earrings can draw attention to your face, while a delicate necklace can enhance a simple decolletage.
Pick shoes that are both beautiful and comfortable. While often hidden, the right shoes can add a pop of color, sparkle, or texture, and they are vital for your comfort throughout the day.
Consider adding elegant bridal gloves for a touch of classic sophistication. They can instantly transform the feel of a simple gown, adding a formal or vintage flair.
Pro Tip: Try on all your accessories with your dress during your final fitting. This ensures everything harmonizes and feels comfortable together.
Step 4: Introduce Texture and Sparkle with Embellishments
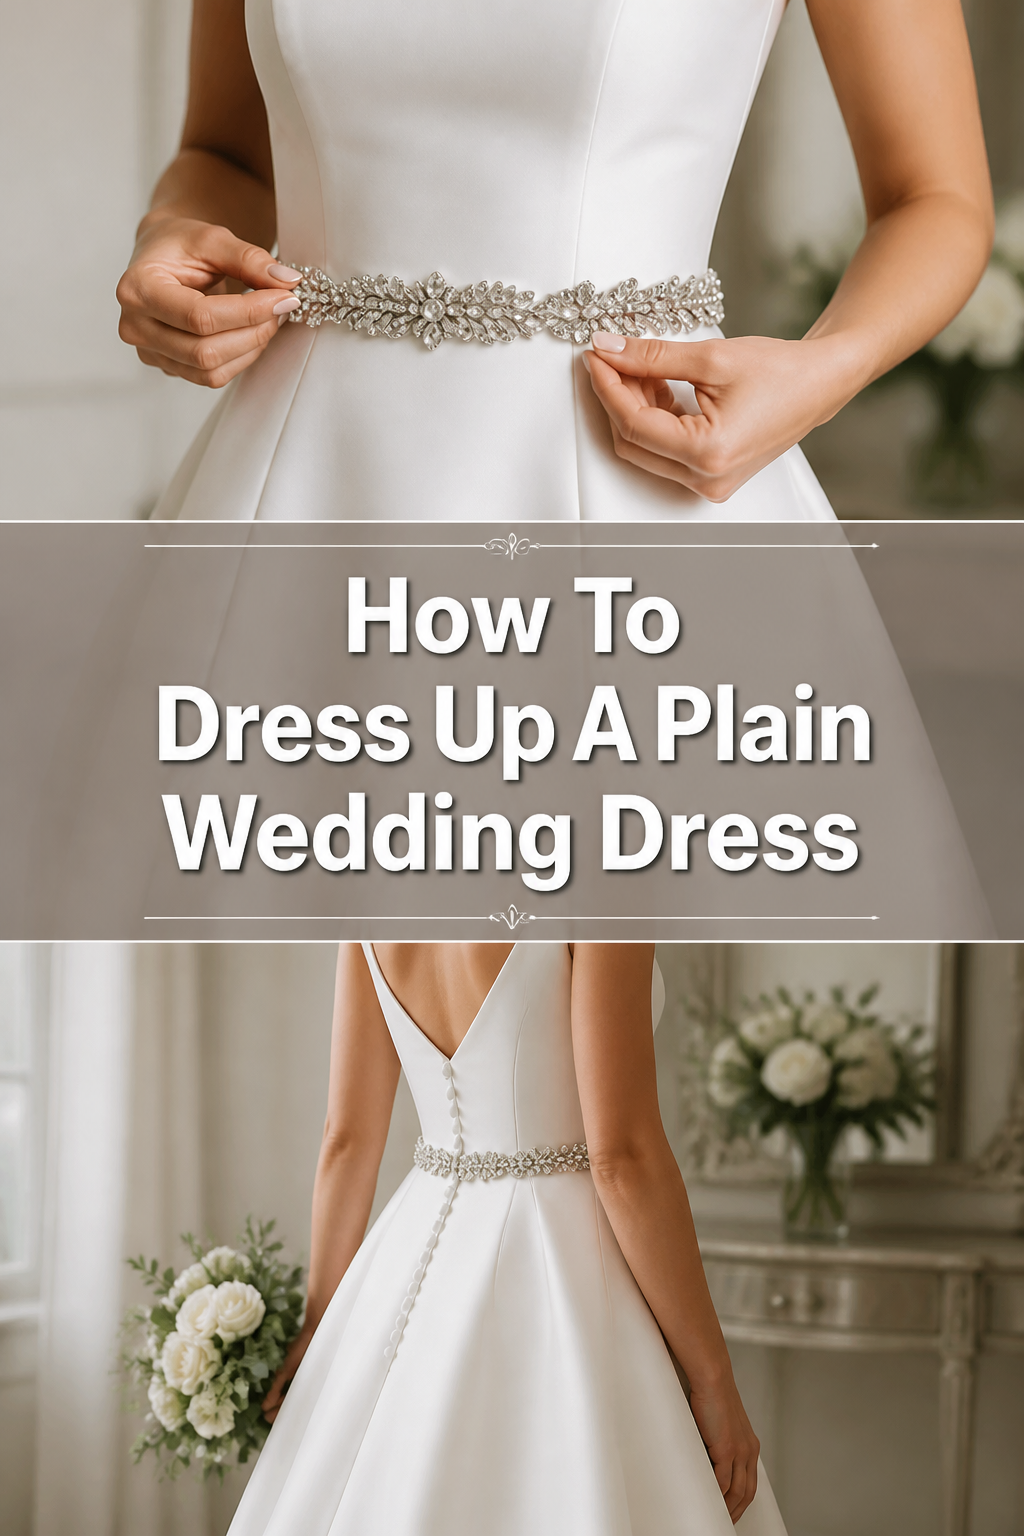
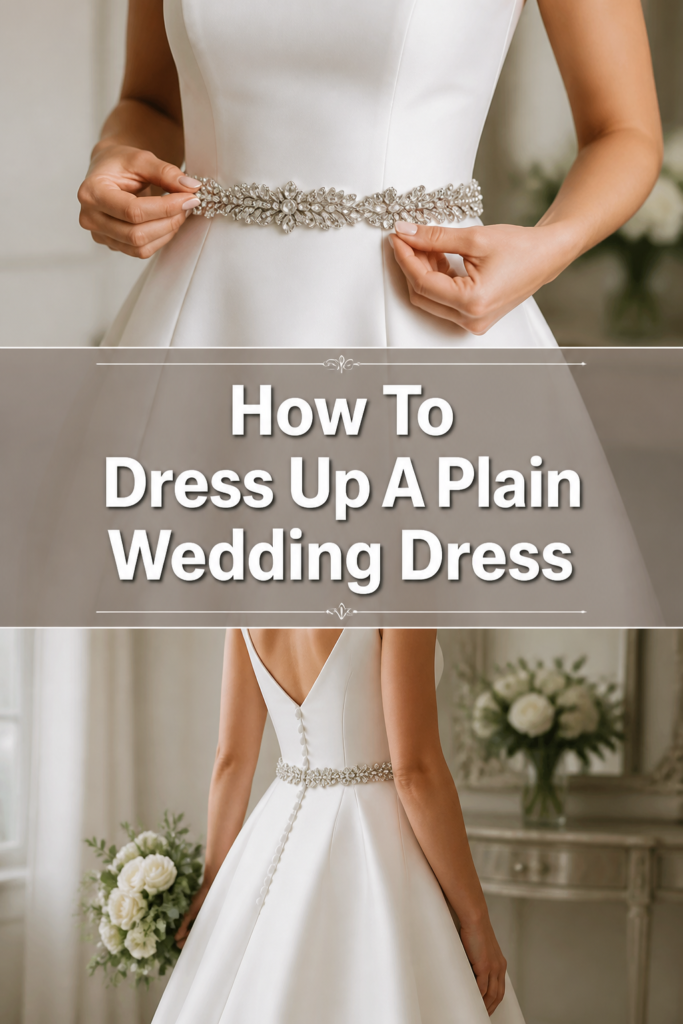
Add a bridal belt or sash. This is one of the most effective ways to define your waist, add sparkle, or introduce a contrasting texture. Beaded, embroidered, or crystal sashes are popular choices.
Explore the world of appliques. Delicate lace motifs, sparkling beading, or intricate embroidery can be strategically sewn onto the bodice, sleeves, or skirt of your dress. This creates custom detailing.
Consider a touch of sparkle. Rhinestones, pearls, or tiny sequins can be hand-sewn onto specific areas, like the neckline or cuffs, to catch the light beautifully without overwhelming the dress.
Incorporate fabric flowers for a romantic, three-dimensional effect. These can be placed on the shoulder, at the waist, or scattered along the skirt for a soft, ethereal look.
Pro Tip: Always source high-quality embellishments. Cheap materials can detract from even the most expensive dress. Consult a professional seamstress for proper application.
Step 5: Transform with Toppers and Outerwear
Layer a delicate lace topper over a plain bodice. This instantly adds intricate detail, sleeves, and a new texture, completely changing the dress’s upper half. Many toppers are detachable.
Drape a bridal cape for a truly regal and dramatic entrance. Capes come in various lengths and fabrics, from sheer tulle to embellished lace, offering an alternative to a traditional veil.
Wear a chic bolero or jacket. A faux fur stole for a winter wedding, a silk bomber for a modern edge, or a tailored lace jacket can transform the look and provide warmth.
Choose a bridal shrug for arm coverage and a touch of elegance. These small garments can add texture and detail, particularly if your dress is strapless or sleeveless.
Pro Tip: Opt for a topper or outerwear that can be removed for different parts of your wedding day. This offers two distinct looks without needing a second dress.
Step 6: Play with Fabric Overlays and Details
Attach custom sleeves to your dress. From flowing bell sleeves to fitted lace designs, adding sleeves can drastically alter the dress’s silhouette and introduce new fabric elements.
Incorporate an overskirt for added volume and drama. A detachable tulle or lace overskirt can transform a sleek gown into a ball gown for the ceremony, then be removed for dancing.
Add a statement bow. A large silk or satin bow at the back or waist can be a charming and impactful detail, adding a touch of whimsy or classic elegance.
Consider a subtle fabric overlay on the skirt. A sheer layer of embellished tulle or a different colored fabric can add depth and interest without being overly dramatic.
Pro Tip: Ensure any fabric additions match or beautifully complement the existing fabric of your dress. Textural contrast can be stunning, but color matching is key.
Step 7: Consider Professional Alterations
Consult a skilled bridal seamstress early in your planning process. They can advise on the feasibility and cost of various enhancements, ensuring the changes are structurally sound.
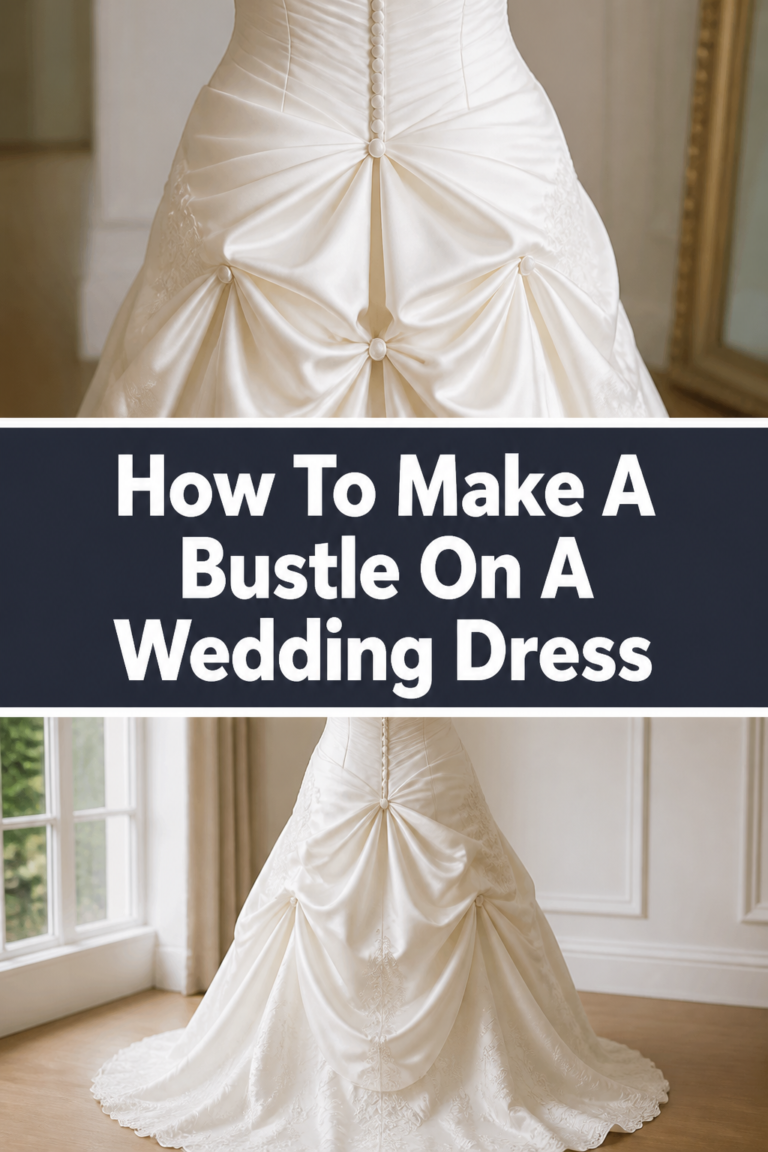
Discuss adding elements like a bustle, which can dramatically change the look of a train for the reception. A well-designed bustle is both practical and aesthetic.
Explore strategic cuts or additions. A seamstress can add a slit to the skirt, create a unique back design, or even incorporate subtle boning for a more defined silhouette.
Ask about custom dye work for subtle color shifts. A light dip-dye on the hem or a subtle tint to an overlay can create a truly unique effect.
Pro Tip: Bring all your potential accessories and any fabric swatches to your alteration appointments. This allows the seamstress to see the complete vision and make precise recommendations.
Step 8: The Perfect Undergarments and Fit
Invest in high-quality bridal undergarments. The right foundation wear can smooth your silhouette, provide necessary support, and make your dress fit flawlessly.
Ensure your dress fits perfectly after all embellishments and alterations. A well-fitted gown, even a simple one, always looks more luxurious and elegant.
Consider shapewear that enhances your natural curves without feeling restrictive. Comfort is paramount, especially on a long wedding day.
Wear your chosen bra, shapewear, and shoes to every fitting. This ensures the dress is tailored to your exact measurements and proportions when you’ll be wearing it.
Pro Tip: Don’t underestimate the impact of a perfect fit. Even the most elaborate dress looks less impressive if it’s ill-fitting. Prioritize tailoring.
Step 9: Trial and Error: The Grand Reveal
Schedule a full dress rehearsal. Put on your dress, veil, shoes, and all accessories to see the complete look. This helps identify any last-minute adjustments needed.
Move around in your fully dressed ensemble. Sit, stand, walk, and even practice a few dance moves to ensure comfort and freedom of movement.
Take photos in different lighting conditions. This allows you to see how the dress and its embellishments will appear in your venue and in your wedding photographs.
Trust your instincts. If something doesn’t feel right or look cohesive, make changes. Your confidence in your final look is the most important accessory.
Pro Tip: Have a trusted friend or family member present at your final fitting. A fresh pair of eyes can offer valuable feedback and spot details you might miss.
Common Mistakes to Avoid
Over-accessorizing
Adding too many elements can make a plain dress look cluttered and overwhelm your figure. The goal is enhancement, not distraction.
Instead, choose one or two key statement pieces that truly stand out. If your belt is elaborate, opt for simpler jewelry, allowing each element to have its moment.
Ignoring the Dress’s Original Style
Trying to force a bohemian dress to look regal, or a classic gown to appear edgy, often results in a disjointed look. Work with the dress’s inherent character.
Identify the dress’s underlying aesthetic and build upon it. Enhance its natural lines and fabric, rather than fighting against them, to create a harmonious transformation.
Last-Minute Decisions
Rushing choices for embellishments or accessories can lead to stress, mismatched elements, and regret. Bridal decisions require thoughtful consideration.
Start planning your dress’s enhancements well in advance. This gives you time to explore options, find the right professionals, and allow for any necessary alterations without pressure.
Forgetting Comfort
Prioritizing aesthetics over comfort can lead to a miserable wedding day. An itchy lace, a tight belt, or heavy embellishments can cause discomfort.
Always try on all elements for an extended period, if possible. Ensure you can move, sit, and dance freely. Your comfort directly impacts your joy and confidence.
Troubleshooting
“It still feels too plain”
Sometimes, a dress can still feel understated even after adding a few elements. This often happens when additions are too subtle or blend too much.
Consider a bolder statement piece. This could be a dramatic veil, a wider embellished belt, or a unique bridal cape. Focus on one element that truly commands attention.
“My additions don’t match”
A common issue is when chosen accessories or embellishments clash in color, texture, or style with the original dress. This creates a disjointed appearance.
Re-evaluate the color tones and materials. Bring fabric swatches of your dress when shopping for accessories. Ensure the metals, whites, and textures all complement each other. Stick to your defined style story from Step 2.
“I’m overwhelmed by choices”
The sheer volume of options for bridal enhancements can be daunting, leading to decision fatigue and uncertainty.
Break down the process. Focus on one area at a time: first the silhouette, then the neckline, then the waist. Eliminate choices that don’t fit your core vision. Trust your initial instinct and your mood board.
Key Takeaways
- A plain wedding dress is a versatile foundation for personalization and creative expression.
- Start by defining your unique bridal style to guide all your enhancement decisions.
- Accessories like veils, jewelry, and shoes are powerful tools for transformation.
- Embellishments such as belts, appliques, and sparkle add texture and visual interest.
- Toppers, capes, and overskirts offer dramatic changes and the flexibility of multiple looks.
- Professional alterations ensure a flawless fit and can incorporate complex design elements.
Frequently Asked Questions
Can I DIY all the embellishments on my dress?
While some simple additions like a new belt or clip-on embellishments can be DIY, complex tasks like sewing on appliques or altering fabric require professional skills. For lasting quality and a polished finish, it’s best to consult an experienced bridal seamstress for any permanent changes to the dress itself.
What’s the best way to choose a veil?
Consider your dress’s style, your hairstyle, and your venue. A long, flowing veil suits grander settings, while shorter veils are perfect for more casual or modern looks. Try on various lengths and styles with your dress to see what harmonizes best with your overall vision.
How much should I budget for dressing up my dress?
The budget varies widely depending on the complexity of your chosen enhancements. Simple accessories might cost a few hundred dollars, while custom lace toppers or extensive beading can run into thousands. Get quotes from professionals for any desired alterations or custom work early in your planning.
Can I change the dress after the ceremony?
Absolutely! Many brides opt for detachable elements like overskirts, capes, or toppers that can be removed for the reception. This allows for a more formal look during the ceremony and a more comfortable, dance-friendly style for the evening celebration, giving you two distinct looks from one dress.
Our Top Recommended Finds
- Bridal Embellished Sash: Instantly defines the waist and adds sparkle or texture, transforming the dress’s focal point.
- Lace or Tulle Topper: Provides the option to add sleeves and intricate detail to a simple strapless or sleeveless gown, creating a completely new look.
- Seamstress Consultation: An expert’s eye and skill are invaluable for custom alterations, ensuring any additions are perfectly integrated and the dress fits flawlessly.
Your Dream Dress Awaits
Transforming a plain wedding dress is an exciting journey of creativity and personal expression. With each thoughtful addition, you are weaving more of your unique story into the fabric of your special day.
Embrace the process, trust your vision, and don’t be afraid to experiment with different elements until you find the perfect combination that makes you feel truly exceptional.
Begin your transformation today. Gather your inspiration, explore the possibilities, and step into the wedding dress of your dreams.