🗺️ How To Plan A Seating Chart For Wedding
Planning a wedding involves countless details, and the seating chart often becomes one of the most unexpected challenges. It can feel like a giant puzzle, trying to place everyone perfectly. I’ve personally navigated the complexities of seating family and friends at my own wedding, learning valuable lessons along the way. This guide will help you create a seamless and enjoyable experience for all your guests.
Quick Overview
Creating a wedding seating chart ensures comfort and encourages conversation among your loved ones. You’ll move from guest list organization to final placement, making sure everyone feels welcome. This process, while detailed, is entirely manageable with a structured approach.
- Time needed: 8-15 hours (spread over several weeks)
- Difficulty: Intermediate
- What you’ll need: Guest list, venue floor plan, pen and paper, or digital seating chart tool
Step-by-Step Instructions
Step 1: Finalize Your Guest List and RSVPs
You cannot start assigning seats until you know exactly who is attending. This is the absolute first and most critical step. Ensure all your RSVPs are in and accounted for.
Compile a master list of confirmed guests. Include their full names and any plus-ones or children they are bringing. This list will be your foundational document for all subsequent planning.
Pro Tip: Categorize guests as they RSVP. Note if they are family (bride’s/groom’s side), friends (college, work), or other groups. This initial sorting will be invaluable later.
Step 2: Understand Your Venue’s Layout and Table Options
Every venue has a unique floor plan and specific table sizes. Obtain a detailed diagram from your venue coordinator. This diagram should show the dimensions of the space and the types of tables available.
Common table shapes include round (seating 8-12), rectangular (seating 6-10), or banquet style (long tables seating many). Knowing these options helps you visualize the space. Understand the maximum capacity of each table type.
Consider the flow of traffic, especially to and from the bar, restrooms, and dance floor. Strategic placement avoids bottlenecks and ensures easy access for everyone.
Step 3: Create a Digital or Physical Seating Chart Template
Now it’s time to get visual. Choose a method that works best for you. Many couples use online seating chart tools, which allow for easy drag-and-drop functionality.
Alternatively, you can use a large whiteboard, poster board, or even printouts of your floor plan. Cut out small paper circles or rectangles to represent tables. Write guest names on sticky notes.
This template will be your dynamic workspace. It allows you to move guests around easily without making permanent commitments.
Step 4: Place the Head Table and Immediate Family
The head table is usually the first and easiest to place. Decide if you want a traditional head table with the wedding party, or a sweetheart table just for the couple. Place this table in a prominent location with a good view of the room.
Next, focus on immediate family. Parents, grandparents, and siblings typically sit closest to the head table. Consider any divorced parents and ensure their seating arrangements are comfortable for all parties involved.
Place them at tables that offer good visibility of the couple and easy access. This ensures they feel honored and central to the celebration.
Step 5: Group Guests Strategically
This is where the real puzzle-solving begins. Start by grouping guests who know each other well and share common interests. Think about your initial guest categories.
Place college friends together, work colleagues at another table, and various family branches at their own tables. The goal is to create natural conversation hubs. Avoid placing single people at tables full of couples unless you know they will enjoy the company.
Mix and match slightly within groups to introduce new connections, but always prioritize comfort. Try to balance age groups where appropriate, ensuring lively discussions.
Step 6: Consider Personalities and Dynamics
Beyond basic groupings, think about individual personalities. Are there any guests who tend to dominate conversations? Are there shy individuals who might need a friendly face next to them?
Avoid seating people with known past conflicts together. A wedding is a celebration of love, not a stage for old feuds. Disperse any potential troublemakers or overly boisterous guests to balance the energy at tables.
Aim for a harmonious atmosphere at each table. A little forethought here can prevent awkward silences or uncomfortable interactions.
Step 7: Address Special Needs and Accessibility
Review your guest list for anyone with special requirements. This includes guests using wheelchairs, those with mobility issues, or individuals needing high chairs for children. Ensure their tables are easily accessible.
Place guests who might need to leave early or frequently use the restroom closer to exits. Consider older guests who might appreciate being away from loud speakers or the dance floor.
Make sure there is ample space around these tables for comfortable movement. Accessibility is key to ensuring everyone enjoys the event.
Step 8: Review and Refine Your Seating Chart
Once you have a preliminary layout, take a break. Come back with fresh eyes to review everything. Check for balance across tables.
Ensure an even number of guests at each table, or as close as possible, to avoid awkward empty seats. Walk through the flow of the room mentally. Can guests easily get to the bar, food stations, and dance floor from their seats?
Ask a trusted friend or family member to review the chart. A second opinion can catch overlooked issues or offer new perspectives.
Pro Tip: Print out a small version of your seating chart and carry it with you. You can make notes as you think of things throughout your day.
Step 9: Finalize and Share with Vendors
After all the adjustments, finalize your chart. Create a clear, legible version for your venue coordinator, caterer, and any other relevant vendors. This will ensure smooth setup and service.
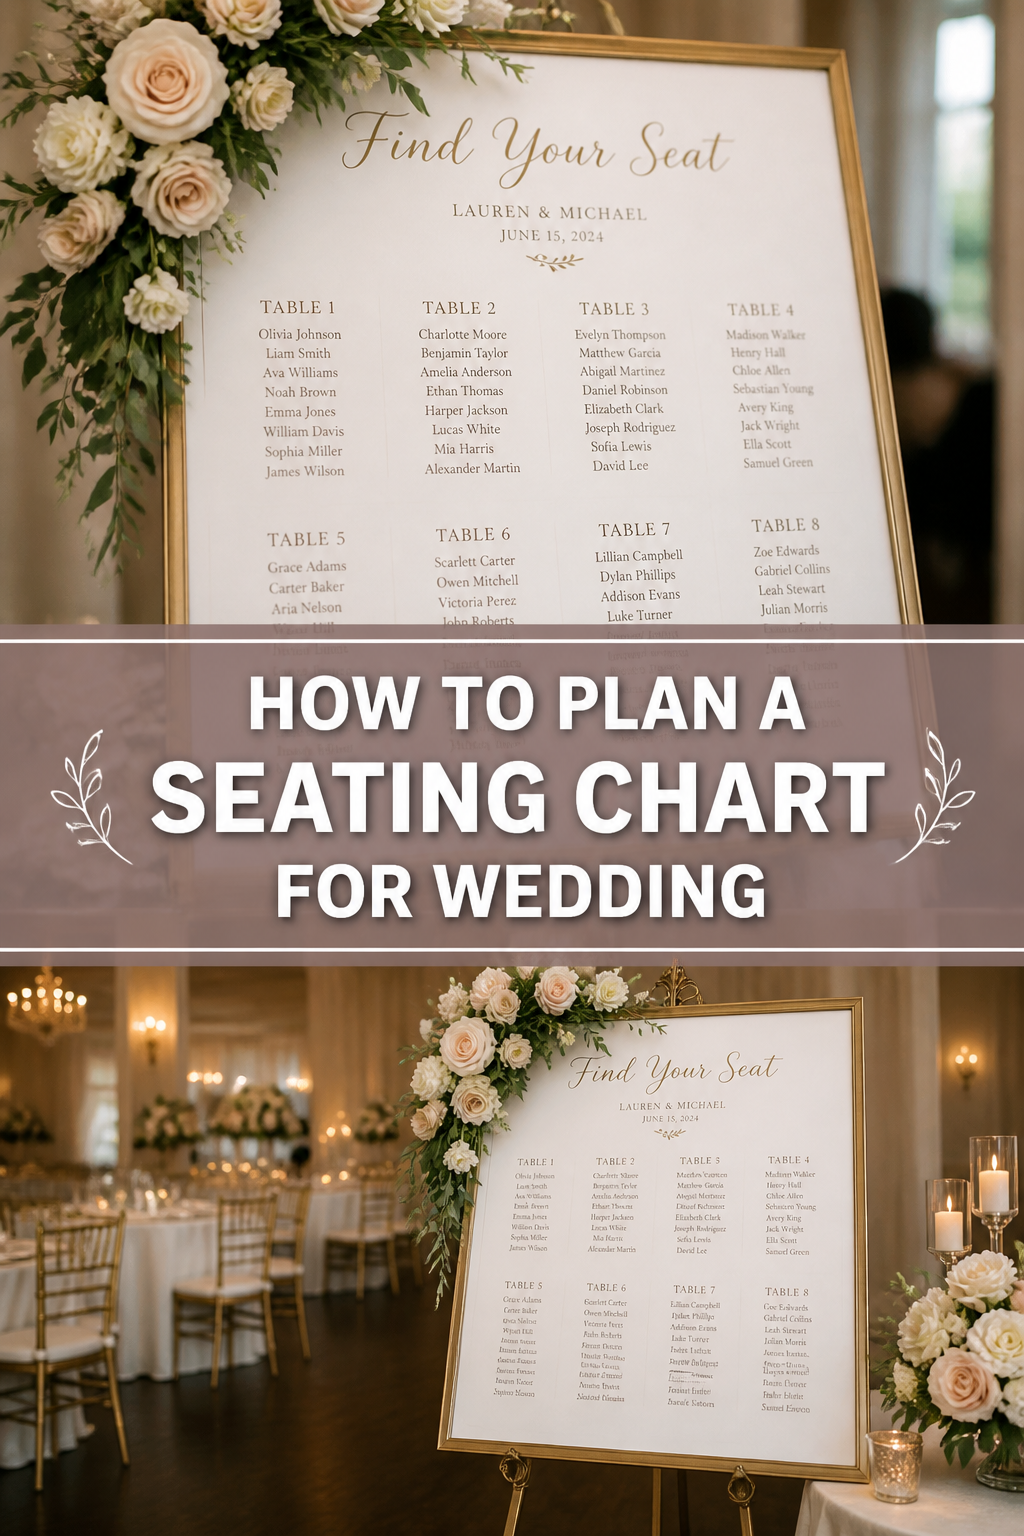
Provide a copy to your wedding planner or a designated point person on the day. They can assist guests with finding their seats if needed. Consider creating a display seating chart or escort cards for guests at the entrance to your reception.
This final step ensures everyone is on the same page and your reception runs flawlessly.
Common Mistakes to Avoid
Waiting Until the Last Minute
Many couples underestimate the time and effort required for seating charts. Trying to complete it in the final days before the wedding is a recipe for stress and errors. Start the process early, perhaps a few weeks after your RSVP deadline, to allow for thoughtful consideration and revisions.
Ignoring Guest Personalities
Simply grouping people by category (e.g., “all college friends”) without considering their individual dynamics can lead to awkward tables. A table full of introverts might be too quiet, while a table of conflicting personalities could create tension. Take time to think about who truly gets along and who would enjoy each other’s company.
Overlooking Logistics and Flow
Placing the elderly next to loud speakers or guests with mobility issues far from restrooms creates unnecessary inconvenience. Forgetting about pathways to the bar or buffet can lead to traffic jams. Always visualize the guest experience within the venue layout to ensure comfort and ease of movement for everyone.
Not Having a Backup Plan
Unexpected changes can happen even on the wedding day, such as a last-minute cancellation or an unannounced plus-one. Not having a flexible plan or a few “buffer” seats can throw your carefully crafted chart into disarray. Always have a few extra chairs or an unassigned seat at a larger table as a contingency.
Troubleshooting
Last-Minute RSVP Changes
It’s inevitable that someone will cancel or add a guest at the eleventh hour. The best approach is to have a flexible mindset. If someone cancels, try to consolidate tables if possible, or leave the seat empty if it won’t disrupt the table’s dynamic. For last-minute additions, utilize any buffer seats you planned. If no buffers exist, see if another table can accommodate one extra person without being too crowded.
Awkward Numbers at Tables
Sometimes you end up with an odd number of guests at a table, or one table has significantly fewer people than others. To solve this, first try to redistribute one or two guests from a slightly fuller table to a sparser one, if their personalities align. If that’s not feasible, consider combining two smaller tables if they are close together and the guests share connections. Don’t be afraid to create one “mixed” table if it helps balance the room.
Conflicts Between Guests
Despite your best efforts, you might realize you’ve accidentally seated guests with a history of conflict together. If you catch this before the wedding, simply move one of the parties to a different table where they have other connections. If the issue arises during the reception, a discreet conversation with your wedding planner or a trusted family member can help. They can gently suggest a guest move to a different, less crowded table for a change of scenery.
Key Takeaways
- Finalize RSVPs First: No seating chart can begin without a complete guest list.
- Know Your Venue: Understand table sizes and the floor plan for optimal placement.
- Use a Visual Tool: Whether digital or physical, a template makes moving guests easy.
- Group Logically, Refine Personally: Start with obvious groups, then consider individual personalities.
- Prioritize Comfort and Flow: Ensure all guests, especially those with special needs, have easy access and enjoyable seating.
- Review and Get a Second Opinion: Fresh eyes often catch details you might have missed.
Frequently Asked Questions
Should I make a seating chart for everyone?
For formal weddings with plated dinners, a seating chart is highly recommended. It prevents chaos, ensures everyone has a seat, and helps with meal service. For more casual weddings with buffets, you might consider open seating, but even then, assigning tables (not specific seats) can be helpful.
How many people should sit at each table?
This depends on your table size and shape. Round tables typically seat 8-10 people comfortably. Rectangular tables can vary, seating 6-10 depending on length. Always check with your venue for their recommended capacities per table type to avoid overcrowding.
What if I have a lot of single guests?
Resist the urge to create a “singles table.” Instead, strategically place single guests at tables where they know some people, or where there are other friendly, outgoing individuals. The goal is to facilitate conversation and connection, not to highlight their single status.
When should I start planning the seating chart?
Begin the process about 2-3 weeks after your RSVP deadline. This gives you time to finalize your guest count and then dedicate sufficient time to the seating arrangements without feeling rushed. It also allows for any last-minute adjustments.
Our Top Recommended Finds
- Online Seating Chart Software: Tools like Allseated or WeddingWire’s seating chart planner offer drag-and-drop functionality and venue floor plan integration.
- Large Whiteboard and Dry Erase Markers: A classic, tangible way to visualize and adjust your seating plan with ease.
- Color-Coded Sticky Notes: Great for categorizing guests (e.g., family vs. friends) and moving them around on a printed floor plan.
Crafting Connections, One Seat at a Time
Creating your wedding seating chart is more than just assigning places; it’s about crafting an atmosphere of joy and connection for your most cherished guests. By following these steps, you’ll transform a daunting task into a rewarding part of your wedding planning journey. Take a deep breath, trust the process, and soon you’ll have a beautifully organized reception.