💐 How To Make A Cascading Bridal Bouquet
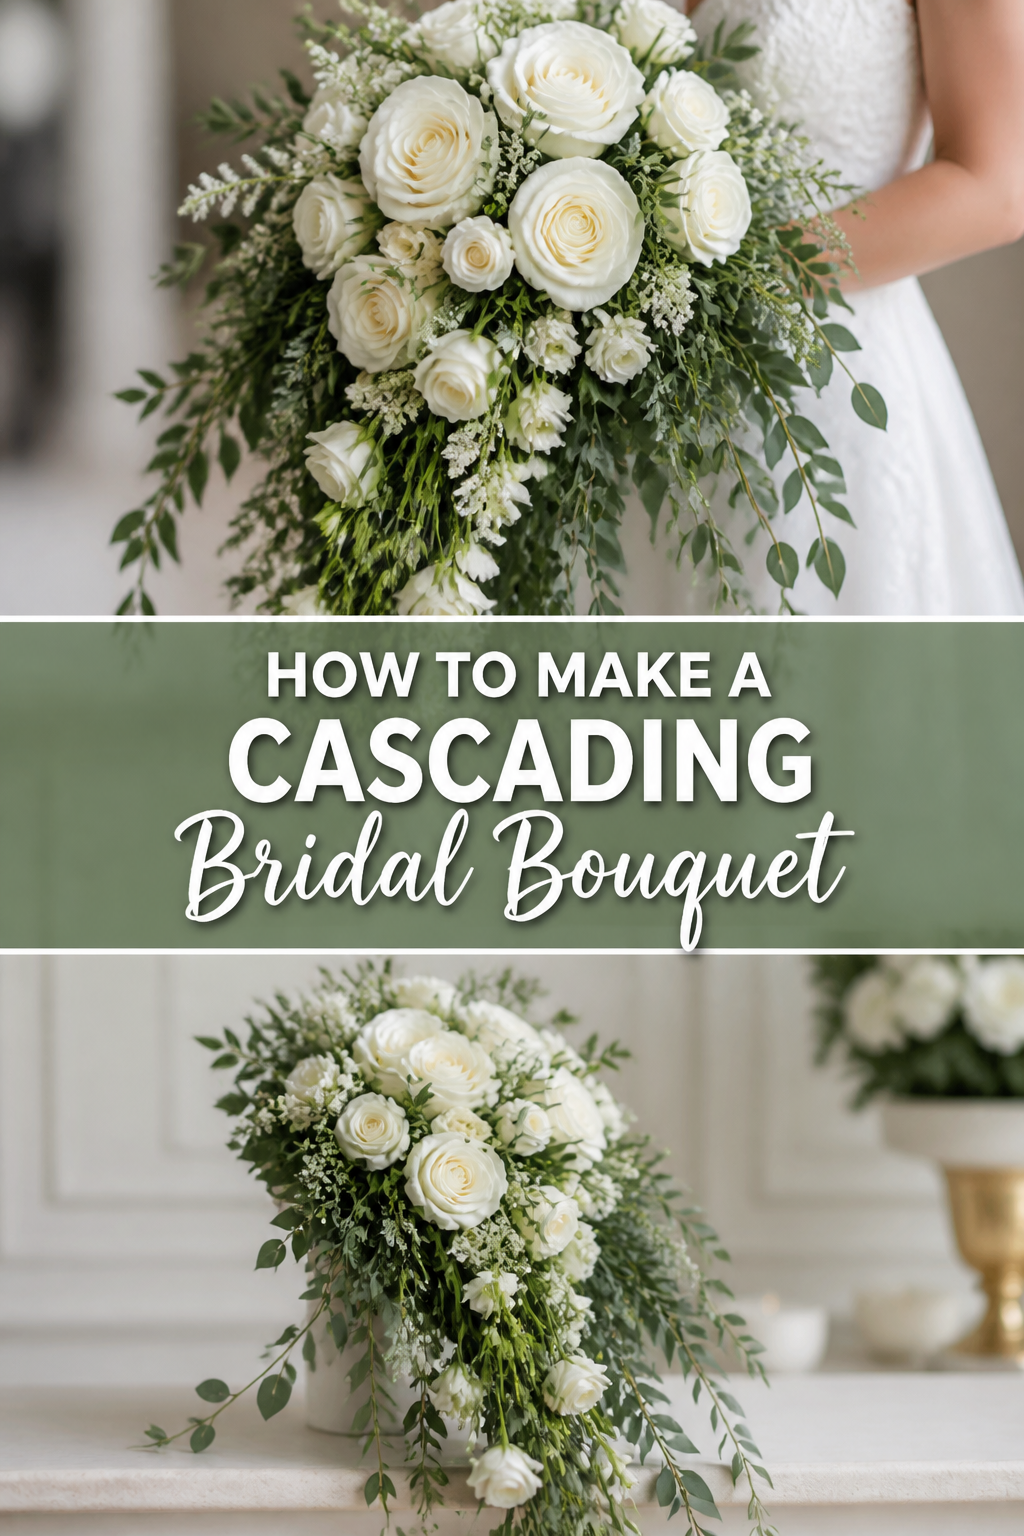
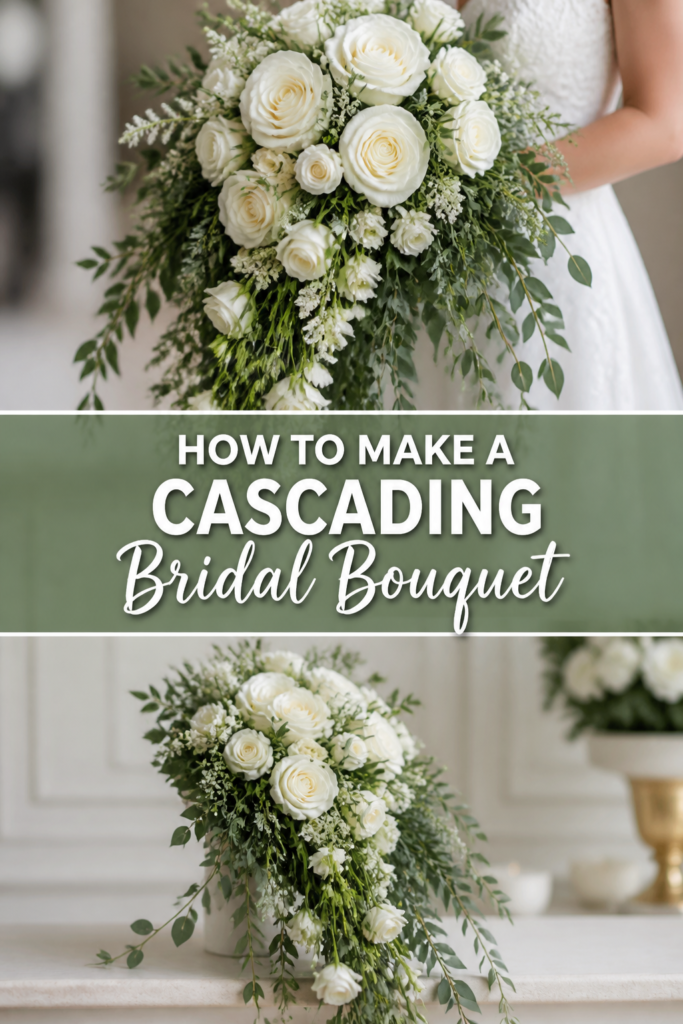
A cascading bouquet is the crown jewel of wedding florals, offering a dramatic “waterfall” effect that exudes timeless elegance.
I remember the first time I attempted this style for a friend’s wedding; I was nervous about the mechanics, but seeing the way the greenery flowed down her gown made every wire and stem worth the effort.
This guide draws on years of floral design experience to help you create a professional-grade arrangement that stays fresh from the first photo to the final dance.
Quick Overview
Creating a cascading bouquet requires a bit more patience than a standard round bunch, but the visual payoff is unmatched for formal ceremonies.
- Time needed: 2 to 3 hours (plus prep time)
- Difficulty: Intermediate
- What you’ll need: Slanted bouquet holder with floral foam, floral wire (22 and 26 gauge), floral tape, sharp shears, focal flowers, filler flowers, and trailing greenery.
Step-by-Step Instructions
Step 1: Hydrate and Prepare Your Blooms
Strip all leaves that will sit below the foam line to prevent rot and ensure a clean insertion into the holder.
Cut every stem at a sharp 45-degree angle under lukewarm water to maximize the surface area for hydration.
Place your flowers in a bucket of water mixed with floral preservative for at least four hours, or ideally overnight, before you begin designing.
Pro Tip: Using a floral sealant spray on the petals after hydration helps lock in moisture, which is vital for bouquets that won’t be sitting in a vase.
Step 2: Secure the Floral Foam
Submerge the plastic bouquet holder in a basin of water and let it sink naturally rather than forcing it down.
Wait until the foam is a deep, dark green and bubbles stop rising, which indicates it is fully saturated to the core.
Check the cage of the holder to ensure it is snapped shut tightly, as the weight of a cascading bouquet can put significant pressure on the foam structure.
Step 3: Establish the Length with Greenery
Insert your longest pieces of trailing greenery, such as ivy, jasmine vine, or ruscus, into the bottom of the foam holder.
Angle these stems downward to create the “tail” of the cascade, ensuring they are pushed at least an inch into the foam for stability.
Vary the lengths of these trailing pieces to create a natural, tapered look rather than a blunt, heavy edge at the bottom.
Pro Tip: If a vine is too limp, thread a thin floral wire through the stem or wrap it loosely around the vine to give it a graceful, controlled curve.
Step 4: Create the Focal Point
Select your largest, most beautiful blooms, like roses, peonies, or lilies, to serve as the “heart” of the bouquet.
Place the primary focal flower in the center of the foam, slightly tilted toward the front to face the audience or the camera.
Surround this central bloom with two or three slightly smaller flowers to create a sense of depth and a lush, rounded top section.
Step 5: Bridge the Gap
Connect the top focal area to the bottom trailing tail by placing medium-sized flowers along the downward slope.
Decrease the size of the flowers as you move further down the cascade to maintain a balanced, teardrop shape.
Nestle these “bridge” flowers among the greenery you placed earlier so they appear to be growing naturally out of the vine.
Step 6: Add Texture and Filler
Fill any visible gaps or “holes” in the foam with smaller filler flowers like spray roses, waxflower, or baby’s breath.
Tuck bits of textured greenery, like eucalyptus or ferns, around the edges of the focal flowers to soften the transition between different blooms.
Ensure that no plastic from the holder or the foam itself is visible from the front or the sides by layering your greens and fillers strategically.
Step 7: Secure the Mechanics
Apply a small drop of floral adhesive to the base of the stems if you are worried about heavy flowers slipping out during the ceremony.
Inspect the bouquet from all angles, including the profile, to make sure the shape is consistent and the “waterfall” flows smoothly from the handle.
Mist the entire arrangement with a finishing spray to provide a protective barrier against wilting and browning.
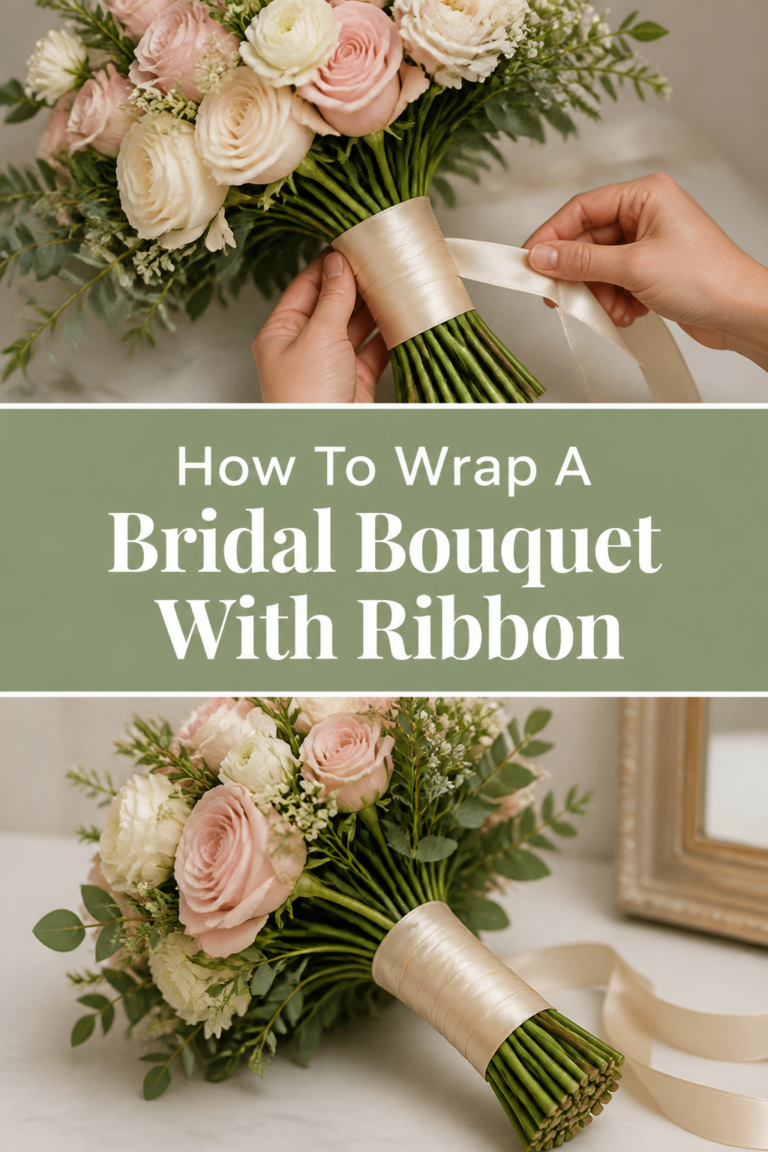
Step 8: Wrap the Handle
Dry the plastic handle of the holder thoroughly with a paper towel to ensure the tape and ribbon will adhere properly.
Wrap the handle in waterproof floral tape first to provide a “grippy” surface for the decorative ribbon.
Cover the tape with satin or velvet ribbon, securing it with pearl-headed pins pushed upward into the plastic handle at a diagonal angle.
Pro Tip: Leave a small loop of ribbon at the top of the handle for the bride to hook her thumb through, providing extra security while she walks.
Common Mistakes to Avoid
Making the Cascade Too Heavy
It is easy to get carried away with adding more flowers to the tail of the bouquet, but this can lead to a lopsided arrangement. A bouquet that is too bottom-heavy will pull forward in the bride’s hands, making it uncomfortable to carry and causing the foam to potentially break. Always balance the weight by ensuring the top section has enough “visual mass” to counter the length of the cascade.
Using Fragile Stems Without Support
Flowers with hollow or soft stems, like tulips or ranunculus, can easily snap or wilt when placed at an angle in a cascading design. If you choose to use these varieties, you must reinforce them with internal or external wiring. Without this support, the flowers may droop prematurely, ruining the intentional “flow” of the design and making the bouquet look tired.
Ignoring the Back of the Bouquet
While the front of the bouquet is the star of the show, the bride will be seeing the back of the arrangement all day. Many beginners leave the back of the foam exposed or messy with tape and wire. Finish the back with a few flat leaves, like salal or lemon leaf, to create a professional appearance and prevent the damp foam from touching the bride’s dress.
Troubleshooting
Flowers Falling Out of the Foam
If stems are slipping out, it is usually because the holes in the foam have become too large from repeated insertions. To fix this, remove the loose stem, dip the end in floral adhesive, and insert it into a fresh spot in the foam. If the foam is crumbling, you may need to use floral wire to “cage” the stem to the plastic frame of the holder.
The Cascade Looks Stiff and Unnatural
A stiff bouquet often lacks “movement,” which comes from using varied lengths and flexible greenery. To resolve this, gently pull a few pieces of greenery outward so they aren’t hugged tight against the flowers. You can also add “airy” elements like jasmine tendrils or hanging amaranthus that sway slightly when the bride moves.
Wilting Focal Flowers
If a specific flower looks sad, it may not be making proper contact with the water-saturated foam. Pull the stem out slightly, recut it at a sharp angle, and push it back in firmly to ensure the “straw” of the stem is hitting the moisture. If the flower is beyond saving, replace it with a fresh bloom that has been hydrated in a vase for at least an hour.
Key Takeaways
- Start with a plan: Sketch your desired shape and choose flowers that naturally drape, like orchids or ivy.
- Hydration is king: Never skip the soaking process for the foam or the pre-treatment for the blooms.
- Build the skeleton first: Use your greenery to define the length and width before adding your expensive focal flowers.
- Secure your work: Use floral adhesive and wire for heavy or delicate stems to ensure the bouquet survives the entire wedding day.
- Focus on the “flow”: Ensure there is a smooth visual transition from the dense top of the bouquet to the airy bottom.
- Check the profile: Look at the bouquet from the side to ensure it has a graceful curve rather than a flat front.
Frequently Asked Questions
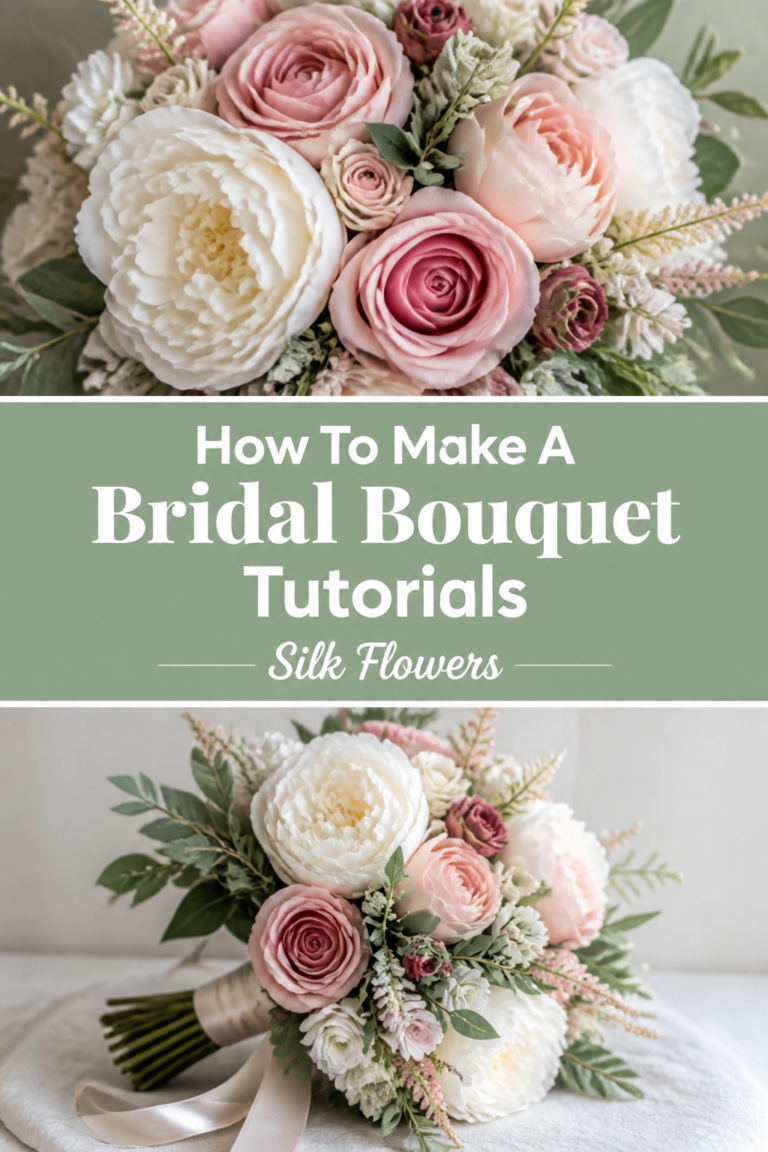
Can I make a cascading bouquet with silk flowers?
Yes, cascading bouquets are actually very popular with high-quality silk flowers because you don’t have to worry about wilting or weight. You can use a dry foam holder designed specifically for artificial stems. The process remains the same, but you will use hot glue or floral picks to secure the stems instead of relying on the moisture of the foam.
How far in advance can I make the bouquet?
It is best to assemble a fresh cascading bouquet no more than 24 hours before the wedding. Because the flowers are in foam rather than a vase of water, they have a limited lifespan. Store the finished bouquet in a cool, dark place or a floral refrigerator, and mist it frequently to keep the petals turgid.
What are the best flowers for the “tail” of the cascade?
Orchids, particularly Phalaenopsis and Dendrobium, are classic choices because their stems naturally arch. Calla lilies offer a modern, sleek line, while hanging amaranthus provides a unique, fuzzy texture that drapes beautifully. For greenery, English ivy, variegated pittosporum, and eucalyptus are reliable options that hold up well in foam.
How should the bride hold a cascading bouquet?
The bride should hold the handle with both hands at hip level, tilting the top of the bouquet slightly toward her body. This allows the cascade to fall naturally against the front of her skirt. Holding it too high can obscure the bodice of the dress and make the bouquet look disconnected from the overall silhouette.
Our Top Recommended Finds
- FloraCraft Slanted Bouquet Holder: This holder features a pre-angled handle that makes it much easier to balance the weight of a heavy cascade.
- Oasis Floral Adhesive: A fast-drying liquid glue that is safe for live flowers and essential for securing stems in gravity-defying arrangements.
- Crowning Glory Finishing Spray: A professional-grade clear spray that acts like hairspray for flowers, preventing moisture loss and keeping colors vibrant.
Bring Your Floral Vision To Life
Creating your own cascading bridal bouquet is a rewarding way to add a personal, artisanal touch to a wedding day. Now that you understand the mechanics of the “waterfall” effect, you can experiment with different color palettes and textures to match any wedding theme.
If you enjoyed learning about these advanced floral techniques, you might want to explore the art of creating matching boutonnieres or bridesmaid posies. Gather your tools and start practicing with a few grocery store bundles today to build your confidence before the big event.