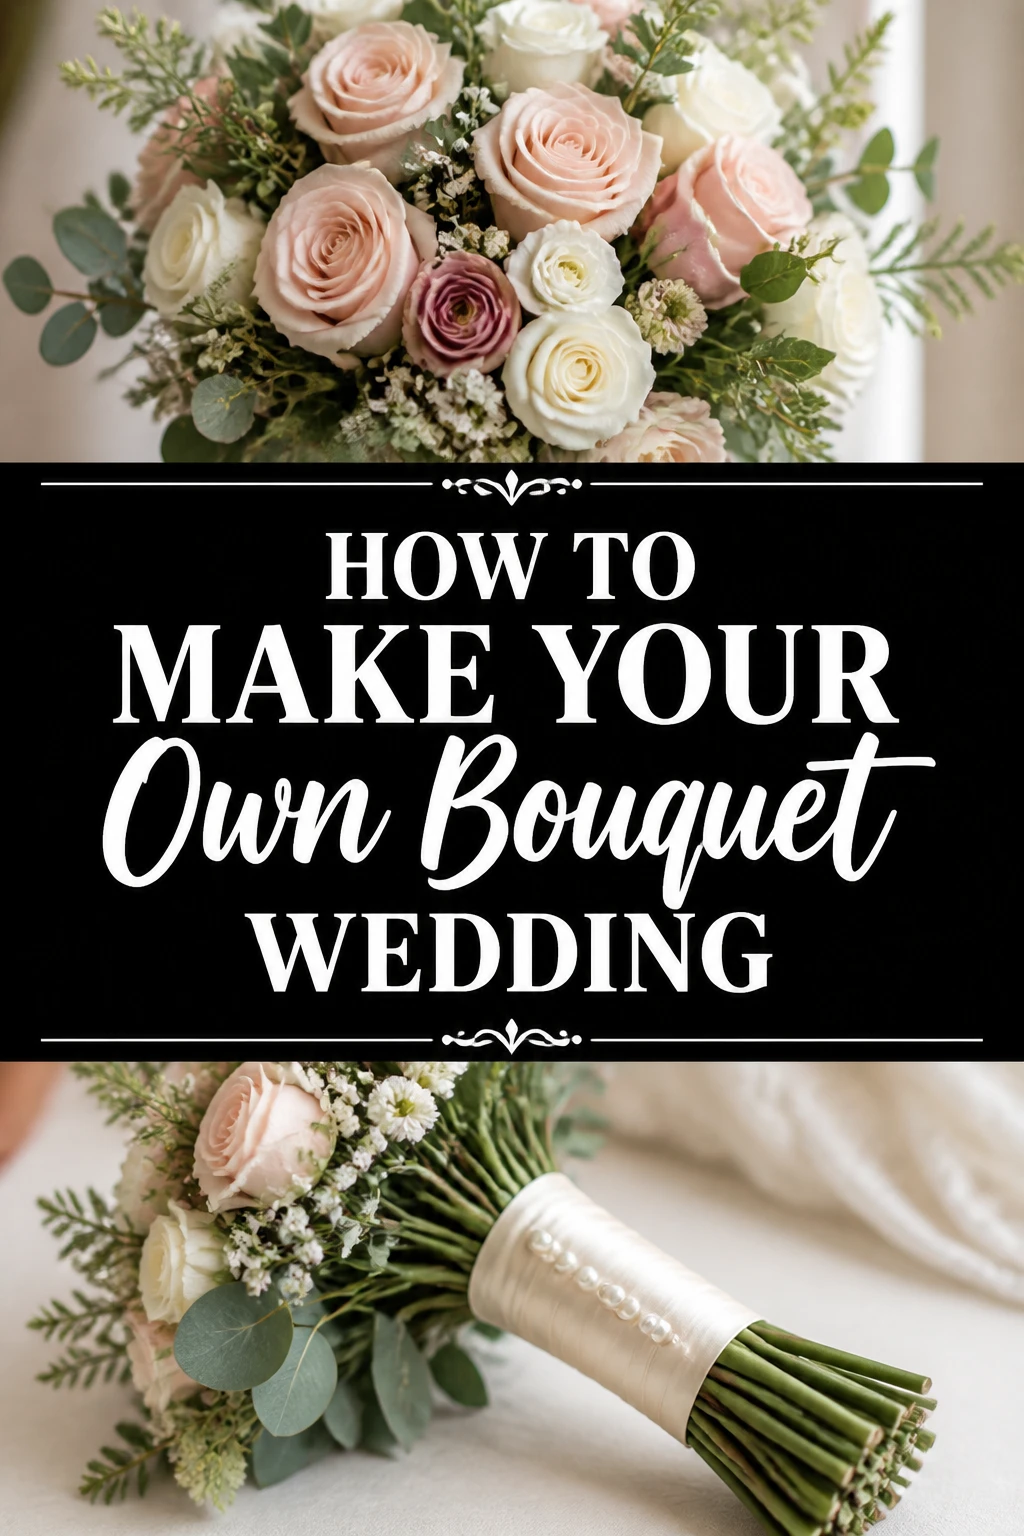
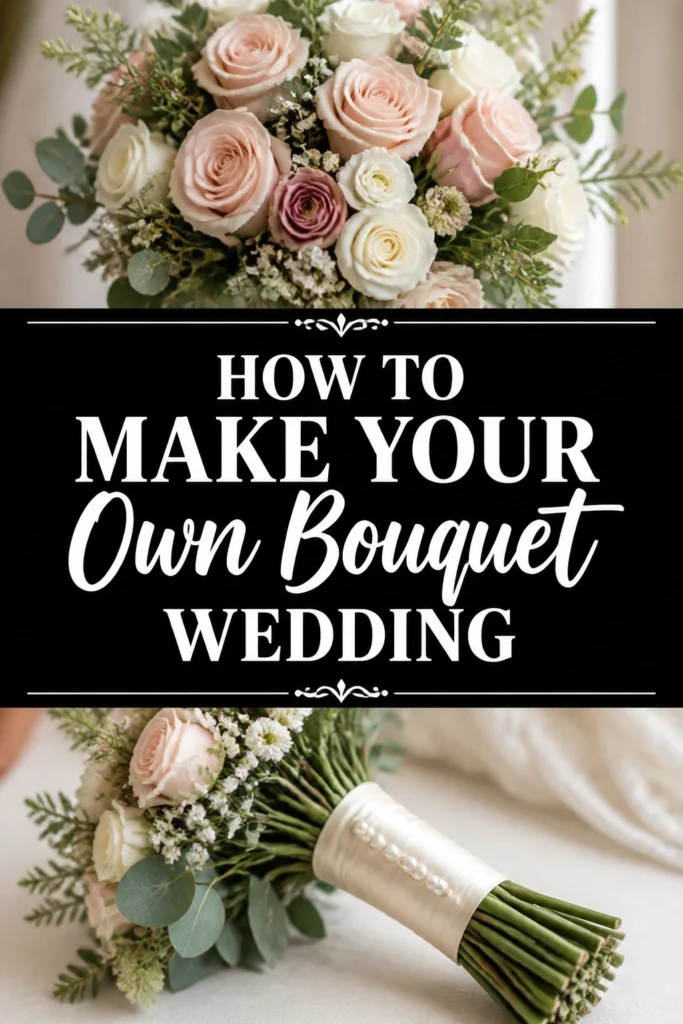
💐 How To Make Your Own Bouquet Wedding

Wedding Planning
No fluff, no drama. Just easy weekly advice, planning shortcuts, and gentle reminders to help you actually enjoy your engagement.
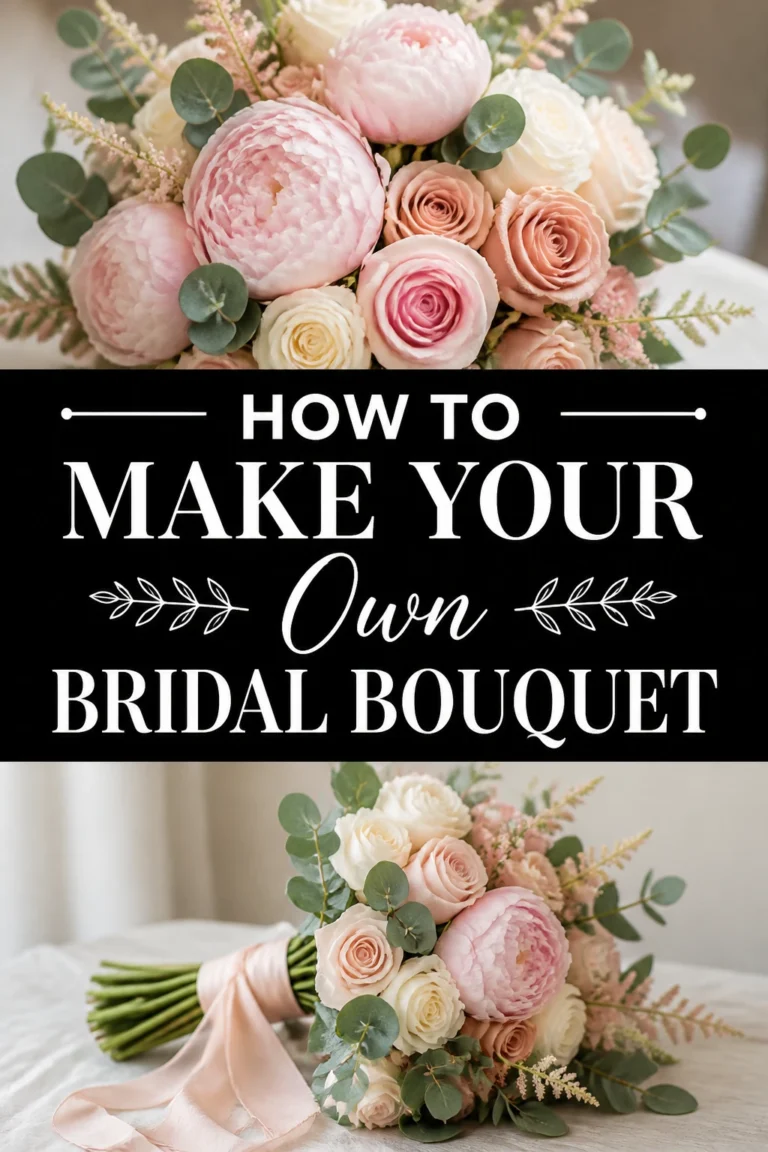
Imagine walking down the aisle, holding a bouquet you crafted with your own hands. This personal touch adds an unforgettable layer of meaning to your special day. Many brides dream of a unique, custom bouquet that perfectly reflects their style.
Creating your wedding bouquet can be a deeply rewarding experience. It also offers a wonderful opportunity to save on wedding expenses. This guide provides practical steps to help you achieve that dream with confidence and joy.
Quick Overview
This guide will walk you through every stage of designing and assembling your beautiful wedding bouquet. You will learn professional techniques to ensure your flowers look stunning and stay fresh. By the end, you’ll have a gorgeous, handmade bouquet ready for your big day.
- Time needed: 4-6 hours (including flower conditioning and assembly)
- Difficulty: Intermediate
- What you’ll need: Fresh flowers, floral shears, floral tape, ribbon, pins, water.
Step-by-Step Instructions
Step 1: Plan Your Vision and Select Your Flowers
Begin by envisioning your ideal bouquet. Consider your wedding dress style, your overall theme, and your color palette. Look for inspiration in magazines, online galleries, and local flower shops.
Think about the types of flowers you love and their availability. Research seasonal blooms that fit your chosen aesthetic and budget. This initial planning phase is crucial for a cohesive and beautiful outcome.
Pro Tip: Create a mood board with images of bouquets you admire. This visual reference will guide your flower choices and overall design. Don’t forget to consider the bouquet’s size and shape relative to your stature.
Step 2: Source Your Flowers and Supplies
Once your vision is clear, it’s time to acquire your materials. Visit a local flower market, a wholesale florist, or even a reputable online flower supplier. Order your flowers to arrive 2-3 days before the wedding.
Purchase all necessary tools and accessories beforehand. This includes sharp floral shears, green floral tape, sturdy floral wire (if needed for delicate stems), beautiful ribbon, and pearl-headed pins. Ensure your ribbon complements your wedding colors.
Step 3: Condition Your Flowers Properly
Upon receiving your flowers, they need immediate conditioning to ensure longevity. Fill clean buckets with cool water and a floral food solution. This step rehydrates the blooms and extends their freshness.
Carefully remove any foliage below the waterline to prevent bacterial growth. Trim the bottom 1-2 inches off each stem at an angle using your floral shears. Place the prepared flowers directly into the water, allowing them to drink for several hours, ideally overnight, in a cool, dark place.
Step 4: Prepare Your Workspace and Flowers
Set up a clean, organized workspace. Lay out all your conditioned flowers, separating them by type and color. Have your floral shears, tape, wire, and ribbon within easy reach.
Gently remove any bruised or damaged outer petals from your flowers. For roses, you might “reflex” the outer petals by carefully peeling them back to create a fuller, more open look. Strip any remaining leaves from the lower part of the stems that will be wrapped.
Step 5: Begin with Your Focal Flowers
Identify your main focal flowers – these are usually the largest or most striking blooms. Hold one focal flower in your non-dominant hand. This will be the absolute center of your bouquet.
Add a second focal flower, crossing its stem over the first at an angle. Continue adding 2-3 more focal flowers, rotating the bouquet slightly as you go. This crisscross method creates a natural, spiraling stem base.
Step 6: Incorporate Filler and Accent Flowers
Once your focal point is established, begin adding your secondary and filler flowers. These include smaller blooms, texture flowers, and greenery. Place them around your focal flowers, filling in gaps and adding depth.
Rotate the bouquet constantly as you add each stem. This helps you achieve an even distribution of flowers and a balanced shape. Step back frequently to assess the overall look and adjust as needed.
Pro Tip: Think in terms of layers and textures. Place some flowers deeper within the bouquet and others slightly further out to create visual interest. Don’t be afraid to experiment with different placements.
Step 7: Refine the Shape and Secure the Stems
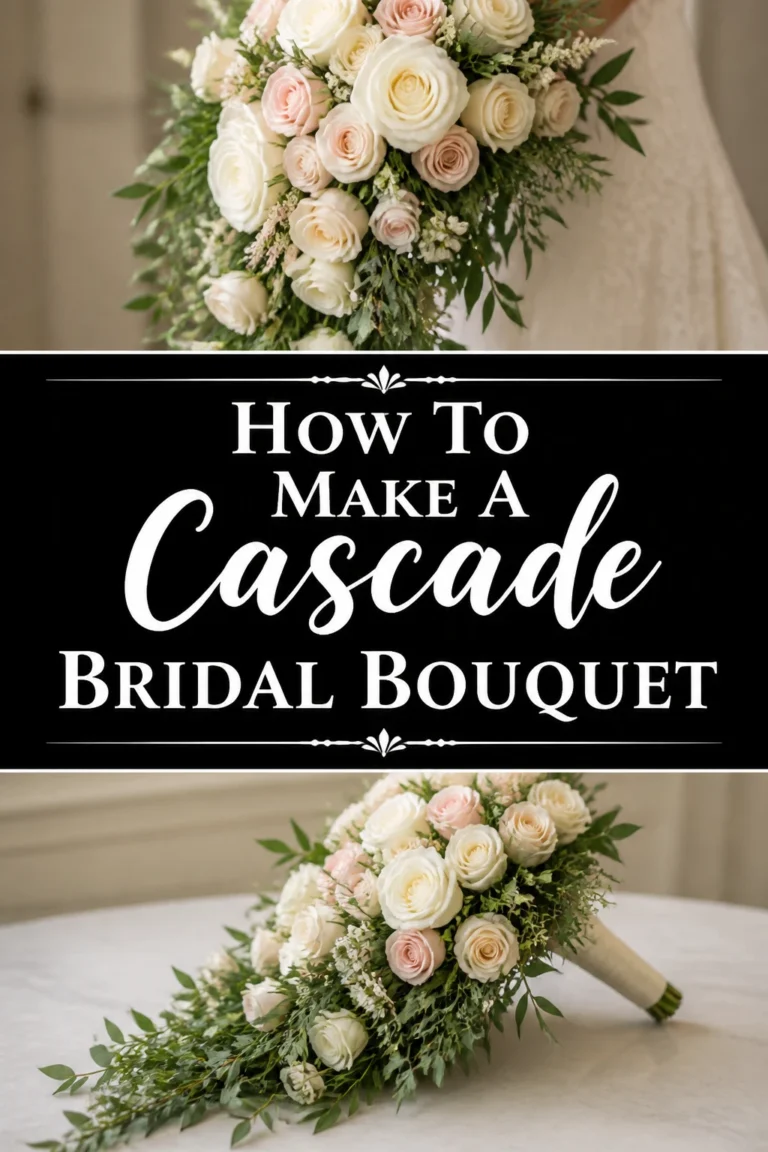
Continue adding flowers until your bouquet reaches your desired size and shape. Pay attention to the overall silhouette – do you want a round, cascading, or asymmetrical design? Adjust individual stems by gently pulling them up or pushing them down.
Once you are satisfied with the arrangement, firmly grasp the stems where you want the bouquet to be held. Use floral tape to wrap tightly around the gathered stems, starting just below where your hand grips. Wrap downward about 3-4 inches, overlapping the tape for a secure hold.
Step 8: Trim and Wrap the Stems
After securing the bouquet with floral tape, use your sharp floral shears to trim all the stems to a uniform length. Aim for a comfortable length that allows you to hold the bouquet without the stems dragging. Typically, 6-8 inches from the base of the blooms is a good starting point.
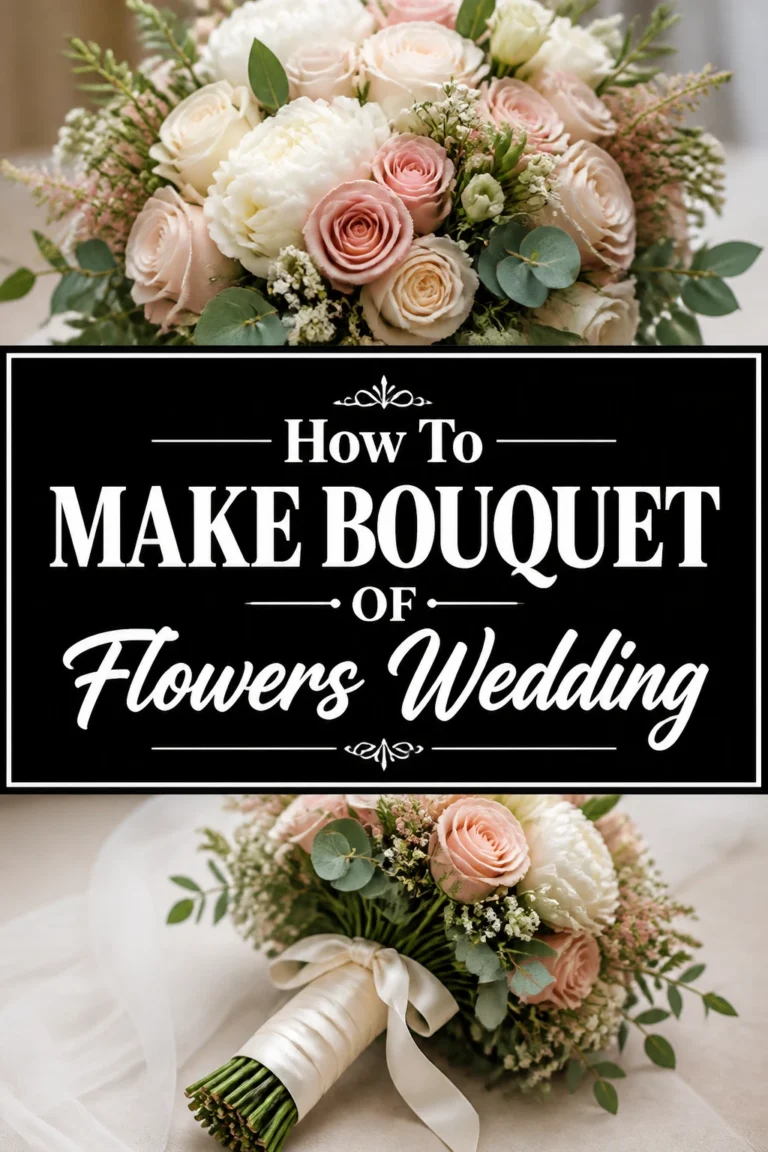
Now, wrap the visible floral tape with your chosen decorative ribbon. Start at the top of the taped section, tucking the end of the ribbon securely. Wrap downwards, overlapping slightly, until the entire taped area is covered. Secure the end of the ribbon with several pearl-headed pins, pushing them into the stems at an angle to prevent them from slipping out.
Step 9: Add Personal Touches and Final Checks
This is where you can infuse even more personality into your bouquet. Consider adding a small locket with a photo, a family heirloom charm, or a piece of lace from your mother’s wedding dress. Secure these elements carefully with thin wire or ribbon.
Give your bouquet a final once-over. Check for any loose stems or gaps that need minor adjustments. Ensure the ribbon wrap is neat and secure. Your handmade wedding bouquet is now complete!
Step 10: Store Your Bouquet Until the Wedding
Proper storage is essential to keep your bouquet fresh. Place the bouquet stems in a vase or bucket with a small amount of fresh water. Ensure no leaves are submerged in the water.
Store the bouquet in a cool, dark place, away from direct sunlight or heat sources. A refrigerator (without fruit, as fruit emits ethylene gas which can prematurely age flowers) or a cool basement is ideal. Mist the blooms lightly with water if they appear to be drying out.
Common Mistakes to Avoid
Over-Stuffing the Bouquet
A common pitfall is adding too many flowers, which can make the bouquet look dense and heavy. This also makes it difficult to see the individual beauty of each bloom. Instead, aim for a balanced arrangement where each flower has space to breathe and contribute to the overall design. Less can often be more, allowing for elegance and grace.
Not Conditioning Flowers Properly
Skipping the crucial step of flower conditioning significantly reduces their lifespan. Flowers need time to rehydrate after transport. Failing to trim stems and remove submerged foliage leads to wilting and bacterial growth. Always follow the conditioning steps meticulously for vibrant, long-lasting blooms.
Using Too Much Floral Tape
While floral tape is essential for securing your bouquet, excessive use can make the stems bulky and difficult to hold. It also creates a less aesthetic base for your decorative ribbon. Use just enough tape to create a firm, secure hold without adding unnecessary bulk.
Forgetting Stem Length Consideration
Trimming stems too short too early can ruin your bouquet’s proportions. Conversely, leaving them too long makes the bouquet unwieldy. Plan for a comfortable length that suits your height and allows for easy handling. Always trim to the final length only after the bouquet is fully assembled and secured.
Troubleshooting
Bouquet Looking Lopsided
If your bouquet appears uneven, gently untape the stems and re-evaluate your flower placement. Identify the heavier or denser side and redistribute some blooms to the lighter side. Remember to rotate the bouquet frequently during assembly to catch imbalances early. Sometimes, adding a few pieces of greenery can help fill out sparse areas and correct the balance.
Flowers Wilting Prematurely
Wilting often indicates insufficient hydration. Ensure your flowers were properly conditioned upon arrival, with fresh angled cuts and submerged in water. If wilting occurs after assembly, mist the blooms lightly and place the stems back in water. Check that no leaves are below the waterline, as this can cause bacterial growth that clogs stems and prevents water uptake.
Stems Slipping or Bouquet Feeling Loose
A loose bouquet usually means the floral tape wasn’t wrapped tightly enough or sufficiently. Carefully remove the ribbon and re-tape the stems more firmly. Start at the top of your grip point and wrap downwards, overlapping each layer of tape for a secure, stable hold. Don’t be afraid to apply a little pressure as you wrap.
Key Takeaways
- Thorough planning and vision boarding are crucial before purchasing any flowers.
- Proper flower conditioning ensures your blooms stay fresh and vibrant throughout the day.
- Building your bouquet in layers, starting with focal flowers, creates a balanced design.
- Rotate your bouquet frequently during assembly to maintain an even distribution of flowers.
- Securely taping and beautifully wrapping the stems are vital for both stability and aesthetics.
- Always store your finished bouquet in a cool, dark place with water until the wedding.
Frequently Asked Questions
How far in advance can I make my wedding bouquet?
You can assemble your wedding bouquet 1-2 days before the wedding. This allows the flowers to settle and gives you time for any last-minute adjustments. Ensure proper storage in a cool place with water to maintain freshness.
What if a flower breaks during assembly?
Don’t panic if a flower stem breaks. You can often salvage the bloom by using floral wire. Gently insert a piece of floral wire through the base of the flower head and wrap it down the remaining stem. This provides a new, sturdy stem for incorporation into the bouquet.
Can I use artificial or silk flowers for my bouquet?
Absolutely! Using artificial or silk flowers is a wonderful option, especially if you want a keepsake bouquet or are concerned about flower longevity. The assembly process is very similar, though you won’t need to worry about conditioning or water.
How do I keep my bouquet fresh on the wedding day?
Keep your bouquet in a cool location, out of direct sunlight, for as long as possible before the ceremony. Have a vase with a small amount of water nearby for holding it between photos or during breaks. Avoid excessive handling of the delicate blooms.
Our Top Recommended Finds
- Floral Shears: A sharp, ergonomic pair makes clean cuts, vital for flower health and easier stem trimming.
- Green Floral Tape: Essential for securely binding stems without adding bulk, providing a strong foundation for your ribbon.
- Quality Ribbon: Choose a durable, beautiful ribbon that complements your wedding colors and holds up to handling.
Embrace Your Floral Journey
Crafting your own wedding bouquet is more than just a DIY project; it’s an act of love and creativity. You’re not just making a floral arrangement; you’re weaving your personal story and dreams into a tangible symbol of your union. This guide empowers you to bring that vision to life with confidence.
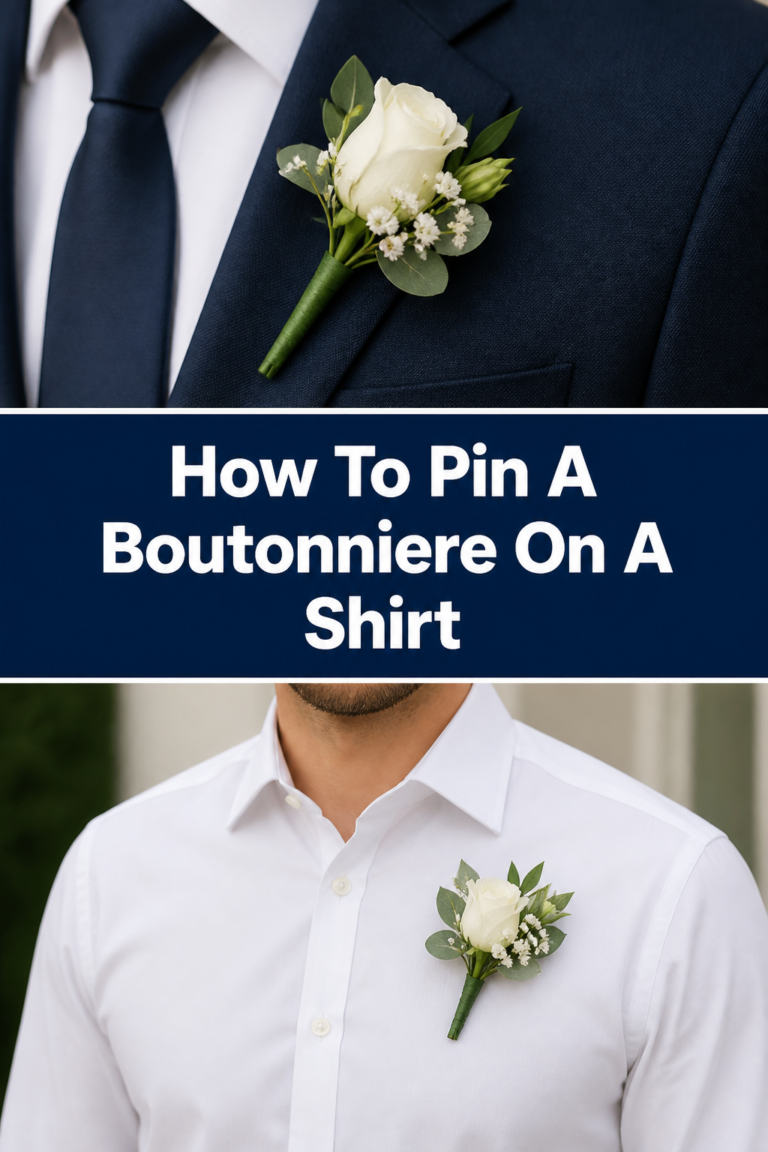
Why wait to start planning? Begin exploring flower options and gathering inspiration today. You’ll be amazed at the beautiful, meaningful masterpiece you can create for your special day. Consider extending your newfound skills to create matching boutonnières or corsages for your wedding party.
Wedding Planning
No fluff, no drama. Just easy weekly advice, planning shortcuts, and gentle reminders to help you actually enjoy your engagement.