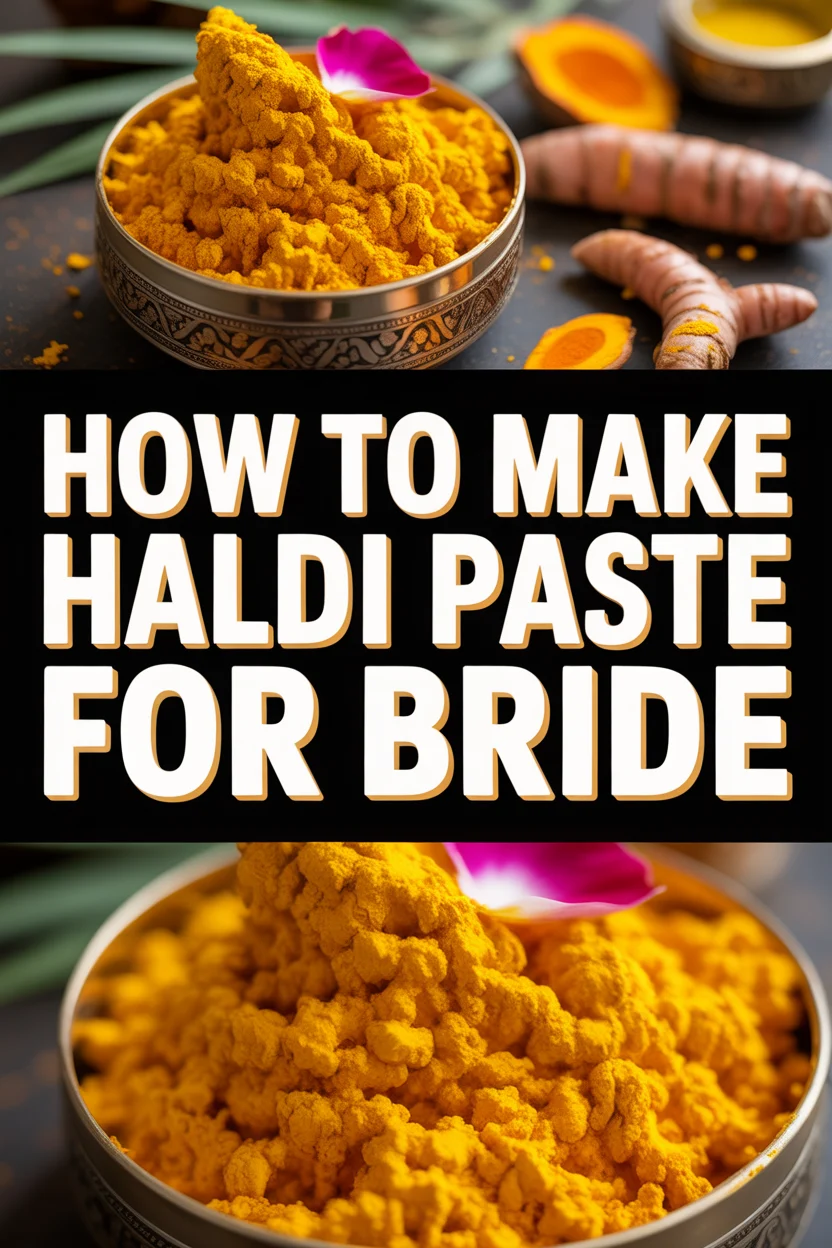
✨ How To Make Haldi Paste For Bride

Wedding Planning
No fluff, no drama. Just easy weekly advice, planning shortcuts, and gentle reminders to help you actually enjoy your engagement.
The Haldi ceremony is a cherished tradition, filled with joy, blessings, and the vibrant glow of turmeric. Preparing the perfect haldi paste is more than just mixing ingredients; it’s an act of love and a ritual itself. I’ve seen countless brides glow after this ceremony, and making the paste correctly truly makes a difference.
This guide shares the authentic, practical steps I’ve learned from generations of family wisdom. Trust in these methods to create a beautiful, effective paste for your special day.
Quick Overview
Making haldi paste for a bride is a simple yet significant process. You’ll create a smooth, skin-loving paste ready for the traditional ceremony. This guide covers everything from ingredient selection to the final mix.
- Time needed: 20-30 minutes (prep and mixing)
- Difficulty: Beginner
- What you’ll need: Turmeric powder, gram flour, liquid binder (milk/yogurt), rose water or oil, mixing bowl, spoon.
Step-by-Step Instructions
Step 1: Gather Your Quality Ingredients
Start by laying out all your ingredients. Using high-quality components ensures the best results for the bride’s skin and avoids unwanted staining. This preparation makes the mixing process smooth and enjoyable.
Choose organic, cosmetic-grade turmeric powder. Regular kitchen turmeric can sometimes contain food dyes that stain the skin. Gram flour (besan) is essential for binding and gentle exfoliation.
For the liquid, have fresh milk, plain yogurt, or even rose water on hand. A few drops of almond oil or sandalwood oil can also be a wonderful addition. Ensure your mixing bowl and spoon are clean and ready.
Pro Tip: Always opt for Kasturi Haldi (wild turmeric) if available. It’s known for its skin benefits and leaves less yellow tint compared to culinary turmeric.
Step 2: Measure the Dry Base
Begin with the foundation of your paste: the dry ingredients. Accurate measurement helps achieve the ideal consistency later on. This step sets the stage for a well-balanced mixture.
In your clean mixing bowl, add about 4 tablespoons of cosmetic-grade turmeric powder. This amount is usually sufficient for one bride, covering face, neck, arms, and legs. Adjust if you need more or less.
Next, incorporate 2 tablespoons of gram flour (besan) into the bowl. Gram flour acts as a natural cleanser and helps the paste adhere to the skin. It also aids in gentle exfoliation upon removal.
Step 3: Add the Wet Binders
Now it’s time to introduce the liquid elements that will bring the paste to life. The choice of liquid binder depends on the bride’s skin type and desired benefits. This step gradually forms the paste’s texture.
If the bride has dry skin, pour in 3-4 tablespoons of full-fat milk or a spoonful of fresh cream. Milk is incredibly moisturizing and helps nourish the skin. For oily or combination skin, plain yogurt is an excellent choice.
Yogurt contains lactic acid, which offers gentle exfoliation and brightening properties. Start with a smaller amount of liquid and gradually add more. You want to avoid making the paste too runny too quickly.
Step 4: Introduce Aromatic Enhancers
Beyond the primary ingredients, adding an aromatic enhancer elevates the experience and provides additional skin benefits. This step infuses the paste with a lovely fragrance and extra care.
Drizzle in a teaspoon of pure rose water. Rose water is known for its soothing and toning properties, leaving the skin refreshed. It also imparts a delicate, traditional fragrance.
For an extra touch of luxury and moisture, mix in a few drops of almond oil or a pinch of sandalwood powder. Almond oil is deeply nourishing, while sandalwood is revered for its cooling and blemish-reducing qualities. These additions make the paste even more beneficial.
Step 5: Mix to the Perfect Consistency
Achieving the right consistency is crucial for effective application and removal. This step requires patience and a keen eye to get the texture just right. A well-mixed paste won’t drip or crumble.
Using your spoon, begin stirring all the ingredients together thoroughly. Break down any lumps of turmeric or gram flour. Ensure everything is well incorporated for an even paste.
Continue adding small amounts of your chosen liquid binder, half a teaspoon at a time, as you mix. Stir until you reach a smooth, thick, and spreadable consistency. It should resemble a thick pancake batter or a creamy yogurt.
The paste should not be too watery, as it will drip and make a mess. It also shouldn’t be too thick, as it will be hard to spread and might crack too quickly on the skin. Aim for a luxurious, spreadable texture.
Step 6: Perform a Patch Test
Before applying the haldi paste all over, a patch test is a non-negotiable step. This ensures the bride won’t have any adverse reactions to the ingredients. Skin sensitivity can vary greatly.
Dab a small amount of the prepared haldi paste onto a discreet area of the bride’s skin. The inside of the wrist or behind the ear are good spots. Wait for at least 15-20 minutes.
Observe for any signs of redness, itching, or irritation. If any reaction occurs, gently wash off the paste immediately. This precaution prevents a potentially uncomfortable experience on the main day.
Step 7: Apply with Care
The application of the haldi paste is a beautiful, ceremonial moment. Ensure a gentle and respectful approach. This step is about tradition and blessing.
With clean hands or a soft brush, apply the paste generously and evenly to the bride’s face, neck, arms, and legs. Family members often take turns applying the paste, sharing their blessings.
Massage the paste gently into the skin in circular motions. This helps with mild exfoliation and ensures the ingredients penetrate effectively. Be especially gentle on the face.
Step 8: Allow to Dry
Once applied, the paste needs time to dry on the skin. This allows the beneficial properties of the ingredients to work their magic. Patience here leads to better results.
Let the paste sit on the skin for about 15-20 minutes, or until it is semi-dry. It shouldn’t be completely hardened and cracked, as this can make removal difficult. A slight tackiness is ideal.
During this time, the turmeric’s anti-inflammatory and brightening compounds are absorbed. The gram flour also begins its gentle cleansing action. The bride can relax and enjoy this moment.
Step 9: Rinse and Reveal
The final step is the gentle removal of the paste to reveal glowing, refreshed skin. This is often done with water and a soft touch. The reveal is a moment of anticipation.
Once the paste is semi-dry, gently rub it off the skin using your hands. You can also use a soft cloth or sponge moistened with lukewarm water. Avoid harsh scrubbing, which can irritate the skin.
Rinse thoroughly with lukewarm water until all traces of the paste are gone. Pat the skin dry with a soft towel. The bride’s skin should feel soft, smooth, and have a beautiful, subtle radiance.
Common Mistakes to Avoid
Using Regular Cooking Turmeric
A common mistake is grabbing any turmeric powder from the spice rack. Culinary turmeric often contains food-grade dyes that can leave a stubborn yellow stain on the skin. These stains are difficult to remove and can be quite noticeable.
Always choose high-quality, cosmetic-grade turmeric powder or Kasturi Haldi specifically for skin applications. These varieties are formulated to provide skin benefits without excessive staining. Investing in the right turmeric makes a significant difference in the final look.
Wrong Consistency
Getting the paste consistency wrong is another frequent pitfall. If the paste is too runny, it will drip everywhere, creating a mess and making application difficult. A very thin paste also has less exfoliating power.
On the other hand, a paste that is too thick will be hard to spread evenly and may crack quickly on the skin, leading to discomfort. It also makes removal challenging. Aim for a smooth, creamy texture that adheres well without being gloopy.
Skipping the Patch Test
Overlooking the patch test is a risky move, especially for a bride. Even natural ingredients can cause allergic reactions or skin sensitivities in some individuals. An unexpected rash or irritation on the wedding day would be highly distressing.
Always perform a small patch test on a discreet area of the skin at least 24 hours before the main ceremony. This simple step confirms the bride has no adverse reactions to any of the ingredients, ensuring her comfort and peace of mind.
Over-Scrubbing During Removal
After the paste dries, there’s a temptation to scrub vigorously to remove it and any yellow tint. However, over-scrubbing can irritate the skin, causing redness and sensitivity. The skin on the face, especially, is delicate.
Instead, gently rub the semi-dry paste off with your hands or a soft, damp cloth. Use lukewarm water to rinse thoroughly, allowing the water to dissolve any remaining residue. Gentle treatment prevents skin trauma and keeps the bride’s skin looking its best.
Troubleshooting
Paste is Too Runny
If you find your haldi paste has become too liquid, don’t worry, it’s easily fixable. The key is to rebalance the dry and wet ingredients carefully. You can rescue the consistency with a few simple additions.
Add a small amount of extra gram flour (besan) to the mixture. Start with half a teaspoon and mix it in thoroughly. Continue adding tiny amounts until the paste reaches your desired thick, spreadable consistency.
Paste is Too Thick
Conversely, if your paste turns out too thick and clumpy, it will be difficult to apply smoothly. This also means it might dry too fast and crack on the skin. You need to introduce more liquid to loosen it up.
Slowly add a few drops of your chosen liquid binder, such as milk, yogurt, or rose water. Stir continuously as you add the liquid, until the paste becomes smooth and creamy. Be patient and add liquid gradually to avoid making it too runny.
Skin Has a Yellow Tint
Sometimes, despite using cosmetic-grade turmeric, a faint yellow tint might remain on the skin, especially on lighter complexions. This is usually temporary and not cause for alarm. There are gentle ways to reduce it.
Gently rub a slice of lemon or a cotton pad soaked in milk over the tinted areas. The mild acids in lemon and the lactic acid in milk help to naturally lighten the stain. Alternatively, a gentle facial oil can also help lift the color.
Key Takeaways
- Always use high-quality, cosmetic-grade turmeric for best results and to avoid staining.
- Achieve a smooth, creamy consistency that is easy to apply and remove without dripping.
- Perform a patch test on a small skin area to prevent any allergic reactions or irritation.
- Apply the paste gently and remove it with care, avoiding harsh scrubbing to protect the skin.
- Embrace the traditional significance of the Haldi ceremony as a moment of blessing and purification.
- Customize the liquid binders and enhancers based on the bride’s skin type for added benefits.
Frequently Asked Questions
Can I use fresh turmeric root instead of powder?
Yes, you absolutely can use fresh turmeric root! Fresh turmeric is often preferred for its potent benefits and vibrant color. To prepare it, peel and grate the fresh turmeric root, then grind it into a fine paste using a mortar and pestle or a blender with a little milk or rose water.
How long does the haldi paste last once made?
The haldi paste is best used immediately after preparation for optimal freshness and efficacy. If you have any leftover, you can store it in an airtight container in the refrigerator for up to 24 hours. Beyond that, the natural ingredients may start to spoil or lose their potency.
What if the bride has very sensitive skin?
For very sensitive skin, it’s crucial to be extra cautious. Opt for Kasturi Haldi, which is generally milder, and use soothing binders like rose water or plain yogurt. Avoid lemon juice or strong essential oils. Always perform a patch test at least 24-48 hours in advance to ensure no irritation occurs.
Can men use haldi paste too?
Absolutely! Haldi paste is beneficial for everyone, regardless of gender. Many cultures have similar pre-wedding rituals for grooms, involving haldi paste for skin purification and glow. The same principles of preparation and application apply, offering similar skin-enhancing benefits.
Our Top Recommended Finds
- Organic Cosmetic Grade Turmeric Powder: Essential for a stain-free and beneficial paste. Look for brands specifically labelled for skin use.
- Glass Mixing Bowl Set: A non-reactive and easy-to-clean option for preparing your paste hygienically. Glass doesn’t absorb odors or colors.
- Soft Facial Sponge or Muslin Cloth: Ideal for gently removing the paste without irritating the skin. Choose a natural fiber for the best results.
Your Journey to Radiance Begins
Preparing haldi paste for a bride is a beautiful, sacred act, connecting generations and traditions. It’s a moment to infuse love and good wishes into every ingredient. The process is simple, yet the results are profound, promising a radiant glow for the special day.
Take these steps, embrace the ritual, and create a paste that not only beautifies but also blesses. May this golden tradition bring immense joy and brilliance to the bride’s journey. Now, go forth and craft your perfect haldi paste with confidence and love.
Wedding Planning
No fluff, no drama. Just easy weekly advice, planning shortcuts, and gentle reminders to help you actually enjoy your engagement.