🎁 How To Wrap A Bridal Shower Gift

Wedding Planning
No fluff, no drama. Just easy weekly advice, planning shortcuts, and gentle reminders to help you actually enjoy your engagement.
Wrapping a gift for a bridal shower adds a special touch. It shows thoughtfulness before the bride even opens her present. I’ve wrapped countless gifts over the years, learning the little tricks that make a big difference.
A beautifully presented gift truly makes an impression. This guide shares those secrets, ensuring your gift stands out with elegance. You can create something lovely, even if you’re new to gift wrapping.
Quick Overview
You’re about to master the art of wrapping a bridal shower gift. This process will transform your present into a stunning package. It’s all about attention to detail.
- Time needed: 30-60 minutes (depending on gift shape and embellishments)
- Difficulty: Beginner to Intermediate
- What you’ll need: Wrapping paper, sharp scissors, double-sided tape, ribbon, gift tag, optional decorative elements
Step-by-Step Instructions
Step 1: Gather Your Supplies
Always begin by collecting everything you need. This prevents interruptions once you start wrapping. Make sure your workspace is clean and clear.
Choose a wrapping paper that suits the bridal shower theme or the bride’s style. Pastel colors, florals, or elegant metallics are popular choices. Ensure your scissors are sharp for clean cuts.
You will also need good quality tape. Double-sided tape is ideal for a seamless finish. Select ribbons and a gift tag that complement your chosen paper.
Pro Tip: Invest in high-quality wrapping paper. Thicker paper is less prone to tearing and creates a more luxurious feel. It also makes crisp folds much easier to achieve.
Step 2: Prepare Your Gift
If your gift is oddly shaped, place it inside a sturdy gift box. This creates a clean, uniform surface for wrapping. Always remove price tags before you begin.
Ensure the gift is secure within its box. You can use tissue paper or crinkle filler to prevent it from shifting. This also adds to the unwrapping experience.
Step 3: Measure and Cut Your Paper
Place your gift box upside down on the wrapping paper. Roll the paper over one side, then over the top, and finally over the other side. This determines the length you need.
Leave about 1-2 inches of overlap on the long edges. For the short ends, ensure the paper reaches about halfway up the side of the box. Cut the paper cleanly.
Cutting the paper accurately is key to avoiding bulky seams. Use your sharp scissors to make one continuous, straight cut.
Step 4: Secure the First Side
Position your gift box in the center of the cut paper, still upside down. Bring one long edge of the paper up and over the box. Secure it with a small piece of double-sided tape.
Bring the opposite long edge of the paper up and over the box, overlapping the first edge. Fold this edge under by about half an inch to create a clean, crisp seam. This hidden fold looks professional.
Use several pieces of double-sided tape along the length of this folded edge. Press firmly to create a smooth, invisible seam. This forms the foundation of your beautifully wrapped gift.
Step 5: Fold and Tape the Ends
Now, turn your attention to the short ends of the box. On one end, gently push the paper inwards to create two triangular flaps on the sides. The top and bottom flaps will remain.
Fold the top flap down tightly against the box. Create a crisp crease. Secure it with a small piece of double-sided tape.
Next, fold the bottom flap up, overlapping the top flap. Create another clean crease. Fold the edge of this flap under by about half an inch for a neat finish.
Use double-sided tape to secure this final flap firmly to the box. Repeat this entire process for the other end of the gift box. Aim for symmetrical, neat folds on both sides.
Pro Tip: For extra crisp folds, use a ruler or the edge of a credit card to press down firmly along each crease. This creates sharp, professional-looking edges.
Step 6: Add Ribbon and Bows
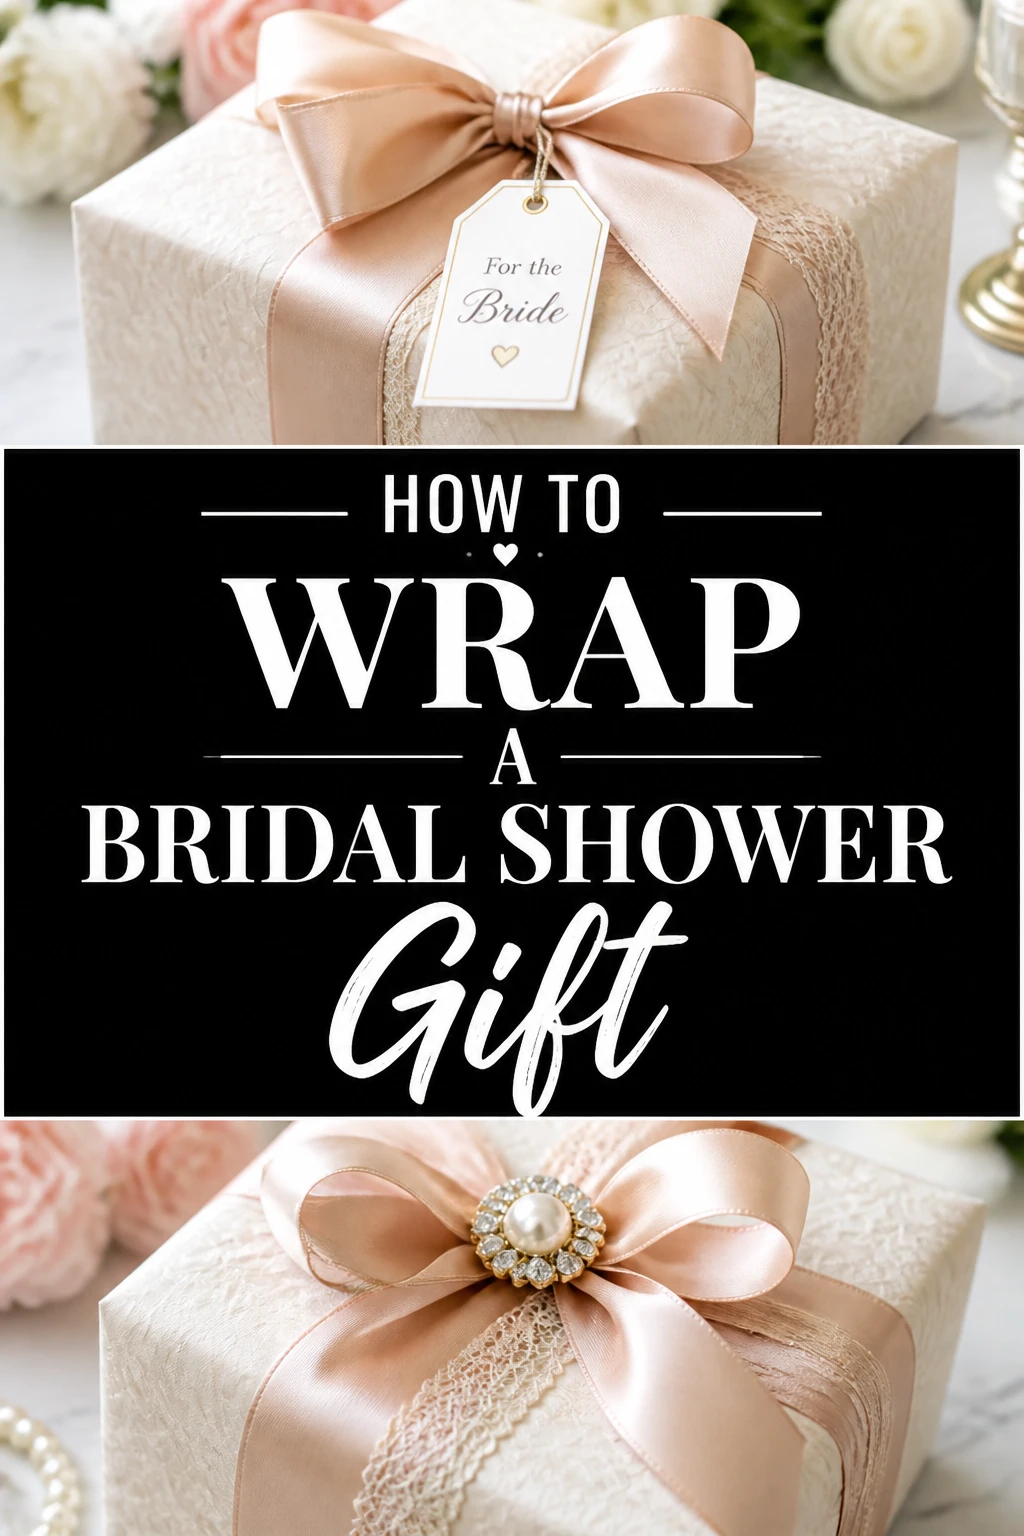
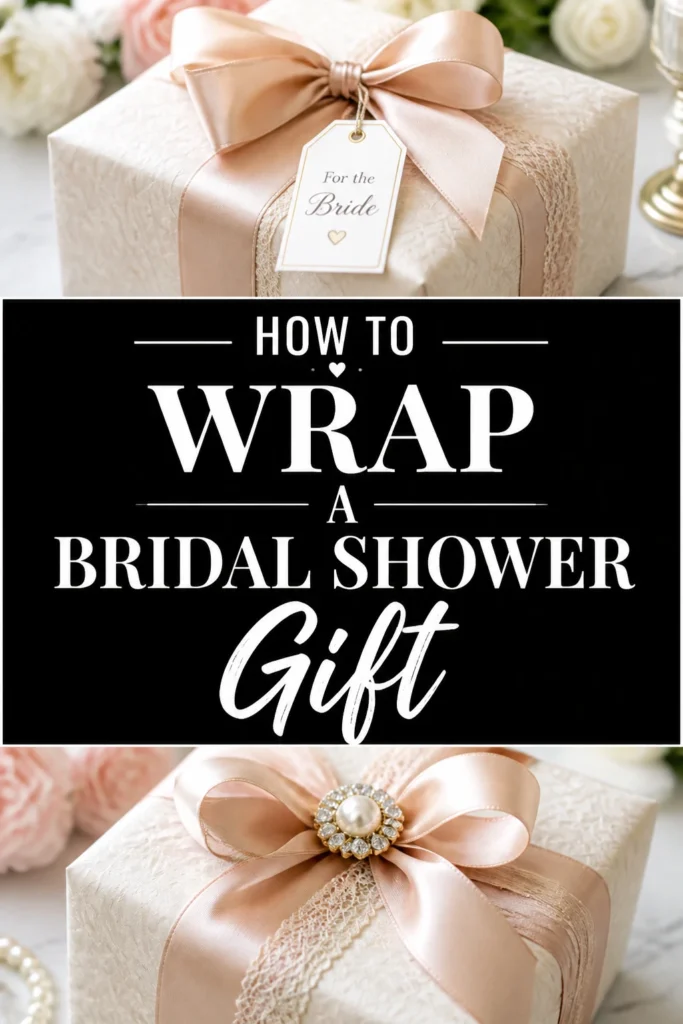
Ribbon adds elegance and a celebratory feel. Measure a generous length of ribbon, at least two to three times the circumference of your gift. This allows for a nice bow.
Center the ribbon on the top of your gift. Bring the ends down the sides and cross them underneath the box. Bring them back up to the top, creating a cross pattern.
Tie a simple knot on top of the box to secure the ribbon. Then, tie a beautiful bow. You can create a classic four-loop bow or a more elaborate multi-loop design.
Trim the ends of the ribbon at an angle or in a V-shape for a polished look. You can also curl the ribbon ends with scissors for added flair.
Step 7: Attach a Thoughtful Tag
A gift tag is essential for identifying your present. Write a heartfelt message to the bride. Keep it concise and personal.
Punch a hole in your gift tag if it doesn’t have one. Thread a small piece of thin ribbon or twine through the hole. Tie the tag securely to your main ribbon bow.
Ensure the tag is visible but doesn’t obscure the beauty of the bow. It’s the final touch that personalizes your thoughtful gift.
Step 8: Consider Embellishments
For an extra special touch, add a small embellishment. This could be a delicate artificial flower, a sprig of greenery, or a small charm. Choose something that complements the bridal theme.
Attach the embellishment securely to the ribbon or bow. Use a small dab of hot glue or a thin wire if necessary. Be careful not to damage the paper.
Less is often more when it comes to embellishments. A single, well-chosen item can elevate the entire presentation. Avoid overcrowding the gift with too many decorations.
Common Mistakes to Avoid
Using Too Much or Too Little Paper
Cutting the wrong amount of paper is a common pitfall. Too much paper creates bulky, messy folds and makes the gift look unprofessional. Too little paper means you can’t cover the gift properly, leading to exposed edges or rips. Always measure carefully, allowing for a small overlap.
Rushing the Process
Gift wrapping takes patience. Rushing leads to uneven cuts, crumpled paper, and sloppy tape application. Take your time with each step, smoothing out creases as you go. A few extra minutes can make a significant difference in the final appearance.
Ignoring the Gift’s Shape
Trying to wrap an oddly shaped item directly with paper is often frustrating. It results in lumpy, awkward packages. Always place irregular items in a sturdy gift box first. This creates a smooth, easy-to-wrap surface, simplifying the entire process.
Over-Decorating
While embellishments add charm, too many can overwhelm the gift. A package cluttered with excessive ribbons, bows, and ornaments loses its elegance. Choose one or two focal points for decoration. Aim for a balanced and sophisticated look rather than an overloaded one.
Troubleshooting
Wrinkled Paper
If your wrapping paper develops wrinkles, gently lift the affected section. Smooth it out with your hand or a flat tool like a ruler. For stubborn creases, try lightly pressing with a warm, dry iron on a low setting, but do this before wrapping the gift, and test on a small corner first.
Tape Showing
Visible tape detracts from a clean finish. The best solution is to use double-sided tape. If you only have regular tape, try to place it on the underside of flaps or along seams where it will be less noticeable. You can also strategically cover visible tape with ribbon or embellishments.
Ribbon Slipping
If your ribbon keeps sliding off the gift, it might not be tight enough. Ensure you pull the ribbon firmly when tying the initial knot. You can also place a tiny dot of hot glue or a small piece of double-sided tape on the underside of the ribbon where it crosses the gift. This will hold it in place.
Key Takeaways
- Preparation is paramount: Gather all supplies and use a clean workspace.
- Box odd shapes: Place irregular gifts in boxes for a smooth wrapping surface.
- Measure precisely: Cut paper accurately to avoid bulk or gaps.
- Use double-sided tape: Achieve a seamless, professional finish.
- Crease with care: Press down firmly on all folds for crisp edges.
- Accessorize thoughtfully: Ribbons and tags elevate the overall presentation.
Frequently Asked Questions
What if my gift is an unusual shape?
For unusual shapes, the best approach is to place the item inside a gift box. If a box isn’t an option, consider using a decorative gift bag with tissue paper. This saves frustration and still looks lovely.
How much ribbon do I need?
A good rule of thumb is to measure the circumference of your gift twice (length + width + height, then multiply by two). Then, add an extra 18-24 inches for tying a bow. This ensures you have enough for a generous, elegant bow.
Can I use fabric instead of paper?
Yes, fabric wrapping (Furoshiki style) is a beautiful and eco-friendly alternative. Choose a lovely scarf or a piece of silk fabric. It offers a unique, luxurious look and can even be part of the gift itself.
Is it okay to use a gift bag?
Absolutely! Gift bags are perfectly acceptable, especially for very large or extremely fragile items. Choose a high-quality bag that matches the bridal shower’s aesthetic. Always include tissue paper for a polished look.
Our Top Recommended Finds
- High-Quality Double-Sided Tape: Essential for a clean, professional finish without visible seams.
- Sharp Fabric Scissors: Using dedicated scissors for ribbon and paper ensures clean, crisp cuts every time.
- Assorted Satin Ribbon Set: Having a variety of elegant ribbons in different widths and colors allows for versatile and beautiful presentations.
Elevate Every Celebration
You now have the tools and confidence to wrap a bridal shower gift with beauty and precision. Each step, from selecting the paper to tying the perfect bow, contributes to a truly thoughtful presentation. Your effort will not go unnoticed.
Take these skills and apply them to all your future gift-giving occasions. The joy of giving a beautifully wrapped present is immense. Start practicing today, and make every gift a work of art.
Wedding Planning
No fluff, no drama. Just easy weekly advice, planning shortcuts, and gentle reminders to help you actually enjoy your engagement.