📸 How To Display Photos At A Wedding

Wedding Planning
No fluff, no drama. Just easy weekly advice, planning shortcuts, and gentle reminders to help you actually enjoy your engagement.
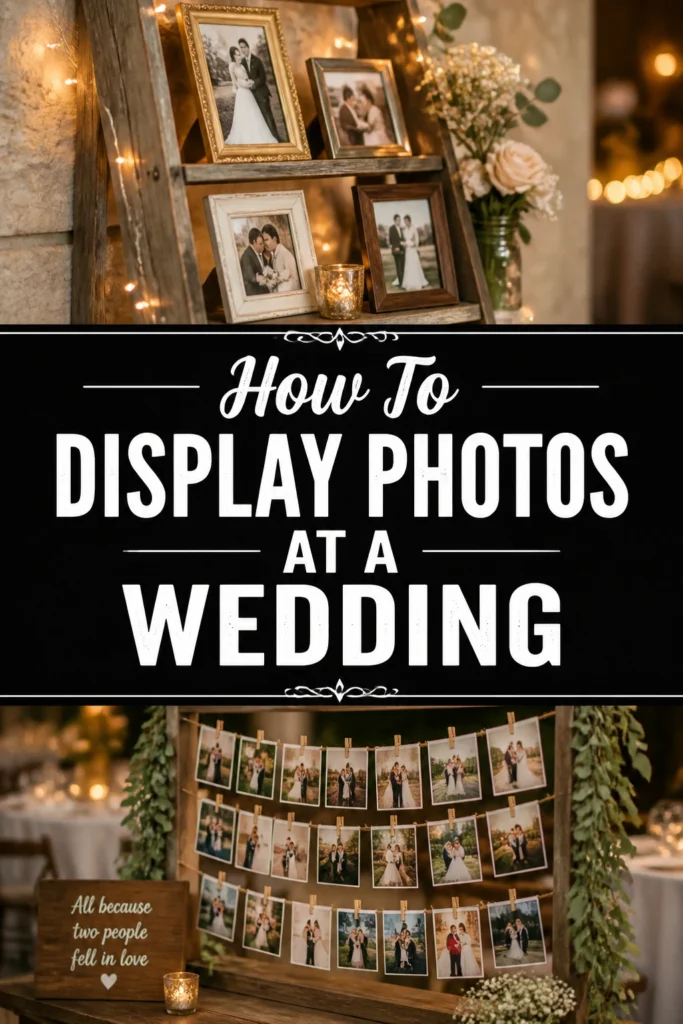
Your wedding day is a tapestry of love, woven with shared memories. Showcasing photos adds a deeply personal touch, making your celebration truly unique. I’ve helped countless couples weave their visual story into their big day, seeing firsthand the joy it brings. This guide will walk you through creating stunning, heartfelt photo displays that guests will adore.
Quick Overview
Transforming your wedding venue with cherished photos is a rewarding experience. You’ll learn how to select, prepare, and arrange images that tell your unique love story. Get ready to add a personal, memorable layer to your celebration.
- Time needed: 8-12 hours (spread over several weeks)
- Difficulty: Intermediate
- What you’ll need: Photos, frames, display materials, printing service, creativity
Step-by-Step Instructions
Step 1: Define Your Story and Theme
Every couple has a unique journey. Before you gather a single photo, decide what story you want to tell. Are you highlighting your childhoods, your relationship timeline, or perhaps a tribute to loved ones?
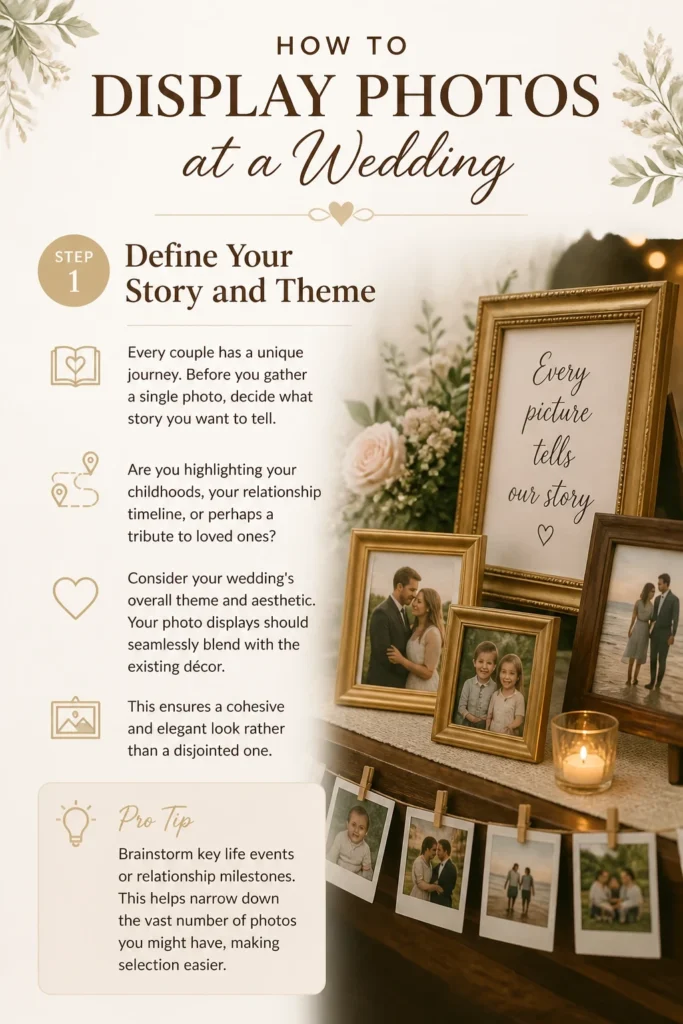
Consider your wedding’s overall theme and aesthetic. Your photo displays should seamlessly blend with the existing décor. This ensures a cohesive and elegant look rather than a disjointed one.
Pro Tip: Brainstorm key life events or relationship milestones. This helps narrow down the vast number of photos you might have, making selection easier.
Step 2: Gather Your Photos
Now it’s time to collect all potential photos. Look through old albums, digital files, and social media. Ask family members and friends for theirs too.
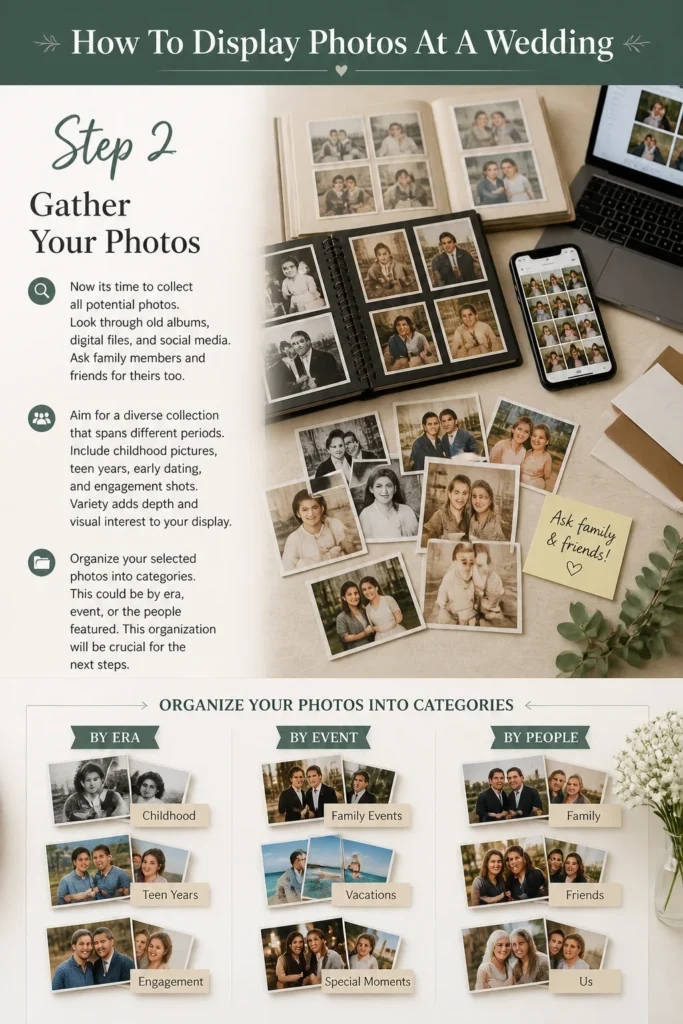
Aim for a diverse collection that spans different periods. Include childhood pictures, teen years, early dating, and engagement shots. Variety adds depth and visual interest to your display.
Organize your selected photos into categories. This could be by era, event, or the people featured. This organization will be crucial for the next steps.
Step 3: Choose Your Display Areas
Scout your wedding venue with a critical eye. Identify prime locations where guests will naturally gather or pass by. Think about the entrance, cocktail hour space, reception hall, or even restrooms.
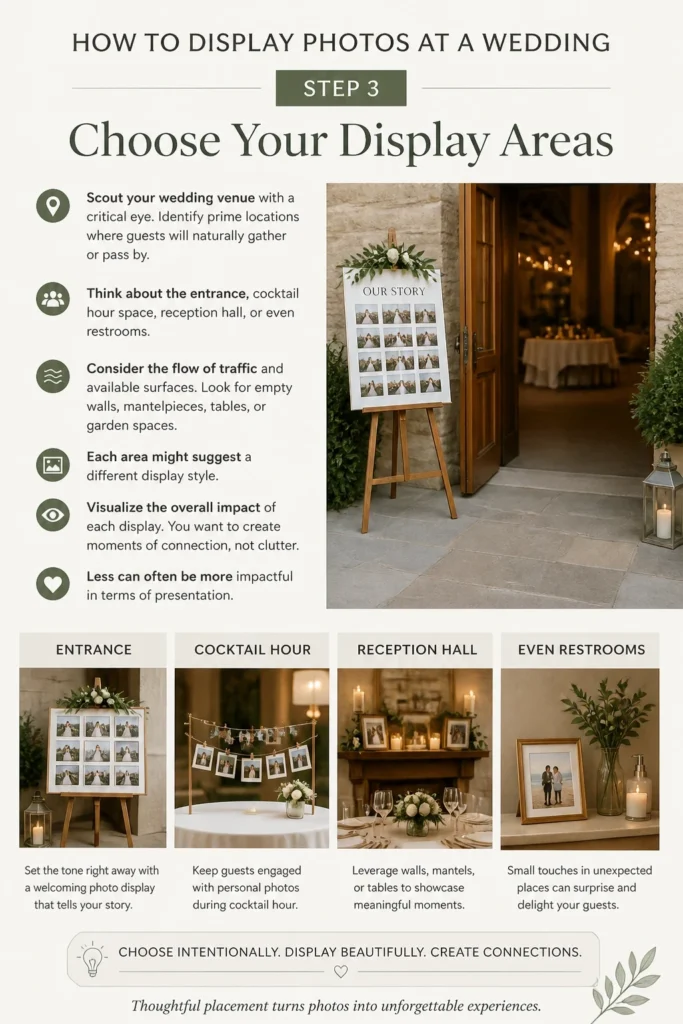
Consider the flow of traffic and available surfaces. Look for empty walls, mantelpieces, tables, or garden spaces. Each area might suggest a different display style.
Visualize the overall impact of each display. You want to create moments of connection, not clutter. Less can often be more impactful in terms of presentation.
Step 4: Select Your Display Methods
This is where creativity truly shines. Choose display methods that align with your theme and venue. Classic frames, elegant photo boards, or modern digital screens are all options.
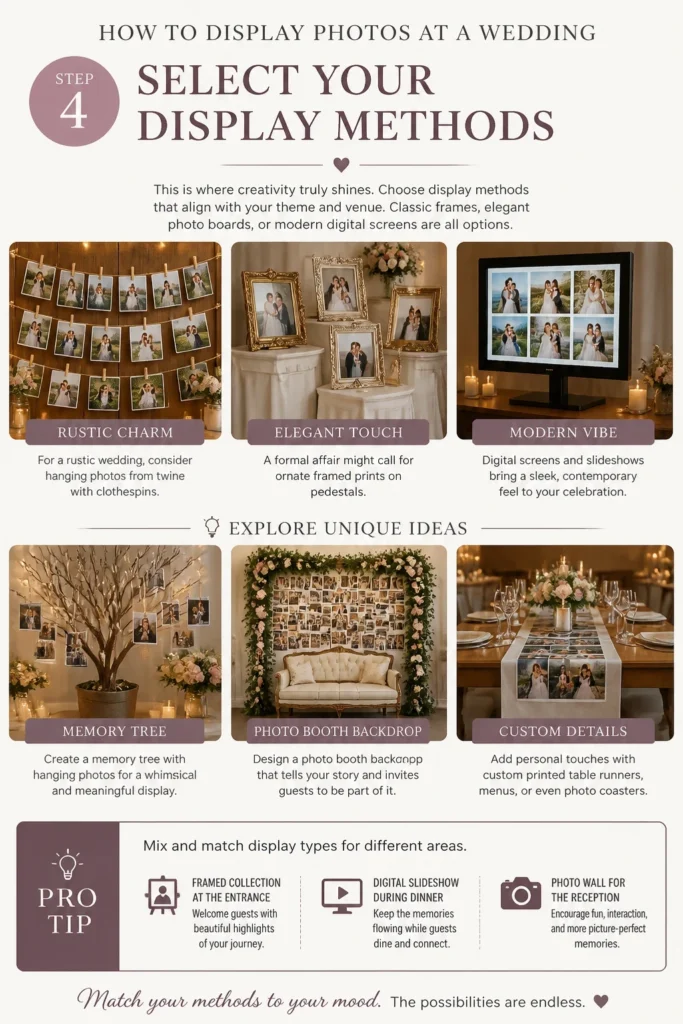
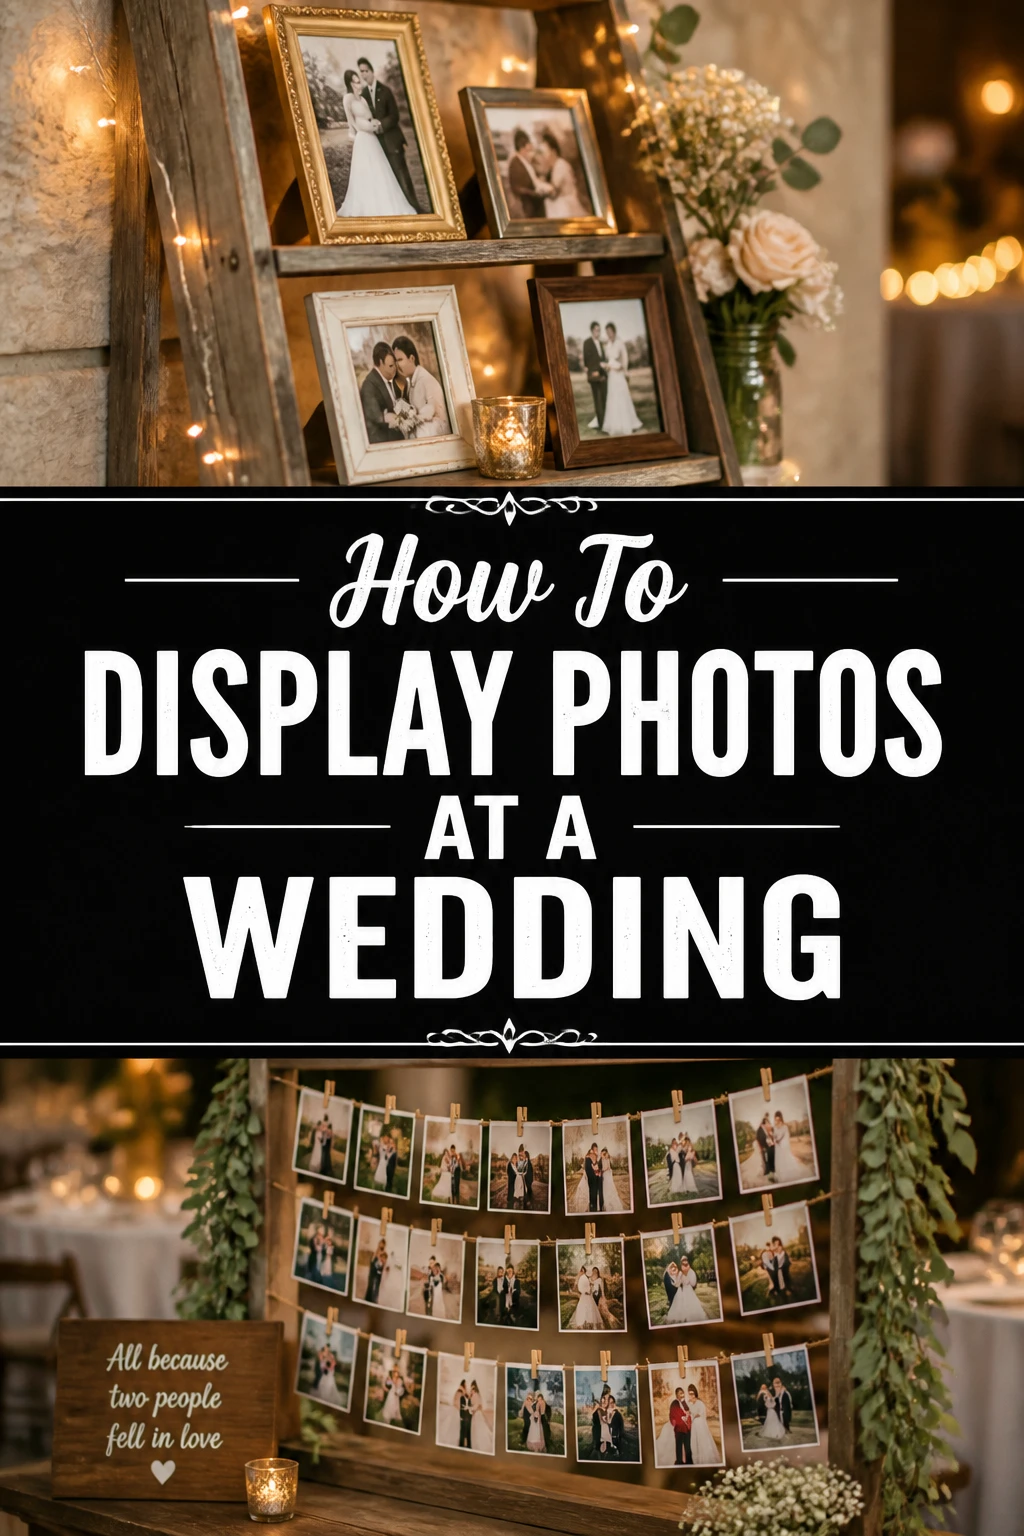
For a rustic wedding, consider hanging photos from twine with clothespins. A formal affair might call for ornate framed prints on pedestals. Match your methods to your mood.
Explore unique ideas like a “memory tree” with hanging photos, a photo booth backdrop of your journey, or even custom printed table runners. The possibilities are endless.
Pro Tip: Mix and match display types for different areas. A framed collection at the entrance, a digital slideshow during dinner, and a fun photo wall for the reception can offer varied experiences.
Step 5: Print and Prepare Photos
Photo quality is paramount for a professional look. Select high-resolution images for printing. Blurry or pixelated photos will detract from your display.
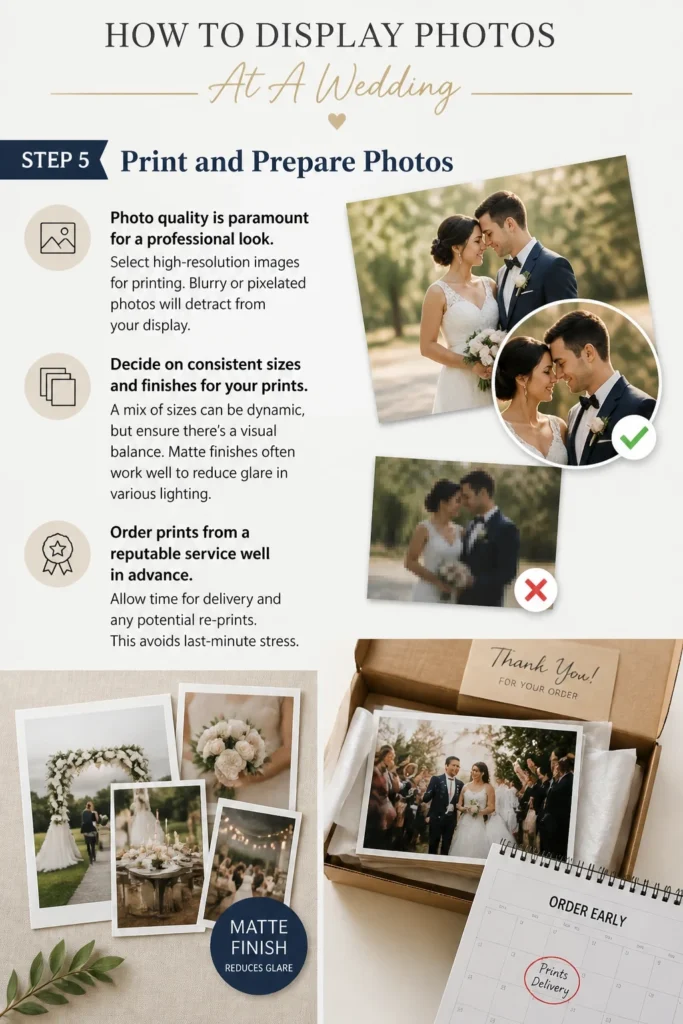
Decide on consistent sizes and finishes for your prints. A mix of sizes can be dynamic, but ensure there’s a visual balance. Matte finishes often work well to reduce glare in various lighting.
Order prints from a reputable service well in advance. Allow time for delivery and any potential re-prints. This avoids last-minute stress.
Step 6: Assemble Your Displays
Once your photos are printed and materials gathered, begin assembling. If using frames, carefully insert each photo. Ensure they are straight and centered.
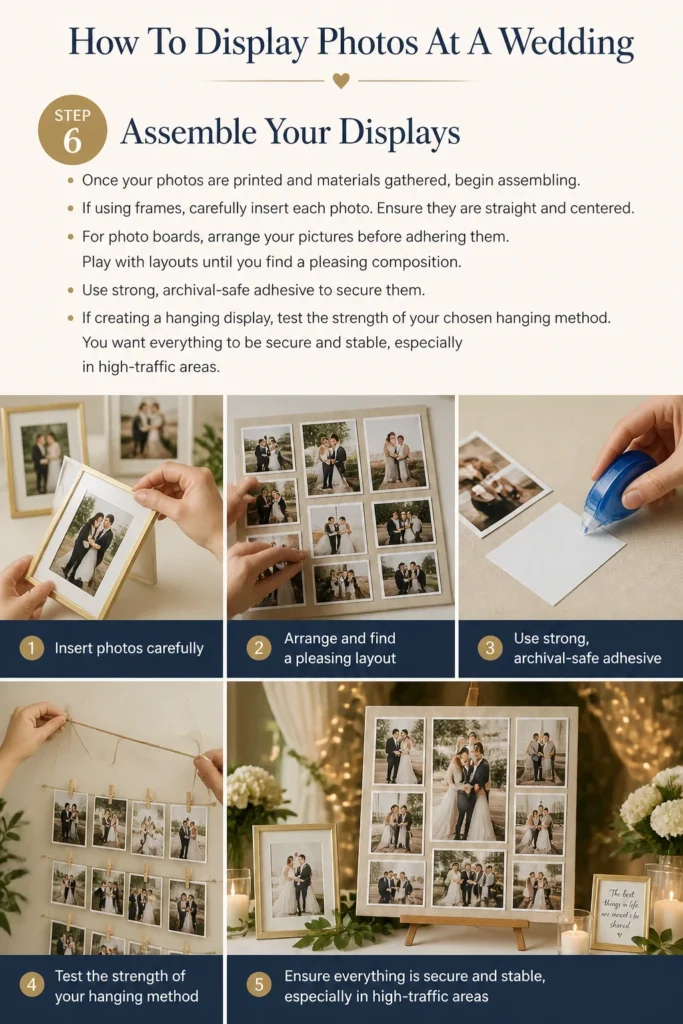
For photo boards, arrange your pictures before adhering them. Play with layouts until you find a pleasing composition. Use strong, archival-safe adhesive to secure them.
If creating a hanging display, test the strength of your chosen hanging method. You want everything to be secure and stable, especially in high-traffic areas.
Step 7: Arrange for Lighting and Safety
Proper lighting can dramatically enhance your photo displays. Consider spotlights for framed collections or fairy lights for hanging photos. Natural light is also a beautiful option.
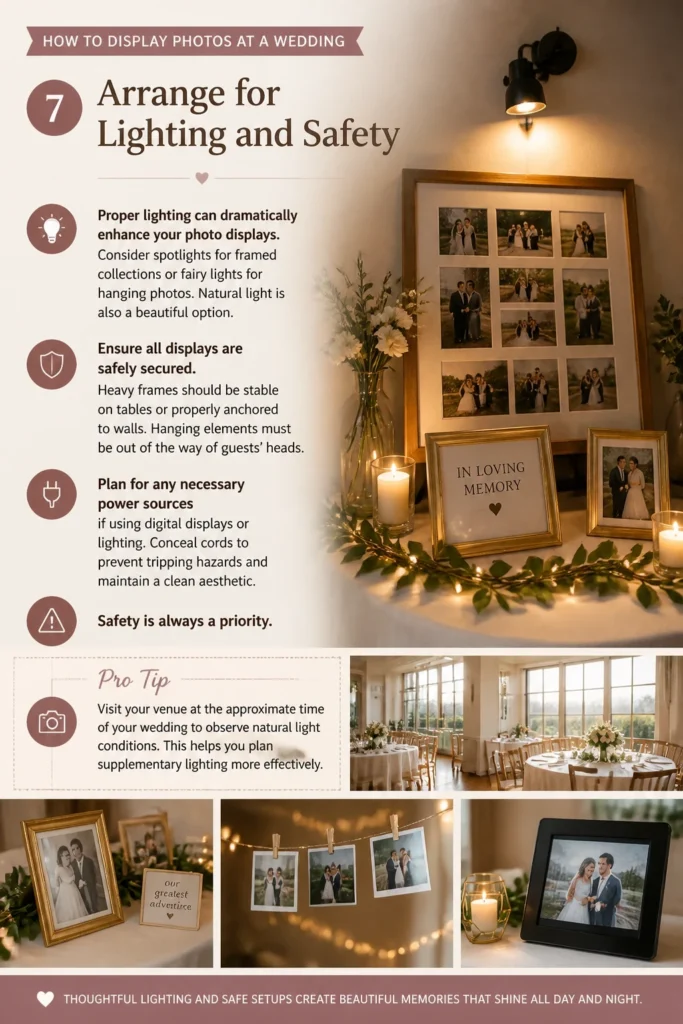
Ensure all displays are safely secured. Heavy frames should be stable on tables or properly anchored to walls. Hanging elements must be out of the way of guests’ heads.
Plan for any necessary power sources if using digital displays or lighting. Conceal cords to prevent tripping hazards and maintain a clean aesthetic. Safety is always a priority.
Pro Tip: Visit your venue at the approximate time of your wedding to observe natural light conditions. This helps you plan supplementary lighting more effectively.
Step 8: Set Up On Wedding Day
On the big day, arrive with plenty of time for setup. Have all your pre-assembled displays ready to go. This minimizes last-minute scrambling and stress.
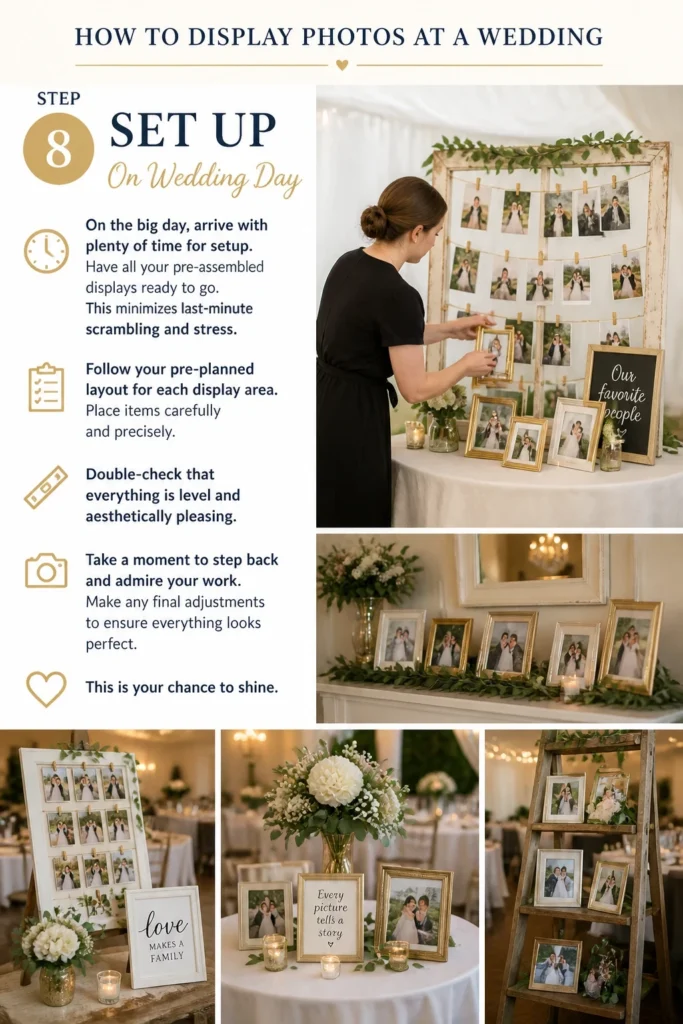
Follow your pre-planned layout for each display area. Place items carefully and precisely. Double-check that everything is level and aesthetically pleasing.
Take a moment to step back and admire your work. Make any final adjustments to ensure everything looks perfect. This is your chance to shine.
Step 9: Assign a Helper
Delegate the final setup and any troubleshooting to a trusted friend or family member. Provide them with clear instructions and a contact list. This frees you up to enjoy your day.
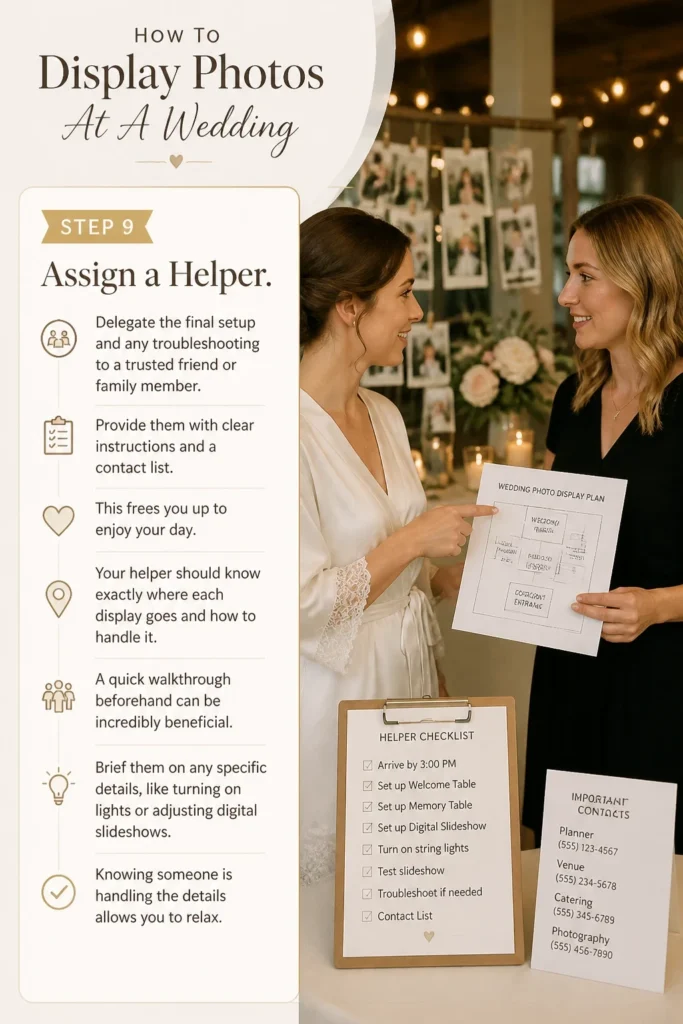
Your helper should know exactly where each display goes and how to handle it. A quick walkthrough beforehand can be incredibly beneficial. This ensures a smooth execution.
Brief them on any specific details, like turning on lights or adjusting digital slideshows. Knowing someone is handling the details allows you to relax.
Step 10: Enjoy the Memories
After all your hard work, the most important step is to simply savor the moment. Walk through your venue and see your love story unfold before your eyes.
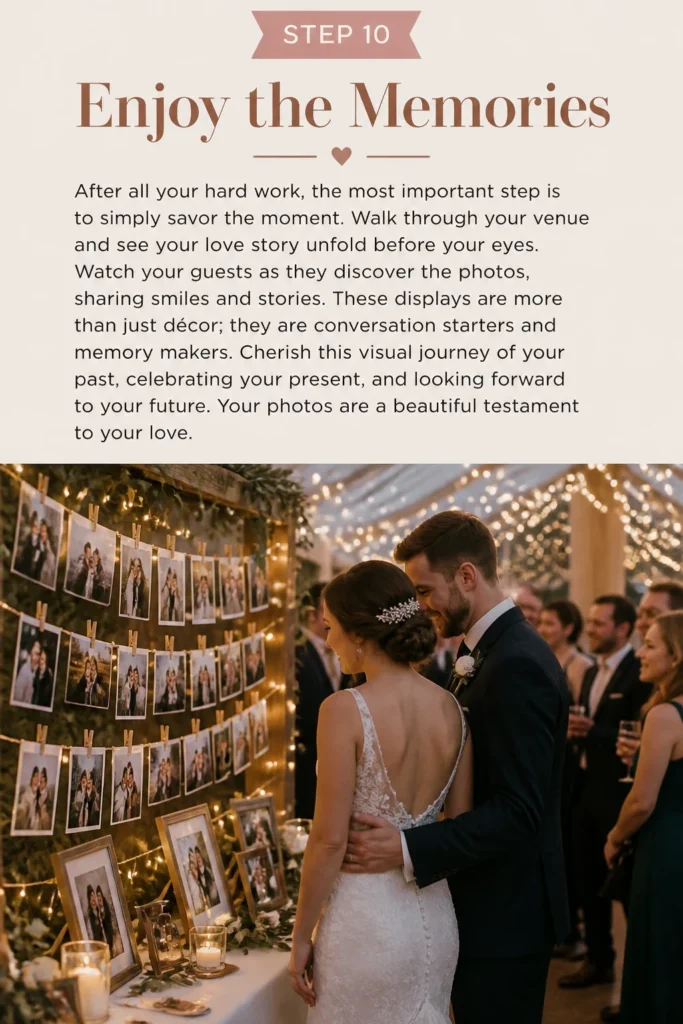
Watch your guests as they discover the photos, sharing smiles and stories. These displays are more than just décor; they are conversation starters and memory makers.
Cherish this visual journey of your past, celebrating your present, and looking forward to your future. Your photos are a beautiful testament to your love.
Common Mistakes to Avoid
Overwhelming Guests with Too Many Photos
One common pitfall is trying to display every single photo you have. This can make the display feel cluttered and overwhelming, causing guests to skim rather than engage. Instead, curate a selection of your absolute favorites. Focus on quality over quantity to make each image more impactful.
Ignoring Your Wedding Theme
Displaying photos without considering your wedding’s overall aesthetic can lead to a disjointed look. Ornate gold frames might clash with a rustic barn wedding, for instance. Always ensure your display methods, colors, and styles complement your chosen theme. This creates a harmonious and polished presentation.
Poor Photo Quality or Printing
Using low-resolution images or cheap printing services can result in blurry, faded, or pixelated photos. This significantly detracts from the display’s appeal. Always use high-quality digital files and invest in professional printing for crisp, vibrant images that truly pop. Your memories deserve to look their best.
Unsafe or Unstable Displays
Placing heavy frames precariously or hanging items where they could fall is a serious safety hazard. Guests could get hurt, and your beautiful display could be ruined. Secure all displays properly, using stable bases and reliable hanging mechanisms. Prioritize safety above all else.
Troubleshooting
Photos Curling or Warping
If your printed photos start to curl or warp, it’s often due to humidity or poor paper quality. To prevent this, ensure prints are stored flat in a dry environment before the wedding. On the day, use photo-safe adhesive sprays or mounting squares to secure them firmly to a rigid backing, like foam core.
Display Looks Too Sparse or Empty
A display that feels too empty might lack visual interest or sufficient content. To fix this, consider adding more elements beyond just photos. Incorporate small decorative items, fresh flowers, or signage with captions to fill the space. You can also group smaller photos more closely together to create a denser, more engaging cluster.
Glare on Framed Photos
Glare from lighting can make framed photos difficult to see. This is often an issue with reflective glass. To troubleshoot, try repositioning your frames to avoid direct light sources. If possible, use non-glare glass or acrylic for your frames. Alternatively, opt for matte finish prints that inherently reduce reflection, even without special glass.
Key Takeaways
- Plan Your Story: Begin by defining the narrative you want your photos to tell, aligning with your wedding theme.
- Curate Thoughtfully: Select high-quality, meaningful photos, prioritizing impact over sheer number.
- Match Displays to Venue: Choose display methods that complement your venue’s aesthetic and available space.
- Prioritize Quality: Invest in professional printing and high-resolution images for the best visual outcome.
- Ensure Safety: Secure all displays firmly to prevent accidents and protect your cherished memories.
- Delegate Setup: Assign a trusted helper for day-of setup and adjustments, allowing you to relax.
Frequently Asked Questions
How many photos should I display?
The ideal number depends on your display methods and available space. Rather than a fixed count, focus on creating a curated collection. For a single photo wall, 30-50 well-chosen images can be impactful. If using multiple small displays, you might have fewer per area. The goal is to tell your story effectively without overwhelming guests.
Where are the best spots in a venue for photo displays?
High-traffic areas are excellent choices. Consider the entrance, cocktail hour lounge, guest book table, or a prominent wall in the reception area. Think about places where guests naturally pause or gather. You can also use photos to personalize specific tables, like a memorial display for absent loved ones.
Can I mix old black-and-white photos with new color ones?
Absolutely! Mixing black-and-white with color photos adds depth and a timeless quality to your display. Ensure there’s a visual balance between them. You might group them by era, or intersperse them to create a dynamic look. Using consistent frames can help unify the varied photo styles.
What if my venue has strict rules about hanging things?
Many venues have restrictions to protect their property. Always discuss your display plans with the venue coordinator in advance. They can advise on approved hanging methods or suggest alternatives like freestanding easels, photo trees, or digital displays. Plan for non-damaging options like command strips (if approved) or prop-based displays.
Our Top Recommended Finds
- Digital Photo Frame: Perfect for a rotating slideshow of many images without needing numerous physical prints.
- White Wooden Picture Frames Multi-Pack: Provides a cohesive look for a gallery wall, offering various sizes for visual interest.
- Fairy Lights with Photo Clips: An enchanting way to hang photos, especially for a rustic or whimsical theme, adding warmth and ambiance.
Your Visual Story Awaits
Crafting a beautiful photo display for your wedding is more than just decoration; it’s an intimate celebration of your journey. These visual narratives invite guests into your world, sparking conversations and shared smiles. Don’t let your cherished memories stay hidden on a hard drive. Start planning your unique photo display today. Bring your love story to life, one picture at a time, and create an unforgettable experience for everyone present.
Wedding Planning
No fluff, no drama. Just easy weekly advice, planning shortcuts, and gentle reminders to help you actually enjoy your engagement.