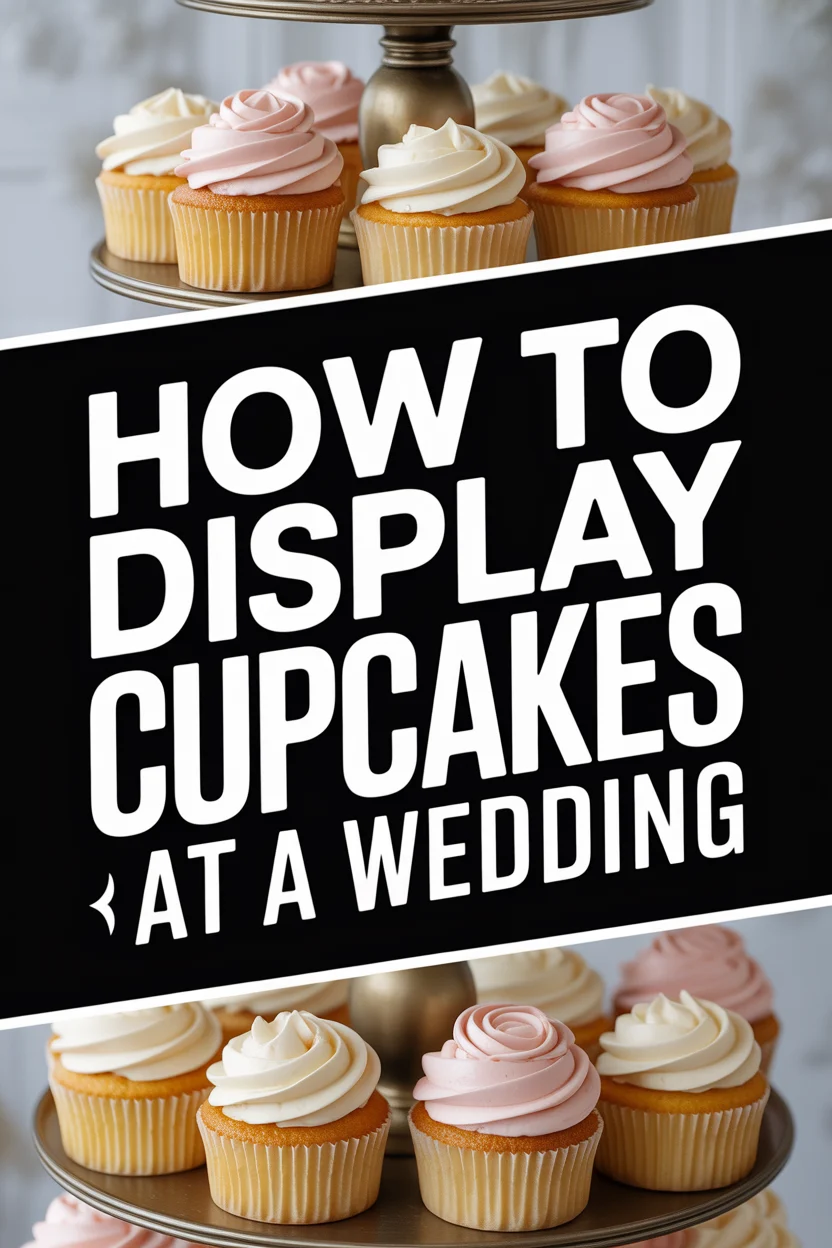
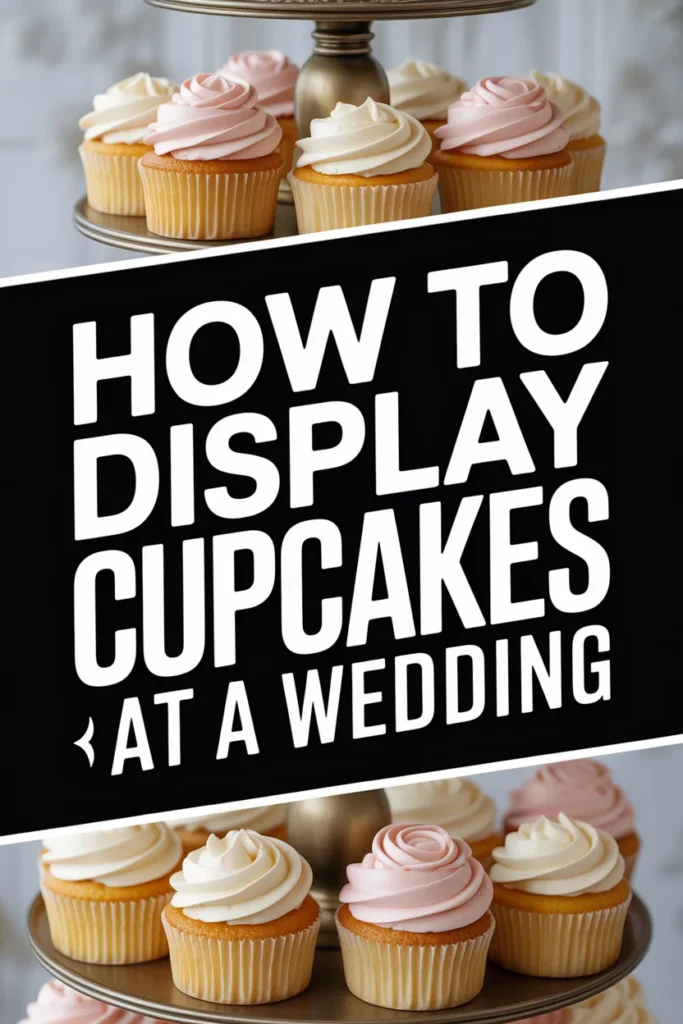
🧁 How To Display Cupcakes At A Wedding

Wedding Planning
No fluff, no drama. Just easy weekly advice, planning shortcuts, and gentle reminders to help you actually enjoy your engagement.
Planning a wedding brings so many exciting details, and the dessert display is often a highlight. I’ve seen countless couples transform their reception spaces with thoughtful touches, and the cupcake table is no exception. This guide comes from years of observing what truly makes a display shine, ensuring your wedding dessert is both beautiful and practical.
Quick Overview
This guide will walk you through creating a stunning and functional cupcake display for your wedding. You’ll learn how to plan, set up, and troubleshoot common issues, ensuring your sweet treats are a memorable part of your big day.
- Time needed: 2-4 hours for planning and sourcing, 1-2 hours for setup on the day
- Difficulty: Beginner
- What you’ll need: Cupcake stands, serving platters, decorative elements, appropriate tools
Step-by-Step Instructions
Step 1: Envision Your Display Theme
Begin by thinking about your wedding’s overall aesthetic and color palette. Do you have a rustic, modern, classic, or bohemian theme? Your cupcake display should seamlessly integrate with this vision.
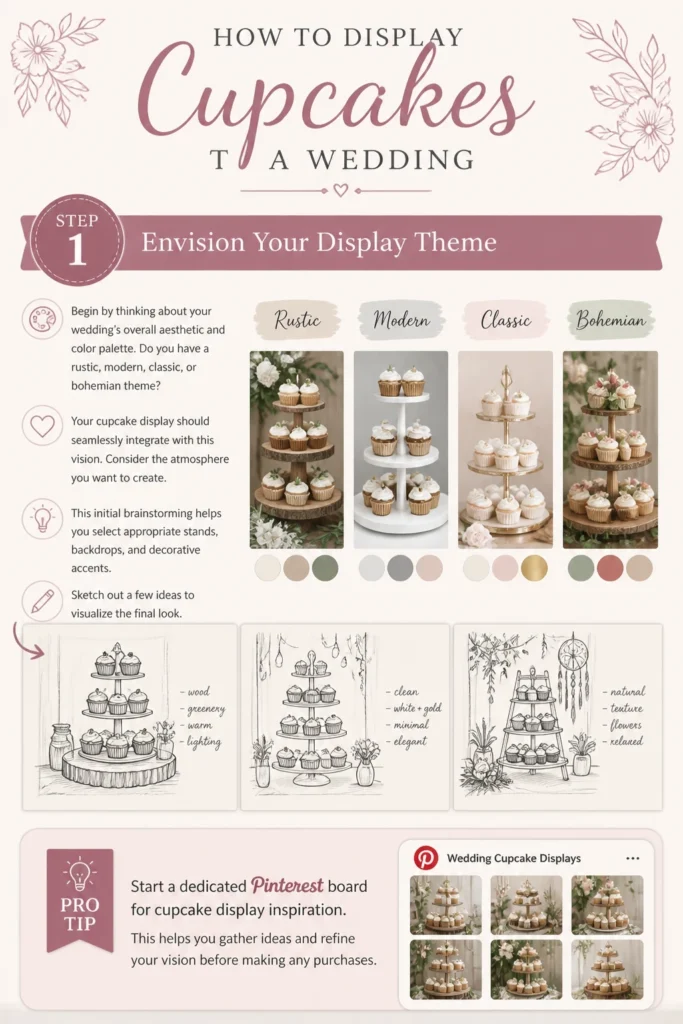
Consider the atmosphere you want to create. This initial brainstorming helps you select appropriate stands, backdrops, and decorative accents. Sketch out a few ideas to visualize the final look.
Pro Tip: Start a dedicated Pinterest board for cupcake display inspiration. This helps you gather ideas and refine your vision before making any purchases.
Step 2: Choose Your Display Structure
Select the right type of stand or structure to hold your cupcakes. Tiered stands are popular and come in various materials like wood, metal, acrylic, or ceramic. Consider the number of cupcakes you need to display.
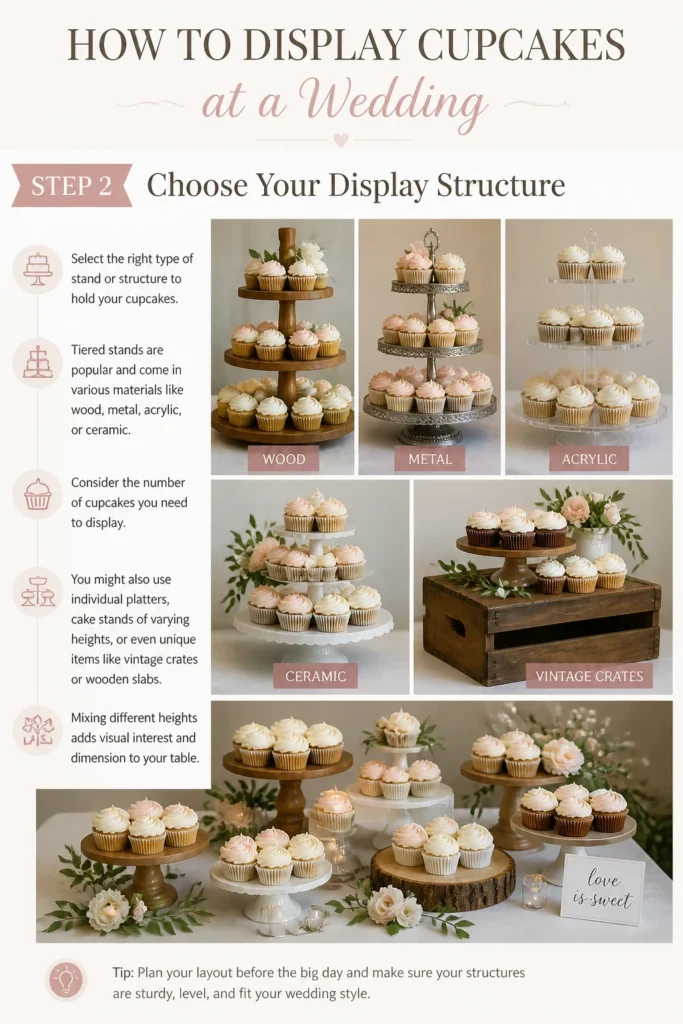
You might also use individual platters, cake stands of varying heights, or even unique items like vintage crates or wooden slabs. Mixing different heights adds visual interest and dimension to your table.
Step 3: Calculate Cupcake Quantity and Layout
Determine how many cupcakes you’ll need for your guests. A good rule of thumb is 1-2 cupcakes per guest, plus a few extra for good measure. This helps you plan the size and number of display elements required.
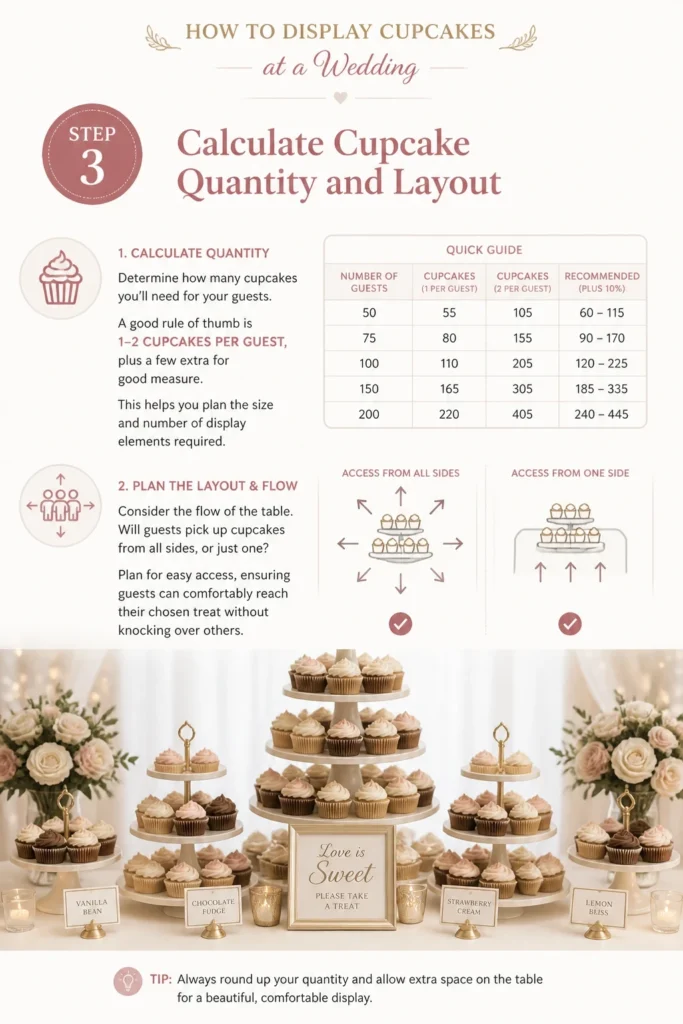
Consider the flow of the table. Will guests pick up cupcakes from all sides, or just one? Plan for easy access, ensuring guests can comfortably reach their chosen treat without knocking over others.
Step 4: Source Your Display Elements
Gather all the necessary items for your display. This includes the main cupcake stands, serving trays, and any decorative risers. Think about both functionality and aesthetics.
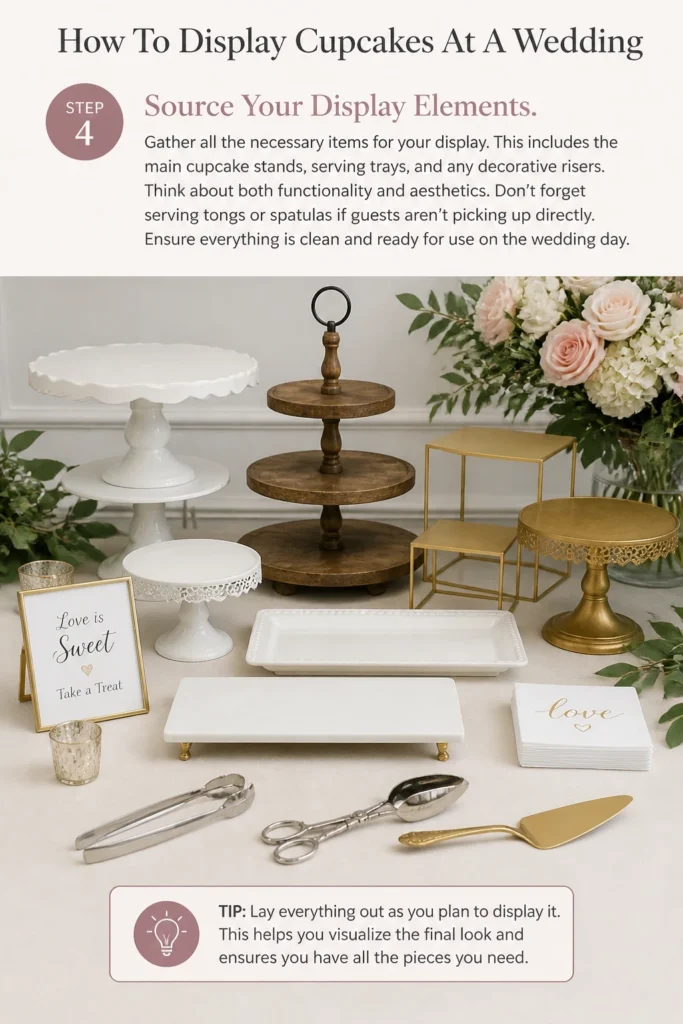
Don’t forget serving tongs or spatulas if guests aren’t picking up directly. Ensure everything is clean and ready for use on the wedding day.
Step 5: Design Your Backdrop and Tablecloth
Create an appealing backdrop for your display. This could be a floral arch, string lights, a fabric drape, or even a simple wall. The backdrop helps define the space and draws attention to the cupcakes.
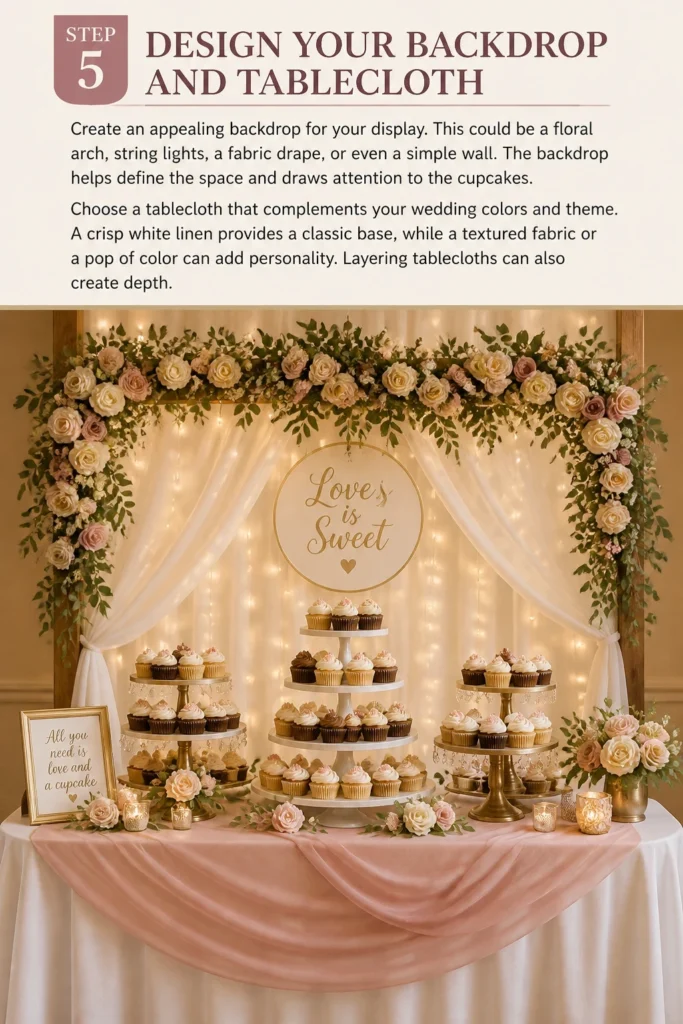
Choose a tablecloth that complements your wedding colors and theme. A crisp white linen provides a classic base, while a textured fabric or a pop of color can add personality. Layering tablecloths can also create depth.
Step 6: Incorporate Decorative Details
Add decorative elements that tie into your wedding theme. This might include fresh flowers, greenery, candles, fairy lights, or personalized signage. These details elevate the display from simple to spectacular.
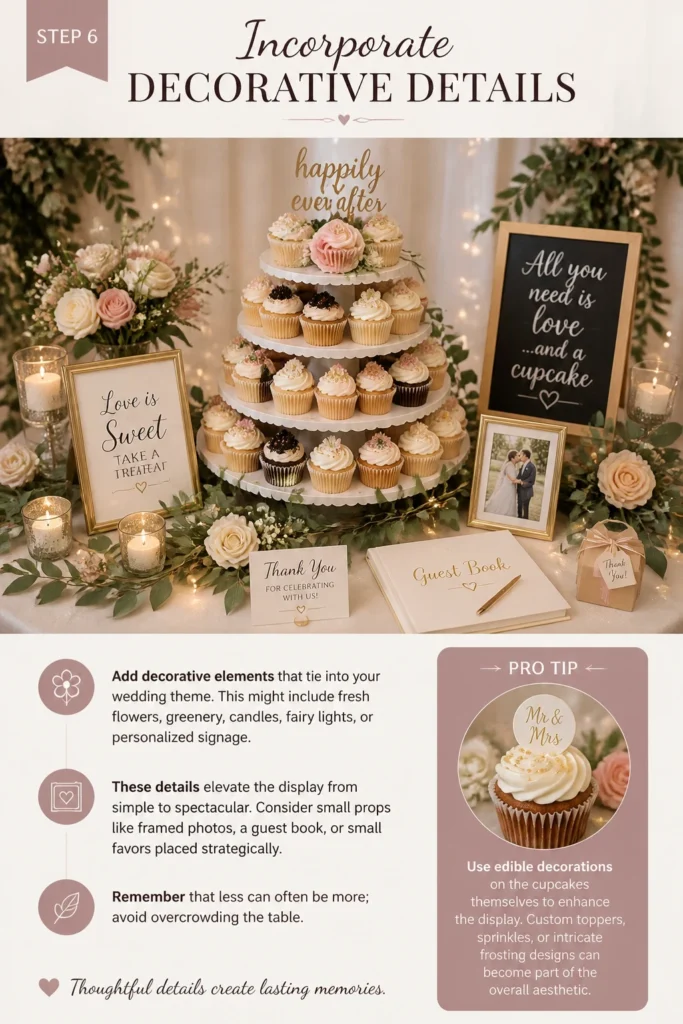
Consider small props like framed photos, a guest book, or small favors placed strategically. Remember that less can often be more; avoid overcrowding the table.
Pro Tip: Use edible decorations on the cupcakes themselves to enhance the display. Custom toppers, sprinkles, or intricate frosting designs can become part of the overall aesthetic.
Step 7: Arrange the Cupcakes Thoughtfully
Place the cupcakes on their chosen stands and platters with care. Start with the largest or centerpiece stand, then fill in around it. Arrange them evenly to create a balanced look.
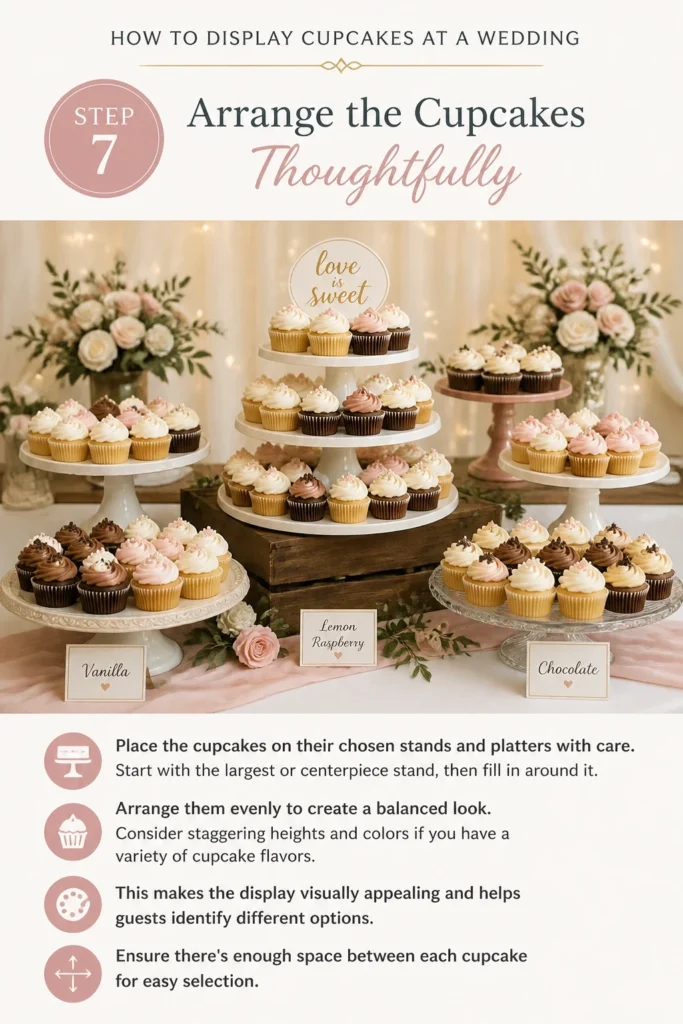
Consider staggering heights and colors if you have a variety of cupcake flavors. This makes the display visually appealing and helps guests identify different options. Ensure there’s enough space between each cupcake for easy selection.
Step 8: Add Signage and Labels
Include clear signage to guide your guests. This is especially important if you have different flavor options or dietary considerations. Small tent cards or flags can label each cupcake type.
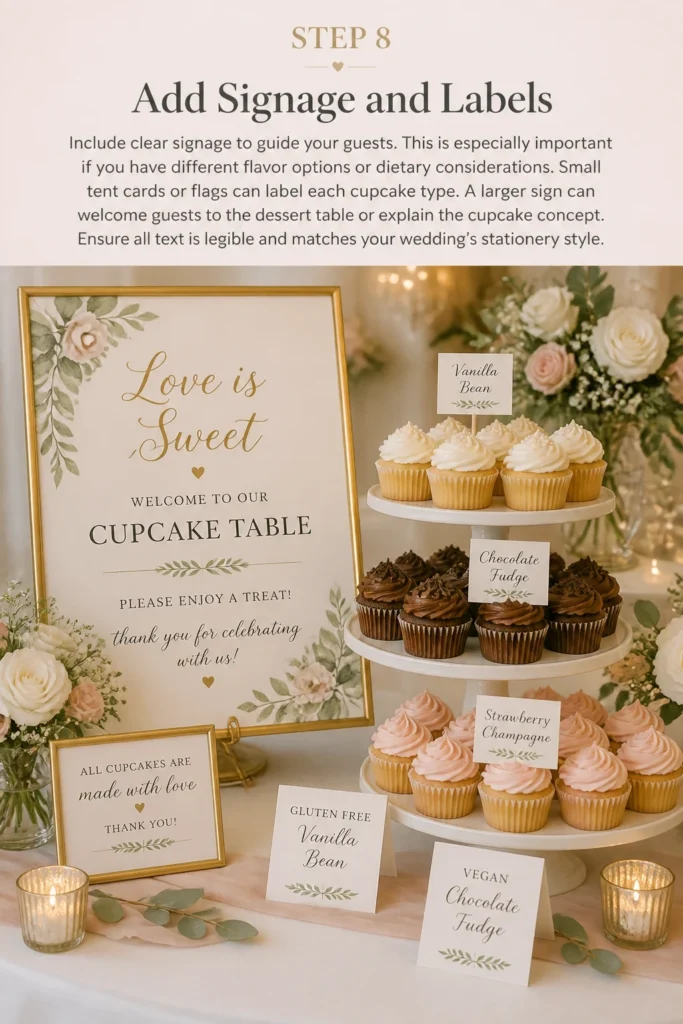
A larger sign can welcome guests to the dessert table or explain the cupcake concept. Ensure all text is legible and matches your wedding’s stationery style.
Step 9: Plan for Temperature and Logistics
Consider the environment where the cupcakes will be displayed. If it’s an outdoor wedding or a warm venue, plan for ways to keep them cool. This might involve placing them out closer to serving time or using cooling elements if needed.
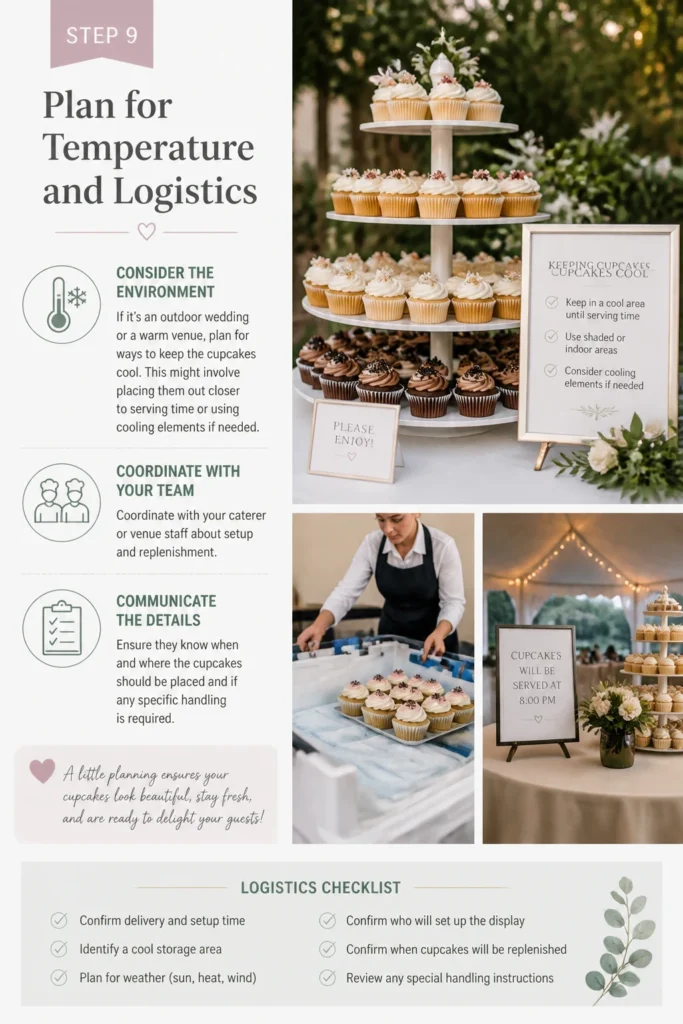
Coordinate with your caterer or venue staff about setup and replenishment. Ensure they know when and where the cupcakes should be placed and if any specific handling is required.
Step 10: Final Review and Adjustments
Step back and view your entire display from different angles. Look for any empty spaces, uneven arrangements, or areas that feel cluttered. Make small adjustments as needed.
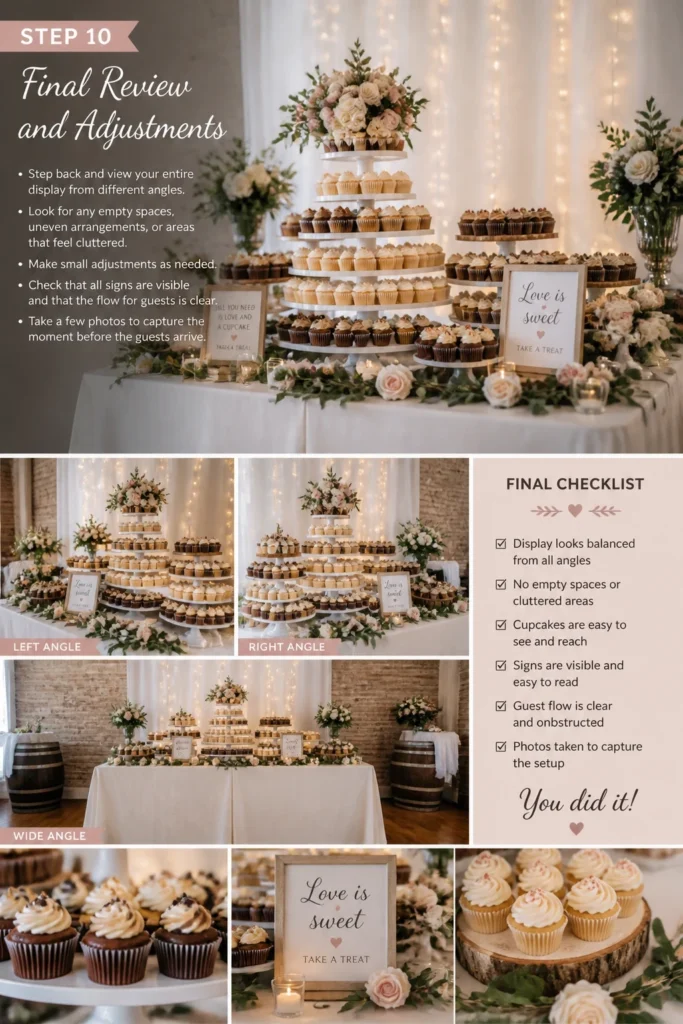
Check that all signs are visible and that the flow for guests is clear. Take a few photos to capture the moment before the guests arrive.
Common Mistakes to Avoid
Overcrowding the Table
Many couples try to fit too many elements onto one table, which can make the display look messy and uninviting. Instead of packing everything in, choose a few key pieces that make a statement. Give each item breathing room to shine.
Ignoring the Backdrop
The area behind your cupcake display is just as important as the table itself. Leaving it bare can make the setup feel unfinished. Always consider a simple backdrop, whether it’s a decorative wall, draped fabric, or a string of lights, to frame your sweet treats.
Lack of Height Variation
A flat display can appear dull and uninteresting. Using stands and risers of varying heights adds depth and visual appeal. This draws the eye around the display and highlights different cupcake flavors or decorative elements.
Forgetting About Logistics
It’s easy to get caught up in aesthetics and overlook practical considerations. Think about how guests will access the cupcakes, if there’s enough space for plates, and how the display will be replenished. Always prioritize ease of access and functionality for your guests and staff.
Troubleshooting
Cupcakes Melting or Sagging
If your cupcakes are showing signs of melting, especially in warm weather, act quickly. Move the display to a cooler, shaded area if possible. Consider placing discreet ice packs or dry ice underneath the display stands (hidden from view) to maintain a cooler temperature.
Display Looks Sparse
If your display feels a bit empty, you might have fewer cupcakes than anticipated or too large a table. Fill in gaps with extra decorative elements like small floral arrangements, candles, or framed photos. You can also strategically spread out the cupcakes more, giving each one a little more personal space.
Difficulty Identifying Flavors
Guests can get frustrated if they can’t tell what flavor each cupcake is. Ensure your signage is clear, legible, and placed directly in front of or next to the corresponding cupcake flavor. Use simple, bold fonts and avoid overly ornate designs that might be hard to read quickly.
Key Takeaways
- Theme Integration: Always align your display with your wedding’s overall style and colors.
- Structural Variety: Utilize different heights and types of stands to create visual interest.
- Guest Experience: Prioritize easy access and clear labeling for all your guests.
- Decorative Harmony: Choose decorations that enhance, not overpower, the cupcakes.
- Logistics First: Plan for temperature control and smooth service on the wedding day.
- Review and Refine: Always take a final look and make minor adjustments before guests arrive.
Frequently Asked Questions
How many cupcakes should I order per guest?
Most couples plan for 1 to 1.5 cupcakes per guest. If you’re also serving a traditional wedding cake or other desserts, you can lean towards one per guest. If cupcakes are the primary dessert, aim for 1.5 or even 2 per person.
What if I only have a small number of cupcakes?
A small number of cupcakes can still create a beautiful display. Focus on quality over quantity. Use a single elegant tiered stand or arrange them artfully on a beautiful platter with ample surrounding decorations like flowers or candles.
How do I transport cupcakes safely to the venue?
Invest in sturdy cupcake carriers or boxes with individual inserts. Keep them level and secure in your vehicle, especially during turns and stops. If it’s a hot day, use air conditioning in your car or even a cooler with ice packs to prevent melting.
Can I mix cupcakes with a small cutting cake?
Absolutely! Many couples choose a small, single-tier cake for their traditional cake-cutting moment, surrounded by an array of cupcakes for guests. This offers the best of both worlds and creates a lovely focal point for your dessert table.
Our Top Recommended Finds
- Multi-Tiered Acrylic Cupcake Stand: Offers a clean, modern look and is versatile for various cupcake counts. Its clear design allows your cupcakes to be the star.
- Vintage-Inspired Wooden Crates: Perfect for adding rustic charm and creating different heights without needing formal stands. They can be stacked or used individually.
- Decorative Mini Chalkboard Signs: Ideal for labeling flavors clearly and stylishly. They are reusable and can be customized with your wedding’s calligraphy.
Crafting Your Dream Dessert Display
Creating a beautiful cupcake display for your wedding doesn’t have to be overwhelming. With a little planning and attention to detail, you can design a sweet station that perfectly reflects your style and delights your guests. It’s about more than just dessert; it’s about crafting another memorable moment on your special day.
Take these steps and start envisioning your perfect display today. Your wedding day deserves every detail to be just right, right down to the last sweet bite.
Wedding Planning
No fluff, no drama. Just easy weekly advice, planning shortcuts, and gentle reminders to help you actually enjoy your engagement.