💌 How To Write Wedding Thank You Cards

Wedding Planning
No fluff, no drama. Just easy weekly advice, planning shortcuts, and gentle reminders to help you actually enjoy your engagement.
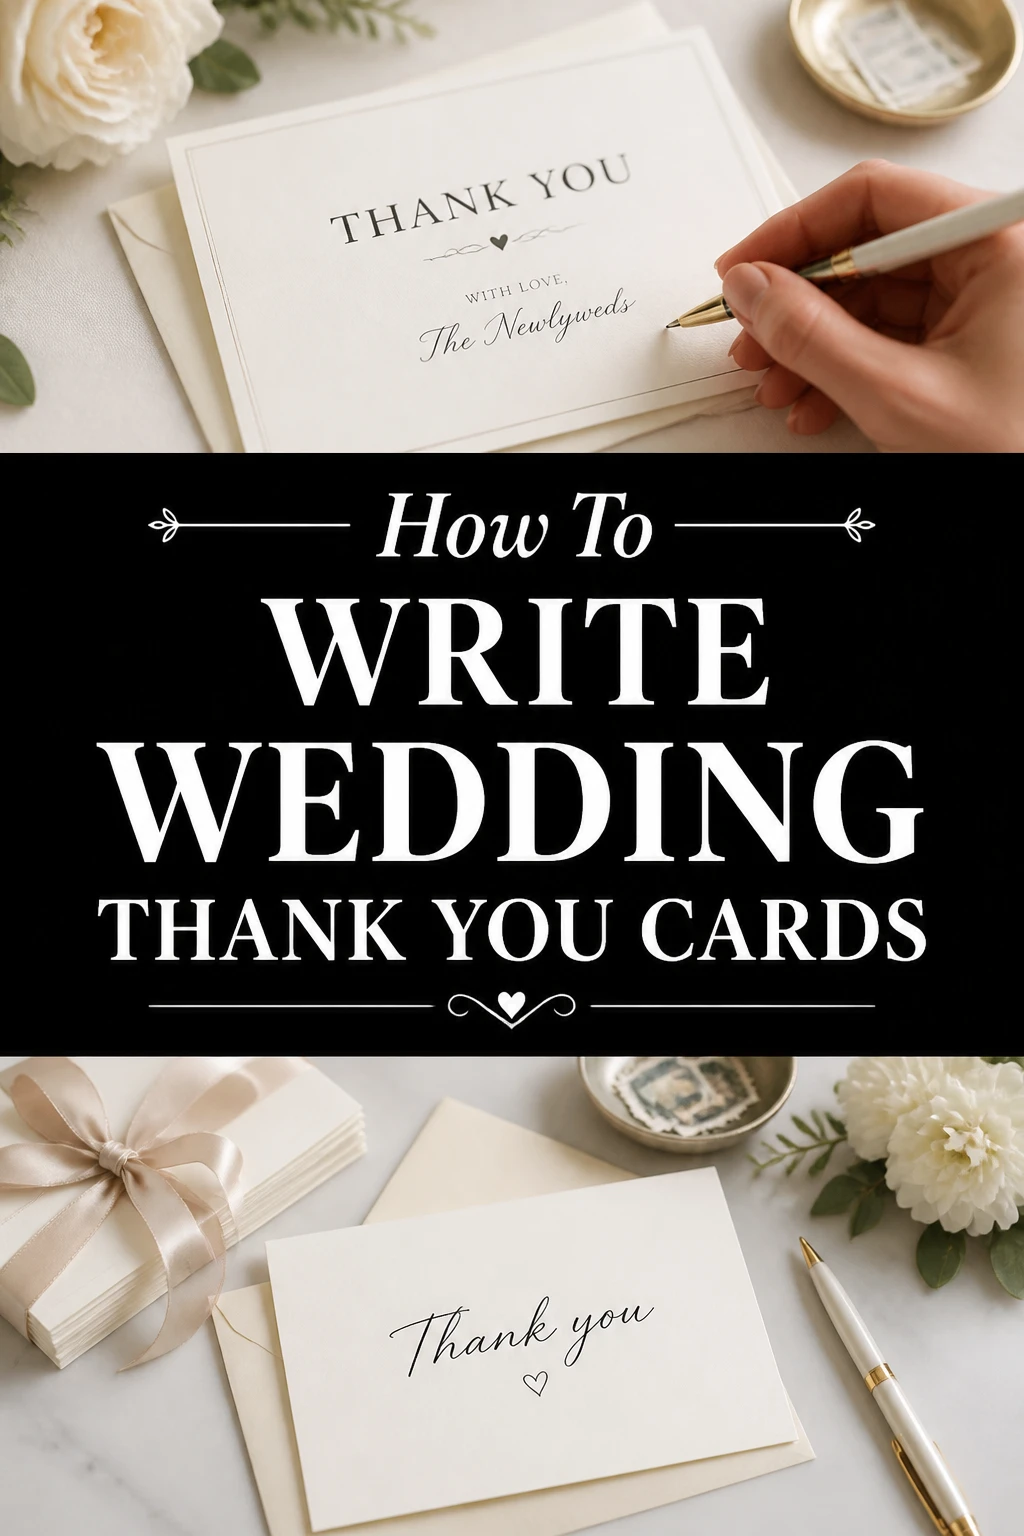
Writing wedding thank you cards might feel like a daunting task after the excitement of your big day. I remember the sheer volume of cards staring back at me, wondering where to even begin. This guide shares a proven, stress-free method to help you express your heartfelt gratitude beautifully.
You’ll discover how to make this process not just manageable, but genuinely enjoyable. Let’s transform that pile of cards into meaningful messages of appreciation.
Quick Overview
This guide will walk you through the entire process of writing wedding thank you cards, from preparation to mailing. You’ll learn how to craft personalized messages efficiently and avoid common pitfalls.
By following these steps, you’ll feel confident and organized in expressing your thanks to everyone who celebrated with you.
- Time needed: 1-2 hours per 20-30 cards (depending on personalization)
- Difficulty: Beginner
- What you’ll need: Thank you cards, pens, stamps, guest list, gift tracking sheet, return address labels.
Step-by-Step Instructions
Step 1: Gather Your Tools and Data
Before you write a single word, organize everything you need. This initial setup saves immense time and prevents frustration later on. A clear workspace helps immensely.
Collect your thank you cards, a comfortable pen, and stamps. Make sure your pens are reliable and won’t smudge.
Locate your guest list and, most importantly, your gift tracking sheet. This sheet should detail who gave what gift, or if they contributed money, and any special notes.
Pro Tip: Keep all your stationery, stamps, and lists in one designated box or drawer. This makes it easy to pick up writing whenever you have a few spare minutes.
Step 2: Set a Realistic Schedule
Break down the task into smaller, manageable chunks. Don’t try to write all your thank you notes in one sitting; it’s a recipe for burnout.
Allocate specific times each week to write a set number of cards. For example, aim to write 10-15 cards every Tuesday and Thursday evening. Consistency is key.
Consider your wedding date. Aim to send out thank you cards within three months of receiving the gift, or within one year of your wedding date. The sooner, the better, for a truly thoughtful impression.
Step 3: Craft a Personal Message Template
While each card needs to be personal, develop a basic structure to follow. This prevents writer’s block and ensures you cover all essential points. A good template acts as your guiding framework.
Start with a warm greeting, addressing the guest by name. This immediately sets a friendly and personal tone for your message.
Express gratitude for their presence at your wedding, even if they couldn’t attend but sent a gift. Acknowledging their effort to celebrate with you is important.
Mention the specific gift received. This is crucial for personalization and shows you truly noticed and appreciated their generosity.
Explain how you plan to use the gift, or how much you enjoyed their presence. Connect it to a positive feeling or future plan.
Conclude with another thank you and a warm closing, perhaps expressing a desire to see them soon. Keep it sincere and heartfelt.
Pro Tip: Write out a few different template variations for different gift types (e.g., cash, registry item, sentimental gift). This makes adapting the message even quicker.
Step 4: Start Writing – Personalize Each Message
Now it’s time to fill in your template with specific details for each guest. This is where the magic of personalization happens.
For monetary gifts, thank them for their generosity and mention what you plan to do with the funds. Saying “we’ll put it towards our honeymoon” or “it will help us furnish our new home” is more personal than just “thank you for the money.”
When acknowledging a physical gift, name the item specifically. “Thank you for the beautiful stand mixer” is far better than “thank you for the gift.”
Add a genuine compliment about the gift. “We’ve already used the mixer to bake cookies!” or “The vase looks perfect on our mantelpiece.” This shows true appreciation.
Recall a specific memory from the wedding day if they attended. “It was so wonderful to see you tearing up the dance floor!” or “We loved catching up with you during cocktail hour.” This makes the card extra special.
Step 5: Add a Personal Touch
Beyond the gift, include a unique detail that makes the card feel truly yours. This differentiates your thank you from a generic note.
Share a brief update about your married life or honeymoon, if appropriate. A quick sentence about how much you’re enjoying married life adds a warm, personal feel.
Sign both your names, perhaps with a cute flourish or a small drawing if that’s your style. Your joint signature reinforces the message from both of you.
Handwrite the envelopes. While time-consuming, a handwritten address is much more personal and less likely to look like junk mail.
Step 6: Proofread Carefully
Before sealing anything, double-check every card. Mistakes can undermine the sincerity of your message.
Read through each card for spelling errors, grammatical mistakes, and most importantly, incorrect names or gift mentions. A small error can be embarrassing.
Ensure the correct card goes into the correct envelope. Mix-ups are easy to make when writing many cards at once.
Ask your partner to proofread a few cards as well. A fresh pair of eyes can often catch errors you’ve overlooked.
Step 7: Address and Stamp
With your messages perfected, it’s time to prepare them for mailing. This step ensures they reach their destination.
Write the full name and address of each guest clearly on the envelope. Accuracy here prevents postal delays.
Affix a postage stamp to each envelope. Make sure you use the correct postage amount for the size and weight of your cards.
Consider using personalized return address labels. They save time and add a polished touch to your envelopes.
Step 8: Mail Them Out
The final and most satisfying step is to send your cards on their way. Don’t let them sit on your desk once completed.
Take your stack of completed cards to the post office or drop them in a mailbox. Get them out the door promptly.
Celebrate this accomplishment! You’ve successfully expressed your gratitude and completed a significant post-wedding task.
Common Mistakes to Avoid
Delaying Too Long
Waiting too long to send thank you cards can make your guests feel forgotten or unappreciated. While there’s a generous timeframe, promptness shows genuine thoughtfulness. Aim to start writing as soon as gifts arrive and send them within a few months of the wedding.
Generic Messages
Sending a bland, generic “thank you for the gift” message lacks sincerity. Guests put thought into their gifts and deserve to know their specific contribution was recognized. Always mention the specific gift and how you appreciate it.
Forgetting Specifics
It’s easy to mix up gifts or forget who gave what, especially with many guests. Failing to mention the correct gift or a personal memory makes the card feel impersonal. Maintain a meticulous gift tracking sheet from the start to avoid this common pitfall.
Poor Handwriting or Typos
Sloppy handwriting or glaring typos can detract from the heartfelt message. It suggests a lack of care or rushed effort. Take your time, write neatly, and always proofread every card before sealing it.
Troubleshooting
Writer’s Block
If you’re staring at a blank card, feeling stuck, take a break. Sometimes stepping away for a moment can clear your head. Try starting with the easiest cards first to build momentum.
Focus on one small detail about the guest or their gift to kickstart your thoughts. Remember, a simple, sincere message is always better than no message at all.
Missing Gift Information
Occasionally, you might receive a gift without a clear indication of who it’s from, or your tracking sheet might have a gap. If you can’t recall, try discreetly asking a family member or a mutual friend. They might have a better memory or more information.
If all else fails, write a more general but still warm thank you for their presence and generosity. You can say something like, “Thank you so much for celebrating with us and for your thoughtful generosity.”
Feeling Overwhelmed
The sheer volume of cards can feel daunting. If you’re feeling overwhelmed, remind yourself of your schedule and break the task into even smaller segments. Write just five cards, then take a break.
Involve your partner in the process; writing together can make it more enjoyable and efficient. Remember, this is a joyful act of expressing gratitude, not a chore.
Key Takeaways
- Organize first: Gather all cards, pens, stamps, and your gift list before starting.
- Schedule diligently: Break down the writing into small, manageable sessions to avoid burnout.
- Personalize every message: Always mention the specific gift and add a unique memory or detail.
- Proofread meticulously: Check for errors and ensure the right card goes into the right envelope.
- Mail promptly: Send cards within three months of receiving gifts or one year of your wedding.
- Embrace gratitude: View this task as an opportunity to reflect on the love and support you received.
Frequently Asked Questions
When should I send them?
Ideally, send thank you cards within three months of receiving the gift. For gifts received before the wedding, you can send them promptly. For gifts received at or after the wedding, aim to send them within three months of your wedding date, or no later than one year after the wedding.
What if I didn’t like the gift?
Even if a gift isn’t to your taste, the giver’s intention was kind. Always express gratitude for their thoughtfulness and generosity. Focus on the gesture rather than the item itself.
You can say, “Thank you so much for the thoughtful gift! We truly appreciate you thinking of us.” There’s no need to mention what you’ll do with it if you don’t plan to keep it.
Do I need to send one for every guest?
Yes, every guest who attended your wedding or sent a gift (even if they couldn’t attend) deserves a personal thank you card. This includes family members, wedding party members, and even vendors who went above and beyond.
Can I use pre-printed cards?
While the card design can be pre-printed, the actual message inside should always be handwritten by you and your partner. A handwritten note adds a personal touch that a printed message simply cannot replicate.
Our Top Recommended Finds
- High-Quality Thank You Cards: Opt for cards with sturdy paper stock and an elegant design that reflects your wedding style. Good quality cards make a lasting impression.
- Smooth-Flowing Pens: Invest in a few comfortable, smooth-writing pens that won’t smudge. A good pen makes the writing process much more enjoyable and legible.
- Personalized Return Address Stamp: A custom stamp saves you from hand-writing your return address on every envelope. It’s a stylish and practical time-saver.
Embrace the Joy of Gratitude
Completing your wedding thank you cards is more than just checking off a task; it’s a beautiful way to reflect on your special day and the love that surrounds you. Each card you write is an opportunity to revisit cherished memories and extend your appreciation.
Don’t let the process overwhelm you. Take these steps, one by one, and transform what might seem like a chore into a heartfelt expression of thanks. Start gathering your tools today, and begin your journey to a pile of beautifully sent thank you notes.
Wedding Planning
No fluff, no drama. Just easy weekly advice, planning shortcuts, and gentle reminders to help you actually enjoy your engagement.