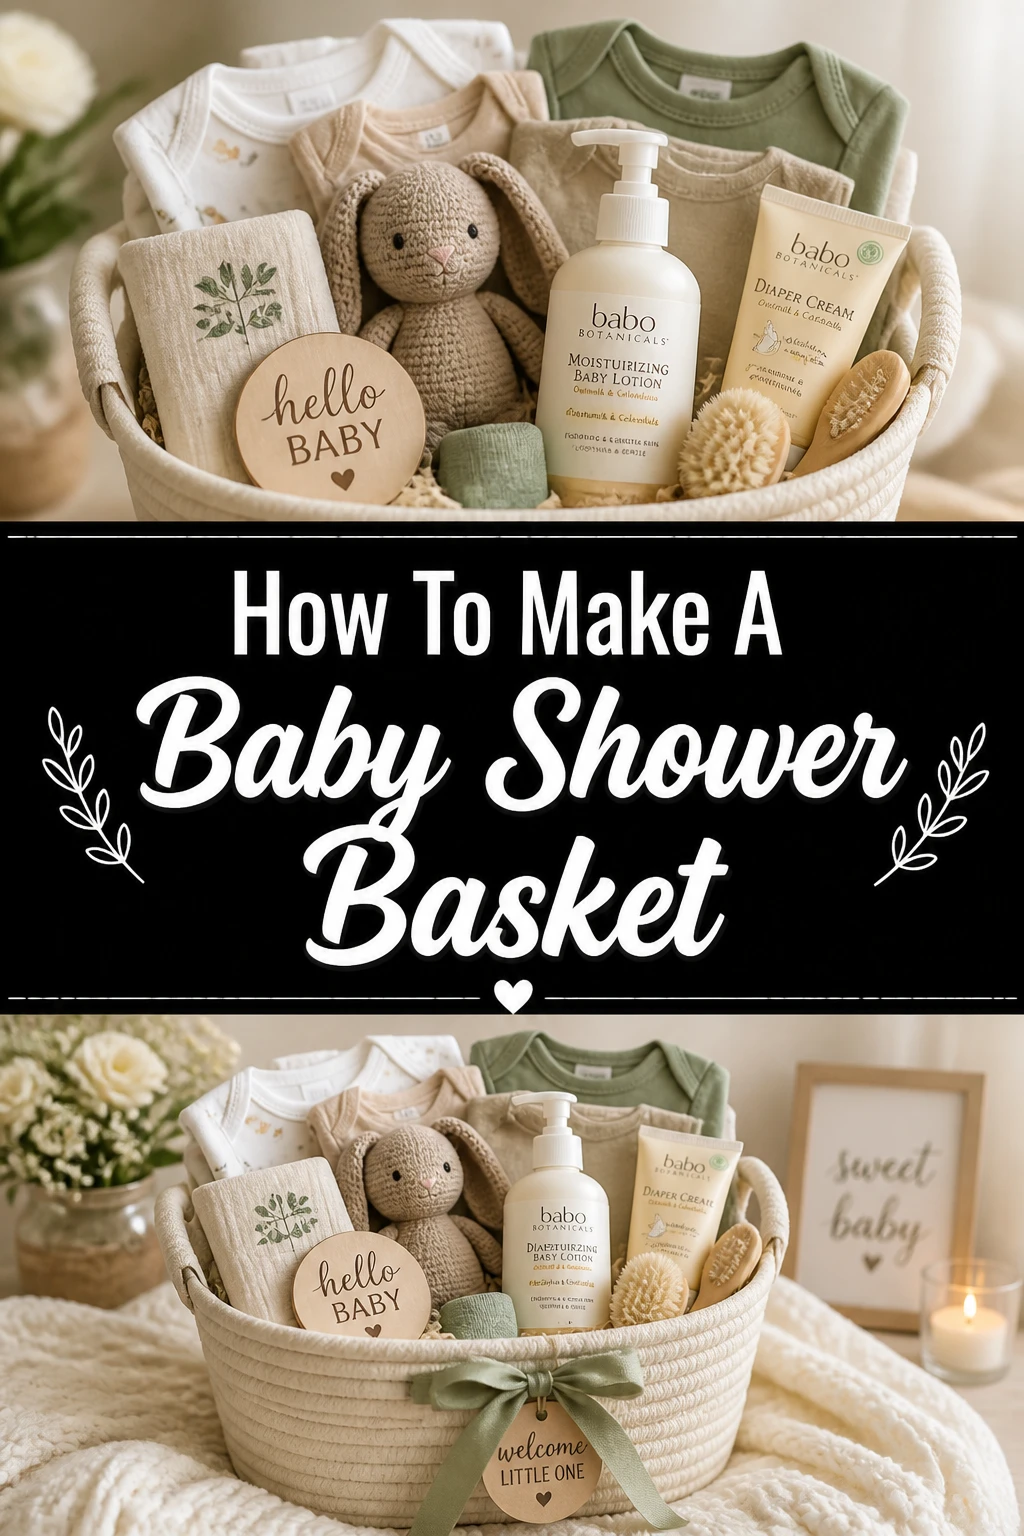
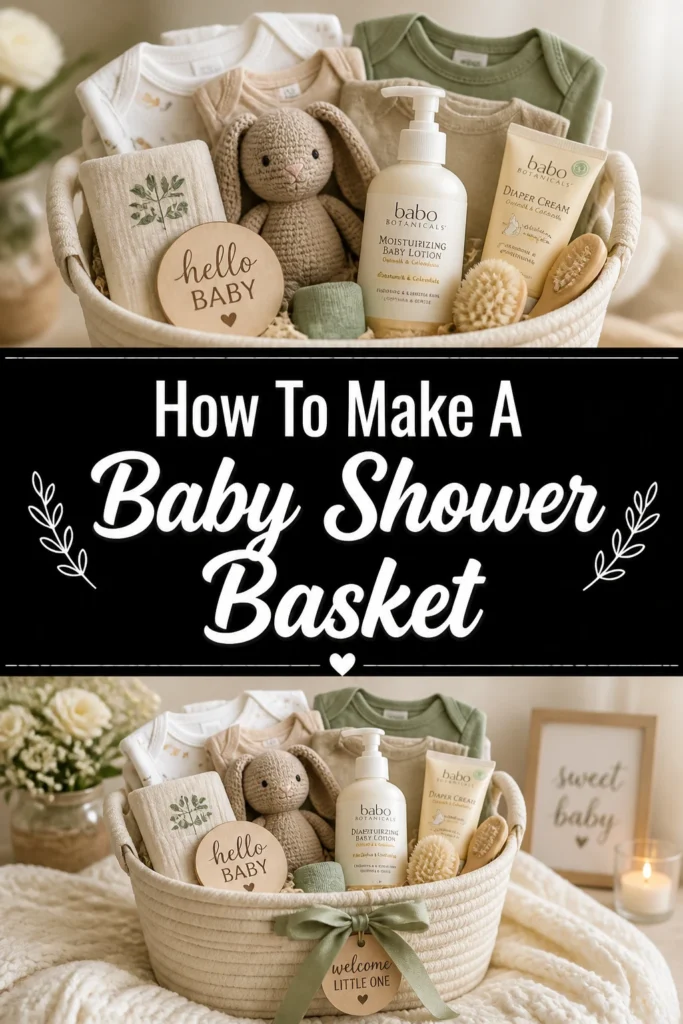
🍼 How To Make A Baby Shower Basket

Wedding Planning
No fluff, no drama. Just easy weekly advice, planning shortcuts, and gentle reminders to help you actually enjoy your engagement.
Creating a baby shower basket is a wonderful way to show your love and support for expecting parents. It’s a heartfelt gift that combines practicality with personal touch. Knowing how to assemble one beautifully makes all the difference.
I’ve put together many of these baskets over the years, celebrating new arrivals for friends and family alike. This guide comes from that hands-on experience, helping you craft a truly memorable present. You’ll learn the simple steps to build a gift that stands out and genuinely helps the new family.
Quick Overview
This guide will walk you through designing and assembling a beautiful, practical baby shower basket. You’ll learn how to select items, arrange them artfully, and add a personal touch. By the end, you’ll have a gorgeous gift ready to delight the parents-to-be.
- Time needed: 1-3 hours (depending on shopping and assembly)
- Difficulty: Beginner
- What you’ll need: A basket, various baby items, filler, ribbon, cellophane, and scissors.
Step-by-Step Instructions
Step 1: Choose Your Basket or Container
The foundation of your gift is the container itself. Select something sturdy and appropriately sized for the items you plan to include. Think about how the parents might reuse it later.
A wicker basket is a classic choice, offering a rustic and charming appeal. It can later hold diapers, toys, or laundry in the nursery. Consider its depth and width to ensure it accommodates your chosen gifts well.
You could also opt for a fabric bin, a decorative storage box, or even a small laundry hamper. These options provide immediate utility beyond just holding the gifts. Make sure it complements the baby shower’s theme or the parents’ home decor if you know it.
Pro Tip: Look for a container that is not only pretty but also practical for the nursery. A changing table caddy or a small toy bin makes an excellent, reusable basket alternative.
Step 2: Select a Theme or Color Scheme
A cohesive theme elevates your basket from a collection of items to a thoughtful presentation. Decide if you want to focus on a particular color palette, an animal, or a specific need. This helps guide your item selection.
Consider themes like “Bathtime Bliss,” “Sweet Dreams,” “First Foods,” or “On-the-Go Essentials.” A theme makes the basket feel more intentional and special. It also helps you narrow down the vast array of baby products available.
Alternatively, choose a simple color scheme, such as pastels, neutrals, or bright primary colors. Sticking to a few colors makes the entire basket look unified and aesthetically pleasing. This is especially helpful if you’re unsure of the nursery decor.
Step 3: Gather Your Baby Essentials
Now for the fun part: collecting the items for the basket. Aim for a mix of practical necessities and a few special treats. Think about what new parents truly need and appreciate.
Start with larger, foundational items. These might include a pack of diapers (consider various sizes, like newborn and size 1), a package of wipes, or a baby blanket. These items often form the “backbone” of your basket.
Move on to smaller essentials. Think about baby wash, lotion, diaper rash cream, or a soft brush and comb set. Teethers, pacifiers, burp cloths, and receiving blankets are also excellent additions. Don’t forget a few outfits in different sizes.
Consider adding a book or a small, soft toy. These items provide sensory engagement for the baby and add a touch of charm. A gift for the parents, such as a nice hand cream or a coffee shop gift card, can also be a lovely gesture.
Step 4: Add Filler and Create a Base
Once you have your items, you need to prepare the basket’s interior. Filler material helps prop up items, prevents them from shifting, and adds a decorative touch. It also makes the basket look fuller and more abundant.
Crinkled paper shred is a popular choice, available in many colors. Tissue paper, shredded cellophane, or even a soft baby blanket folded at the bottom can serve as excellent filler. Choose a color that complements your theme.
Place a generous layer of filler at the bottom of your basket. This creates a stable base for your items. It also adds height, ensuring that smaller gifts aren’t lost at the bottom.
Step 5: Arrange Your Items Artfully
This step is where your basket truly comes to life. Arrange your chosen items strategically to create an appealing display. Think about height, color, and accessibility.
Start by placing the tallest or largest items at the back of the basket. This provides a backdrop and prevents them from overshadowing smaller gifts. For example, a baby shampoo bottle or a rolled blanket can go in the back.
Next, layer medium-sized items in the middle. These might be folded bodysuits, smaller toys, or larger tubes of lotion. Try to vary the textures and shapes for visual interest.
Place the smallest and prettiest items at the front, where they are most visible. Pacifiers, small booties, a cute teether, or a tiny plush toy work well here. Fan out smaller items like burp cloths or washcloths to add softness.
Pro Tip: Create visual interest by varying the heights of your items. Use empty boxes or extra filler underneath items if they seem too low. Rolling blankets and clothing items can save space and add texture.
Step 6: Secure and Embellish Your Basket
Once everything is arranged, you’ll want to secure it and add the final decorative touches. This ensures the basket looks perfect when presented. It also keeps everything in place during transport.
Carefully wrap the entire basket in clear cellophane. Gather the cellophane at the top and tie it securely with a ribbon. This protects the contents and gives the basket a professional, polished look.
Choose a beautiful ribbon that matches your theme or color scheme. Satin, grosgrain, or even a sheer organza ribbon can add elegance. Tie a large bow at the top where the cellophane gathers.
Consider adding a small gift tag with a handwritten message for the parents. You can also attach a small ornament or a decorative pick, like a tiny baby bottle or stork, to the bow. These small details make a big impact.
Step 7: Double-Check and Present Your Gift
Before you head to the shower, take one last look. Review your basket to ensure everything is perfect. Make any final adjustments to the arrangement.
Check that all items are secure and won’t shift too much during travel. Ensure the cellophane is taut and the ribbon is tied neatly. A quick shake can help identify any loose items.
Finally, present your thoughtful, handmade gift with a warm smile. The effort you put into creating a personalized baby shower basket will surely be appreciated by the expectant parents. It’s a gift made with love.
Common Mistakes to Avoid
Overstuffing the Basket
One common mistake is trying to fit too many items into a small basket. This makes the basket look cluttered and disorganized, losing its aesthetic appeal. It can also make it difficult for the parents to see or access the individual gifts.
Instead, prioritize quality over quantity. Choose fewer, higher-quality items that truly fit the basket comfortably. If you have many items, consider using a larger container or splitting them into two smaller, themed baskets.
Forgetting About Practicality
While cute items are tempting, some gifts might not be very practical for new parents. Novelty items that serve no real purpose can sometimes end up unused. The goal is to be helpful and thoughtful.
Balance adorable with essential. Include items like diapers, wipes, burp cloths, and baby toiletries alongside a cute outfit or a soft toy. Parents often appreciate gifts that they can genuinely use every day.
Ignoring the Theme or Color Scheme
A haphazard collection of items without a unifying theme or color scheme can look disjointed. The basket won’t have the polished, cohesive look that makes it feel special. It might seem like a random assortment.
Always start by deciding on a theme or color palette. This guides your shopping and ensures all items work together harmoniously. Even a simple neutral theme can create a sophisticated and thoughtful presentation.
Poor Arrangement and Presentation
Just tossing items into a basket, even if they are good items, won’t create a beautiful gift. A messy or unorganized arrangement diminishes the visual impact of your thoughtful selections. The effort put into choosing items is lost.
Take the time to arrange items carefully, using filler and varying heights. Wrap the basket neatly in cellophane and add a beautiful ribbon. Presentation truly enhances the perceived value and thoughtfulness of your gift.
Troubleshooting
Basket Looks Empty or Sparse
If your basket looks like it has too much empty space, it can appear less generous or incomplete. This often happens if you underestimate the volume needed for items or choose a container that is too large. The gifts might sink to the bottom.
Add more filler material, such as crinkled paper shred or tissue paper, to the bottom of the basket. You can also strategically place empty, clean boxes underneath items to give them height. Consider adding a few more small, inexpensive essentials like washcloths or socks to fill gaps.
Items Keep Falling Over
A wobbly arrangement can be frustrating, especially if items shift during transport. This usually occurs when items aren’t properly supported or secured within the basket. Loose items can also damage each other.
Ensure you have a firm base of filler material. Use double-sided tape or small dots of hot glue (on the bottom or back of items, not visible) to attach lighter items to larger ones or to the basket itself. When wrapping with cellophane, pull it taut to help hold everything in place.
Can’t Find Items That Match the Theme
Sometimes, despite your best efforts, finding perfectly themed items can be challenging or expensive. This can lead to a disjointed look or frustration during the shopping process. You might feel limited in your choices.
Broaden your interpretation of the theme. For example, a “woodland animal” theme can include green or brown items, not just animal-printed ones. Focus on color coordination if specific themed items are scarce. A neutral base with one or two themed items can still convey your idea effectively.
Key Takeaways
- Choose a practical and reusable container to start your baby shower basket.
- Select a cohesive theme or color scheme to unify your gift items.
- Include a mix of essential and delightful baby products for new parents.
- Use filler material effectively to add volume and support the items.
- Arrange items with varying heights and textures for an appealing display.
- Secure your basket with cellophane and a beautiful ribbon for a polished finish.
Frequently Asked Questions
What are the most essential items for a baby shower basket?
The most essential items generally include diapers (various sizes), baby wipes, baby wash and lotion, diaper rash cream, and a soft baby blanket. Practicality is key for new parents, so focusing on these basics is always a good idea. You can then add a few fun items.
Should I include items for the parents, not just the baby?
Absolutely! Including a small gift for the parents is a thoughtful touch that will be much appreciated. Consider items like a nice hand cream, a coffee shop gift card, or a soothing tea. Parenthood is demanding, and a little pampering goes a long way.
How do I make the basket look full without spending a fortune?
To make your basket look full on a budget, use plenty of crinkled paper shred or tissue paper as filler. Roll up baby clothes, blankets, and burp cloths to take up more space and add texture. Focus on smaller, essential items like pacifiers, socks, and teething toys that are affordable but necessary.
Is it better to choose one large item or several small ones?
A mix of both usually works best. One larger, foundational item (like a special blanket or a multi-pack of diapers) provides substance. Several smaller, complementary items then fill out the basket and add variety. This creates a visually appealing and well-rounded gift.
Our Top Recommended Finds
- Large Wicker Basket: Perfect for holding many items and reusable in the nursery.
- Clear Cellophane Wrap Roll: Essential for a professional, protected presentation.
- Multi-Colored Paper Shred Filler: Adds volume and a decorative touch to your arrangement.
Crafting Joy for New Beginnings
Making a baby shower basket is more than just assembling gifts; it’s about creating a bundle of love and practical support. Each item you choose and every detail you arrange speaks volumes of your care. It’s a beautiful way to welcome a new life into the world.
Take these steps and put your own creative spin on them. Imagine the joy on the parents’ faces as they receive your thoughtful creation. Start planning your basket today, and bring a little extra sparkle to their special celebration.
Wedding Planning
No fluff, no drama. Just easy weekly advice, planning shortcuts, and gentle reminders to help you actually enjoy your engagement.