💖 How To Display Wedding Photos In Bedroom

Wedding Planning
No fluff, no drama. Just easy weekly advice, planning shortcuts, and gentle reminders to help you actually enjoy your engagement.
Your wedding day is a collection of precious moments, frozen in time by photographs.
Bringing these beautiful memories into your bedroom transforms it into a personal sanctuary, a daily reminder of your love story.
Having helped countless couples curate their personal spaces, I understand the magic a well-displayed wedding photo can bring to a room.
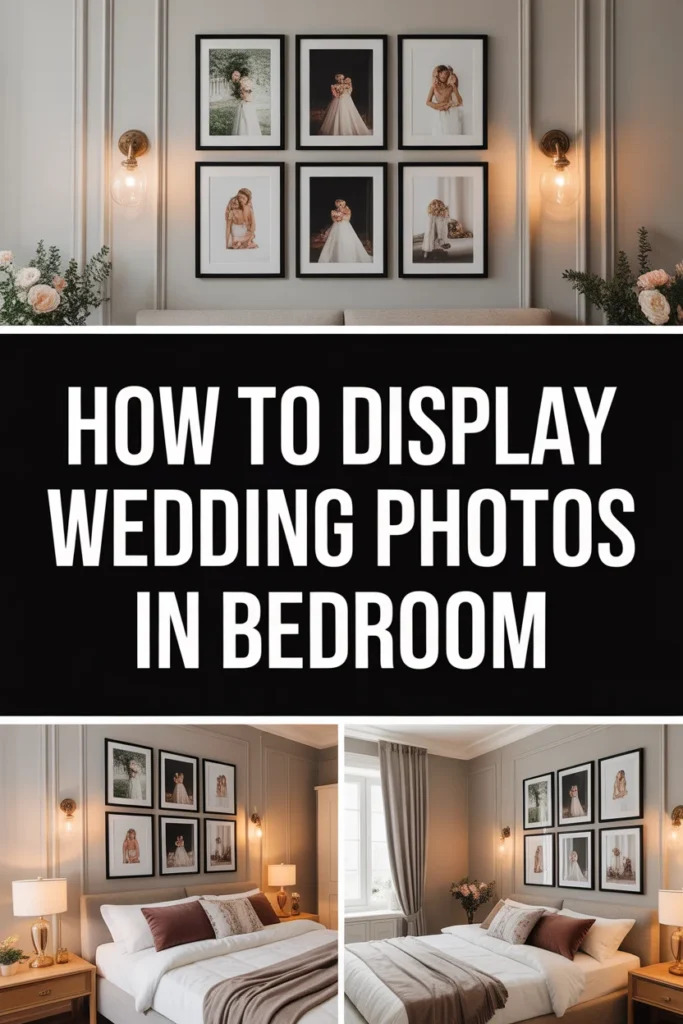
Quick Overview
This guide will walk you through creating a stunning and meaningful display of your wedding photos.
You’ll learn how to select the perfect prints, choose complementary frames, and arrange them artfully in your bedroom.
- Time needed: 2-5 hours (depending on complexity and preparation)
- Difficulty: Beginner to Intermediate
- What you’ll need: Your favorite wedding photos, frames, measuring tape, pencil, level, picture hanging kit, cleaning cloth.
Step-by-Step Instructions
Step 1: Curate Your Collection
Begin by sifting through your wedding album and digital files. Select photos that truly resonate with you both.
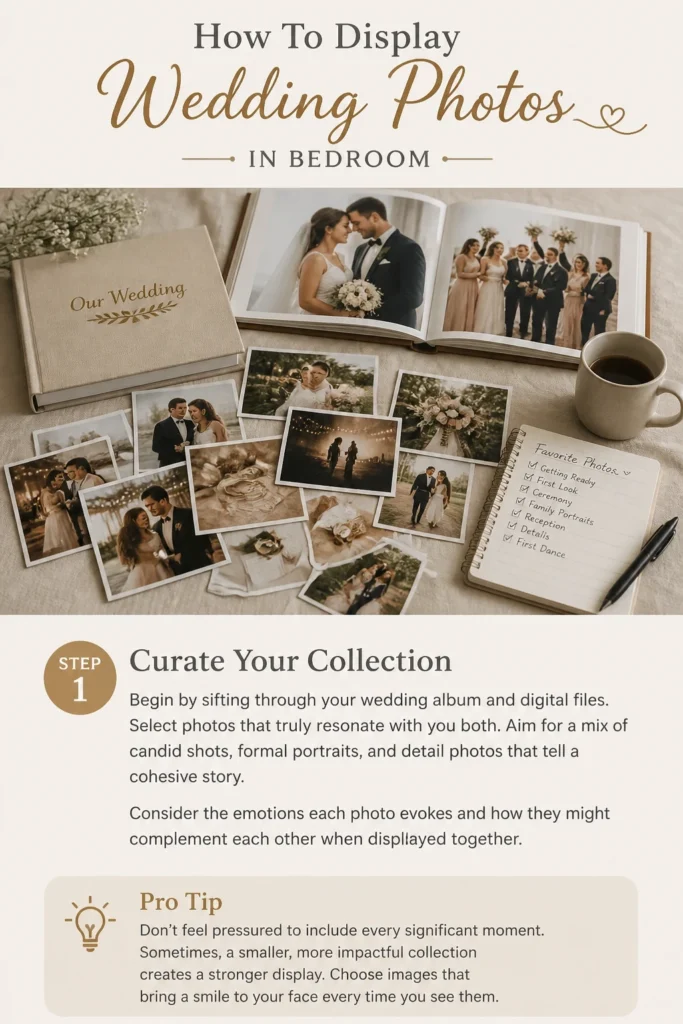
Aim for a mix of candid shots, formal portraits, and detail photos that tell a cohesive story.
Consider the emotions each photo evokes and how they might complement each other when displayed together.
Pro Tip: Don’t feel pressured to include every significant moment. Sometimes, a smaller, more impactful collection creates a stronger display. Choose images that bring a smile to your face every time you see them.
Step 2: Envision Your Display Style
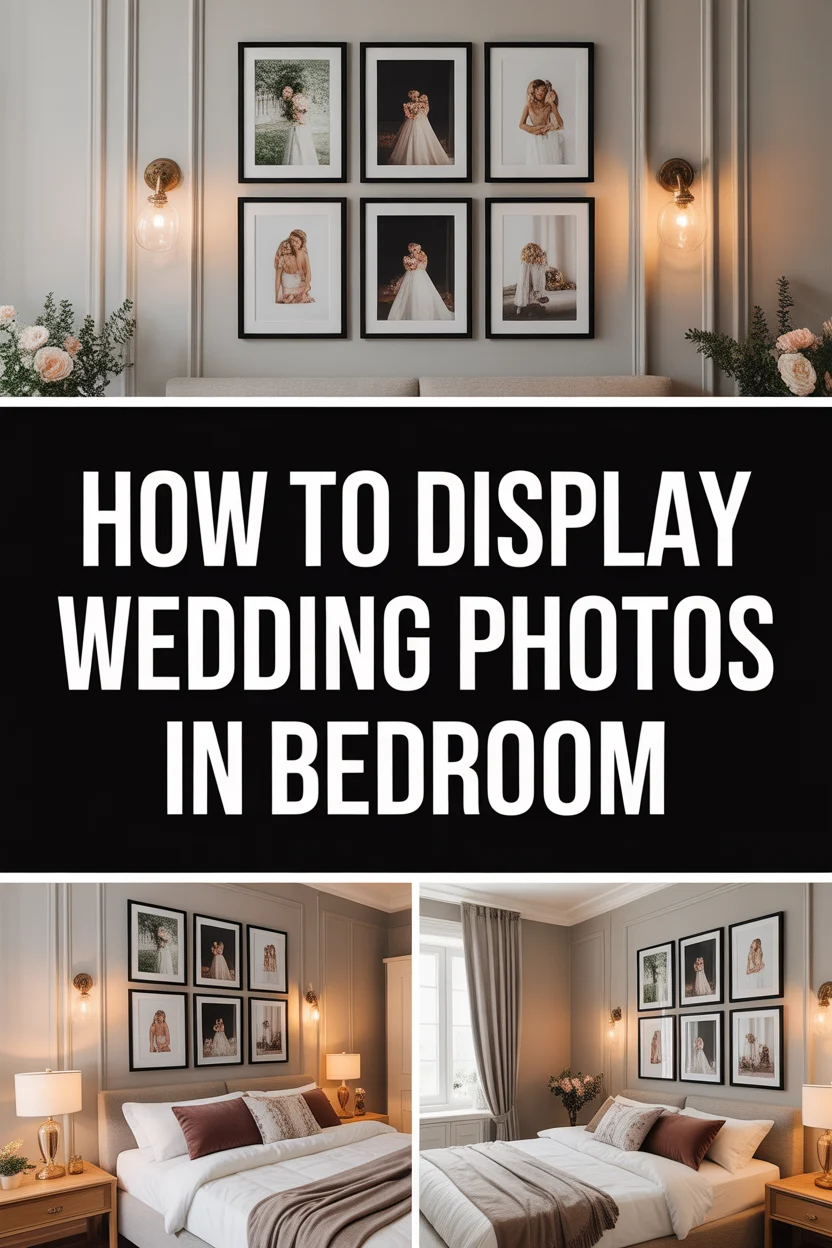
Think about the overall aesthetic you want to achieve. Do you prefer a classic gallery wall, a symmetrical grid, or a more eclectic, organic arrangement?
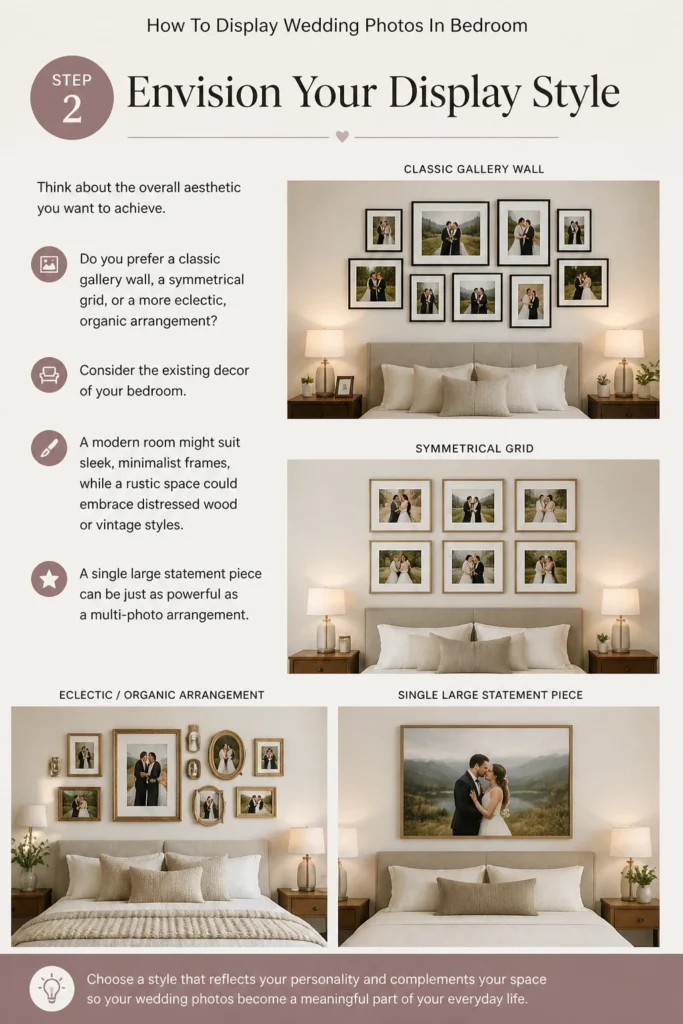
Consider the existing decor of your bedroom. A modern room might suit sleek, minimalist frames, while a rustic space could embrace distressed wood or vintage styles.
A single large statement piece can be just as powerful as a multi-photo arrangement.
Step 3: Measure and Plan Your Space
Before purchasing anything, carefully measure the wall space you intend to use. This prevents overcrowding and ensures your display fits perfectly.
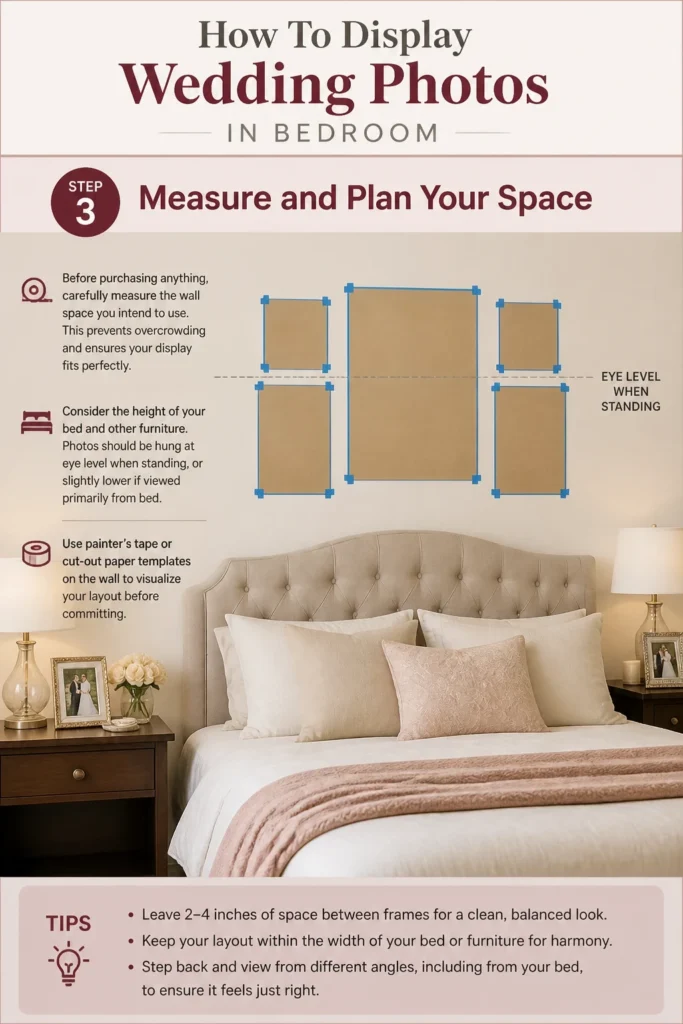
Consider the height of your bed and other furniture. Photos should be hung at eye level when standing, or slightly lower if viewed primarily from bed.
Use painter’s tape or cut-out paper templates on the wall to visualize your layout before committing.
Step 4: Choose Your Frames Wisely
Frame choice significantly impacts the final look. Match the frame style and color to your bedroom’s decor and the tone of your photos.
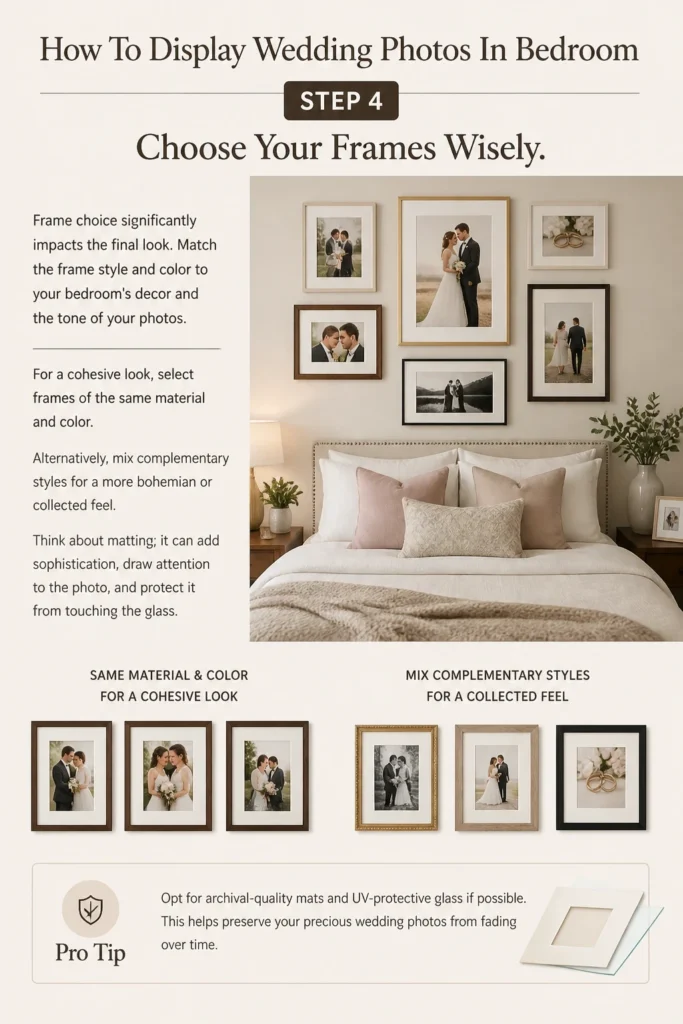
For a cohesive look, select frames of the same material and color. Alternatively, mix complementary styles for a more bohemian or collected feel.
Think about matting; it can add sophistication, draw attention to the photo, and protect it from touching the glass.
Pro Tip: Opt for archival-quality mats and UV-protective glass if possible. This helps preserve your precious wedding photos from fading over time.
Step 5: Prepare Your Prints
Ensure your chosen photos are high-resolution and professionally printed. Quality prints make a huge difference in the final presentation.
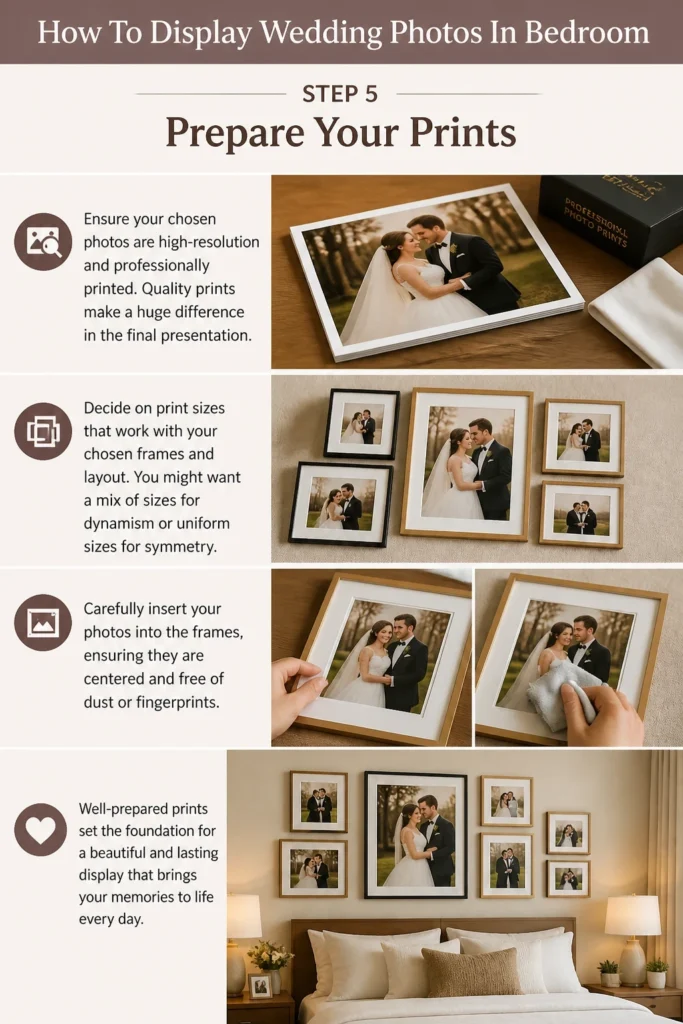
Decide on print sizes that work with your chosen frames and layout. You might want a mix of sizes for dynamism or uniform sizes for symmetry.
Carefully insert your photos into the frames, ensuring they are centered and free of dust or fingerprints.
Step 6: Lay Out Your Arrangement
Before putting holes in your wall, arrange your framed photos on the floor. This allows you to experiment with different layouts without any commitment.
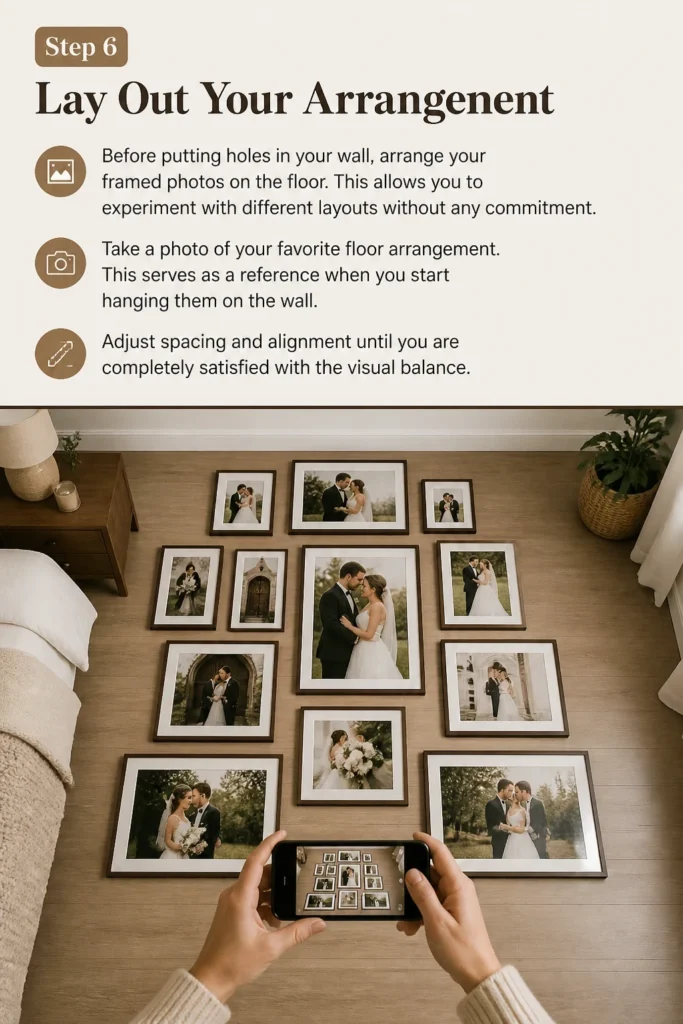
Take a photo of your favorite floor arrangement. This serves as a reference when you start hanging them on the wall.
Adjust spacing and alignment until you are completely satisfied with the visual balance.
Step 7: Hang with Precision
Transfer your planned layout from the floor to the wall using your pencil and measuring tape. Mark where each nail or hook will go.
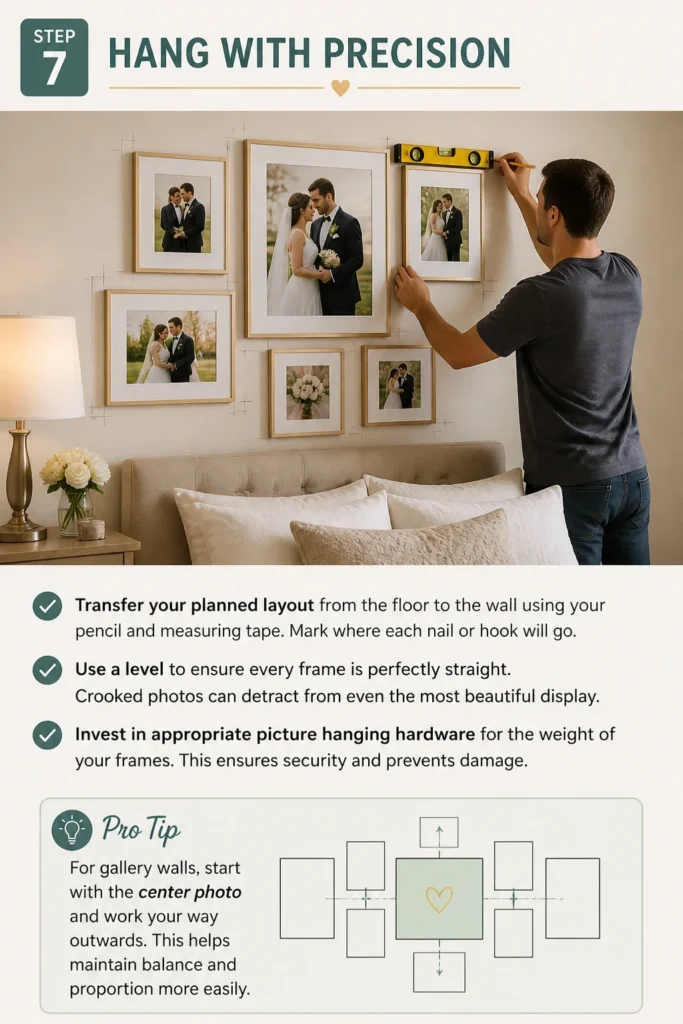
Use a level to ensure every frame is perfectly straight. Crooked photos can detract from even the most beautiful display.
Invest in appropriate picture hanging hardware for the weight of your frames. This ensures security and prevents damage.
Pro Tip: For gallery walls, start with the center photo and work your way outwards. This helps maintain balance and proportion more easily.
Step 8: Add Thoughtful Touches
Once your photos are hung, step back and admire your work. Consider adding subtle lighting to highlight your display, like small picture lights or LED strips.
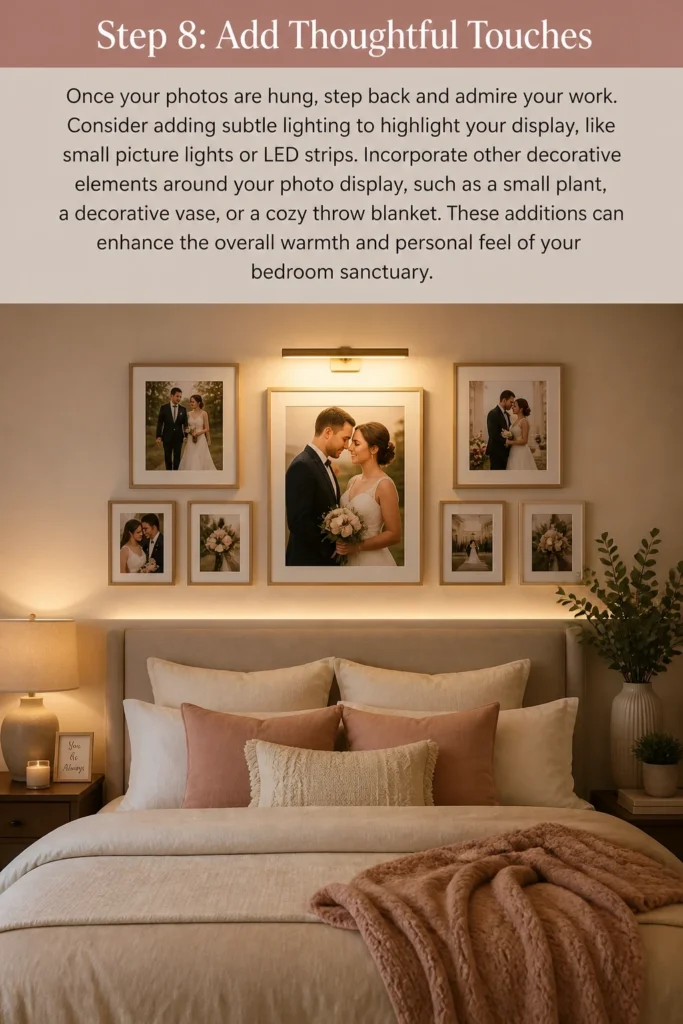
Incorporate other decorative elements around your photo display, such as a small plant, a decorative vase, or a cozy throw blanket.
These additions can enhance the overall warmth and personal feel of your bedroom sanctuary.
Common Mistakes to Avoid
Overcrowding the Wall
Filling every available space with photos can make a room feel cluttered and overwhelming. Give your photos room to breathe; negative space is just as important as the photos themselves.
A few well-placed, impactful pieces are often more effective than dozens of small, tightly packed frames. Allow each memory to have its moment.
Ignoring Room Decor
Displaying wedding photos should complement your bedroom’s existing style, not clash with it. Mismatched frames or a photo style that doesn’t fit can create visual discord.
Take cues from your bedding, furniture, and wall color when selecting frames and planning your layout. Harmony is key for a cohesive look.
Using Poor Quality Prints
Your wedding photos deserve to be printed with the highest quality. Faded colors, pixelated images, or flimsy paper will diminish the impact of your display.
Invest in professional printing services for longevity and vibrancy. This ensures your cherished memories look their best for years to come.
Skipping Proper Measurement
Guessing distances and eyeball-level hanging often leads to crooked displays and unnecessary wall damage. Precision is vital for a polished look.
Always use a measuring tape and level. The small effort upfront saves you frustration and touch-up work later, ensuring a perfect arrangement.
Troubleshooting
Photos Look Crooked
Even with a level, sometimes photos shift or appear slightly off. This is a common issue, especially with multiple frames.
Gently adjust the frame until it’s perfectly straight, using your level again. For persistent tilting, consider adding small adhesive bumpers to the bottom corners of the frame to stabilize it against the wall.
Frames Don’t Match
You might find your existing frames don’t quite blend, or new ones look out of place. This can happen when mixing styles or materials.
Consider spray painting mismatched frames a uniform color, such as matte black, white, or gold, to create cohesion. Alternatively, embrace the eclectic look by adding other decorative elements that tie the different frames together.
Wall Damage (from hanging)
Accidental holes, chips, or scuffs can occur during the hanging process. This is frustrating but often fixable.
For small holes, use a spackling compound and a putty knife to fill them, then touch up with matching wall paint. For larger damage, you might need a patch kit. Always use appropriate hardware to minimize future issues.
Key Takeaways
- Thoughtful photo selection creates a powerful, meaningful display in your bedroom.
- Planning your layout and measuring your space are crucial for a successful installation.
- Frame choice should complement both your photos and your bedroom’s existing decor.
- Prioritize high-quality prints to ensure your cherished memories look their best.
- Use a level and proper hanging hardware for a polished, secure, and long-lasting display.
- Avoid overcrowding and ensure your display harmonizes with the room’s overall aesthetic.
Frequently Asked Questions
How high should I hang photos in the bedroom?
Generally, photos should be hung at eye level, which is about 57-60 inches from the floor to the center of the artwork. However, in a bedroom, if the primary viewing is from bed, you might lower them slightly to be at eye level when seated or reclining.
Can I mix frame styles in a wedding photo display?
Absolutely! Mixing frame styles can add character and visual interest. To maintain cohesion, try to stick to a consistent color palette (e.g., all black, all white, or a mix of metallics) or a similar material type (e.g., all wood, even if different finishes).
What about lighting for wedding photos?
Good lighting can dramatically enhance your display. Natural light is ideal, but avoid direct sunlight which can fade photos. For artificial lighting, consider small, adjustable picture lights mounted above individual frames, or track lighting that can be directed at your gallery wall.
Should I use professional prints for my wedding photos?
Yes, always opt for professional prints. They offer superior color accuracy, sharpness, and longevity compared to standard consumer prints. This investment ensures your precious wedding memories are beautifully preserved and displayed for years to come.
Our Top Recommended Finds
- Gallery Wall Frame Sets: These often come with multiple frames in varying sizes and sometimes even templates, making it easier to create a cohesive look.
- Picture Hanging Kits: A good kit includes various hooks, nails, and sometimes a mini level, providing everything you need for secure installation.
- Wireless Picture Lights: Battery-operated and easy to install, these lights can highlight your favorite photos without needing an electrician.
Your Bedroom, Your Love Story
Transforming your bedroom into a gallery of your wedding memories is a deeply personal and rewarding project.
Each photo is a chapter in your unique love story, and displaying them beautifully reinforces that narrative every single day.
Take these steps, trust your aesthetic, and create a space that truly reflects the joy and commitment you share. Start curating your beautiful memories today.
Wedding Planning
No fluff, no drama. Just easy weekly advice, planning shortcuts, and gentle reminders to help you actually enjoy your engagement.