💖 How To Make A Wedding Seating Chart

Wedding Planning
No fluff, no drama. Just easy weekly advice, planning shortcuts, and gentle reminders to help you actually enjoy your engagement.
Planning a wedding brings immense joy, but also intricate details. One task that often causes a quiet shudder is the wedding seating chart. It feels like solving a complex puzzle.
Having navigated my own wedding seating, I know the unique challenges and the ultimate relief of seeing guests happily settled. This guide will walk you through each step, making the process clear and manageable. You can create a seating arrangement that fosters connection and joy for everyone.
Quick Overview
Creating your wedding seating chart is a significant step in organizing your reception. By following these practical steps, you will craft a thoughtful and functional seating plan. This guide aims to simplify a task often perceived as daunting.
- Time needed: 8-12 hours, spread across several weeks
- Difficulty: Intermediate
- What you’ll need: Your final guest list, venue floor plan, pen and paper or digital tool, open communication with your partner and families
Step-by-Step Instructions
Step 1: Gather Your Essential Information
Before you even think about who sits where, you need all the raw data. Collect your final RSVP list, ensuring you have names for all confirmed guests and their plus-ones. Confirm any dietary restrictions or special needs for each attendee.
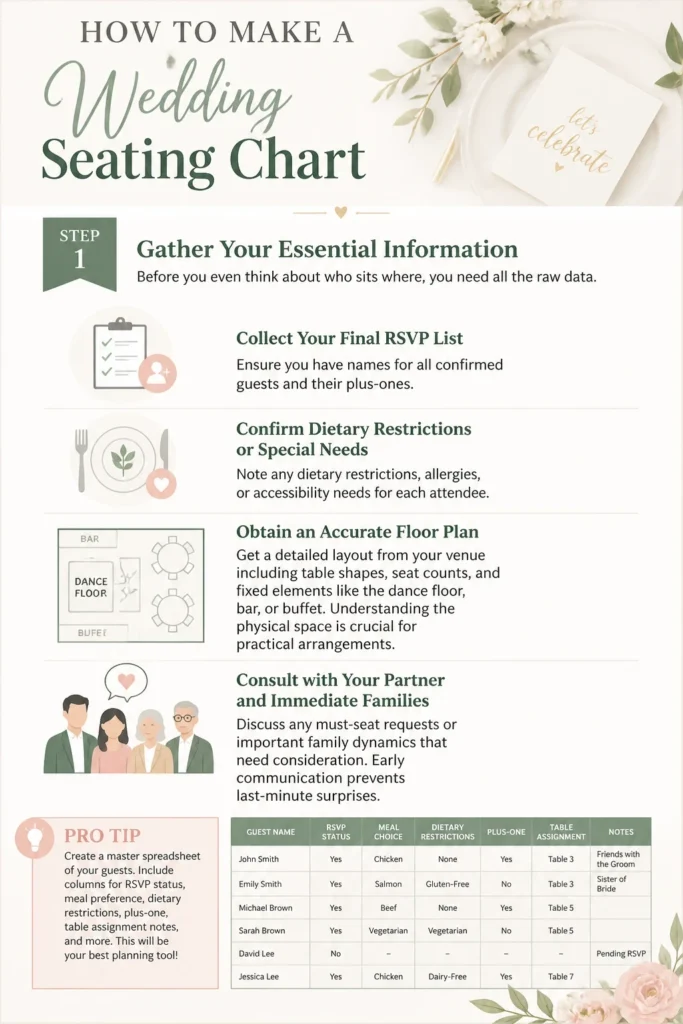
Next, obtain an accurate floor plan from your venue. This plan should detail the size and shape of tables, the number of seats per table, and any fixed elements like the dance floor, bar, or buffet. Understanding the physical space is crucial for practical arrangements.
Finally, consult with your partner and immediate families. Discuss any “must-seat” requests or important family dynamics that need consideration. Early communication prevents last-minute surprises.
Pro Tip: Create a master spreadsheet of your guests. Include columns for RSVP status, meal choice, dietary restrictions, relationship to you/partner, and potential table number. This central document will be your best friend.
Step 2: Understand Your Venue’s Layout
With your floor plan in hand, visualize the flow of the room. Where are the entrances and exits? How will guests move between tables, the bar, and the restrooms? Consider the proximity of the head table to the dance floor or main stage.
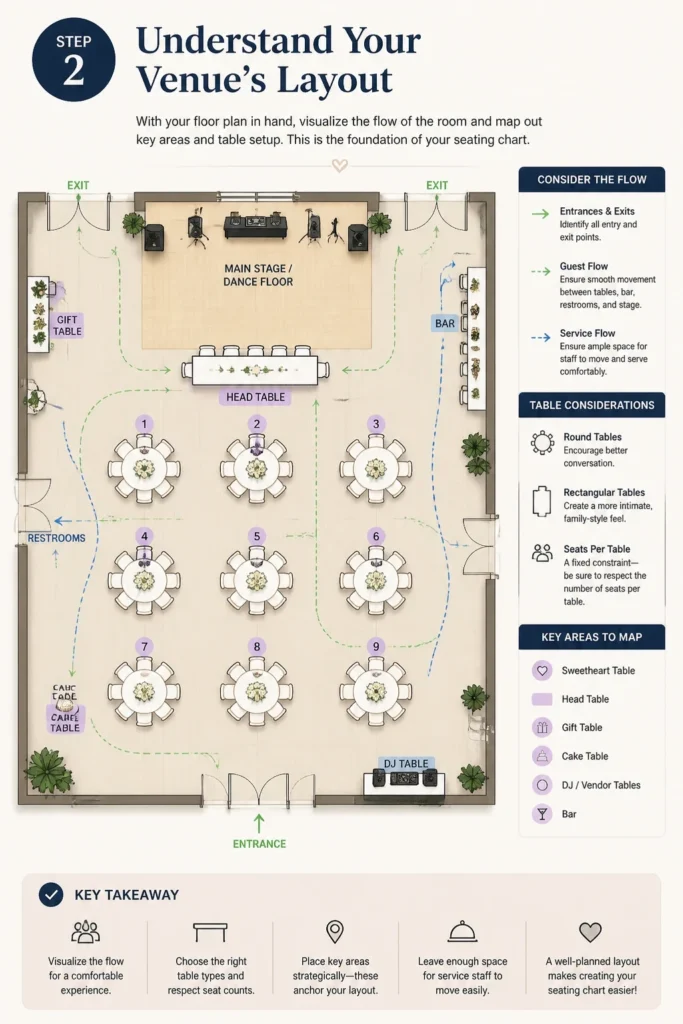
Determine the type and number of tables available. Are they round, rectangular, or a mix? Round tables often encourage better conversation, while long rectangular tables can create a more intimate, family-style feel. The number of seats per table is a fixed constraint you must respect.
Map out key areas like the sweetheart table, head table, gift table, cake table, and any vendor tables (DJ, photographer). These fixed points will influence your guest seating. Ensure there’s ample space for service staff to move comfortably.
Step 3: Categorize Your Guest List
Now, it’s time to organize your confirmed guests into logical groups. This step significantly simplifies the actual seating process. Start by separating guests into broad categories like “Bride’s Family,” “Groom’s Family,” “Bride’s Friends,” “Groom’s Friends,” “Coworkers,” and “Mutual Friends.”
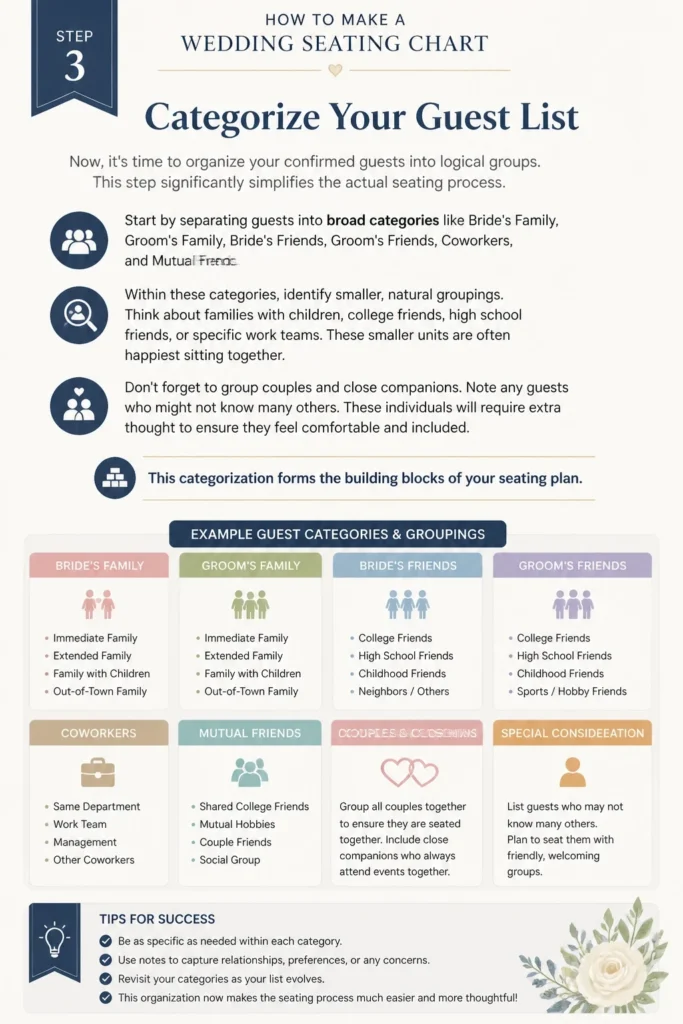
Within these categories, identify smaller, natural groupings. Think about families with children, college friends, high school friends, or specific work teams. These smaller units are often happiest sitting together. Don’t forget to group couples and close companions.
Note any guests who might not know many others. These individuals will require extra thought to ensure they feel comfortable and included. This categorization forms the building blocks of your seating plan.
Step 4: Start with the “Must-Seat” Guests
Begin your seating chart with the most critical placements. Assign seats for your immediate family members, bridal party, and any VIPs. These are often non-negotiable placements that anchor your entire plan. Ensure parents, grandparents, and siblings are comfortably situated.
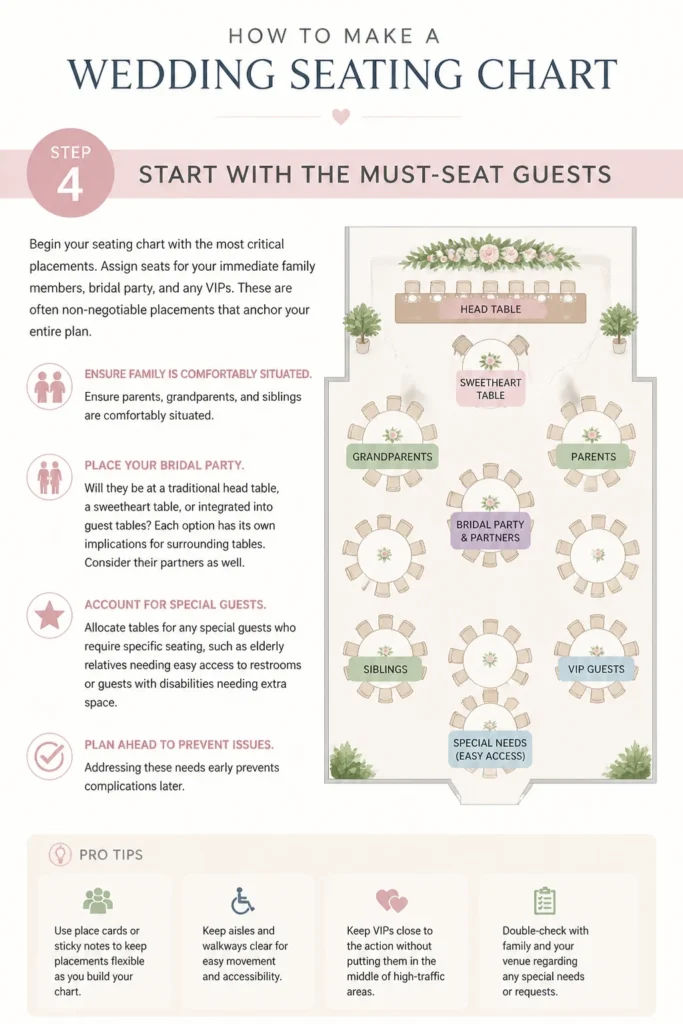
Next, place your bridal party. Will they be at a traditional head table, a sweetheart table, or integrated into guest tables? Each option has its own implications for surrounding tables. Consider their partners as well.
Allocate tables for any special guests who require specific seating, such as elderly relatives needing easy access to restrooms or guests with disabilities needing extra space. Addressing these needs early prevents complications later.
Step 5: Group Guests Strategically
This is where the puzzle truly begins. Start filling tables by combining your categorized groups. Aim for a balance of personalities and shared interests at each table. The goal is to foster lively conversation and connection.
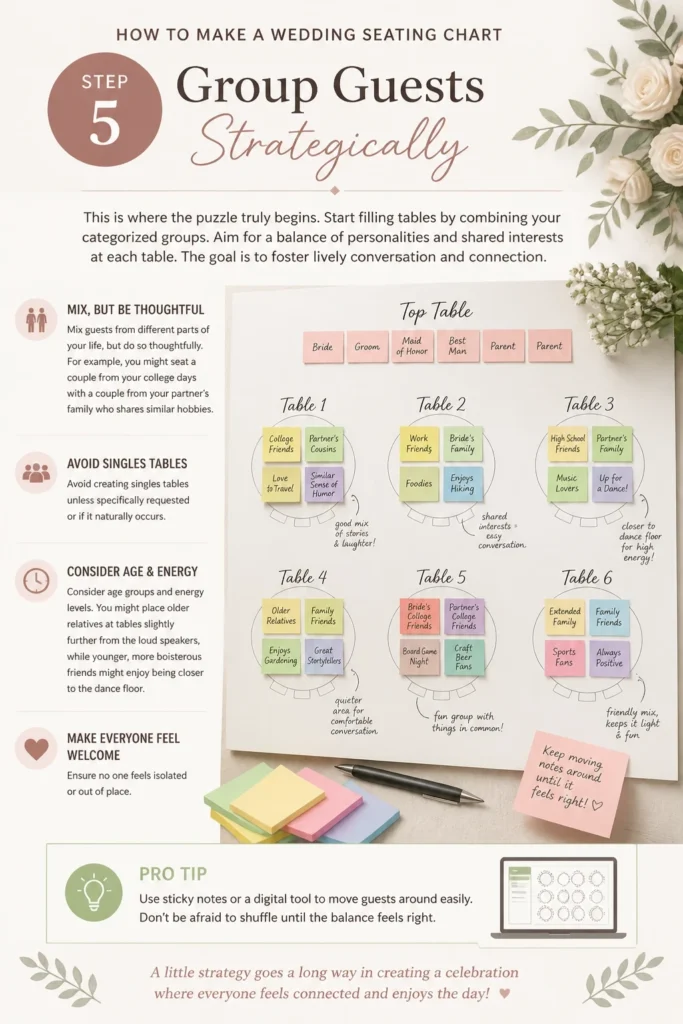
Mix guests from different parts of your life, but do so thoughtfully. For example, you might seat a couple from your college days with a couple from your partner’s family who shares similar hobbies. Avoid creating “singles” tables unless specifically requested or if it naturally occurs.
Consider age groups and energy levels. You might place older relatives at tables slightly further from the loud speakers, while younger, more boisterous friends might enjoy being closer to the dance floor. Ensure no one feels isolated or out of place.
Pro Tip: Use sticky notes or a digital drag-and-drop tool. Write each guest’s name on a separate note. You can easily move them around on a paper floor plan or within the software, making adjustments flexible. Color-code notes by category.
Step 6: Address Tricky Situations
Inevitably, you’ll encounter some seating dilemmas. Handle divorced parents with care, often seating them at separate tables with their respective families or close friends. Ensure they are comfortable and have a clear line of sight to the main events.
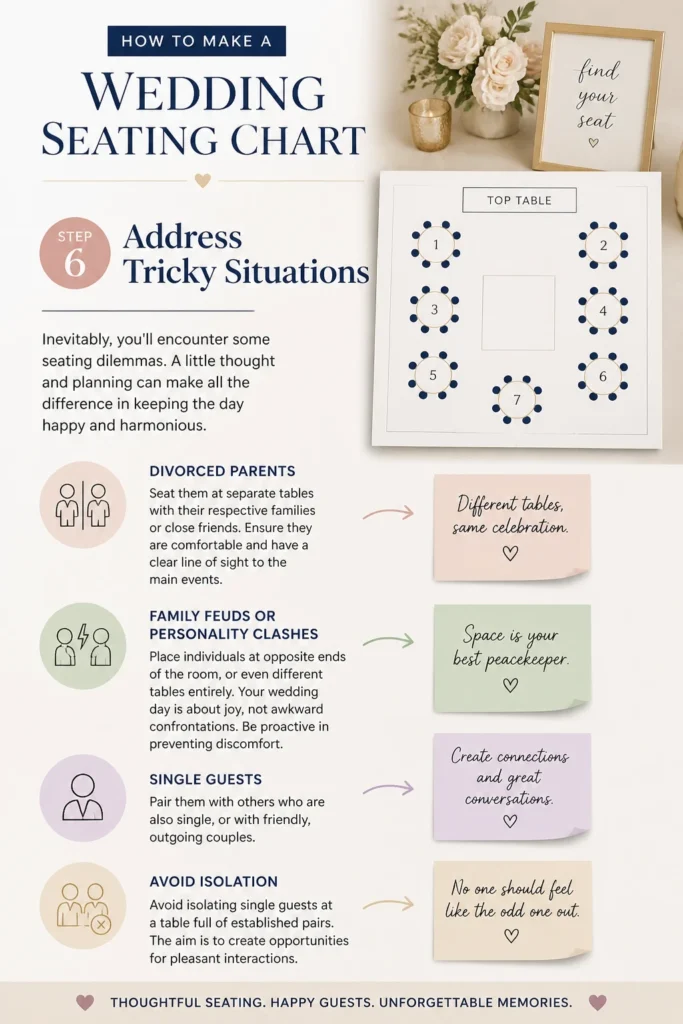
Navigate any family feuds or known personality clashes by placing individuals at opposite ends of the room, or even different tables entirely. Your wedding day is about joy, not awkward confrontations. Be proactive in preventing discomfort.
For single guests, pair them with others who are also single, or with friendly, outgoing couples. Avoid isolating them at a table full of established pairs. The aim is to create opportunities for pleasant interactions.
Step 7: Review and Refine Your Chart
Once you have an initial draft, take a break. Step away from the chart for a few hours or even a day. Fresh eyes often spot issues you missed during the intensive planning phase. This pause is invaluable for clarity.
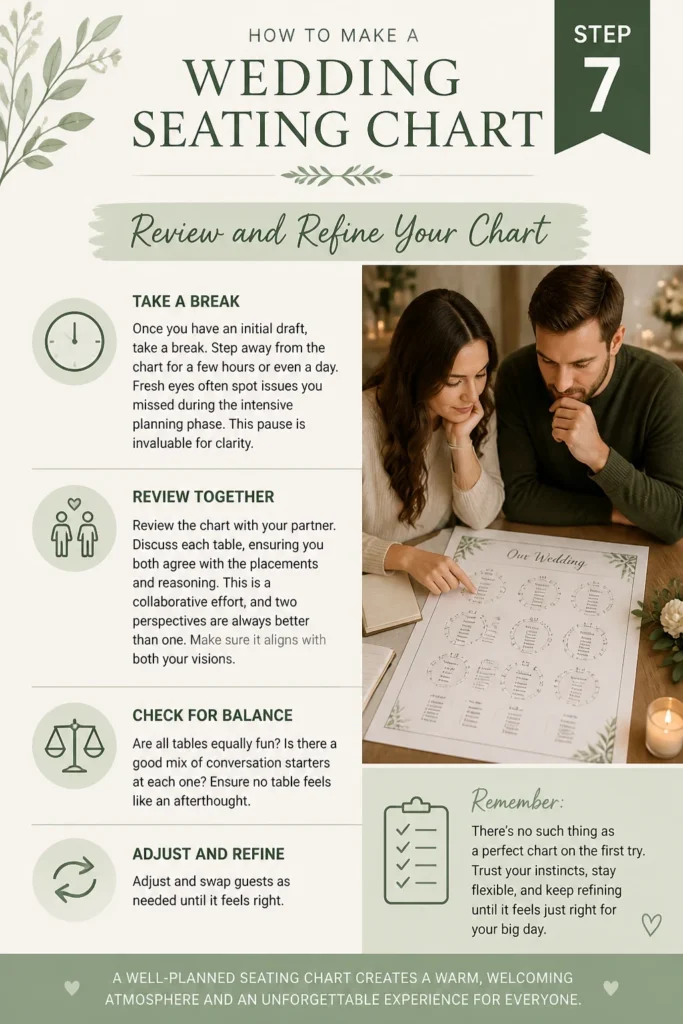
Review the chart with your partner. Discuss each table, ensuring you both agree with the placements and reasoning. This is a collaborative effort, and two perspectives are always better than one. Make sure it aligns with both your visions.
Check for balance. Are all tables equally “fun”? Is there a good mix of conversation starters at each one? Ensure no table feels like an afterthought. Adjust and swap guests as needed until it feels right.
Step 8: Finalize and Share Your Plan
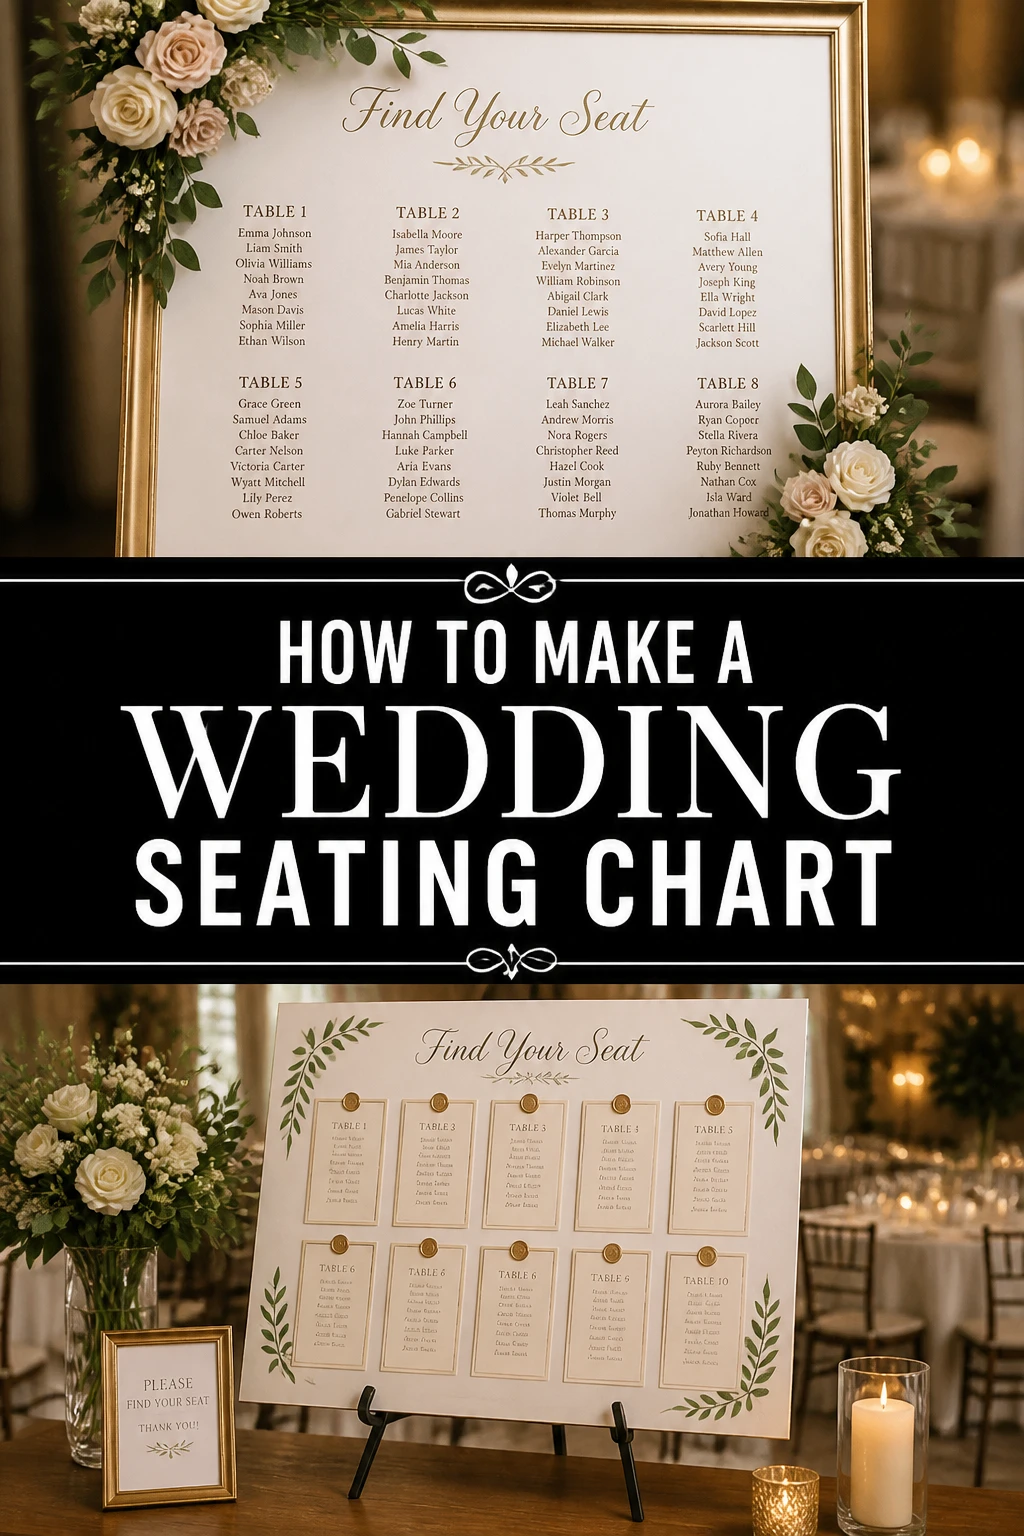
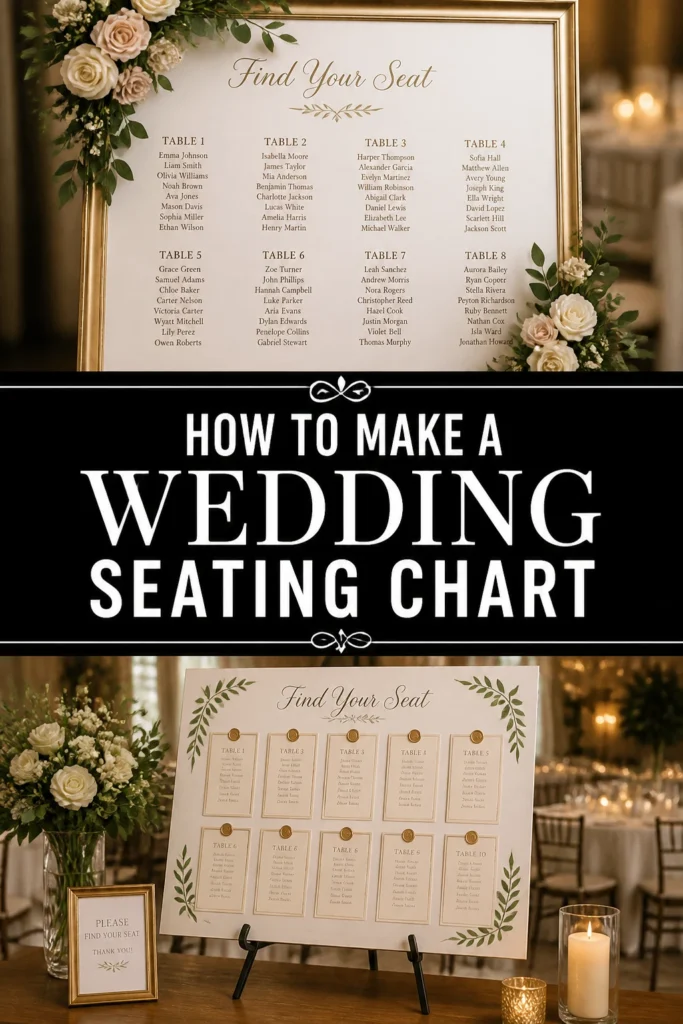
When you’re completely satisfied with your seating chart, create a clean, final version. This could be a printed document, a digital file, or a beautifully handwritten chart. Ensure it clearly shows table numbers and guest names for each table.
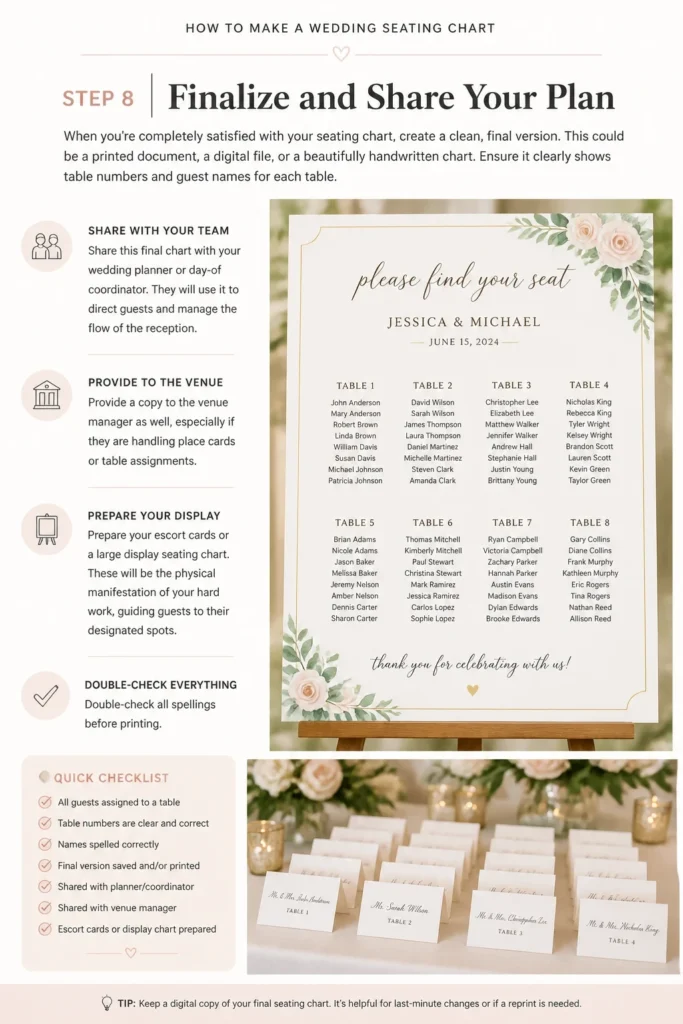
Share this final chart with your wedding planner or day-of coordinator. They will use it to direct guests and manage the flow of the reception. Provide a copy to the venue manager as well, especially if they are handling place cards or table assignments.
Prepare your escort cards or a large display seating chart. These will be the physical manifestation of your hard work, guiding guests to their designated spots. Double-check all spellings before printing.
Common Mistakes to Avoid
Ignoring Guest Dynamics
One common pitfall is to simply fill tables without considering who might genuinely enjoy each other’s company. Seating guests who have nothing in common, or worse, known animosities, can lead to awkward silences and discomfort. Always prioritize creating cohesive, engaging groups that will foster pleasant conversation and a good atmosphere.
Overlooking Table Flow
It’s easy to get caught up in who sits with whom and forget the physical layout. Cramming too many people at a table, or placing tables too close together, can hinder movement for both guests and servers. Always refer to your venue’s floor plan and ensure there’s ample space for comfort and accessibility.
Starting Too Late
Waiting until the last minute to tackle your seating chart is a recipe for stress. Guest lists often fluctuate, and decisions take time. Begin conceptualizing your plan once RSVPs start coming in, and finalize it only after the last RSVP is received. This buffer allows for necessary adjustments.
Forgetting Plus-Ones
Sometimes, in the chaos of planning, a guest’s plus-one might be overlooked or incorrectly assumed. Always confirm the names of all plus-ones, even if they are unknown to you, and ensure they are seated with their partner. No one wants to feel like an afterthought on your special day.
Troubleshooting
Unfillable Tables
You might find you have one table with too few guests or too many. This often happens with odd numbers or last-minute cancellations.
Solution: First, try to redistribute guests from nearby tables to fill gaps, or consolidate smaller tables into one larger one if possible. If you still have an odd number, consider if a “mixed” table of various smaller groups could work. Sometimes, having a slightly emptier table is better than squeezing people uncomfortably.
Last-Minute RSVPs/Cancellations
It’s inevitable that changes will occur right up until the wedding day. Someone might unexpectedly RSVP or cancel.
Solution: Keep your seating chart flexible until the very last moment. Have a digital version that’s easy to edit. For last-minute cancellations, simply leave the seat empty; rearranging an entire table for one person can cause more issues. For late RSVPs, you might need to add an extra chair to an existing table or create a new small table if space allows. Communicate these changes immediately to your coordinator.
Conflicting Personalities
You know certain guests just won’t get along, or perhaps there’s family drama. Seating them together can ruin the atmosphere.
Solution: Proactively separate these individuals as much as possible. Place them at different tables, or at least at opposite ends of a large table. Inform your wedding planner of any sensitive situations so they can be discreetly aware and help manage any potential issues. The goal is to minimize interaction and maximize peace.
Key Takeaways
- Gather all information early: Final guest list, RSVP details, and venue floor plan are your foundation.
- Categorize guests strategically: Grouping helps manage the complexity of hundreds of names.
- Prioritize “must-seat” guests first: Secure spots for immediate family and the bridal party.
- Balance personalities at each table: Aim for engaging conversations and comfortable dynamics.
- Use flexible tools: Sticky notes or digital software allow for easy adjustments.
- Review with your partner: Two sets of eyes are better than one for catching overlooked details.
Frequently Asked Questions
Do I really need a seating chart?
While some intimate weddings opt for open seating, a seating chart is highly recommended for most weddings with more than 50-75 guests. It prevents awkward scrambling for seats, ensures everyone has a place, and helps manage guest flow and service. It also allows you to thoughtfully connect guests.
When should I start planning the seating chart?
You should start conceptualizing your seating chart once you have your initial guest list and venue floor plan, even before RSVPs. The actual placement should begin once the majority of your RSVPs are in, typically 2-3 weeks before the wedding. This allows for last-minute changes.
What’s the best tool for making a seating chart?
Many couples find success with a large cork board and sticky notes, which allows for tactile, visual arrangement. Digitally, tools like AllSeated, WeddingWire, or even simple spreadsheet software can be very effective. Choose the method that feels most intuitive for you.
How do I handle children?
For younger children, you can seat them with their parents at a family table. For older children (say, 8+), some couples create a “kids’ table” if there are enough of them and they know each other. Ensure the kids’ table has age-appropriate activities and is supervised or visible to parents.
Your Perfect Day Awaits
Creating your wedding seating chart might feel like a monumental task, but with a structured approach, it becomes entirely manageable. Think of it not as a chore, but as an opportunity to curate memorable moments for your loved ones. You are designing the very fabric of your reception’s social experience.
By following these practical steps, you will confidently arrange a seating plan that reflects your vision and ensures your guests feel cherished. Now, take the first step and gather your guest list. Your dream reception is closer than you think.
Wedding Planning
No fluff, no drama. Just easy weekly advice, planning shortcuts, and gentle reminders to help you actually enjoy your engagement.