💌 How To Display Seating Chart At Wedding

Wedding Planning
No fluff, no drama. Just easy weekly advice, planning shortcuts, and gentle reminders to help you actually enjoy your engagement.
Planning a wedding brings a unique blend of excitement and meticulous detail. One element often overlooked until crunch time is the seating chart display. From personal experience, a beautifully presented chart can transform guest arrival into a smooth, elegant transition.
This guide will help you craft a stunning and functional seating chart display, ensuring your guests find their places with ease and admire your thoughtful presentation. You’ll gain practical steps and creative ideas to make this detail shine on your special day.
Quick Overview
This guide will walk you through creating an elegant and functional wedding seating chart display. You’ll learn how to choose the right style, prepare your materials, and execute a flawless setup.
- Time needed: 4-8 hours (depending on complexity and DIY elements)
- Difficulty: Intermediate
- What you’ll need: Display board or frame, seating chart printouts, adhesive, decorative elements, easel or stand, clear signage.
Step-by-Step Instructions
Step 1: Choose Your Seating Chart Style
Begin by deciding on the overall look and feel for your seating chart. This choice should align with your wedding’s theme and decor. Consider the space available at your venue for the display.
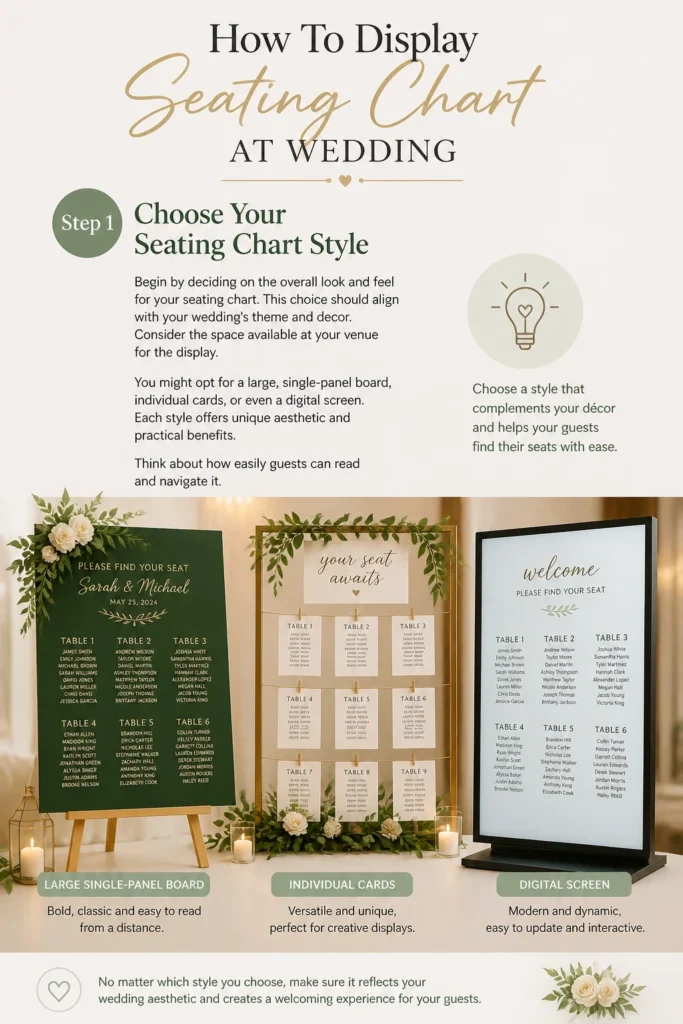
You might opt for a large, single-panel board, individual cards, or even a digital screen. Each style offers unique aesthetic and practical benefits. Think about how easily guests can read and navigate it.
Step 2: Design Your Seating Arrangement
Before you can display anything, finalize who sits where. This is often the most challenging part of the entire process. Use a digital tool or spreadsheet to organize your guest list by table.
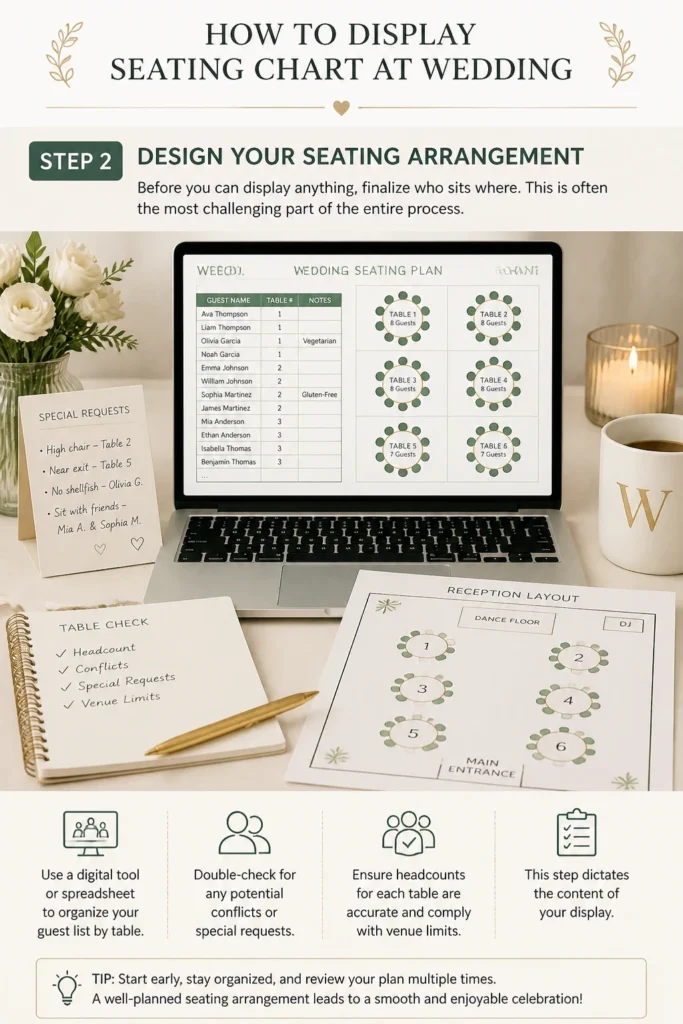
Double-check for any potential conflicts or special requests. Ensure headcounts for each table are accurate and comply with venue limits. This step dictates the content of your display.
Step 3: Select Your Display Medium
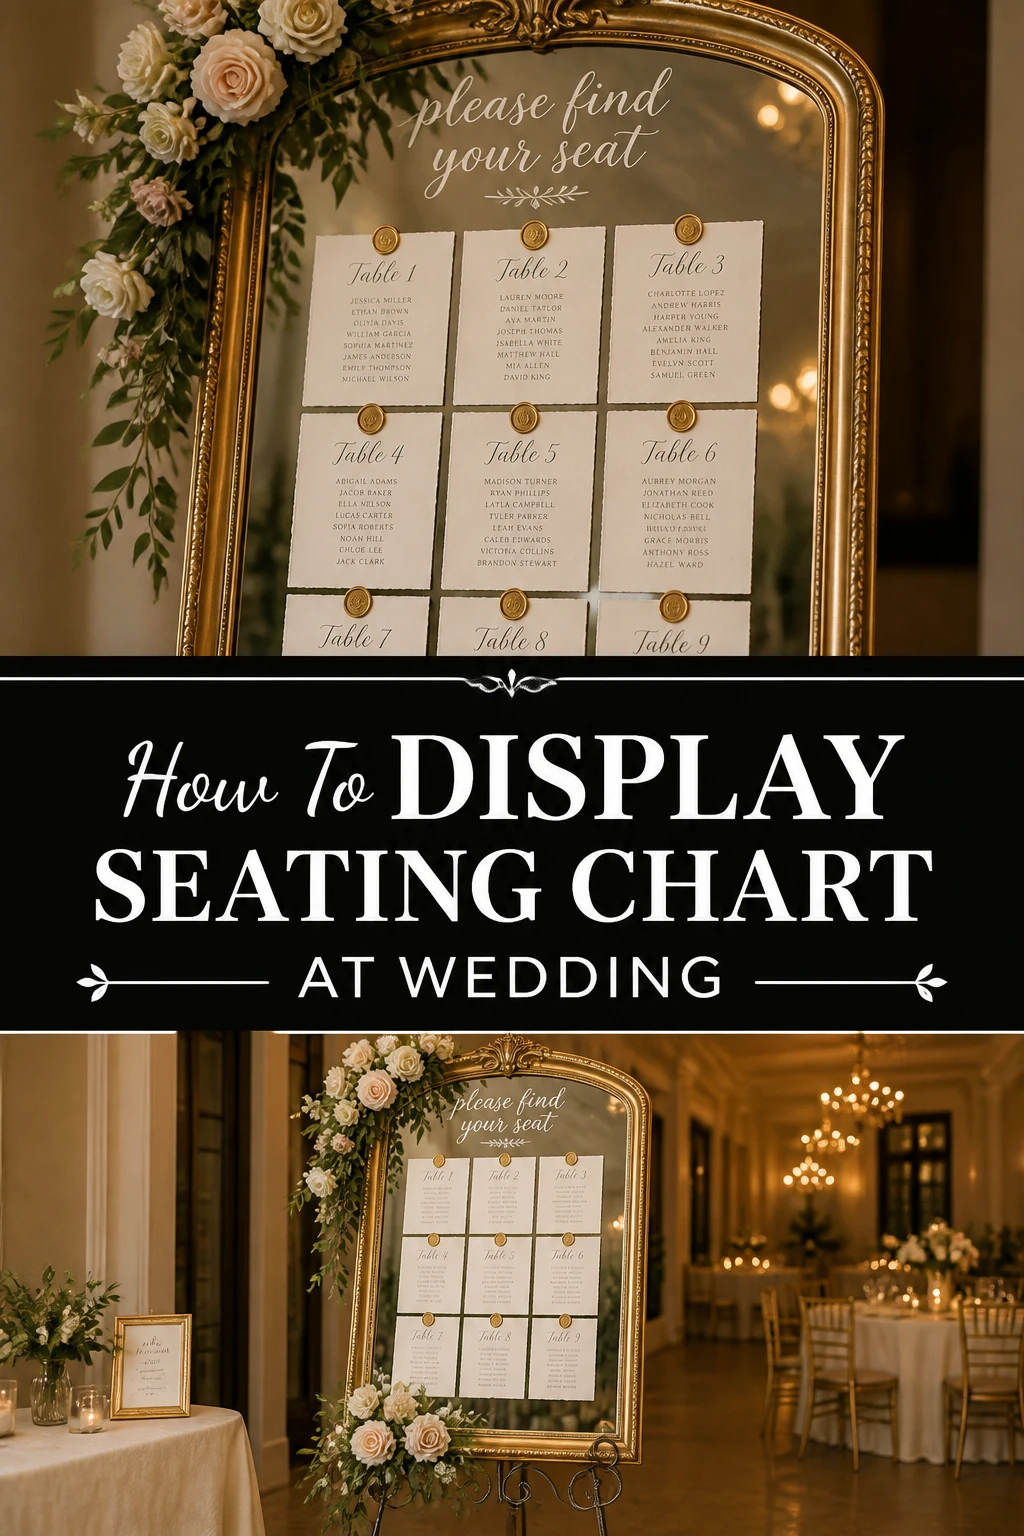
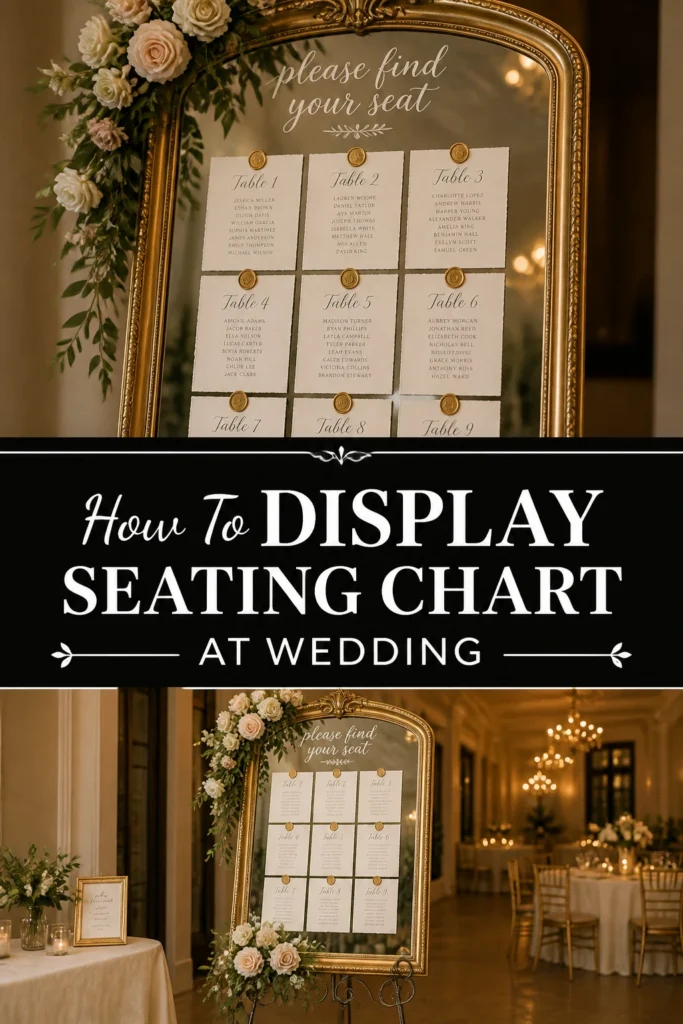
Your display medium is the physical item holding your seating information. Common choices include a large mirror, a framed poster, individual escort cards, or a wooden pallet. The medium should complement your wedding’s aesthetic.
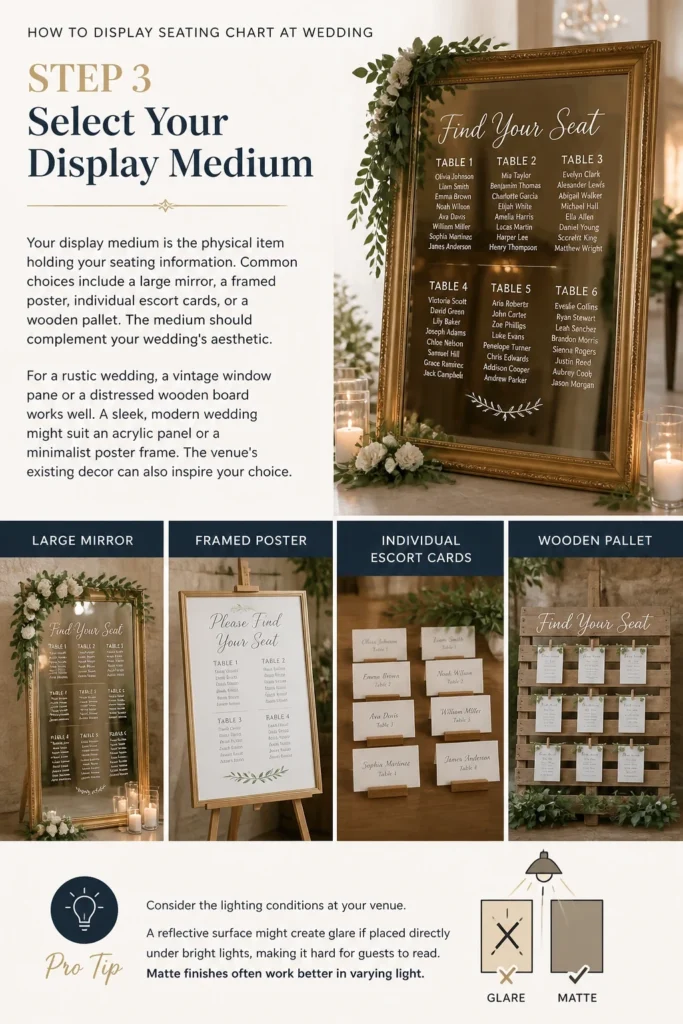
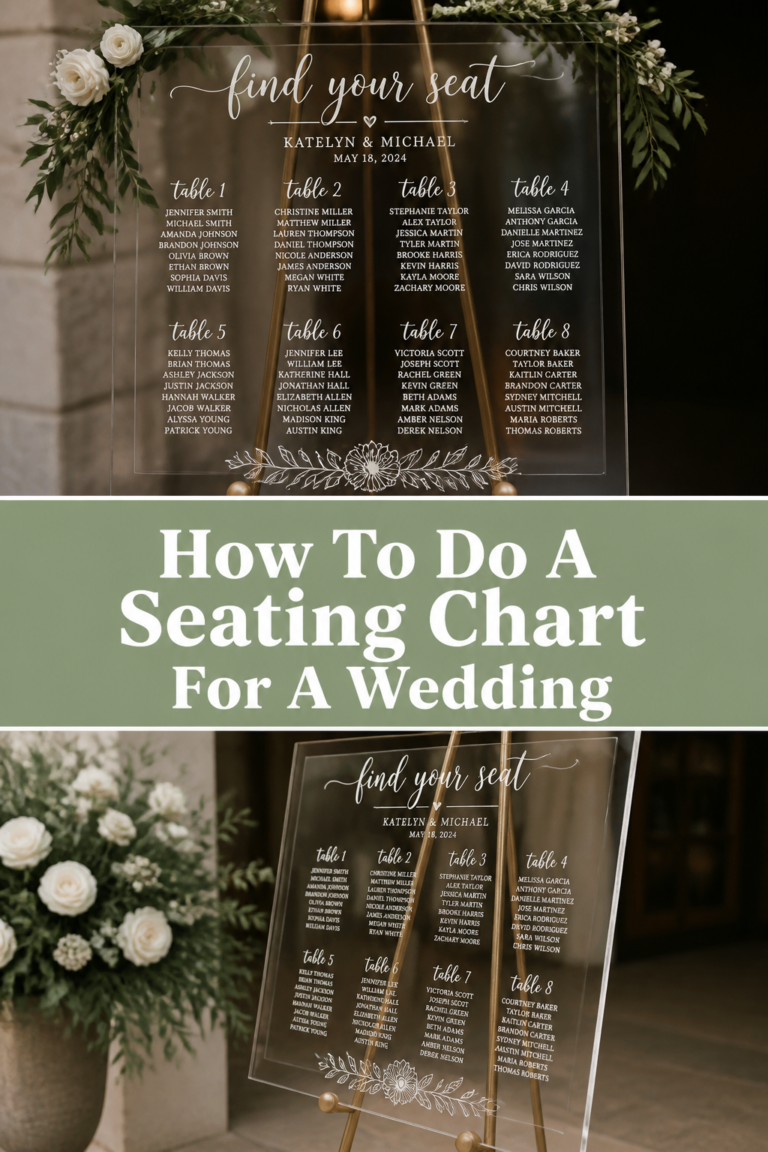
For a rustic wedding, a vintage window pane or a distressed wooden board works well. A sleek, modern wedding might suit an acrylic panel or a minimalist poster frame. The venue’s existing decor can also inspire your choice.
Pro Tip: Consider the lighting conditions at your venue. A reflective surface might create glare if placed directly under bright lights, making it hard for guests to read. Matte finishes often work better in varying light.
Step 4: Prepare Your Seating Chart Content
Once the guest list is finalized, create the actual text for your chart. This involves listing guests by table number or alphabetically. Most couples prefer alphabetical by last name for ease of searching.
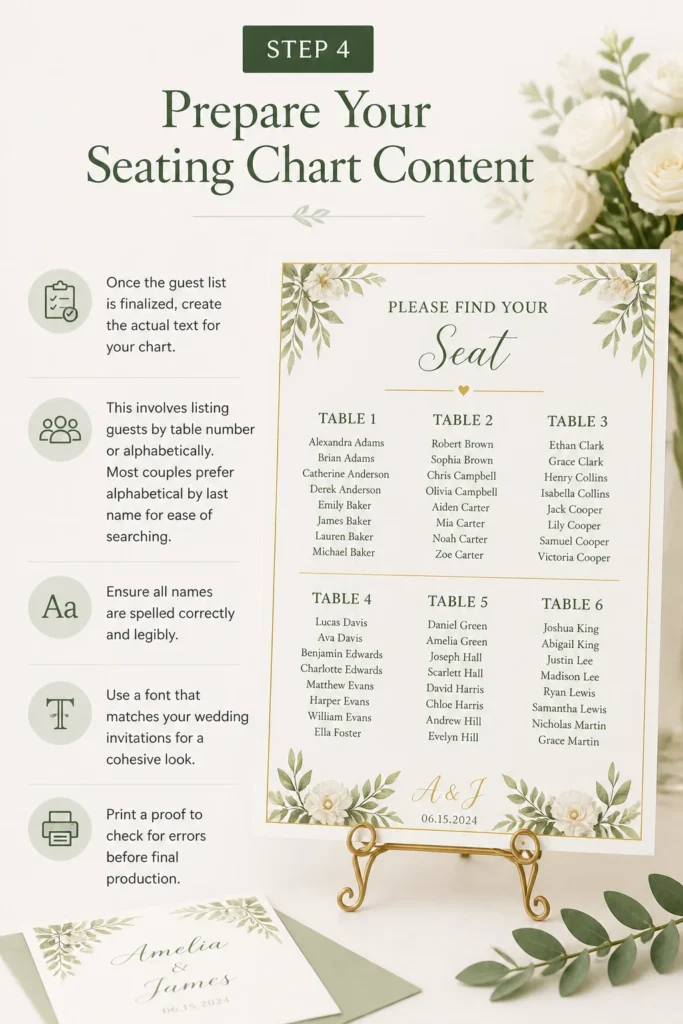
Ensure all names are spelled correctly and legibly. Use a font that matches your wedding invitations for a cohesive look. Print a proof to check for errors before final production.
Step 5: Print or Write Your Seating Chart
Depending on your chosen style, you’ll either print the chart or write it by hand. Professional printing offers a polished look, especially for large format displays. Work with a stationery designer or a local print shop.
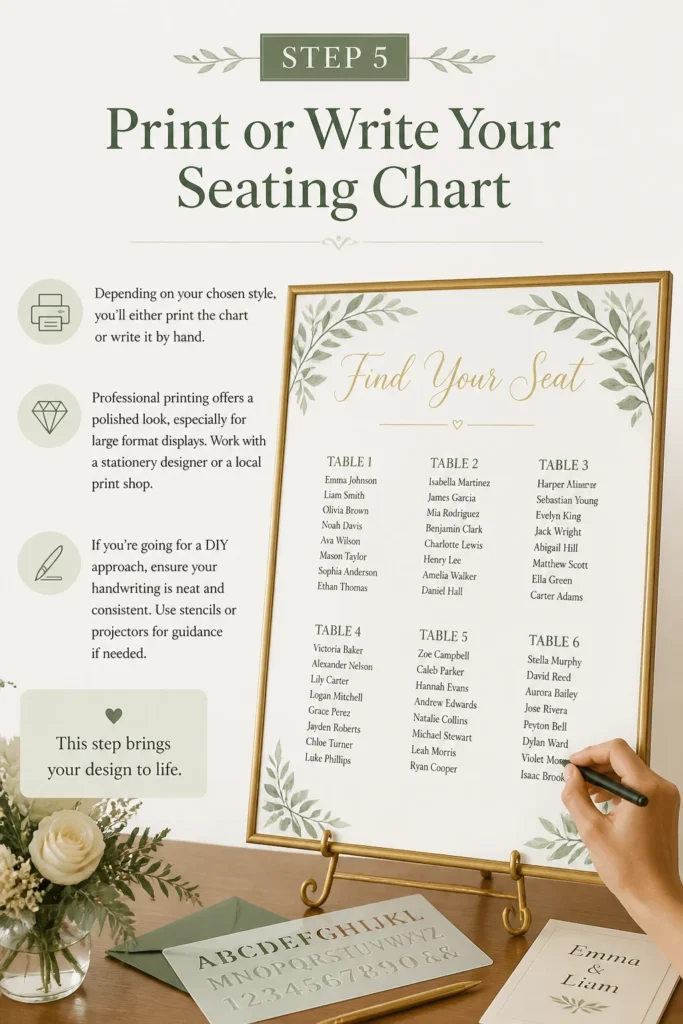
If you’re going for a DIY approach, ensure your handwriting is neat and consistent. Use stencils or projectors for guidance if needed. This step brings your design to life.
Step 6: Assemble Your Display
Now, it’s time to put everything together. If using a large board, carefully attach your printed chart using strong adhesive. Ensure it’s centered and smooth, with no bubbles or wrinkles.
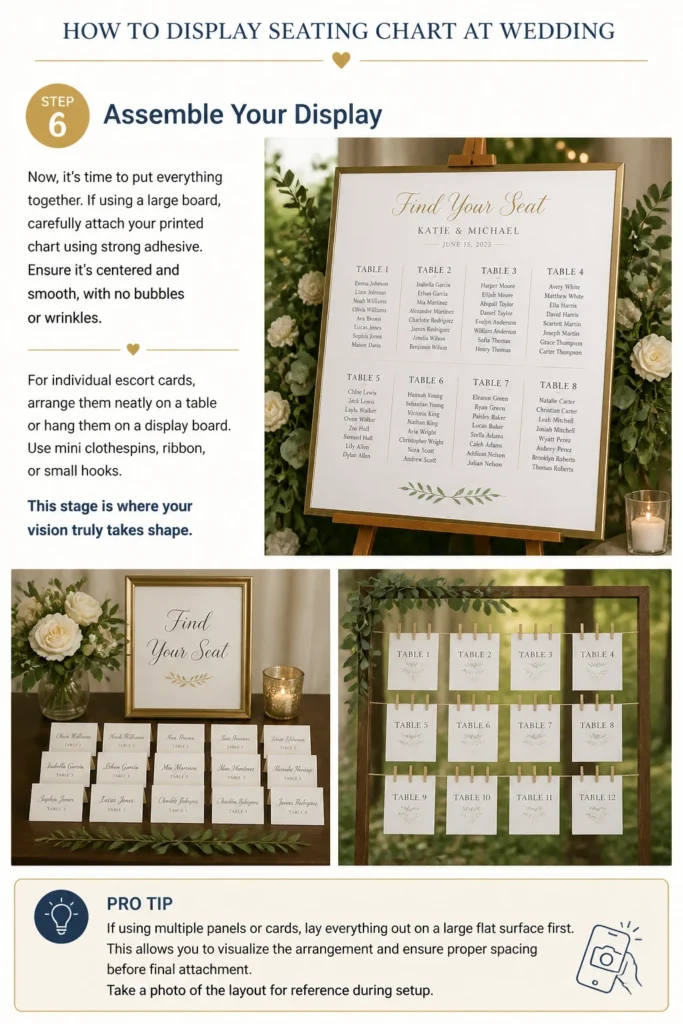
For individual escort cards, arrange them neatly on a table or hang them on a display board. Use mini clothespins, ribbon, or small hooks. This stage is where your vision truly takes shape.
Pro Tip: If using multiple panels or cards, lay everything out on a large flat surface first. This allows you to visualize the arrangement and ensure proper spacing before final attachment. Take a photo of the layout for reference during setup.
Step 7: Add Decorative Elements
Elevate your seating chart with thoughtful decorations. Flowers, greenery, fairy lights, ribbons, or personalized signage can enhance its appeal. These elements tie the chart into your overall wedding decor.
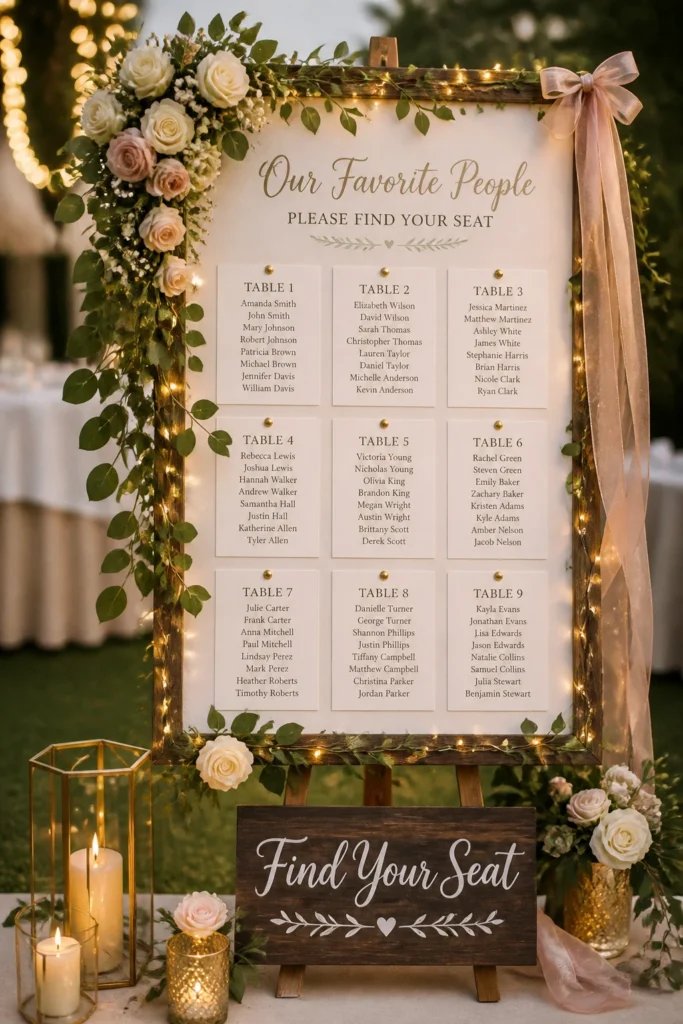
Consider adding a small “Find Your Seat” sign to guide guests. The decorations should enhance readability, not obscure it. Less can often be more when it comes to visual clutter.
Step 8: Secure Your Display
Ensure your seating chart is stable and secure at the venue. If using an easel, make sure it’s sturdy and unlikely to tip over. For hanging displays, use strong hooks or fishing line.
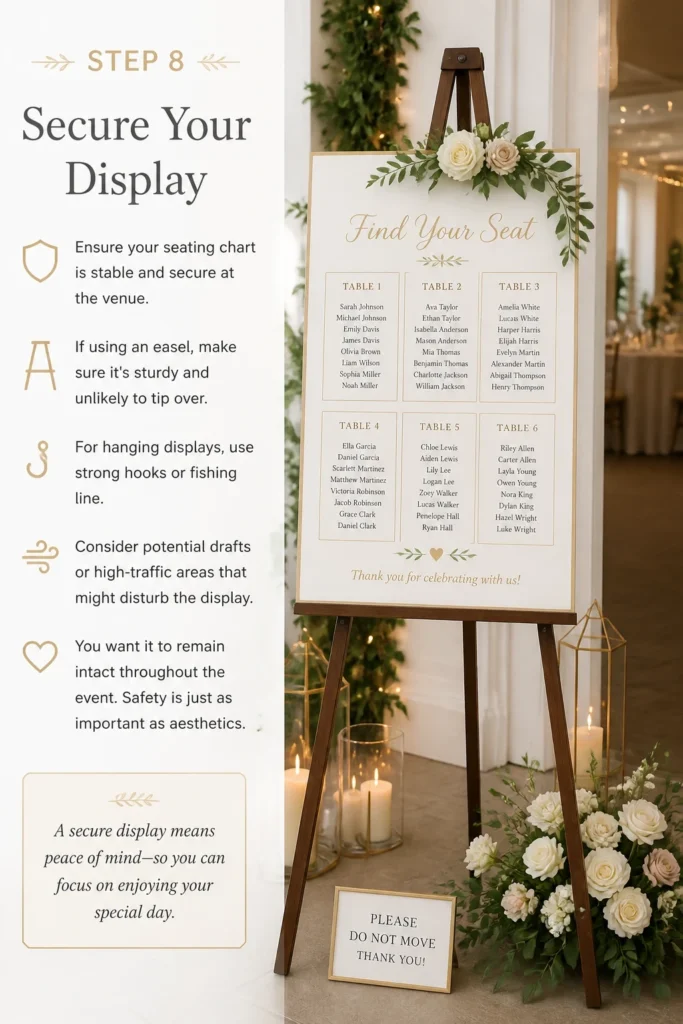
Consider potential drafts or high-traffic areas that might disturb the display. You want it to remain intact throughout the event. Safety is just as important as aesthetics.
Step 9: Position for Optimal Visibility
Place your seating chart in a prominent, well-lit area at your venue. The entrance to the cocktail hour or reception space is ideal. Avoid cramped corners or dimly lit spots.
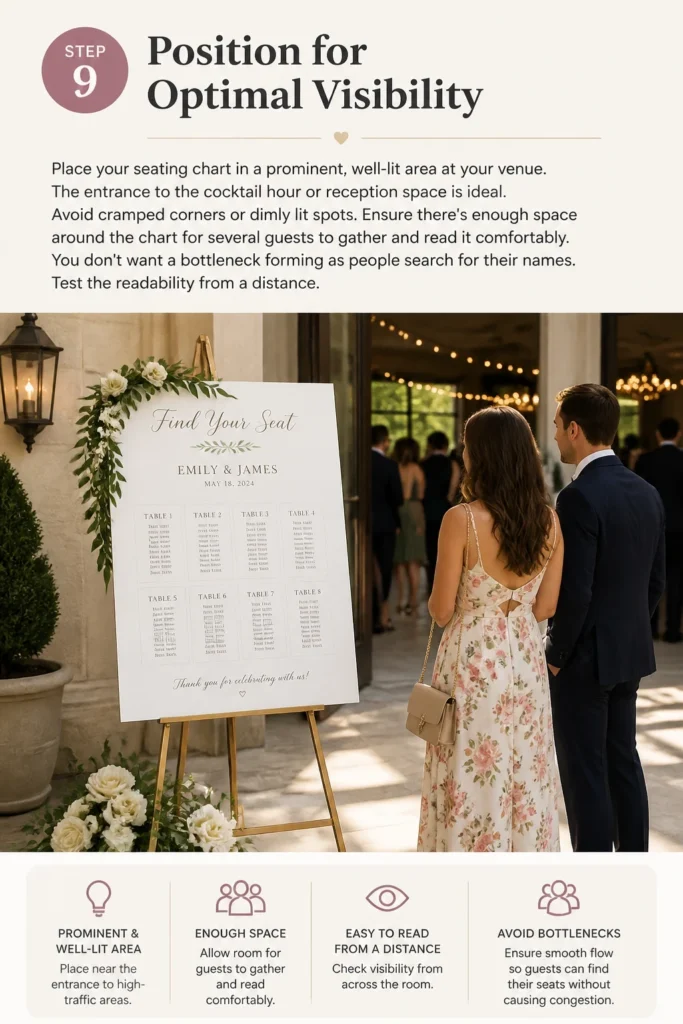
Ensure there’s enough space around the chart for several guests to gather and read it comfortably. You don’t want a bottleneck forming as people search for their names. Test the readability from a distance.
Step 10: Final Review and Adjustments
Before guests arrive, take a moment to review your entire display. Check for any last-minute errors, smudges, or misalignments. Ensure all names are visible and easy to read.
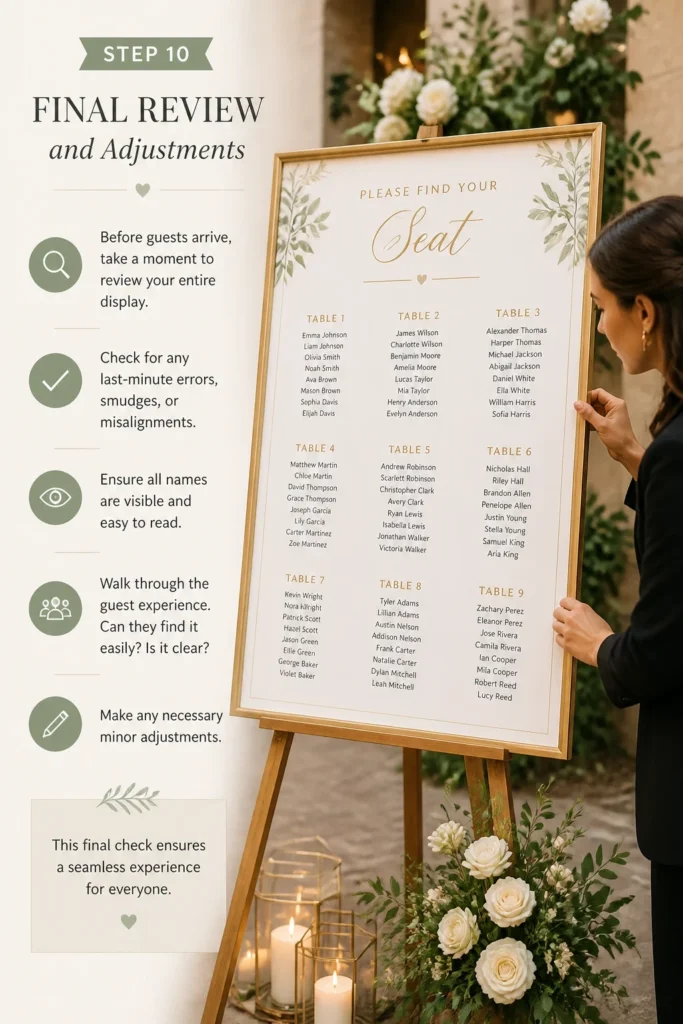
Walk through the guest experience. Can they find it easily? Is it clear? Make any necessary minor adjustments. This final check ensures a seamless experience for everyone.
Common Mistakes to Avoid
Poor Readability
A common pitfall is creating a seating chart that’s difficult to read. This often happens when fonts are too small, colors lack contrast, or the design is overly busy. Guests will squint, struggle, and potentially hold up the flow of traffic. Always prioritize clarity and legibility over intricate design choices. Use clear fonts, good contrast, and ensure adequate spacing between names and tables.
Inadequate Lighting
Even the most beautiful seating chart becomes useless in dim lighting. Placing it in a dark corner or an area with heavy shadows will frustrate guests. They won’t be able to find their names, leading to confusion and delays. Always position your chart in a well-lit area, or supplement with dedicated lighting like spotlights or fairy lights, ensuring every name is clearly visible.
Unstable Display
An unstable display is a recipe for disaster. Easels that are too light, frames that aren’t secured, or individual cards that easily fall can create chaos. A sudden gust of wind or an accidental bump could send your carefully crafted chart crashing down. Always use sturdy easels, secure frames, and strong adhesives or hanging mechanisms to prevent any mishaps throughout the event.
Last-Minute Changes
Making changes to your guest list or seating arrangement at the very last minute can lead to errors on your printed chart. While some minor adjustments are inevitable, try to finalize your seating plan at least a week before the wedding. This allows ample time for printing and assembly without rushing or introducing mistakes that are hard to correct on the day.
Troubleshooting
Chart is Hard to Read
If your guests are struggling to read the chart, the font might be too small, or the contrast isn’t strong enough. First, check the lighting around the display. Can you add a small spotlight or reposition it closer to an existing light source? If not, consider having a backup, larger printout of just the table assignments available nearby for quick reference.
Display Keeps Tipping Over
An unstable display is a safety hazard and an annoyance. If your easel or stand is wobbly, try adding weights to its base, such as sandbags or decorative stones. Ensure the surface it rests on is perfectly flat. If it’s a hanging display, double-check that all hooks and anchors are securely fastened and that the weight is evenly distributed.
Missing Guest Names
Discovering a guest’s name is missing or incorrect on the day of the wedding can be stressful. First, check your master guest list to confirm the correct spelling and table assignment. If it’s a small error, you might discreetly write it in with a matching pen if possible. For larger omissions, inform the wedding coordinator or a trusted bridal party member to guide the guest to their correct table manually.
Key Takeaways
- Align with Theme: Choose a seating chart style that complements your overall wedding decor and aesthetic.
- Prioritize Readability: Always ensure names and table numbers are clear, legible, and easy to find for all guests.
- Plan Early: Finalize your guest list and seating arrangement well in advance to avoid last-minute stress and errors.
- Secure Your Display: Use sturdy stands, strong adhesives, and reliable hanging methods to prevent mishaps.
- Optimize Placement: Position the chart in a well-lit, easily accessible area with ample space for guests to gather.
- Decorate Thoughtfully: Enhance your display with decorative elements that add charm without obscuring information.
Frequently Asked Questions
Should I list guests alphabetically or by table number?
Listing guests alphabetically by last name is generally preferred. This makes it much easier and faster for guests to locate their own name without having to scan multiple tables. Once they find their name, their assigned table number will be clearly listed beside it.
What size should my seating chart be?
The size depends on your guest count and chosen display style. For a large single board, ensure it’s big enough for all names to be clearly legible from a comfortable distance, typically around 24×36 inches for 100-150 guests. Individual escort cards allow for more flexibility in overall display size.
Can I make my own seating chart display?
Absolutely! DIY seating charts can add a personal and unique touch to your wedding. Just ensure you have enough time, the necessary materials, and a steady hand. Consider your artistic abilities and available resources before committing to a fully DIY approach to ensure a polished final product.
Where is the best place to put the seating chart at the venue?
The ideal spot is usually at the entrance of your cocktail hour or reception space. This allows guests to find their seats before entering the main dining area. Ensure it’s not in a high-traffic bottleneck and is easily visible and accessible from all approaches.
Our Top Recommended Finds
- Large White Foam Board: Perfect for mounting printed charts, lightweight and easy to decorate.
- Decorative Easel Stand: Provides a stable and elegant base for your display board or framed chart.
- Mini Wooden Clothespins & Twine: Ideal for creating a rustic or whimsical hanging escort card display.
Crafting Your Perfect Welcome
A thoughtfully displayed seating chart does more than just guide guests; it sets a tone of organization and care for your entire celebration. It’s an opportunity to infuse your wedding’s personality into a practical detail, making the guest experience smooth and enjoyable from the moment they arrive.
Now is the perfect time to visualize your seating chart display and start gathering inspiration. Don’t wait until the last minute – begin planning this crucial element today to ensure a beautiful and stress-free wedding day.
Wedding Planning
No fluff, no drama. Just easy weekly advice, planning shortcuts, and gentle reminders to help you actually enjoy your engagement.