🎀 How To Tie A Ribbon Bow On Invitation
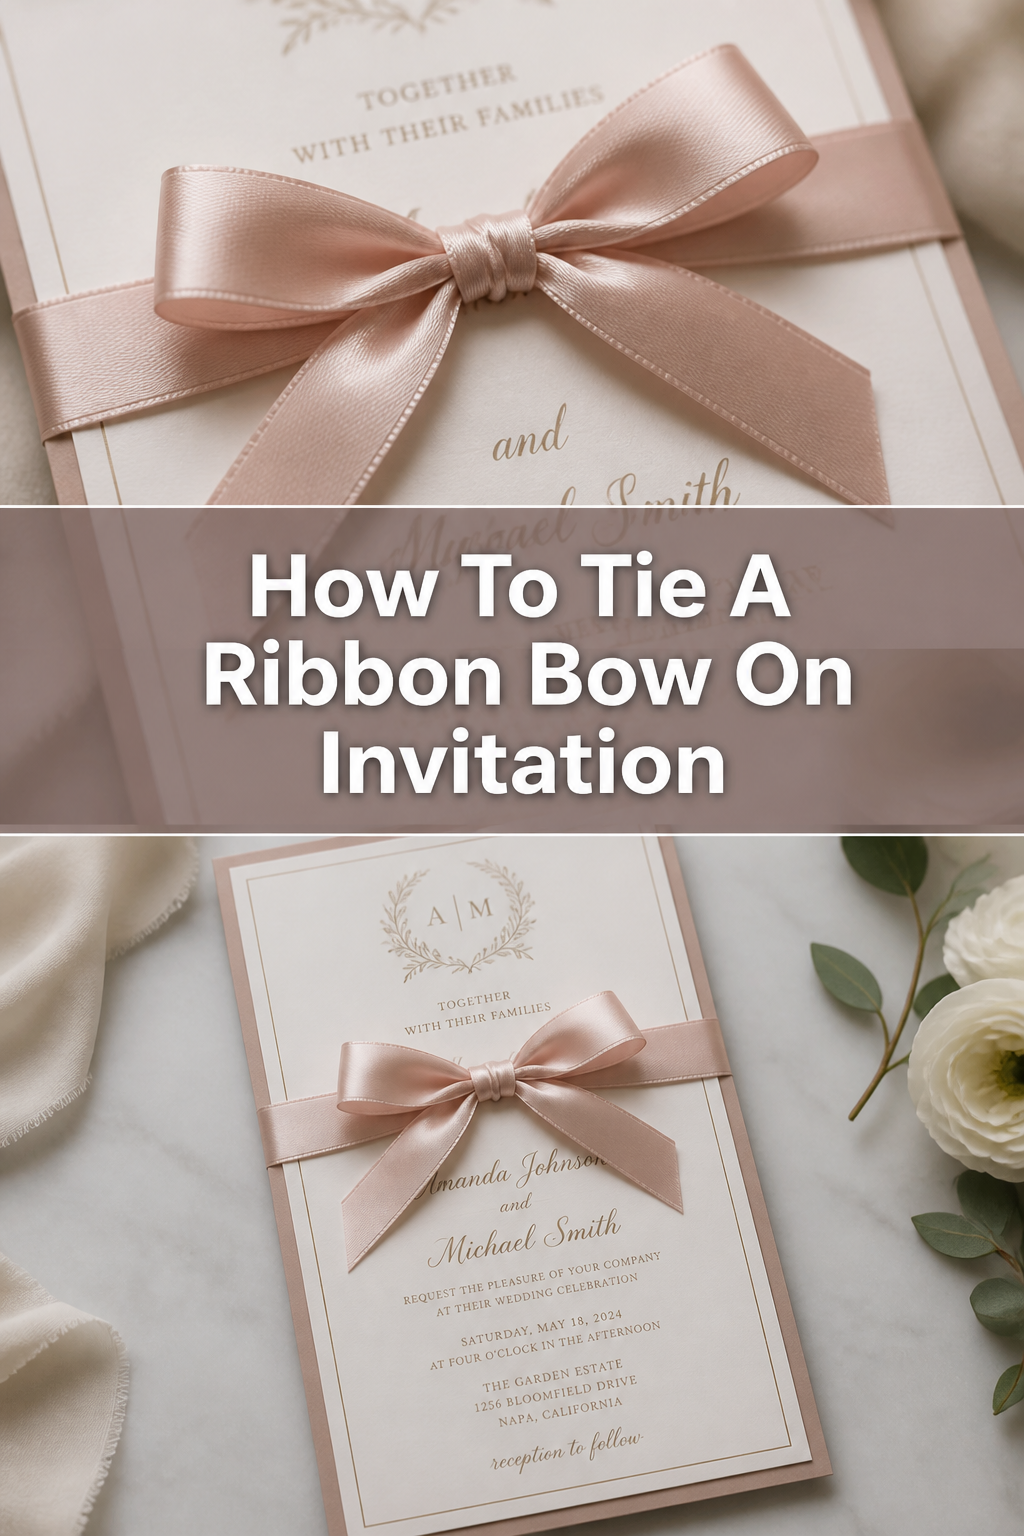
For years, I’ve found immense joy in crafting beautiful invitations. The smallest details, like a perfectly tied ribbon bow, truly elevate the experience.
It transforms a simple card into a cherished keepsake, hinting at the elegance of the event to come. This guide shares my tried-and-true methods for achieving that flawless finish every time.
Quick Overview
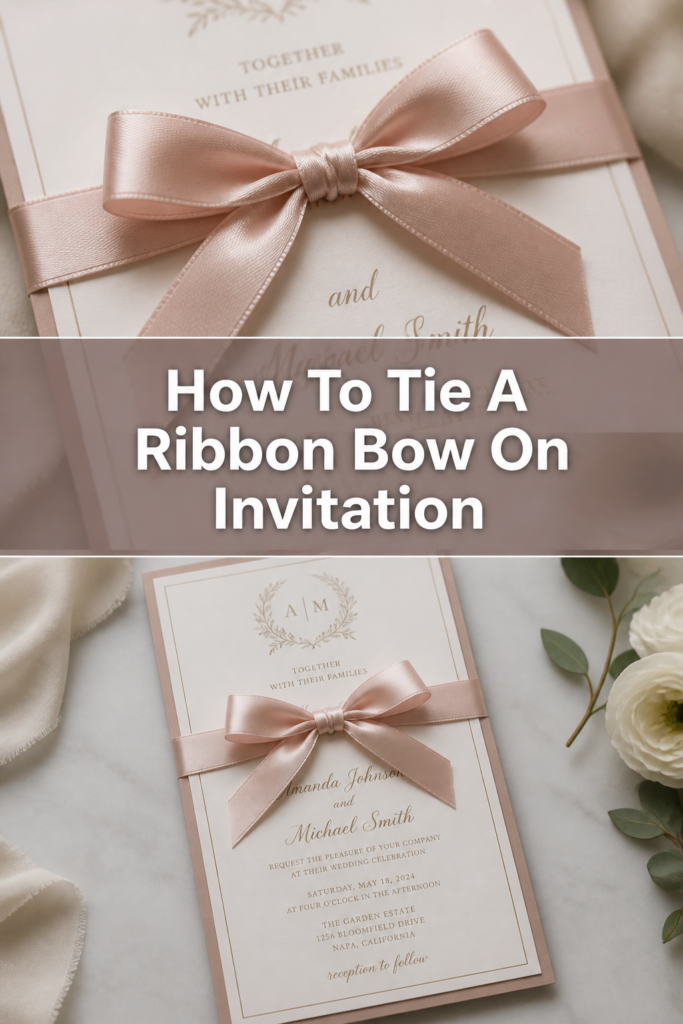
Tying a ribbon bow on an invitation adds a touch of sophistication and charm. This process will guide you to create elegant embellishments for all your special stationery.
- Time needed: 5-10 minutes per invitation (once familiar)
- Difficulty: Beginner
- What you’ll need: Ribbon, invitations, sharp scissors, optional glue dots
Step-by-Step Instructions
Step 1: Choose Your Ribbon and Invitation
Select a ribbon that complements your invitation’s design and color scheme. Consider the material; satin, grosgrain, and sheer organza are popular choices for their drape and texture.
Your invitation should be ready for embellishment, typically with all printing complete. Ensure it’s clean and free of smudges before you begin.
The width of your ribbon matters. A narrower ribbon (0.5-1 inch) often looks more delicate on standard invitations.
Step 2: Measure and Cut Your Ribbon Length
Hold your ribbon around the invitation, wrapping it once horizontally or vertically. Allow for generous tails on each side where the bow will be tied.
I usually estimate about 12-18 inches of ribbon for a standard bow, but this varies with ribbon width and desired bow size. It’s always better to cut a little extra than too little.
You can always trim excess later, but you cannot add more once cut. Make a clean, sharp cut with your scissors.
Pro Tip: Cut the ends of your ribbon at a diagonal or a “V” shape immediately after cutting to prevent fraying and give a more finished look from the start.
Step 3: Position the Ribbon on Your Invitation
Center the ribbon across your invitation, either horizontally or vertically. Decide where you want the bow to sit – often in the middle, or slightly offset.
Hold the ribbon firmly in place at the back of the invitation. You want it snug but not so tight that it creases the cardstock.
Bring both ends of the ribbon to the front of the invitation, ensuring they meet at your desired bow location.
Step 4: Create the First Knot (The Base)
Cross one ribbon tail over the other, just as you would when starting to tie a shoelace. This forms the foundational knot.
Pull one tail underneath the other and then up through the loop you just created. Gently pull both tails to tighten this knot against the invitation.
This initial knot should be firm enough to secure the ribbon, preventing it from slipping. Do not overtighten, which can wrinkle your invitation.
Step 5: Form the Loops for Your Bow
Take one ribbon tail and fold it back on itself to create a loop. This will be the first “ear” of your bow.
Hold this loop securely between your thumb and forefinger at the center of the knot. The size of this loop will determine the overall size of your finished bow.
Take the second ribbon tail and bring it over the top of the first loop, wrapping it around the center where you are holding the first loop.
Step 6: Thread the Second Loop Through
Push the second ribbon tail underneath the first loop and then up through the opening created by the wrap. This forms your second loop.
You now have two loops and two trailing tails. This is the classic bow shape in its nascent stage.
Ensure both loops are roughly the same size at this point. Adjust them gently before tightening.
Step 7: Adjust and Tighten Your Bow
Carefully pull on both loops simultaneously to tighten the knot at the center of your bow. Do this slowly and deliberately.
As you pull, observe the shape of your bow. You can manipulate the loops and tails to achieve a balanced, symmetrical appearance.
Adjust the angle and length of the loops until they look perfect. Small tugs can make a significant difference.
Pro Tip: For a professional, flat-lying bow, ensure the ribbon lays flat against itself at the knot. Avoid twisting the ribbon as you pull the loops through.
Step 8: Trim the Ribbon Tails
Once your bow is perfectly shaped and tightened, it’s time to trim the tails. Use your sharp scissors to cut the ends.
You can cut them straight, at an angle, or create a decorative “V” shape. Angled cuts are very common and elegant.
Ensure both tails are of equal length for a balanced look. This small detail adds greatly to the overall presentation.
Step 9: Secure the Bow (Optional)
For extra security, especially if your invitations will be mailed, consider adding a small dab of craft glue or a mini glue dot. Place it discreetly under the knot.
This prevents the bow from unraveling or shifting during transit. Make sure the adhesive is clear-drying and suitable for fabric and paper.
Alternatively, you can just rely on a tightly tied knot. Practice will help you determine if additional security is needed for your specific ribbon and use case.
Common Mistakes to Avoid
Overtightening the Ribbon
Pulling the ribbon too tightly around the invitation can cause the cardstock to buckle or wrinkle. This ruins the crisp, clean look of your stationery. Instead, aim for a snug fit that holds the ribbon in place without deforming the invitation. Gentle tension is key to a smooth finish.
Uneven Loop Sizes
A common pitfall is creating loops that are noticeably different in size. This results in a lopsided and unprofessional-looking bow. Take your time in Step 6 to carefully adjust the loops until they are symmetrical before fully tightening the knot. Visual balance is crucial for an elegant bow.
Twisted Ribbon at the Knot
When forming and tightening the bow, the ribbon can sometimes twist on itself, especially with satin varieties. This creates an untidy, bulky knot. Always ensure the ribbon lies flat against itself as you pull the loops through and tighten, maintaining a smooth surface at the center.
Frayed Ribbon Ends
Leaving ribbon ends untrimmed or cut with dull scissors can lead to unsightly fraying. This detracts significantly from the polished appearance of your invitation. Always use very sharp scissors and consider cutting ends at an angle or a “V” shape to minimize fraying and enhance the aesthetic.
Troubleshooting
Bow Keeps Coming Undone
If your bow repeatedly unravels, the initial knot might not be tight enough. Ensure you pull the first cross-over knot firmly, but gently, against the invitation. For slippery ribbons like satin, a small, discreet glue dot placed under the knot before tying can provide extra grip and stability.
Ribbon Slips Around the Invitation
This usually happens if the ribbon isn’t snug enough around the invitation itself. Before tying the bow, make sure the ribbon is held firmly against the card. Alternatively, use a tiny amount of double-sided tape or a glue dot on the back of the invitation to anchor the ribbon in place before bringing the ends to the front to tie.
Loops Look Uneven After Tightening
It’s common for loops to become slightly uneven during the final tightening. Don’t worry; you can still adjust them. Gently pull on the individual loops or the tails to redistribute the ribbon until symmetry is achieved. Slight adjustments often resolve this issue without needing to untie and restart.
Key Takeaways
- Choosing the right ribbon type and width significantly impacts the final look.
- Measure your ribbon generously to ensure ample length for beautiful tails.
- The initial knot should be snug against the invitation but never overtightened.
- Take your time forming and adjusting the loops for a perfectly symmetrical bow.
- Always use sharp scissors for clean cuts on your ribbon ends.
- Consider optional adhesive for added security, especially for mailed invitations.
Frequently Asked Questions
What type of ribbon is best for invitations?
Satin, grosgrain, and sheer organza ribbons are highly recommended. Satin offers a luxurious sheen, grosgrain provides a textured, matte finish, and organza gives a delicate, ethereal touch. The best choice depends on your invitation’s style and desired aesthetic.
How do I prevent the ribbon from fraying?
Using very sharp scissors is the first step to prevent fraying. Cutting the ribbon ends at a sharp diagonal angle or creating a “V” notch also helps seal the edges. For particularly stubborn ribbons, a tiny dab of clear fabric sealant can be applied to the very tip of the cut edge.
Can I pre-tie bows and attach them later?
Yes, you absolutely can pre-tie bows! Many people find this method efficient. Once tied, you can attach them to your invitations using a strong craft glue dot or a small amount of hot glue. This allows for consistent bow size and speeds up assembly.
How much ribbon do I need per invitation?
For a standard A7 invitation, a length of 18-24 inches of ribbon is usually sufficient for a classic bow. This allows for comfortable handling and decent-sized tails. Always test with your specific invitation and desired bow style to determine the ideal length.
Our Top Recommended Finds
- Double-Faced Satin Ribbon: Offers a beautiful sheen on both sides, ensuring your bow looks elegant from any angle.
- Precision Craft Scissors: Essential for clean, crisp cuts that prevent fraying and give a professional finish to your ribbon ends.
- Mini Glue Dots: Perfect for discreetly securing bows or ribbon wraps without leaving visible residue or causing damage to delicate paper.
Embrace the Art of Elegant Embellishment
Mastering the art of tying a ribbon bow on an invitation adds an undeniable touch of class to your events. It’s a skill that transforms ordinary stationery into something truly special.
Each perfectly tied bow whispers of the care and attention you’ve poured into your celebration. Now, go forth and adorn your invitations with confidence and grace.
Start practicing today, and watch your invitations become cherished keepsakes for all your guests.