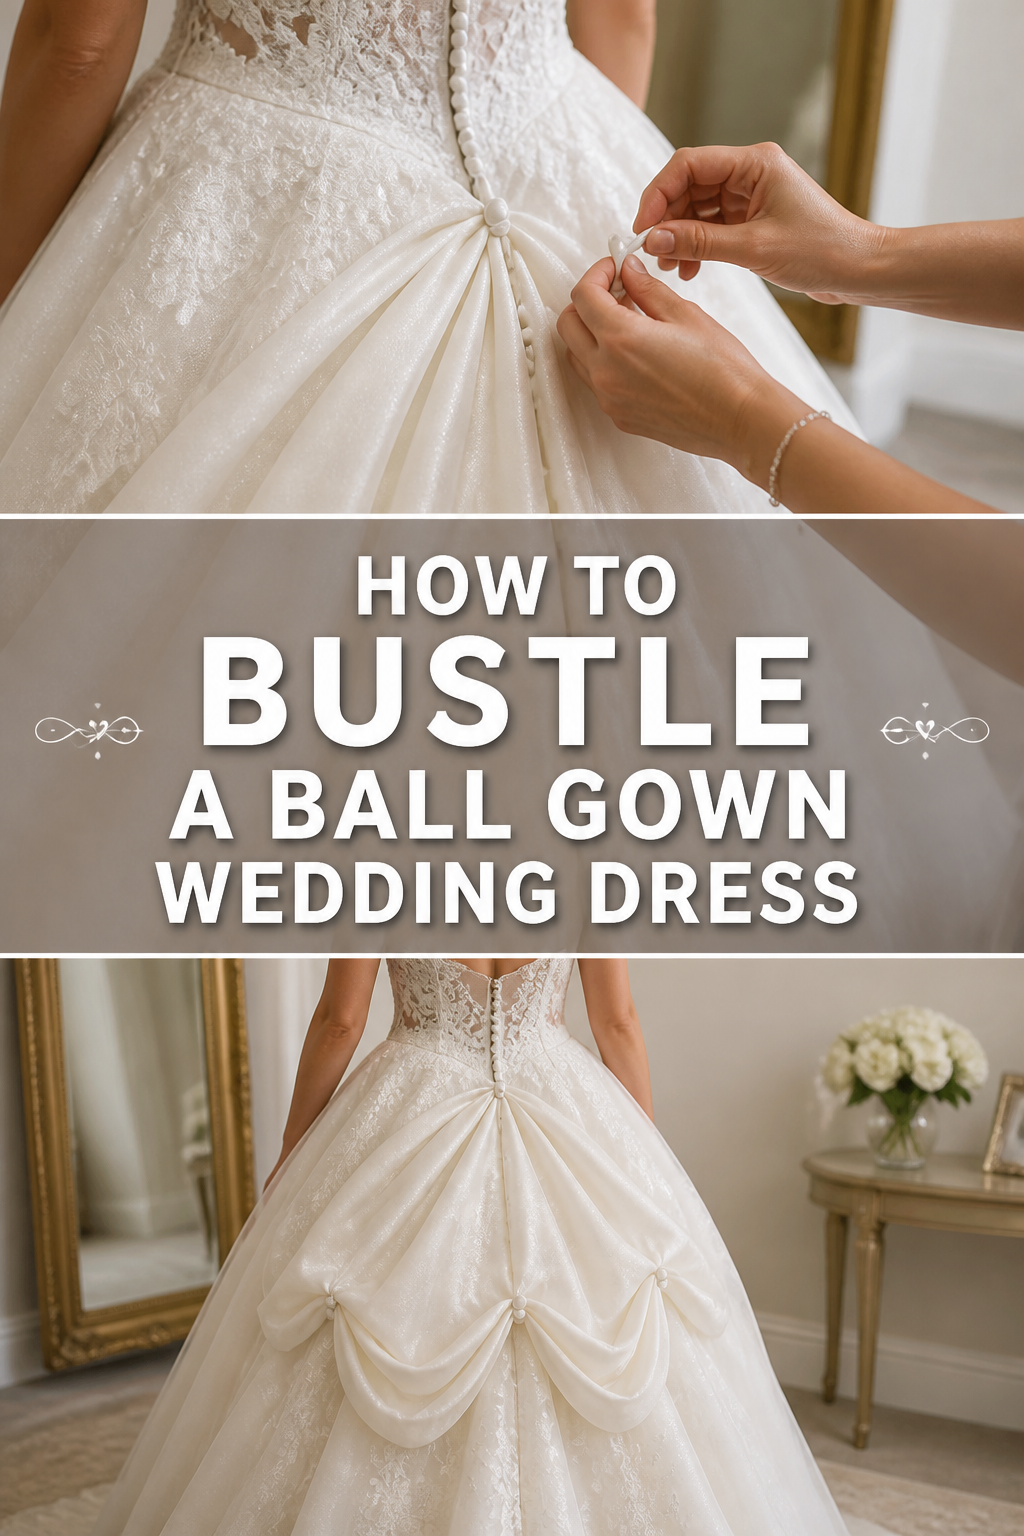
👰♀️ How To Bustle A Ball Gown Wedding Dress
The wedding day is a whirlwind of emotions, beauty, and unforgettable moments. After saying “I do,” the next big step is often transforming that elegant train for the reception.
Bustling a ball gown wedding dress might seem daunting, but it’s a manageable task with the right guidance. Having personally assisted in bustling numerous wedding dresses, I understand the subtle nuances and the importance of a secure, beautiful result.
This guide will walk you through every detail, ensuring the bride can dance the night away in comfort and style.
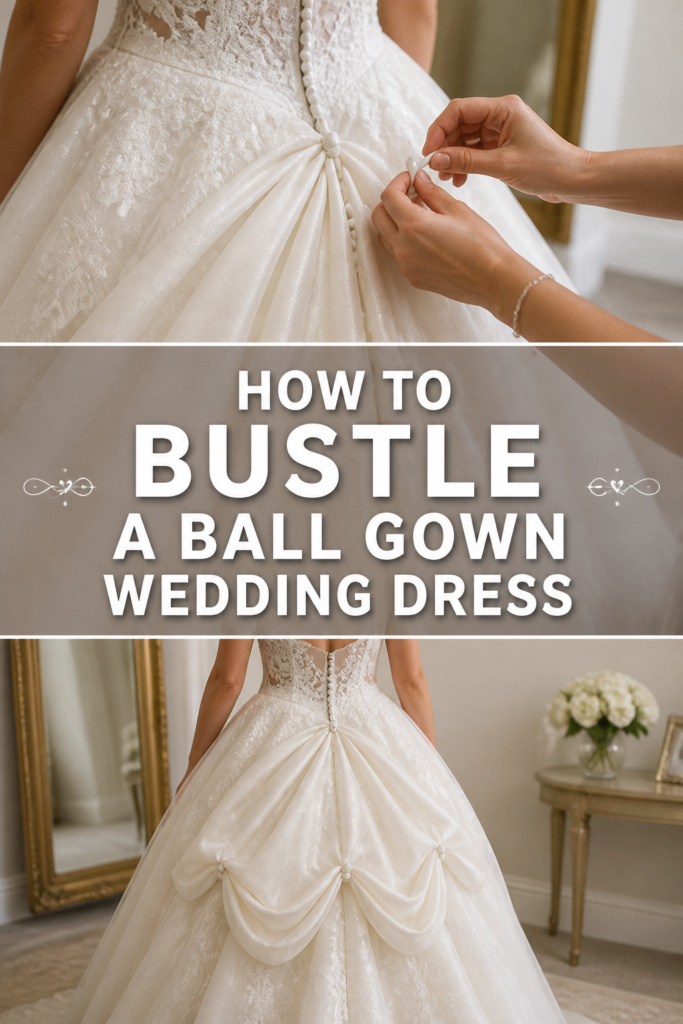
Quick Overview
Bustling a wedding dress allows the bride to move freely, protecting her train from damage and making dancing much easier. It transforms a formal silhouette into a reception-ready gown.
- Time needed: 10-20 minutes (after initial practice)
- Difficulty: Intermediate
- What you’ll need: The dress, the bride, 1-2 helpers, a clear, well-lit space.
Step-by-Step Instructions
Step 1: Understand Your Bustle Type
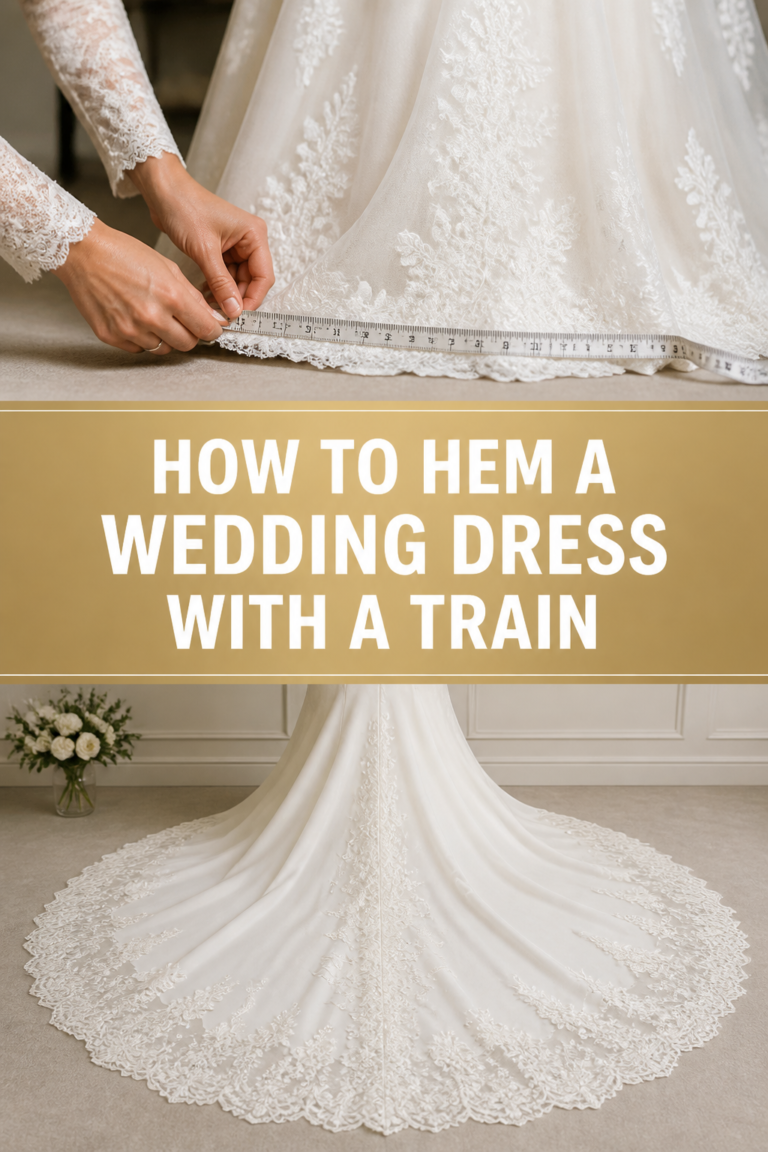
Before you begin, it is crucial to identify the specific bustle style of the wedding dress. There are various types, such as the over-bustle (French), under-bustle (American), train-flip, or ballroom bustle. Each method uses different attachment points and techniques.
Your bridal consultant or seamstress should have shown the bride (and ideally her designated bustle helper) how her unique bustle works. Take a moment to recall the specific instructions and look for the designated hooks, loops, ribbons, or buttons.
Step 2: Gather Your Bustle Team
Bustling a ball gown, especially one with a voluminous train, is not a one-person job. You will need at least one, and ideally two, dedicated helpers. These individuals should be calm, patient, and good at following instructions.
Ensure your chosen helpers are present during the final fitting. This allows them to learn the specific bustle technique directly from the seamstress. They can also practice under supervision, building confidence for the big day.
Pro Tip: Designate one person as the “lead bustler” to direct the process. This prevents confusion and ensures a smoother operation. The second person can assist with lifting the train and managing fabric.
Step 3: Locate the Attachment Points
Carefully identify all the bustle attachment points on the dress. These are usually small, discreet loops, buttons, hooks, or ribbons. Some dresses have a single central point, while others have multiple points arranged in a pattern.
Often, these points are color-coded or numbered by the seamstress to make matching easier. If not, take a moment to understand their arrangement on the dress before starting to lift the train.
- Examine the underside of the train for loops or ribbons.
- Look along the waistline or upper skirt for corresponding buttons or hooks.
- Note any unique markings or threads that indicate a specific match.
Step 4: Practice the Connection
With the bride standing still, begin to lift the train and practice matching the attachment points. If there are multiple points, it’s often easiest to start with the central or highest point first. This helps to anchor the bustle.
Take your time to gently align each loop with its corresponding button or hook. Avoid forcing anything, as this could damage the delicate fabric or the attachment itself. The goal is a smooth, secure connection.
- Lift the train gently but firmly.
- Match the first set of corresponding points.
- Connect them securely, whether it’s looping a ribbon, buttoning a loop, or hooking an eye.
Pro Tip: If the points are color-coded, double-check that you are matching the correct colors. If they are numbered, follow the sequence carefully. This ensures the bustle lays correctly.
Step 5: Secure the Bustle
Once you have identified the attachment points, begin securing the bustle methodically. Start with the highest or central point, as this often sets the overall drape. Then, work your way outwards or downwards, depending on the bustle style.
For buttons and loops, gently push the button through the loop until it’s secure. For hooks and eyes, align the hook with the eye and ensure it latches firmly. If using ribbons, tie them in a neat, double knot or bow that won’t easily come undone.
- Engage the primary attachment point first.
- Work systematically through all remaining connections.
- Confirm each attachment is firmly secured without pulling or stretching the fabric excessively.
Step 6: Distribute the Fabric
After all attachment points are secured, the next critical step is to evenly distribute the gathered fabric of the train. A well-bustled dress should look elegant and balanced, not lumpy or haphazard. This often requires gentle manipulation of the fabric.
Starting from the top of the bustle, gently smooth out any creases or bunched areas. Allow the fabric to fall naturally, creating soft folds or drapes, depending on the dress design. The goal is to create a pleasing silhouette that complements the gown’s overall shape.
- Smooth the fabric from the top of the bustle down.
- Arrange the folds so they look intentional and even.
- Check for any areas where fabric is pulling or creating an awkward bulge.
Step 7: Double-Check for Security
Once the bustle appears to be in place, perform a thorough security check. Gently tug on various parts of the bustled train to ensure all connections are holding firm. The last thing anyone wants is for the bustle to come undone mid-dance.
This is also the moment to confirm that the attachments are not pulling too tightly on the dress fabric. Excessive tension could cause damage or discomfort for the bride. A secure bustle should feel stable but not strained.
- Gently test each attachment point.
- Look for any signs of strain on the fabric or stitching.
- Ensure no loops are slipping or buttons are loose.
Step 8: Final Adjustments and Walk Test
With the bustle secure, ask the bride to take a few steps and perhaps even a gentle spin. Observe how the bustled train moves with her. This “walk test” is crucial for identifying any areas that might need minor adjustments.
Look for areas that sag too much, pull unevenly, or feel uncomfortable to the bride. Make small, precise adjustments as needed to refine the drape and ensure comfort. The goal is a bustle that looks beautiful and allows for effortless movement.
- Ask the bride to walk, turn, and sit (if applicable).
- Observe how the bustle settles and moves.
- Make any final tweaks to fabric distribution or attachment security.
Common Mistakes to Avoid
Ignoring Practice Sessions
One of the biggest mistakes is skipping practice sessions before the wedding day. Bustling can be intricate, and trying it for the first time under pressure often leads to frustration and a less-than-perfect result. Practice allows helpers to become familiar with the specific attachment points and the unique drape of the dress, building confidence.
Rushing the Process
Attempting to bustle the dress too quickly can lead to missed connections, uneven fabric distribution, or even damage to the delicate gown. Take your time, even if the reception is starting. A few extra minutes spent bustling carefully will save headaches later and ensure the bride looks flawless.
Not Distributing Weight Evenly
A common issue is attaching the bustle points without considering the overall balance of the train. If the weight isn’t distributed evenly across all attachment points, the bustle can sag, pull uncomfortably, or even tear at the fabric. Always ensure the fabric drapes naturally and without undue strain on any single point.
Forgetting to Check for Snags
Before the bride starts moving around, always do a quick check for any fabric snags. Loose threads, sharp edges on accessories, or even the attachment points themselves can catch on the delicate train fabric. A quick visual inspection can prevent small tears or pulls, preserving the dress’s beauty.
Troubleshooting
Bustle Feels Too Heavy/Sags
If the bustled train feels too heavy or starts to sag shortly after being secured, it often indicates uneven weight distribution or insufficient attachment points. Re-examine the connections to ensure all designated points are engaged. Sometimes, a hidden loop or button was missed, leading to excess fabric pooling in one spot.
Gently lift the sagging area and check for any loose connections. If the issue persists, you might need to slightly redistribute the fabric, ensuring the weight is spread across all attachment points. In some cases, very heavy trains might benefit from an additional, discreet safety pin (used carefully) if the original points are truly struggling.
Fabric Bunching Unevenly
Uneven bunching is usually a sign that the fabric wasn’t smoothed out properly during the distribution step. This can also happen if attachment points were connected out of sequence, causing the fabric to gather awkwardly. Unclip or untie the bustle and start again.
As you re-bustle, pay close attention to how the fabric falls. Use your hands to gently guide the material into soft, even pleats or folds as you secure each point. Imagine creating a balanced, flowing silhouette rather than just gathering fabric.
A Loop or Button Comes Undone
It’s not uncommon for a single loop or button to come undone, especially during vigorous dancing. The first step is to calmly identify which connection has failed. If it’s a button, simply re-button it. If a loop has stretched or torn, or a hook has come loose, you may need a quick fix.
A small sewing kit (which should be on hand for emergencies) can be invaluable here. A quick stitch can re-secure a loop. As a temporary measure, a sturdy safety pin can often bridge the gap if a loop is completely broken, positioning it discreetly from the inside of the dress.
Key Takeaways
- Understand Your Bustle Type: Know the specific method (over, under, etc.) for the dress.
- Practice is Essential: Rehearse the bustling process with your helpers before the wedding day.
- Locate All Points: Carefully identify and match all designated loops, buttons, or hooks.
- Secure Methodically: Start with central points and work outwards, ensuring each connection is firm.
- Distribute Fabric Evenly: Smooth and arrange the train for a balanced, elegant drape.
- Perform a Walk Test: Have the bride move around to confirm comfort and stability of the bustle.
Frequently Asked Questions
When should we bustle the dress?
The ideal time to bustle the dress is immediately after the ceremony, before the reception begins. This allows the bride to make her grand entrance into the reception with her train secured, ready for photos, mingling, and dancing. It’s usually done in a private dressing room or bridal suite.
Can the bride bustle her own dress?
While some very simple bustles might be managed by the bride with significant effort, it is generally not recommended. Bustling a ball gown often requires lifting and manipulating a heavy train, which is difficult to do from inside the dress. It’s best left to designated helpers.
What if there are no bustle points?
If a dress does not have pre-sewn bustle points, it means the designer did not intend for it to be bustled, or it’s a very simple design without a train. If a bustle is desired, a seamstress can add one, but this must be done during alterations, well in advance of the wedding. Do not try to create one on the day.
How long does a bustle typically last?
A well-secured bustle should comfortably last throughout the entire reception, through dancing and movement. However, very vigorous dancing or accidental tugs can sometimes cause a connection to come undone. Having a small emergency kit and a designated helper nearby for quick fixes is always a good idea.
Our Top Recommended Finds
- Small Sewing Kit: Essential for quick repairs, loose buttons, or popped loops. Look for one with strong thread, small scissors, and a few needles.
- Heavy-Duty Safety Pins: A few sturdy safety pins can be a lifesaver for temporary fixes if a bustle point fails. Choose ones that are strong enough to hold fabric without bending.
- Garment Steamer: While not for the bustle itself, a handheld steamer is invaluable for removing any last-minute creases from the dress before the ceremony and after bustling, ensuring a pristine look.
Dance the Night Away: Your Bustle Mastered
Bustling a ball gown wedding dress is a pivotal moment, transforming the bride from walking down the aisle to gliding across the dance floor. With this practical guide, you and your helpers are now equipped with the knowledge and confidence to execute a flawless bustle. Remember, patience and a methodical approach are your best tools.
Take a deep breath, follow these steps, and help the bride embrace every joyful moment of her celebration, free from the worry of a trailing train. Now, go forth and bustle with confidence!