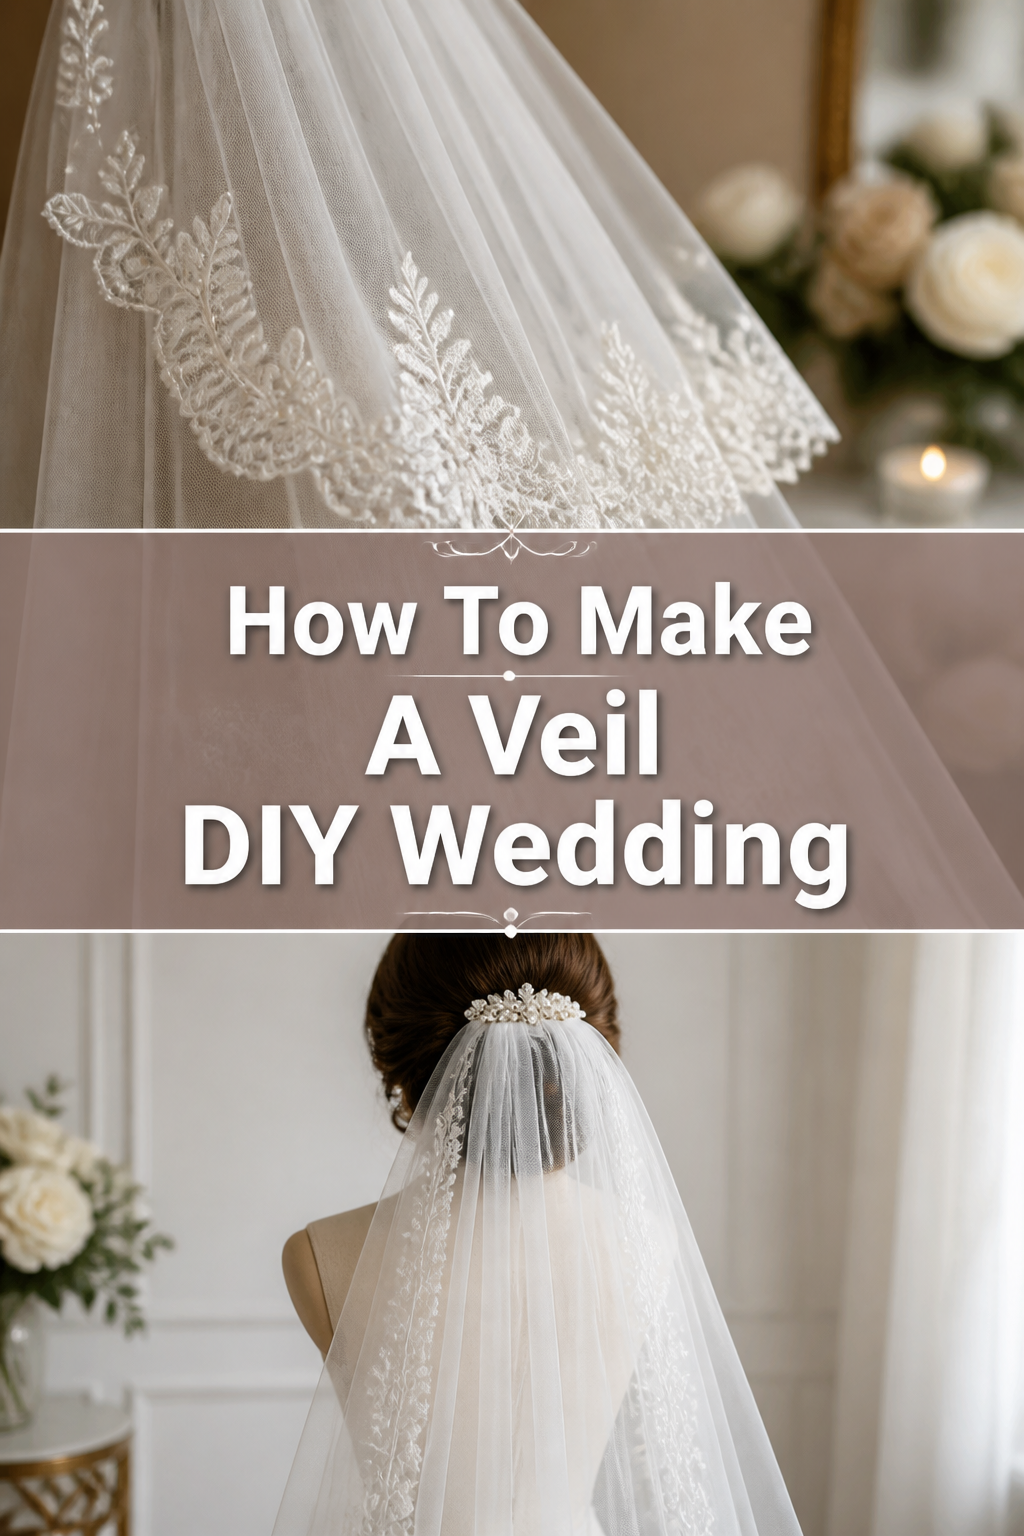
👰♀️ How To Make A Veil DIY Wedding
Imagine walking down the aisle, every detail reflecting your unique love story.
Creating your own wedding veil adds an incredibly personal touch, a cherished memento of your special day.
Having guided many brides through this rewarding process, I’ve seen firsthand the joy and satisfaction of wearing a veil made with love.
Quick Overview
This guide will walk you through crafting a beautiful, bespoke wedding veil tailored to your vision.
You’ll gain the skills to create a stunning accessory that complements your gown perfectly.
- Time needed: 4-8 hours (depending on complexity and embellishments)
- Difficulty: Beginner
- What you’ll need: Tulle, a veil comb, matching thread, sharp scissors, a measuring tape, and basic sewing supplies.
Step-by-Step Instructions
Step 1: Gather Your Materials
Select your tulle carefully, as it dictates the veil’s drape and feel.
Bridal illusion tulle is most common, offering a soft, flowing look; consider diamond weave or silk tulle for different textures.
Choose a veil comb that matches your hair color and provides a secure hold, typically a metal comb with teeth.
You will also need a strong, fine thread that matches your tulle, sharp fabric scissors, a sewing needle, a measuring tape, and pins.
Pro Tip: Purchase a little extra tulle than you think you’ll need. This provides a safety net for any cutting mistakes or if you decide to add more layers.
Step 2: Plan Your Veil Length and Style
Determine the ideal length for your veil by considering your gown’s style and your desired aesthetic.
Common lengths include shoulder (20 inches), elbow (25 inches), fingertip (36 inches), waltz (60 inches), chapel (90 inches), and cathedral (108-120 inches).
Measure from where the comb will sit in your hair down to your desired endpoint, adding a few inches for gathering and trimming.
Decide if you want a single-layer veil for a sheer look or a two-layer veil for more volume and the option of a blusher.
Step 3: Cut Your Tulle
Lay your tulle out flat on a large, clean surface, such as a cutting mat or a protected floor.
For a single-layer veil, fold the tulle in half lengthwise and then in half widthwise, creating a quarter-circle shape at the corner.
Measure from the folded corner out to your desired veil length, marking a gentle curve with chalk or pins.
Cut along this curved line with your sharp fabric scissors, creating a soft, rounded edge for your veil.
If creating a two-layer veil, cut two pieces of tulle to your desired lengths, one for the main veil and a shorter one for the blusher.
Step 4: Create the Gathering Edge
Identify the top edge of your veil, which will be attached to the comb.
This is typically the straightest edge if you cut a rounded oval, or one of the shorter edges if you cut a rectangle.
Run a gathering stitch along this edge, about 1/4 inch from the raw edge.
You can do this by hand with a simple running stitch or by machine with a long stitch length and loose tension.
Pro Tip: For hand gathering, use a double strand of thread for extra strength. Make sure to leave long tails at both ends of your gathering stitch.
Step 5: Attach the Veil to the Comb
Pull the gathering threads gently and evenly to gather the tulle into a compact ruffle that matches the width of your veil comb.
Tie off the gathering threads securely to hold the ruffle in place.
Center the gathered edge of the tulle along the spine of your veil comb.
Hand-sew the gathered tulle firmly to the comb using small, strong stitches, wrapping the thread around the comb’s teeth and through the tulle.
Ensure your stitches are tight and invisible from the front, securing every part of the gathered edge.
Step 6: Finish the Edges (Optional)
Consider leaving the edges raw for a simple, classic look, as bridal illusion tulle does not fray.
For a more refined finish, you can add a delicate trim.
Pin lace, ribbon, or horsehair braid along the entire perimeter of your veil, carefully easing it around curves.
Stitch the trim onto the veil using a fine needle and matching thread, keeping your stitches small and neat.
Step 7: Embellish Your Veil (Optional)
Add sparkle and texture by hand-sewing beads, pearls, or crystals onto your veil.
Plan your embellishment pattern first, perhaps focusing on the edges or scattering them lightly across the veil.
Use a single strand of fine thread and a tiny needle, knotting securely after each embellishment or every few inches.
Ensure your knots are hidden and the embellishments are spaced to create a balanced design.
Step 8: Steam and Store Your Veil
Hang your finished veil carefully to allow any creases to relax naturally.
If wrinkles persist, gently steam the veil using a garment steamer on a low setting, keeping the steamer moving and not touching the fabric directly.
Avoid ironing tulle, as it can melt or scorch easily.
Store your veil in a breathable garment bag or wrapped in acid-free tissue paper to protect it from dust and snags until your wedding day.
Common Mistakes to Avoid
Cutting Tulle Improperly
Many DIY veil makers rush the cutting phase, leading to uneven edges or an undesirable shape.
Using dull scissors or cutting freehand without a guide can result in jagged lines that detract from the veil’s elegance.
Always use very sharp fabric scissors and take your time, ideally marking your cut lines with chalk or a template first.
Using the Wrong Tulle
Not all tulle is created equal; using craft tulle or a fabric that is too stiff will result in a veil that doesn’t drape beautifully.
Conversely, overly soft or heavy tulle might not hold its shape or gather effectively.
Opt for bridal illusion tulle, which is specifically designed for veils, offering the perfect balance of softness and structure.
Insecurely Attaching the Comb
A common pitfall is not sewing the gathered tulle firmly enough to the veil comb.
This can lead to the veil detaching or sagging during wear, causing unnecessary stress on your wedding day.
Use strong, matching thread and stitch through the tulle and around the comb’s teeth multiple times, creating a robust and secure attachment.
Over-Embellishing
While embellishments add personality, too many beads, crystals, or excessive trim can make the veil heavy and overwhelming.
An overly embellished veil might compete with your wedding dress rather than complementing it.
Aim for subtle elegance, allowing the veil to enhance your overall look without becoming the sole focal point.
Troubleshooting
Veil Lacks Volume or Draping Incorrectly
If your veil appears flat or doesn’t fall as gracefully as you envisioned, the gathering might be too loose or insufficient.
Carefully unpick some stitches at the comb, gather the tulle more tightly, and re-secure it to create more body.
Alternatively, consider adding a second, slightly shorter layer of tulle to boost volume.
Edges Appear Uneven After Cutting
Even with careful cutting, sometimes the edges can look a bit wobbly or uneven once the veil is fully extended.
Lay the veil flat again and gently re-trim any visible imperfections with your sharp scissors, making small, precise adjustments.
A very light touch-up is usually enough to achieve a smooth, continuous edge.
Veil Feels Too Heavy or Stiff
A heavy or stiff veil can be uncomfortable and might not drape well with your gown.
This often happens if the wrong type of tulle was chosen or if too many heavy embellishments were applied.
If possible, remove some embellishments or, for extreme stiffness, consider remaking with a lighter bridal illusion tulle.
Key Takeaways
- Careful Planning: Measure and plan your veil length and style precisely to ensure it complements your dress and vision.
- Quality Materials: Invest in high-quality bridal illusion tulle and a sturdy comb for the best drape and durability.
- Precise Cutting: Use sharp scissors and take your time when cutting to achieve smooth, even edges.
- Secure Attachment: Ensure the veil is robustly sewn to the comb to prevent slipping or damage during wear.
- Thoughtful Embellishment: Choose embellishments sparingly to enhance, not overpower, your veil’s delicate beauty.
- Proper Care: Steam gently and store correctly to keep your handmade veil pristine until your wedding day.
Frequently Asked Questions
What type of tulle is truly the best for a wedding veil?
Bridal illusion tulle is widely considered the best choice for wedding veils due to its soft drape, sheer quality, and light weight. It comes in various densities, allowing for different levels of sheerness and body.
How much tulle will I need for my veil?
The amount of tulle depends entirely on your desired veil length and the number of layers. A good rule of thumb is to purchase at least 1.5 times the length of your longest layer, plus a little extra for mistakes or adjustments.
Can I use a sewing machine for all parts of the veil?
While a sewing machine can be used for the gathering stitch, attaching the tulle to the comb and any embellishments are best done by hand. Hand-sewing offers greater control and allows for more precise, invisible stitches.
How do I clean my handmade veil before the wedding?
For minor spots, gently spot clean with a damp white cloth and a very mild soap, then air dry. Avoid harsh chemicals or machine washing. For wrinkles, use a garment steamer on a low setting, keeping it moving to prevent damage.
Our Top Recommended Finds
- High-Quality Bridal Illusion Tulle: Look for a reputable fabric supplier offering various weights and colors to perfectly match your gown.
- Metal Veil Comb with Teeth: A sturdy metal comb with good teeth ensures your veil stays securely in place throughout the day.
- Precision Fabric Scissors: Sharp, comfortable scissors are essential for clean, accurate cuts, preventing frayed or jagged edges.
Craft Your Vision, Wear Your Love
Creating your own wedding veil is more than just a DIY project; it’s an act of love and creativity.
Each stitch you make weaves a piece of your heart into an accessory you’ll cherish forever.
Embrace the process, enjoy the journey, and look forward to wearing a truly unique masterpiece on your special day.
Start gathering your materials today and bring your dream veil to life.