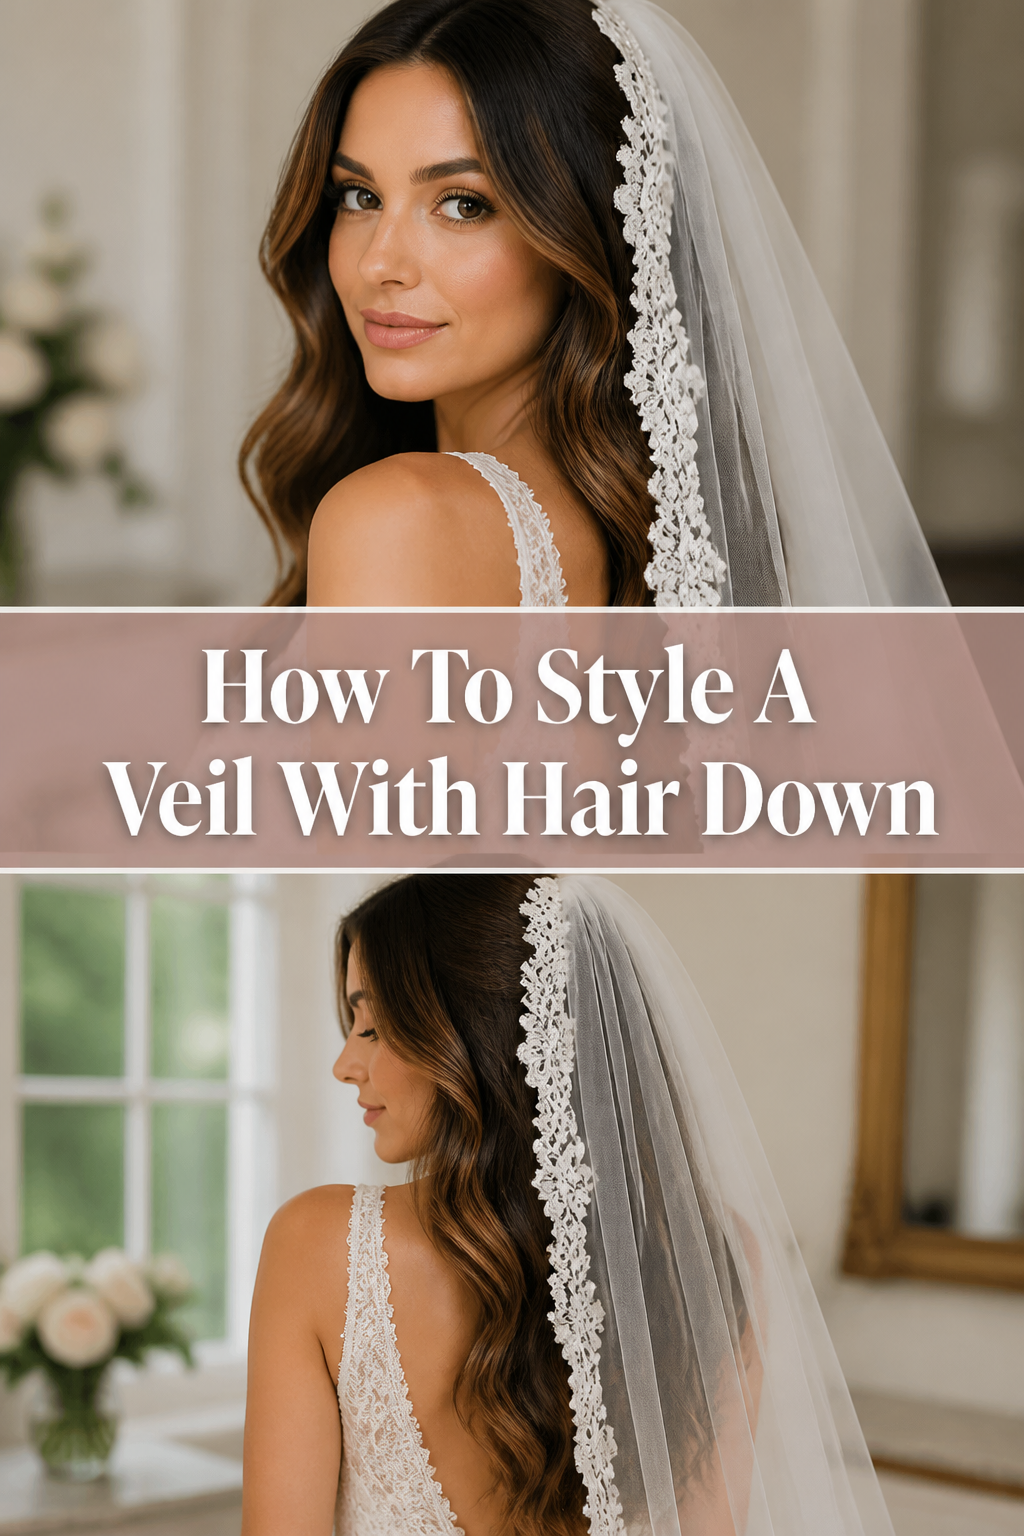
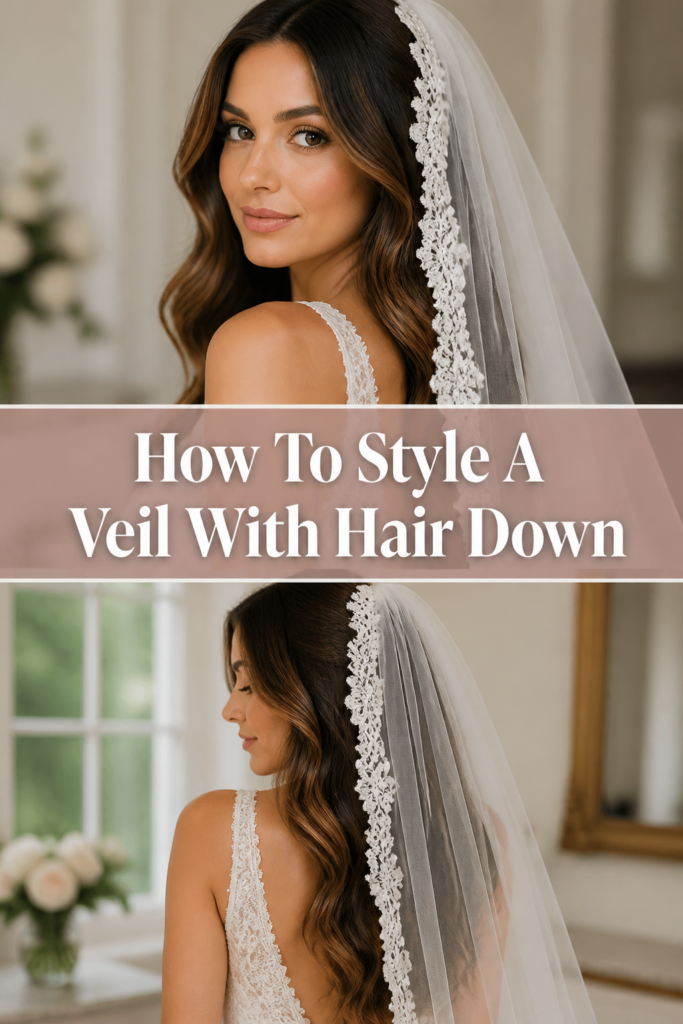
👰♀️ How To Style A Veil With Hair Down
Dreaming of walking down the aisle with your hair flowing freely, beautifully complemented by a veil? Many brides envision this romantic, effortless look. It’s a style that perfectly balances elegance with a touch of bohemian charm.
Achieving this can seem tricky, especially when you worry about the veil staying put or looking natural. But with the right techniques, you can confidently create this stunning bridal hairstyle yourself. I’ve helped countless individuals navigate their special day hair, and this guide distills those practical, real-world insights for you.
Quick Overview
This guide will walk you through preparing your hair, securely attaching your veil, and seamlessly integrating your loose locks for a picture-perfect finish. You’ll learn how to ensure your veil stays secure and your hair looks effortlessly beautiful from start to finish.
- Time needed: 45-75 minutes (including hair styling)
- Difficulty: Intermediate
- What you’ll need: Hairbrush, comb, strong hold hairspray, texture spray, bobby pins, clear elastic bands, curling iron or wand, veil.
Step-by-Step Instructions
Step 1: Prepare Your Hair Foundation
Start with clean, dry hair. For best results, wash your hair the day before your event, not on the same day. This allows your hair’s natural oils to build up slightly, providing better grip and hold for styling.
Apply a heat protectant spray generously if you plan to use hot tools. This essential step shields your strands from damage. Brush your hair thoroughly to remove any tangles, creating a smooth canvas for styling.
Pro Tip: Day-old hair holds curls and volume much better than freshly washed hair. If your hair tends to be oily, use a dry shampoo at the roots before styling.
Step 2: Choose Your Veil Placement
Decide where you want your veil to sit. For hair down styles, the most common and flattering placements are either at the crown of your head or just above the nape of your neck. Placing it at the crown offers more volume and a classic look.
Positioning it lower, near the nape, creates a more relaxed, bohemian vibe. Experiment with different placements during a trial run to see what best complements your face shape and the style of your dress. Mark this spot mentally or with a clip.
Step 3: Create a Secure Anchor Point
This is crucial for keeping your veil in place all day. Gather a small section of hair where you’ve chosen your veil placement. This section should be about 1-2 inches wide and deep.
Backcomb this section vigorously at the roots to create a strong, matted base. Spray it with a strong hold hairspray. This creates a “nest” for your veil comb to grip onto, preventing slippage.
You can also create a small, tight braid or twist this section of hair. Secure it with a clear elastic band close to your scalp. This provides an even more robust anchor, especially for heavier veils.
Step 4: Secure the Veil to Your Hair
Carefully insert the veil comb into the prepared anchor point. Push the comb downwards, ensuring the teeth fully engage with the backcombed hair or the mini braid. You should feel a firm resistance as it settles.
Once the comb is in place, gently tug on the veil to test its stability. It should feel secure and not shift easily. If it feels loose, remove it and re-insert, ensuring deeper engagement with the anchor.
Add bobby pins across the top of the veil comb, crisscrossing them for extra security. Use pins that match your hair color to make them discreet. These pins act as additional reinforcement, locking the comb into your hair.
Step 5: Integrate Your Hair Around the Comb
Now, it’s time to blend your loose hair seamlessly around the veil comb. Take sections of hair from above and around the comb. Gently comb them over the top of the veil’s base, concealing the comb and any visible bobby pins.
Use a fine-tooth comb to smooth these sections over the veil attachment point. This creates a soft, natural transition from your hair to the veil. The goal is for the veil to appear as if it’s floating effortlessly within your hair.
Lightly mist these blended sections with a flexible hold hairspray. This helps them stay in place without looking stiff. The veil should now look like a natural extension of your hairstyle.
Step 6: Refine Your Waves or Curls
With the veil securely in place, focus on perfecting your loose hair. If you have naturally wavy or curly hair, enhance your existing texture using a curling iron or wand. Wrap sections of hair away from your face for a flattering effect.
For straight hair, create soft, romantic waves or curls. Concentrate on the mid-lengths and ends of your hair, leaving the roots with natural volume. Vary the direction of your curls for a more organic look.
Allow each curl to cool completely before disturbing it. This sets the curl and ensures longer-lasting hold. Gently run your fingers through the cooled curls to break them up into soft waves.
Step 7: Add Volume and Texture
To prevent your hair from looking flat, especially at the crown, add some volume. Gently backcomb the roots of the hair around your face and at the crown. Be careful not to disturb the veil’s anchor.
Use a texture spray or dry shampoo at the roots for added lift and a soft, touchable finish. Lift sections of hair and spray underneath for maximum impact. This creates a fuller, more dynamic look for your down style.
Fluff your hair gently with your fingers to distribute the product and enhance the overall volume. The aim is for soft, flowing hair that complements the veil without overwhelming it.
Step 8: Final Touches and Hold
Once you are happy with the overall look, apply a final mist of strong hold hairspray over your entire hairstyle. Hold the can about 10-12 inches away from your head to ensure an even, fine mist. This will lock everything in place.
Do a final check in the mirror, from all angles. Ensure the veil is perfectly centered and secure, and your hair is flowing beautifully. Make any last-minute adjustments to stray strands.
Have a few extra bobby pins and a travel-size hairspray on hand for touch-ups throughout the day. This preparation ensures your veil and hair stay flawless from the ceremony to the reception.
Common Mistakes to Avoid
Incorrect Veil Placement
Placing the veil too high on the crown can sometimes create an overly formal or dated look for a hair-down style. Conversely, placing it too low without proper anchoring can cause it to slip. The sweet spot is often just behind the crown or mid-head, allowing your hair to frame your face beautifully while providing a strong base. Always consider your face shape and the overall bridal aesthetic.
Insufficient Anchoring
A common pitfall is not creating a sturdy enough base for the veil comb. Simply pushing the comb into un-prepped hair is an invitation for it to slide out. The backcombing or mini-braid technique is essential. Without this strong anchor, even a lightweight veil can become a distraction, requiring constant adjustments throughout the day. Invest a few extra minutes in this step for peace of mind.
Overlooking Hair Texture
Not accounting for your hair’s natural texture can lead to frustration. Fine, silky hair requires more backcombing and product to create grip. Thick, heavy hair might need extra bobby pins and a stronger anchor. Ignoring these nuances means the veil might not sit correctly or the hair might not hold its style. Tailor your prep and product choices to your specific hair type for optimal results.
Troubleshooting
Veil Slipping or Feeling Loose
If your veil feels like it’s slipping, it’s likely due to an inadequate anchor point. Re-insert the comb, ensuring the teeth are deeply embedded into the backcombed section or mini-braid. Add more crisscrossed bobby pins directly over the comb’s base. You can also try spraying the roots of the anchor section with a texture spray before backcombing for extra grip.
Hair Looking Flat Around the Veil
To combat flatness, gently lift sections of hair around the veil comb and spray a volumizing or texture spray directly at the roots. You can also use a small teasing comb to backcomb very fine sections of hair underneath the top layer. Be careful not to disturb the veil’s attachment. A subtle crown bump can also add flattering height without dislodging the veil.
Veil Comb is Visible
If the comb is showing, you need to better integrate your surrounding hair. Take small, clean sections of hair from above and around the comb. Gently comb or smooth these sections over the comb’s teeth and base. Use a few discreet bobby pins, matching your hair color, to secure these overlaying sections. A light mist of hairspray will help these pieces stay in place and conceal the comb completely.
Key Takeaways
- Prep hair a day in advance for better hold and texture.
- Create a strong anchor (backcomb or mini-braid) for veil security.
- Conceal the veil comb with surrounding hair for a seamless look.
- Refine waves and add volume for a flowing, romantic style.
- Use strong hold hairspray for lasting durability.
Frequently Asked Questions
Can I use a heavy, embellished veil with hair down?
Yes, you absolutely can, but it requires extra attention to the anchor point. For heavier veils, creating a very strong, tightly braided anchor is crucial. Use plenty of bobby pins crisscrossed over the comb. You might also consider a professional stylist for heavy veils to ensure maximum security and comfort throughout your event.
What if my hair is very fine and doesn’t hold volume?
Fine hair can still look stunning with a veil down. Focus on volumizing products during your hair wash and styling prep. Use a volumizing mousse or root lifter before blow-drying. When creating your anchor, backcomb more vigorously and use a texture spray for extra grip. Hot rollers can also provide lasting volume for fine hair.
Should I wash my hair on the day of the event?
It’s generally recommended to wash your hair the day before your event. Freshly washed hair can be too soft and slippery, making it harder to hold curls, volume, and the veil’s anchor. Day-old hair has a bit more grip and texture, which is ideal for intricate styling and ensuring longevity.
Our Top Recommended Finds
- Strong Hold Hairspray: Essential for locking in your style and securing the veil. Look for a non-crunchy formula.
- Texture Spray: Adds grip, volume, and a natural, undone look to your loose hair. Perfect for that flowing, romantic vibe.
- Bobby Pins (Hair-Matching): High-quality pins are indispensable for securing the veil comb and any stray strands. Choose ones that blend seamlessly with your hair color.
Embrace Your Beautiful Bridal Vision
Styling your veil with your hair down is a beautiful, personal choice that exudes romance and effortless charm. By following these steps, you can confidently achieve a look that feels authentic to you. Don’t be afraid to practice beforehand; a trial run will build your confidence and refine your technique.
Take these insights and make them your own. Your special day deserves a hairstyle that makes you feel incredible. Start planning your perfect veil and hair combination today.