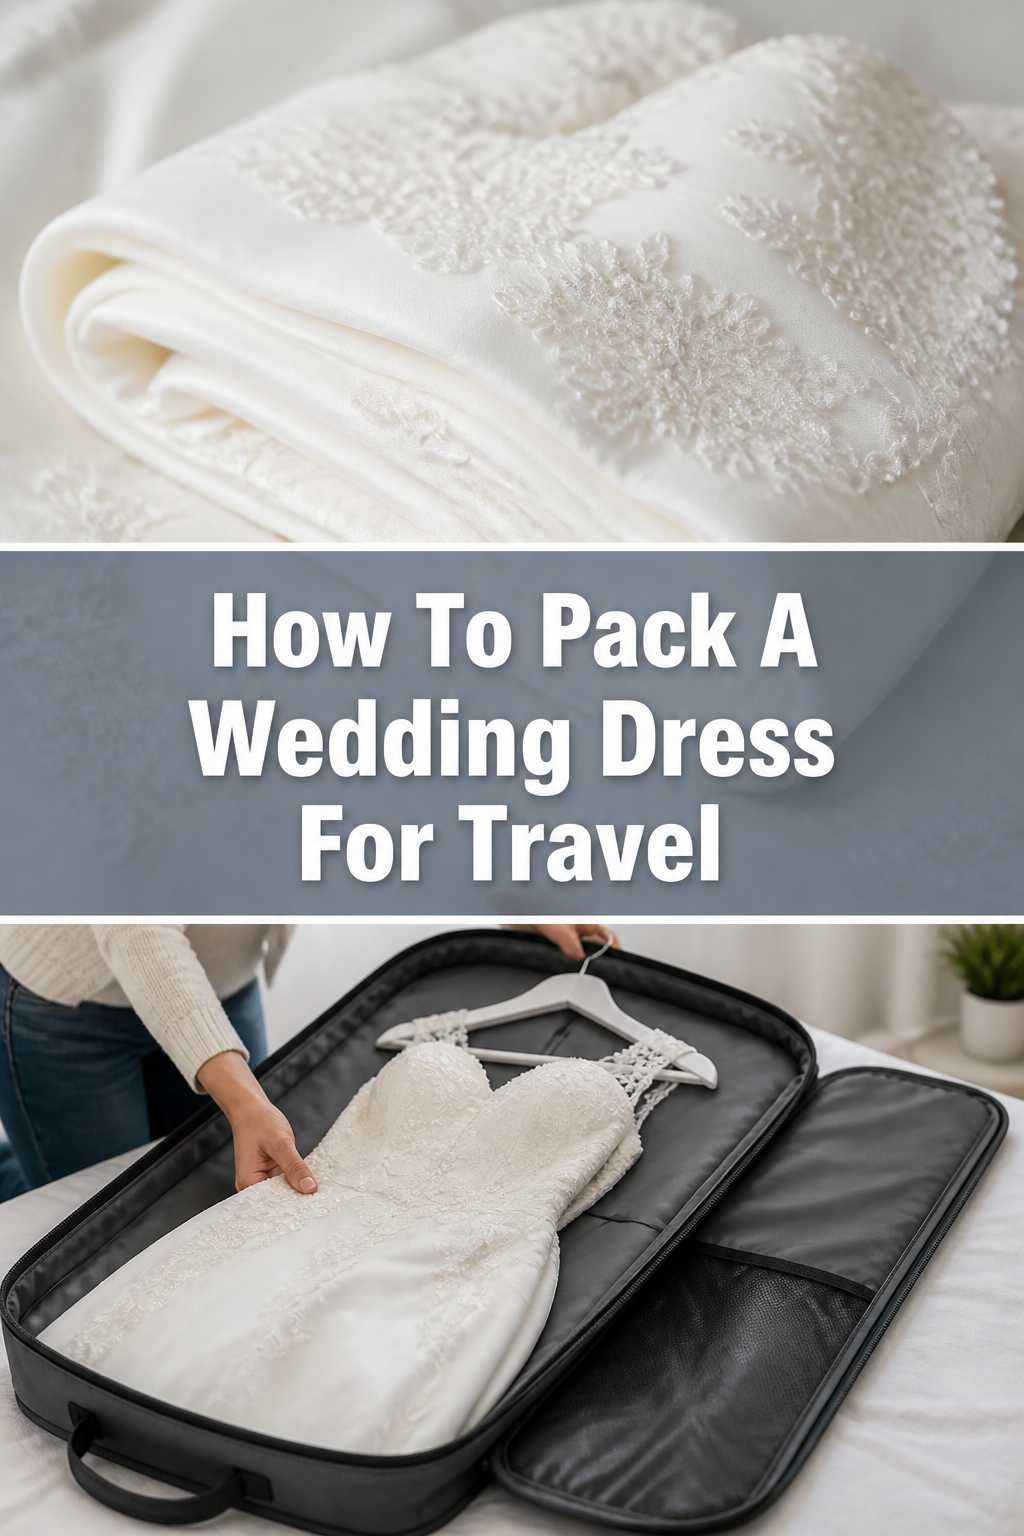
👰♀️ How To Pack A Wedding Dress For Travel
Packing a wedding dress for travel can feel like navigating a minefield. That beautiful gown, representing so much joy, deserves the utmost care.
Having helped countless brides prepare their precious cargo, I understand the anxiety that comes with ensuring it arrives pristine.
This guide distills years of practical experience into clear, manageable steps, so your dress travels as flawlessly as you do.
Quick Overview
This guide will equip you to confidently pack your wedding dress, ensuring it arrives at your destination in the best possible condition, ready for your special day. You will learn techniques for both carry-on and checked luggage, along with crucial pre- and post-travel care.
- Time needed: 1-2 hours (depending on dress complexity and travel method)
- Difficulty: Intermediate
- What you’ll need: Acid-free tissue paper, plastic dry cleaning bags, a quality garment bag, a suitable suitcase, and a travel steamer.
Step-by-Step Instructions
Step 1: Gather Your Essential Supplies
Before you even touch your dress, collect all necessary items. Having everything ready prevents last-minute scrambling and ensures a smooth packing process. This preparation is key to protecting your gown.
You will need a generous amount of acid-free tissue paper. This paper is vital for preventing creases and protecting delicate fabrics and embellishments. It acts as a cushion and barrier.
Obtain several clean, large plastic dry cleaning bags. These bags offer an additional layer of protection against moisture and snags. They also help reduce friction within the luggage.
Select a high-quality garment bag, especially if you plan to carry the dress on. Look for one with a sturdy zipper and breathable fabric. A good garment bag is your dress’s first line of defense.
Lastly, ensure you have a suitable suitcase or carry-on. Its size and structure should accommodate your dress without excessive compression. Consider the airline’s baggage restrictions for carry-on items.
Pro Tip: Always use acid-free tissue paper. Regular tissue paper can yellow delicate fabrics over time, especially if left in contact for extended periods. Check the packaging to confirm it’s acid-free.
Step 2: Assess Your Dress and Travel Method
Every wedding dress is unique, and its construction dictates the best packing strategy. Examine your gown for its fabric, embellishments, and overall volume. A voluminous ball gown requires different handling than a sleek sheath dress.
Consider your travel plans carefully. Are you flying, driving, or taking a train? Flying presents the most challenges, particularly regarding carry-on versus checked luggage. Each method has specific limitations.
If flying, research your airline’s carry-on policies for garment bags. Some airlines offer a closet or overhead bin space for delicate items, but this is not guaranteed. Confirm these details well in advance.
Decide whether your dress will travel as a carry-on or in checked luggage. Carry-on offers peace of mind but limits space. Checked luggage provides more room but carries higher risks of damage or loss.
Pro Tip: For international flights or dresses with extensive beading, always opt for carry-on if possible. The less your dress is handled, the better its chances of arriving perfectly.
Step 3: Prepare the Dress for Packing
Begin by laying your dress flat on a clean, large surface, such as a bed or a cleared floor space. Ensure the area is free from any dust or sharp objects that could snag the fabric. This provides a clear workspace.
Gently stuff the bodice of the dress with acid-free tissue paper. This helps maintain its shape and prevents crushing. Fill out the bust and shoulders carefully.
Place sheets of acid-free tissue paper between layers of fabric, especially in areas prone to creasing. This includes the skirt and train. The paper acts as a buffer.
For dresses with delicate embellishments, such as beads, sequins, or lace, place extra tissue paper directly over these areas. This protects them from friction and snagging. Ensure every delicate part is cushioned.
If your dress has a long train, gently fold it inward towards the main body of the dress, again using tissue paper between folds. The goal is to create a manageable shape.
Step 4: Master the Folding Technique for Suitcase Travel
If your dress is going into a suitcase, careful folding is essential. Lay the dress flat with the bodice facing up. Smooth out any wrinkles as much as possible.
Begin by folding the sides of the skirt inward towards the center, creating a narrower silhouette. Place tissue paper between these folds to prevent sharp creases. Work slowly and methodically.
Next, fold the bottom of the skirt up towards the bodice. Depending on the dress length, you might do this in two or three gentle folds. Always interleave with tissue paper.
Place the entire folded dress inside a large plastic dry cleaning bag. This bag provides an extra layer of protection against moisture and snags within the suitcase. It also helps with the compression.
Carefully place the bagged dress into your chosen suitcase. Position it on top of any other soft, non-creasing items, like pajamas or scarves. Ensure it’s not overly compressed.
Pro Tip: When folding, aim for soft, rounded folds rather than sharp creases. Sharp creases are much harder to remove later. Think of gently rolling rather than sharply folding.
Step 5: Secure Your Dress in a Garment Bag for Carry-On
If using a garment bag, lay the dress flat inside it, allowing the skirt to extend beyond the bottom. Ensure the shoulders are properly aligned with the hanger. The dress should hang naturally.
Carefully fold the bottom of the skirt up towards the bodice, creating one or two gentle folds. Place acid-free tissue paper between these folds. This keeps the fabric from rubbing.
Use the garment bag’s internal straps or ties to secure the dress gently. Avoid overtightening, as this can create new wrinkles. The goal is stability, not compression.
Zip up the garment bag, ensuring no fabric gets caught in the zipper. Double-check that all embellishments are protected and not pressing against the bag’s material. The dress should feel secure.
If the garment bag has a handle, use it to carry the dress flat or gently folded in half. Avoid hanging it for long periods if it’s a heavy dress, as this can stretch the fabric.
Step 6: Add Protective Layers and Final Touches
Once the dress is folded and placed in its primary protective layer (either a dry cleaning bag in a suitcase or a garment bag), consider adding more protection. This enhances security.
For suitcase packing, place a layer of soft, clean clothing (like sweaters or t-shirts) on top of the bagged dress. This acts as an additional cushion and minimizes shifting. Do not overpack the suitcase.
For garment bags, ensure there’s enough space in the overhead bin or closet area without crushing. You might politely ask the flight attendant for assistance with storage. Communication can be helpful.
Label your luggage clearly with your name, phone number, and destination address. Attach a “fragile” tag if possible, especially for checked luggage. This alerts handlers to its delicate contents.
Consider placing a small, laminated note inside the dress’s protective bag, stating “Wedding Dress – Fragile.” This provides an extra layer of instruction for anyone handling it.
Step 7: Final Checks and Travel Day Tips
Before closing your luggage or garment bag, do a final visual inspection of the dress. Ensure all tissue paper is in place and no part of the dress is exposed or snagged. A quick check prevents issues.
On travel day, handle your dress luggage with extreme care. Avoid placing heavy items on top of it. Always prioritize its safety and gentle handling.
If flying, arrive early to allow extra time for potential discussions with airline staff regarding carry-on storage. Be polite and clear about the importance of your item.
Upon arrival at your destination, unpack the dress immediately. Hang it up in a clean, spacious area, preferably in a bathroom with a hot shower running to create steam. This helps release any minor wrinkles.
Allow the dress to hang and breathe for at least 24-48 hours before your wedding day. This gives the fabric time to relax and gravity to do its work.
Common Mistakes to Avoid
Overpacking the Luggage
Stuffing too many items into a suitcase alongside your dress will lead to excessive compression. This compression creates deep, stubborn wrinkles that are incredibly difficult to remove. It can also damage delicate fabrics and embellishments by crushing them against other items.
Instead, dedicate a suitcase solely to your wedding dress and perhaps a few soft, non-creasing items. If you must pack other things, place them strategically to cushion the dress, not compress it. Prioritize the dress’s space.
Using the Wrong Materials
Employing regular tissue paper instead of acid-free varieties can be detrimental. Regular tissue contains acids that can yellow or stain delicate fabrics over time, leaving lasting marks on your gown. Plastic bags not meant for dry cleaning might also contain chemicals.
Always invest in high-quality, acid-free tissue paper for padding and protection. Use clean, professional dry cleaning bags for an extra layer of defense. These materials are specifically designed to be safe for delicate textiles.
Forgetting Post-Travel Care
Leaving your dress packed for an extended period after arrival is a common oversight. The longer it stays folded, the more set any wrinkles become, making them harder to steam or press out. This can add unnecessary stress closer to the wedding day.
Unpack your dress as soon as you reach your destination. Hang it up immediately in a safe, clean space. Allow it ample time to breathe and for any travel-induced creases to naturally relax before your final fitting or steaming.
Rushing the Process
Attempting to pack your wedding dress in a hurry significantly increases the risk of mistakes. You might forget crucial protective layers, create sharp folds, or accidentally snag the fabric. A rushed job often means a wrinkled or damaged dress.
Allocate ample time for packing, at least an hour, without distractions. Work slowly and methodically through each step. This careful approach ensures every protective measure is in place, safeguarding your precious gown.
Troubleshooting
Dress Arrives Wrinkled
Even with the best packing, some wrinkles can appear, especially after a long journey. This is a common occurrence, so don’t panic. Minor creasing is usually manageable.
Upon arrival, immediately hang your dress in a bathroom. Turn on the hot shower and let it run for 15-20 minutes with the bathroom door closed, creating a steam-filled environment. The humidity helps the fabric relax.
Alternatively, use a handheld travel steamer. Gently steam the wrinkles from a distance, moving the steamer slowly over the fabric. Test a small, inconspicuous area first to ensure it’s safe for your dress’s material.
Fabric Snags or Tears
A snag or small tear can be heartbreaking, but quick action can often mitigate the damage. Inspect your dress carefully as you unpack it. Early detection is key.
For snags, gently try to push the loose thread back into the fabric using a needle or a fine pin. Avoid pulling or cutting the thread, as this can worsen the damage.
For small tears, contact a local seamstress or bridal boutique at your destination as soon as possible. They may be able to perform a discreet repair. Always have a backup plan for minor emergencies.
Lost Luggage Concerns
The thought of lost luggage, especially with your wedding dress inside, is terrifying. While you can’t prevent it entirely, you can prepare for it. This preparation helps manage the stress.
Take clear photos of your packed dress before you leave. Document its appearance and any unique details. Keep these photos easily accessible on your phone.
Pack a small emergency kit in your carry-on with essential items like a travel steamer, a small sewing kit, and any critical undergarments. This ensures you have some immediate solutions even if the dress is delayed.
Key Takeaways
- Always use acid-free tissue paper to protect your dress from creasing and discoloration.
- Choose your packing method (carry-on vs. checked) based on your dress’s fragility and airline policies.
- Stuff the bodice and layer tissue paper between folds to maintain shape and prevent sharp creases.
- Unpack your dress immediately upon arrival and allow it to hang and breathe for at least 24 hours.
- Avoid overpacking your luggage and rushing the packing process to prevent damage and deep wrinkles.
- Carry a small travel steamer and emergency sewing kit for immediate post-travel touch-ups.
Frequently Asked Questions
Can I pack my dress as a carry-on?
Yes, packing your dress as a carry-on is often the safest option, especially for delicate or highly embellished gowns. However, airline policies vary significantly regarding garment bag dimensions and available closet space.
Always check with your specific airline in advance to understand their rules. Be prepared to gently fold your garment bag into the overhead bin if a dedicated closet is unavailable.
What if my dress has delicate embellishments?
Dresses with intricate beading, sequins, or lace require extra care. When packing, place additional layers of acid-free tissue paper directly over these embellishments. This creates a protective cushion.
Also, consider turning the dress inside out before folding. This shields the outer embellishments from friction and potential snags against other fabric layers or the luggage itself.
How do I choose the best luggage?
For carry-on, a high-quality, sturdy garment bag specifically designed for bridal wear is ideal. Look for one with internal straps and breathable fabric. For checked luggage, choose a hard-shell suitcase that offers rigid protection.
Ensure the suitcase is large enough to accommodate the dress without excessive folding or compression. A suitcase with spinner wheels is also helpful for easy maneuvering through airports.
What about my veil and accessories?
Pack your veil separately, ideally in a small, rigid box or a dedicated accessory pouch within your carry-on. Fold it gently with tissue paper to prevent creases.
For jewelry, shoes, and other accessories, pack them in your main carry-on bag. Keep them in protective pouches or boxes to prevent damage or loss. Never check valuable items.
Our Top Recommended Finds
- Acid-Free Archival Tissue Paper: Essential for protecting delicate fabrics from yellowing and creasing. It’s a non-negotiable item for any precious garment.
- High-Quality Breathable Garment Bag: Look for one with durable zippers, internal straps, and a breathable material like non-woven fabric. This provides excellent protection for carry-on.
- Compact Travel Steamer: A portable steamer is a lifesaver for quickly removing minor wrinkles upon arrival. Choose a lightweight model that heats up fast and is safe for delicate fabrics.
Your Journey, Unwrinkled and Worry-Free
Packing your wedding dress for travel doesn’t have to be a source of stress. With careful planning and the right techniques, your gown can arrive at your destination as beautiful as the day you picked it up.
Embrace these steps, prepare your supplies, and approach the task with confidence. Your big day deserves nothing less than perfection, and a perfectly packed dress is a significant part of that.
Start planning your packing strategy today. Your future self, and your stunning wedding photos, will thank you.