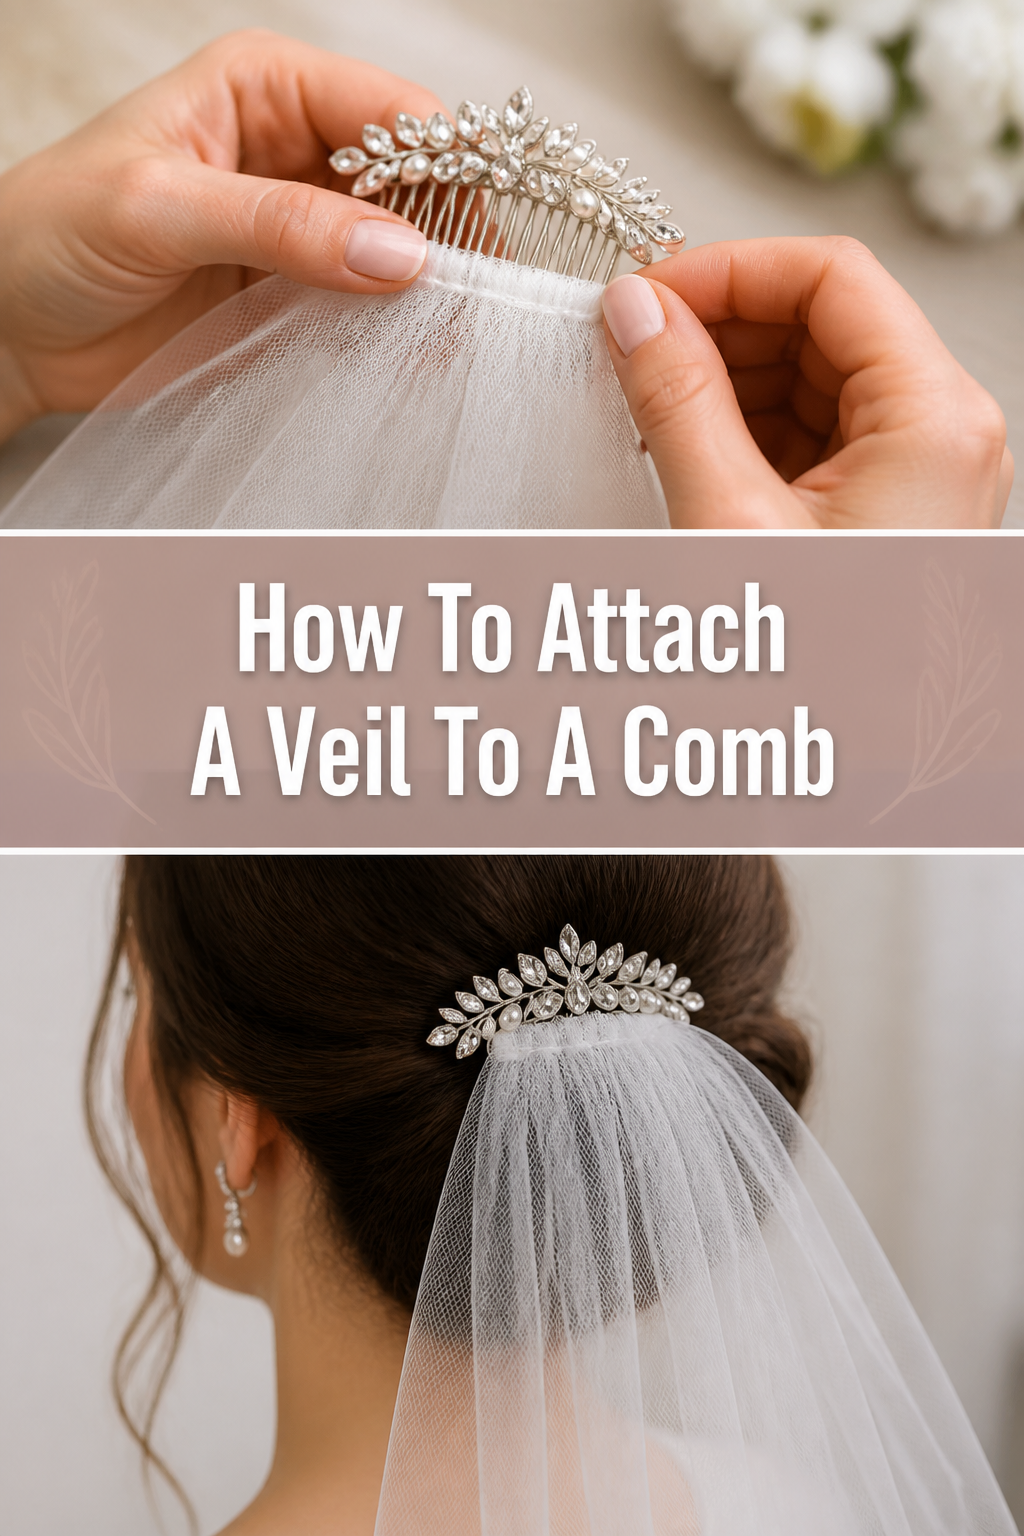
👰♀️ How To Attach A Veil To A Comb
The veil is a cherished part of many bridal looks, adding a timeless elegance to the ensemble.
Securing it properly ensures elegance and comfort throughout your special day, preventing any wardrobe worries.
Having personally crafted and attached several veils for friends, I understand the nuances of achieving a secure, beautiful finish that lasts from ceremony to reception.
Quick Overview
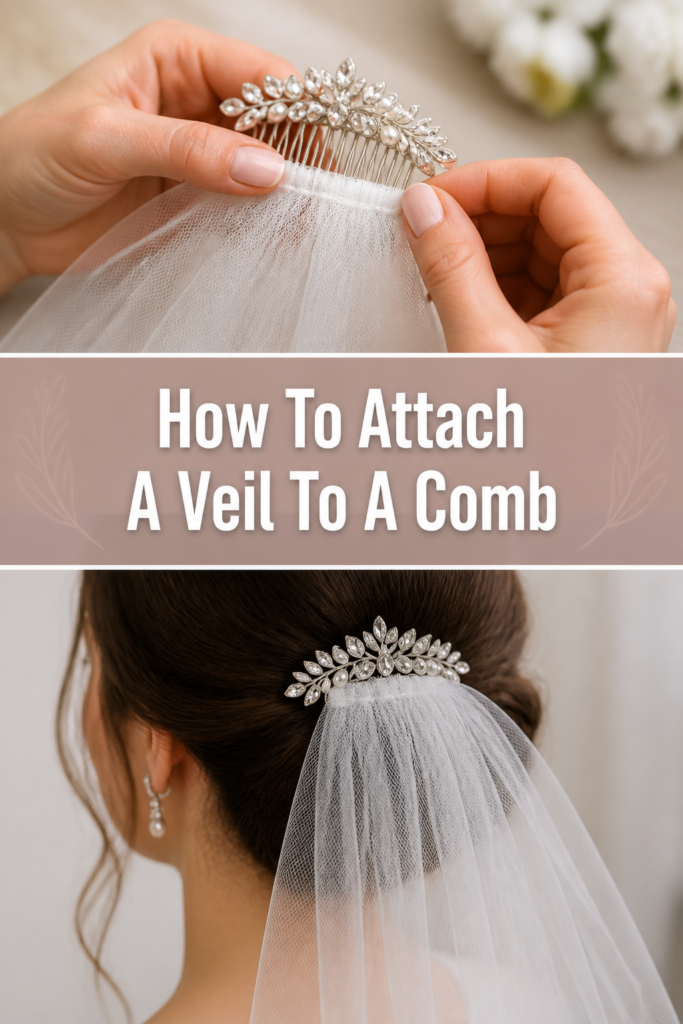
This guide will walk you through the process of securely attaching a veil to a hair comb, ensuring a flawless and professional look for your special occasion.
- Time needed: 30-60 minutes (depending on your experience and the veil’s complexity)
- Difficulty: Beginner to Intermediate (some precision and patience are beneficial)
- What you’ll need: Veil fabric, hair comb, sewing needle, strong thread (polyester or silk), sharp scissors, thimble (optional), fabric glue (optional, for extra security)
Step-by-Step Instructions
Step 1: Gather Your Materials
Begin by laying out all your necessary tools and materials on a clean, well-lit workspace.
Having everything within easy reach will streamline the entire process and prevent interruptions.
Ensure your veil fabric is clean and free of any snags or damage before you begin.
Step 2: Prepare the Veil Edge for Gathering
Identify the edge of your veil that you intend to attach to the comb. This is typically the top, cut edge of the fabric.
Decide on your desired gathering style. A simple running stitch creates soft gathers, while pleating offers a more structured look.
Mark the center of this edge with a pin or a small, temporary fabric marker for easy alignment later.
Pro Tip: For a very full veil, you might want to gather a slightly wider section of fabric than the comb itself, allowing it to naturally fall over the comb’s edges. For a flatter look, match the gathering width precisely to the comb.
Step 3: Thread Your Needle
Select a needle that is fine enough to pass through your veil fabric without leaving large holes, but sturdy enough not to bend.
Choose a strong thread that matches the color of your veil as closely as possible, making the stitches virtually invisible.
Double-thread your needle for extra strength and knot the ends securely together, creating a strong starting point for your stitching.
Step 4: Create the Gathering Stitch
Starting about half an inch from one end of your chosen veil edge, begin a simple running stitch.
Work your way across the entire top edge of the veil, making small, even stitches.
Keep your stitches consistent in size and spacing to ensure the gathers will be uniform and attractive.
Do not tie off the thread once you reach the other end; leave a long tail on both sides of your gathered section.
Step 5: Position and Secure the Veil to the Comb – Initial Stitching
Take your hair comb and locate its spine, the solid bar that connects the teeth.
Carefully pull the gathering threads to create the desired fullness in your veil, adjusting the gathers so they are even.
Position the gathered veil along the spine of the comb, ensuring the center of the veil aligns with the center of the comb.
Using one of your long thread tails, begin stitching the gathered veil to the comb’s spine with small, strong stitches.
Wrap your thread around the spine of the comb and then through the gathered fabric of the veil, pulling each stitch taut.
Step 6: Reinforce the Attachment – Wrapping and Securing
Once the initial stitches are in place, you need to reinforce the attachment for durability.
Continue stitching, wrapping the thread not just around the comb’s spine but also around the individual teeth of the comb, close to the spine.
Pass the needle through the gathered veil fabric with each wrap around a comb tooth, creating a secure bond.
Work your way across the entire length of the comb, ensuring every few teeth have been incorporated into the stitching.
This technique distributes the weight of the veil and prevents it from pulling away from the comb.
Pro Tip: To make your attachment extra strong, you can create a small “ladder” of stitches across the comb’s spine, weaving through the gathered veil fabric multiple times before knotting off. This creates a foundation for the veil.
Step 7: Trim and Finish Your Stitching
Once you’ve stitched the entire gathered edge of the veil to the comb, double-check all your stitches for tightness and security.
Create several small, tight knots on the back side of the comb, ensuring they are hidden within the veil’s gathers or against the comb’s spine.
Carefully trim any excess thread close to the knots using your sharp scissors, being careful not to snip the veil fabric.
Run your fingers along the attachment point to feel for any loose ends or rough spots that might snag hair.
Step 8: Optional: Apply Fabric Glue for Extra Security
For an extra layer of security and a very clean finish, you can apply a tiny bead of clear fabric glue along the stitched line.
Apply the glue sparingly, using a toothpick or the tip of a pin, focusing on the points where the thread wraps around the comb’s spine.
Ensure the glue is specifically designed for fabric and dries clear and flexible.
Allow the glue to dry completely according to the manufacturer’s instructions before handling or trying on the veil.
Common Mistakes to Avoid
Uneven Gathering
One common pitfall is creating uneven gathers along the veil’s edge. This can result in a lopsided or awkward drape when the veil is worn.
To prevent this, take your time when creating your running stitch, ensuring each stitch is consistent in size and spacing.
Before securing the veil to the comb, gently pull the gathering threads and visually adjust the gathers until they are uniformly distributed.
Loose Stitching
Failing to stitch the veil tightly and securely to the comb is another frequent error. Loose stitches mean the veil could shift, sag, or even detach during wear.
Always pull your thread taut with each stitch, ensuring a firm connection between the veil fabric and the comb’s teeth and spine.
Reinforce your stitching by wrapping around multiple teeth and creating several strong knots at the end.
Visible Stitches
Nothing detracts from a beautiful veil more than obvious, contrasting stitches. This can happen if the thread color doesn’t match or if stitches are too large.
Always use a thread color that blends seamlessly with your veil fabric, preferably a fine polyester or silk thread.
Keep your stitches small and neat, embedding them within the gathers of the veil and against the comb’s spine as much as possible.
Using the Wrong Comb Type
Not all hair combs are suitable for attaching a veil. Some decorative combs may have sharp edges or a flimsy structure that won’t hold up.
Select a sturdy, well-made hair comb with a smooth, solid spine and teeth that are not too widely spaced.
Metal combs are often more durable than plastic ones, offering a reliable base for your veil.
Troubleshooting
Veil Feels Loose or Sags
If your veil feels wobbly or sags after attachment, it’s likely due to insufficient reinforcement or loose stitches.
Carefully inspect the entire stitched area. Identify any sections where the veil isn’t firmly attached to the comb.
Go back and reinforce those areas with additional tight stitches, wrapping the thread around the comb teeth and through the veil layers multiple times.
Applying a small amount of fabric glue to the reinforced areas, once dry, can also provide extra stability.
Comb Snags Hair When Worn
A comb that snags hair can be incredibly uncomfortable and frustrating, especially on a special day.
This often occurs if there are rough edges on the comb itself or if the thread knots are not fully trimmed and hidden.
Gently run your finger along the comb’s teeth and spine. If you feel any sharp points, you might need to carefully file them down or cover them with a tiny dab of clear nail polish.
Ensure all thread ends are trimmed very close to the knots and that the knots themselves are tucked neatly against the comb, not protruding.
Gathering Looks Messy or Uneven After Attachment
Sometimes, despite your best efforts, the gathers might look less than perfect once the veil is secured.
If the issue is minor, you can often gently “finger-comb” the gathers into a more uniform appearance.
For more significant unevenness, you might need to carefully snip a few reinforcing stitches and re-adjust the gathers, then re-stitch that section.
It’s always easier to correct this early on, so take your time with the initial gathering and positioning.
Key Takeaways
- Preparation is paramount; gather all materials and ensure a clean workspace.
- Achieving even, consistent gathering on the veil’s edge is crucial for a beautiful drape.
- Use strong, matching thread and small, tight stitches for a secure and invisible attachment.
- Reinforce the veil by wrapping thread around the comb’s teeth, not just the spine, for durability.
- Pay close attention to detail, trimming all excess thread and checking for snags.
- Consider fabric glue as an optional step for an exceptionally strong and polished finish.
Frequently Asked Questions
What type of thread should I use for attaching a veil?
You should always use a strong, fine thread such as polyester or silk. These threads offer durability and are less likely to break under the weight of the veil. Choose a color that matches your veil fabric exactly to ensure the stitches are as invisible as possible.
Can I use hot glue instead of sewing to attach a veil to a comb?
While hot glue might seem like a quick solution, it is generally not recommended for securing a veil to a comb. Hot glue can become brittle over time, may not hold up to movement, and can leave a stiff, unsightly residue. Fabric glue, which remains flexible, is a better alternative if you prefer not to sew, but sewing offers the most reliable and long-lasting attachment.
How do I hide the stitches so they don’t show on my veil?
To hide your stitches, use a thread that perfectly matches your veil’s color and make your stitches small and neat. Stitch tightly and embed the thread within the gathers of the veil fabric. You can also strategically place your stitches on the underside of the comb or within the natural folds of the veil so they are not visible from the top.
What if my veil already has a finished edge, like lace or ribbon?
If your veil has a finished edge, you will still need to gather or fold that edge to create an attachment point for the comb. You can either carefully stitch through the finished edge itself, or create a small, separate gathering line just inside the finished edge. The method depends on the desired look and how much of the finished edge you want to show above the comb.
Our Top Recommended Finds
- Assorted Fine Sewing Needles: A variety pack ensures you have the right needle size for delicate veil fabrics.
- Strong Polyester or Silk Thread: Opt for a neutral color pack (white, ivory, nude) to match most veil shades.
- Clear Fabric Glue (e.g., E6000 Fabri-Fuse): Excellent for reinforcing stitches and creating a clean, professional finish.
Your Veil, Perfectly Poised
You now possess the knowledge and practical steps to confidently attach a veil to a comb, transforming a simple piece of fabric into a cherished accessory.
Take pride in the craftsmanship you’ve applied, knowing your veil is securely and beautifully prepared for its grand debut.
Consider practicing with a scrap piece of fabric first if you’re feeling a little nervous about your first attempt.
With your veil ready, you might next explore different ways to style it, or perhaps consider adding subtle embellishments to personalize your look even further.
Embrace the satisfaction of a beautifully handmade detail, ready to complete your unforgettable moment.