💍 How To Decorate A Pavilion For A Wedding
Creating a beautiful wedding setting is all about vision and careful execution.
I remember the first time I helped transform a simple outdoor pavilion into a dreamlike ceremony space for my cousin; the joy on her face was unforgettable.
This guide shares practical steps and insights, drawing from real-world experience, to help you achieve that same magic for your special day.
Quick Overview
This guide will walk you through the process of decorating a pavilion for a wedding, helping you create a stunning and personalized atmosphere.
You will learn to plan, execute, and refine your decor choices for a memorable event.
- Time needed: 2-3 full days for planning and procurement, 4-8 hours for setup (depending on complexity and team size)
- Difficulty: Intermediate
- What you’ll need: Fabrics, lighting, floral elements, seating, tools for hanging/securing, and a clear vision.
Step-by-Step Instructions
Step 1: Define Your Wedding Vision and Theme
Begin by establishing the overall aesthetic for your wedding day. This foundational step guides all subsequent decoration choices.
Consider the couple’s personalities, favorite colors, and preferred style, whether it’s rustic, modern, bohemian, or classic.
- Choose a primary color palette. Select 2-3 main colors and 1-2 accent colors that complement each other.
- Select a theme or style that resonates with the couple. This could be anything from “enchanted garden” to “elegant minimalist.”
- Gather inspiration photos from magazines, Pinterest, or wedding blogs. Create a mood board to visualize your ideas.
- Consider the time of year and natural surroundings. Incorporate seasonal elements or colors that blend with the outdoor environment.
Pro Tip: A cohesive theme makes decision-making easier and ensures a harmonious look. Let your chosen style inform every decor element.
Step 2: Assess the Pavilion Structure and Surroundings
Before buying anything, thoroughly inspect the pavilion itself. Its existing features will influence your decorating plan.
Note its architectural style, materials, and any fixed elements that can be incorporated or need to be hidden.
- Examine the pavilion’s construction: Are there beams, columns, or railings that can be draped or adorned?
- Identify power outlets and their locations. This is crucial for lighting, sound, or any electrical equipment.
- Check for existing hooks, nails, or secure points where decor can be safely attached. If none exist, plan for temporary solutions.
- Note the surrounding landscape. How can the natural beauty outside the pavilion be integrated into the decor?
- Measure key dimensions: height of the ceiling, length of beams, and overall floor space. This helps with fabric quantities and furniture placement.
Step 3: Plan the Layout and Functional Zones
A well-thought-out layout ensures both beauty and functionality. Decide where different activities will take place within or around the pavilion.
Consider the flow of guests and the purpose of each area, such as the ceremony, dining, or lounge space.
- Designate a specific area for the ceremony backdrop if applicable. This is often the focal point.
- Map out seating arrangements for guests. Will it be rows for a ceremony or tables for a reception?
- Allocate space for a head table, gift table, cake table, or beverage station. Ensure these are easily accessible.
- Create clear pathways for guests to move comfortably between different zones. Avoid overcrowding.
- Consider a separate lounge or mingling area if space allows. This provides a comfortable spot for guests to relax.
Step 4: Drape and Soften the Space with Fabrics
Fabrics are transformative, turning a stark structure into an elegant setting. They add softness, romance, and color.
Sheer fabrics like tulle, chiffon, or organza are popular for their ethereal quality, while heavier drapes can add sophistication.
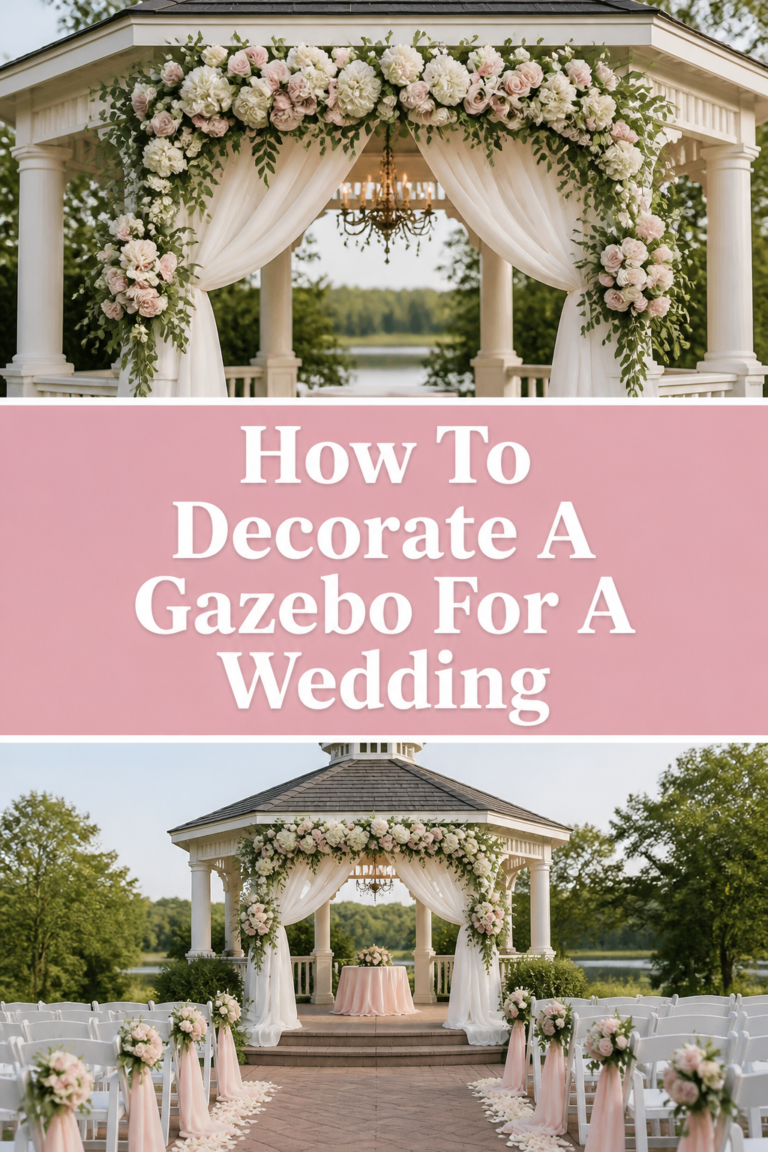
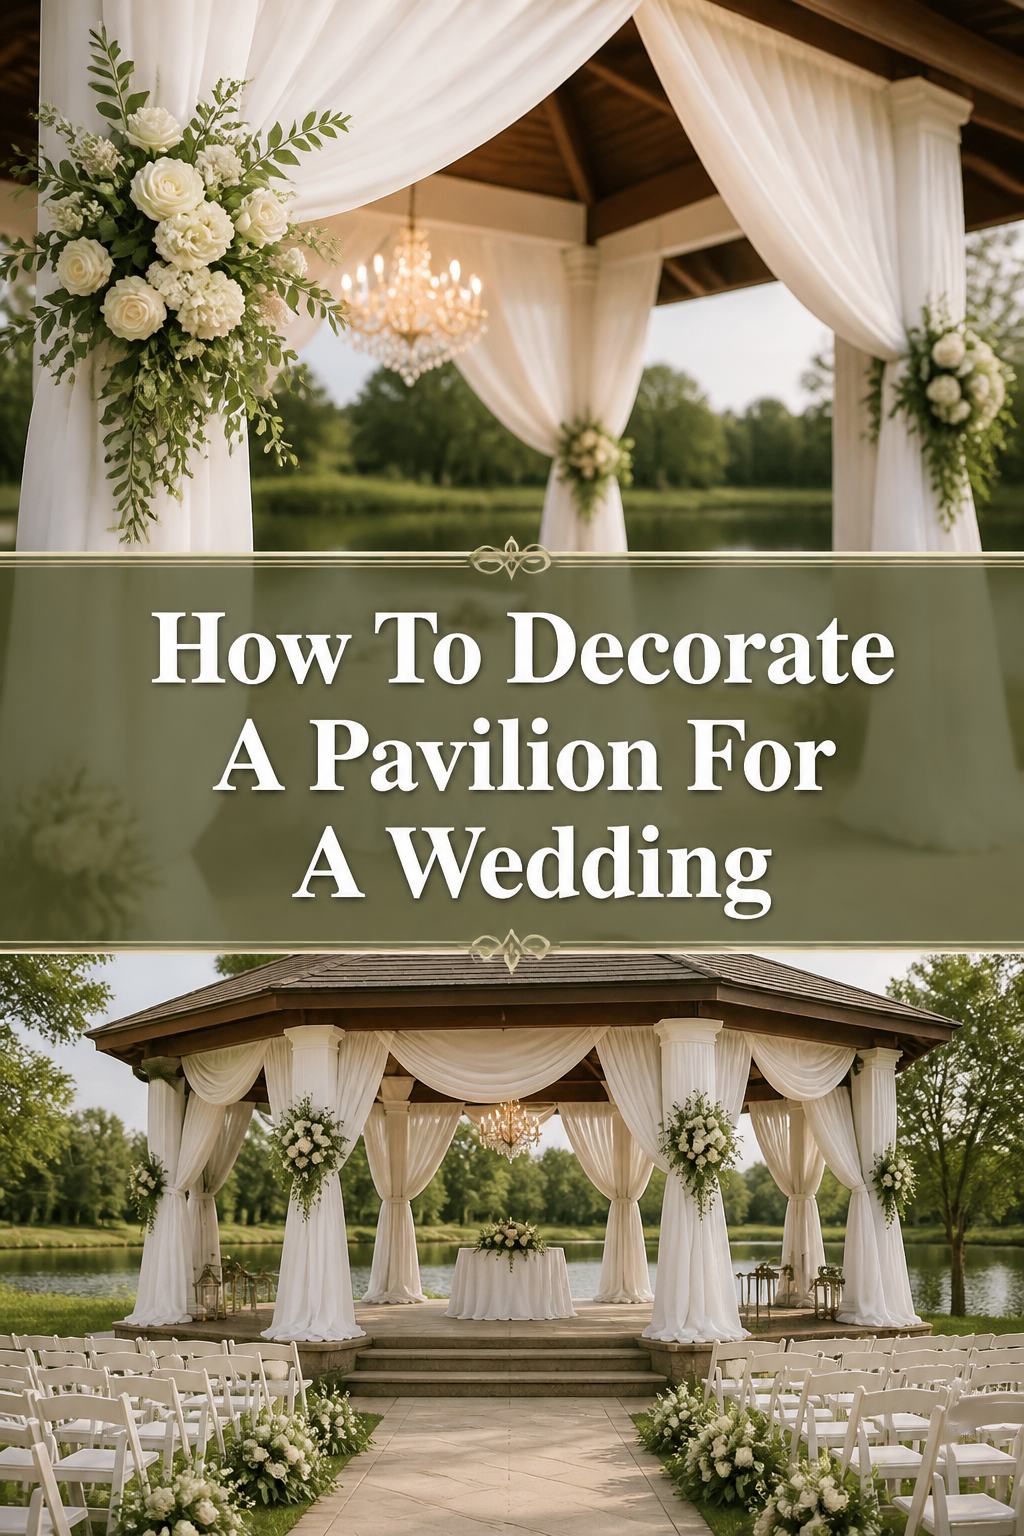
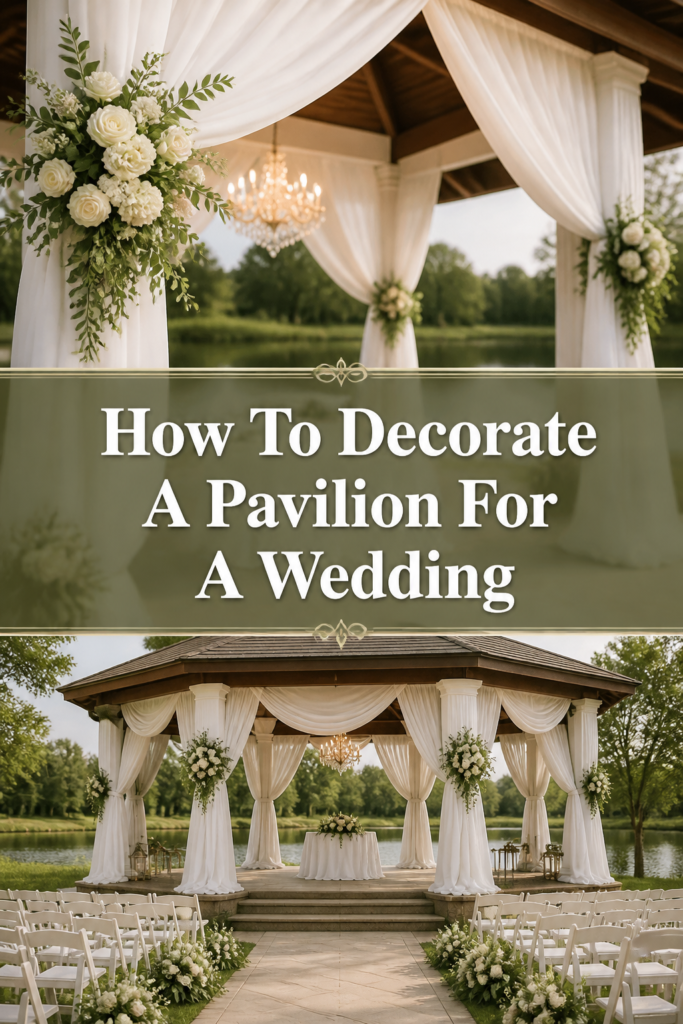
- Hang ceiling drapes. Run long swaths of sheer fabric from the center of the pavilion outwards, creating a tented effect.
- Wrap columns or posts with fabric. Secure the fabric with floral wire, zip ties, or decorative ties at the top and bottom.
- Create a ceremony backdrop. Use multiple layers of sheer fabric to frame the altar area, adding depth and elegance.
- Use fabric swags along railings or beams. Allow the fabric to gently drape and billow for a romantic look.
- Consider fabric tablecloths and chair sashes. These elements tie into the overall color scheme and enhance the tablescapes.
Pro Tip: Use fire-retardant fabrics, especially if you plan to incorporate candles or open flames near the drapes. Always check with the venue about fire safety regulations.
Step 5: Illuminate with Romantic Lighting
Lighting is crucial for setting the mood, especially as evening approaches. It can transform the pavilion from day to night.
Layer different types of lighting to create depth and visual interest.
- String fairy lights or string lights across the ceiling, along beams, or around columns. These create a magical, twinkling effect.
- Hang lanterns (paper or metal) from the ceiling or beams. Vary sizes and heights for visual appeal.
- Use uplighting around the perimeter of the pavilion. Colored LED lights can wash walls or columns in your wedding colors.
- Incorporate candles (real or LED flameless) on tables, ledges, or as part of the ceremony backdrop.
- Consider spotlights to highlight key features, such as the cake table or the floral centerpiece.
Step 6: Integrate Floral Elegance and Greenery
Flowers and greenery bring life, color, and natural beauty to the pavilion. They can be used sparingly or lavishly, depending on your style.
Think about where florals will have the most impact and how they complement your chosen theme.
- Adorn the ceremony arch or backdrop with lush floral arrangements and cascading greenery.
- Place centerpieces on dining tables. These can range from simple bouquets to elaborate floral arrangements.
- Hang floral garlands along beams, railings, or the entrance of the pavilion.
- Drape greenery like eucalyptus or ivy across fabric swags or around columns for an organic touch.
- Consider potted plants or small trees to define spaces or add a garden feel to the pavilion interior.
Pro Tip: Repurpose ceremony flowers for the reception to maximize your budget and ensure a consistent floral theme throughout the event.
Step 7: Furnish for Comfort and Style
The right furniture not only provides seating but also enhances the overall aesthetic. Choose pieces that fit your theme and offer comfort.
Beyond standard tables and chairs, consider accent furniture to create inviting spaces.
- Select chairs that match your wedding style, such as chiavari chairs for elegance or cross-back chairs for a rustic look.
- Choose tables (round or rectangular) based on your layout and guest count.
- Add lounge furniture like sofas, armchairs, and coffee tables if you have a designated relaxation area.
- Incorporate decorative elements on tables, such as chargers, linens, napkins, and unique place settings.
- Place a welcome table near the entrance for guest book, favors, or escort cards.
Step 8: Personalize with Unique Details
These small touches make your wedding truly unique and reflect the couple’s journey.
Personalized elements create memorable moments for guests and add character to the decor.
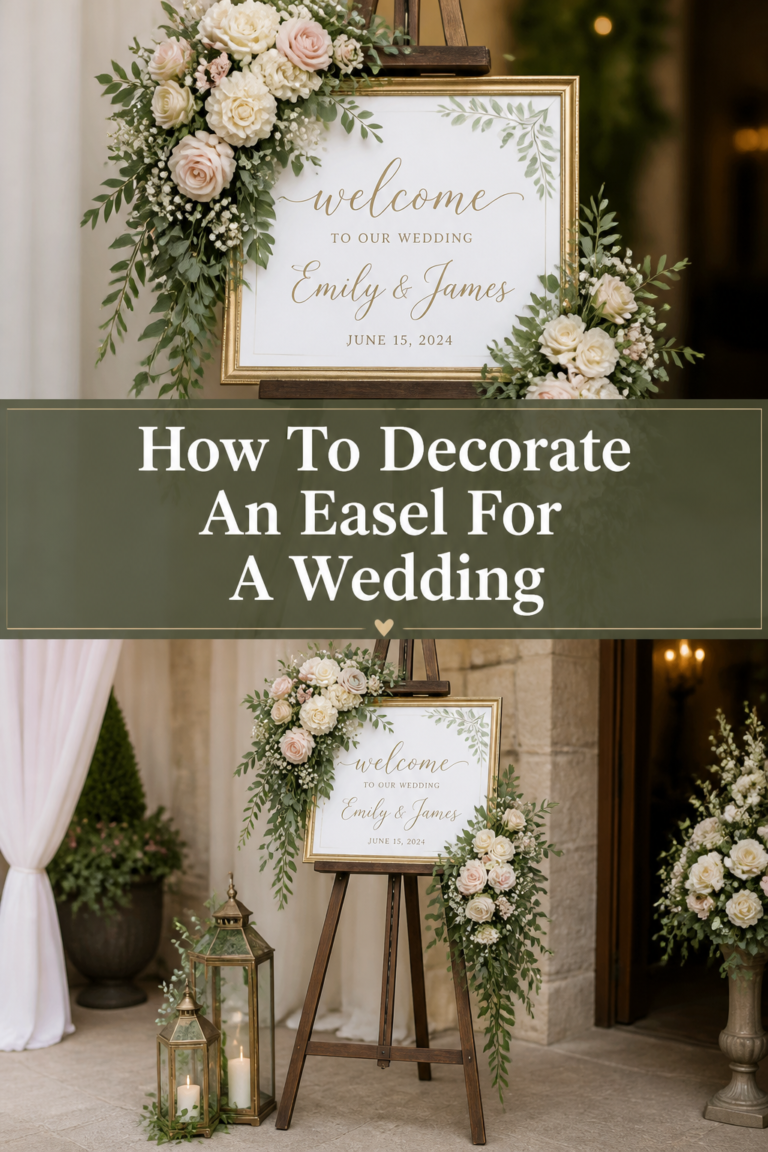
- Display a welcome sign at the entrance, personalized with the couple’s names and wedding date.
- Create a photo display featuring pictures of the couple throughout their relationship.
- Incorporate custom signage for key areas, like the bar, restrooms, or dessert station.
- Offer personalized favors for guests, displayed attractively on a dedicated table.
- Add unique decor items that hold special meaning to the couple, such as vintage finds or travel mementos.
Step 9: Address Practicalities and Contingencies
Outdoor events require foresight regarding weather and operational needs. Planning for these details ensures a smooth day.
Think about comfort for guests and the logistics of setup and teardown.
- Plan for weather changes: have blankets for cool evenings or fans for hot days. Consider side walls for rain or wind protection.
- Ensure access to power for all lighting and sound equipment. Have extension cords and power strips ready.
- Consider bug repellent options, such as citronella candles or discreet bug zappers, for guest comfort.
- Discuss setup and teardown logistics with your vendors and helpers. Know who is responsible for what.
- Have a designated emergency kit with essentials like first aid supplies, stain remover, and a sewing kit.
Step 10: Conduct a Final Walkthrough and Adjust
Before guests arrive, take time to view the pavilion from a guest’s perspective. This final check ensures everything is perfect.
Make any last-minute tweaks to lighting, arrangements, or furniture placement.
- Walk through the entire space, checking every detail from the entrance to the ceremony backdrop.
- Test all lighting elements to ensure they are working correctly and creating the desired ambiance.
- Confirm that pathways are clear and furniture is arranged safely and aesthetically.
- Check for any visible wires, loose fabrics, or misplaced items that need tidying.
- Take a moment to appreciate your hard work and the beautiful space you’ve created.
Common Mistakes to Avoid
Over-decorating and Clutter
A common pitfall is adding too many elements, which can make the space feel busy and uninviting. Instead of enhancing the pavilion, excessive decor can overwhelm it.
Focus on quality over quantity. Choose a few impactful pieces and allow them to shine. Less is often more, creating an elegant and refined atmosphere.
Ignoring the Pavilion’s Natural Beauty
Sometimes, decorators try to cover every inch of the pavilion, losing its charm. Many pavilions have beautiful architectural details or views.
Work with the existing structure and surroundings. Highlight architectural features with subtle lighting or drapes, and frame scenic views rather than obscuring them.
Poor Lighting Choices
Inadequate or poorly planned lighting can dramatically impact the ambiance. Too little light makes the space feel dim, while harsh lighting can be unromantic.
Layer your lighting. Combine overhead string lights with uplighting and candles to create depth and warmth. Test lighting at different times of day to ensure it works well from ceremony to reception.
Forgetting Practical Considerations
Focusing solely on aesthetics can lead to overlooking practical issues like wind, power access, or guest comfort. These oversights can cause problems on the wedding day.
Always have a backup plan for weather. Ensure all electrical needs are met with appropriate cords and power sources. Consider guest comfort with blankets, fans, or bug repellent as needed.
Troubleshooting
Decorations Sagging or Falling
Fabrics might sag, or hanging elements could come loose, especially with movement or changing weather.
Use strong, reliable fasteners like heavy-duty zip ties, floral wire, or fishing line for hanging. Double-check all attachment points during setup. Reinforce with extra ties in high-traffic or windy areas.
Lighting Issues (Not Bright Enough, Flickering)
Lights might not provide enough illumination, or some strands could flicker or fail, disrupting the ambiance.
Ensure all power sources are stable and not overloaded. Test all lights before the event. Have spare bulbs or battery packs on hand. If using battery-operated lights, replace batteries just before setup.
Windy Conditions Affecting Decor
Wind can cause fabrics to tangle, lightweight decorations to blow away, or even damage more fragile elements.
Secure all drapes and hanging items firmly. Use weights for tablecloths or any freestanding decor. Opt for heavier fabrics or decor elements that are less susceptible to wind. Consider side panels or temporary windbreaks if the pavilion is exposed.
Key Takeaways
- Start with a clear vision and theme to guide all your decor decisions.
- Thoroughly assess the pavilion’s structure and surroundings to integrate existing features.
- Layer fabrics, lighting, and florals to create depth, romance, and visual interest.
- Prioritize guest comfort and functional flow when planning the layout and furnishing the space.
- Personalize the decor with unique touches that reflect the couple’s story.
- Always plan for practicalities, including weather contingencies and power needs.
Frequently Asked Questions
How much does it cost to decorate a pavilion?
The cost varies greatly depending on the scale, materials, and whether you DIY or hire professionals. Basic DIY decor with rented items might start from a few hundred dollars, while elaborate professional setups can range from several thousand dollars.
Can I DIY pavilion decorations?
Absolutely! Many pavilion decorations are suitable for DIY. Fabric draping, stringing lights, and simple floral arrangements can be done with a little planning and help from friends and family. For more complex installations, consider hiring a professional or a day-of coordinator.
What if the pavilion is very plain?
A plain pavilion is a blank canvas! This is an opportunity to truly transform the space. Focus on dramatic fabric drapes for the ceiling and columns, abundant lighting, and large floral installations. Use uplighting to add color and depth, making the plain structure disappear into a romantic glow.
How do I protect decorations from rain?
For outdoor pavilions, consider waterproof or weather-resistant fabrics and lighting. Ensure electrical items are rated for outdoor use. Have clear tarps or temporary side curtains on standby to protect against sudden downpours. Secure all decor firmly so it doesn’t get damaged by wind and rain.
Our Top Recommended Finds
- Sheer Fabric Draping Rolls: Essential for creating soft, romantic ceiling drapes and backdrops. Easy to cut and work with.
- Battery-Operated Fairy Lights: Perfect for adding sparkle in areas without power outlets. They offer flexibility and a magical glow.
- Heavy-Duty Zip Ties and Floral Wire: Indispensable for securely attaching fabrics, garlands, and other decor elements.
Crafting Your Dream Pavilion
Transforming a pavilion for a wedding is a journey of creativity and love. Each step you take builds towards that breathtaking reveal.
The effort you put in now will manifest in a truly unforgettable setting for your special day.
Start planning today, gather your inspiration, and begin bringing your beautiful vision to life.