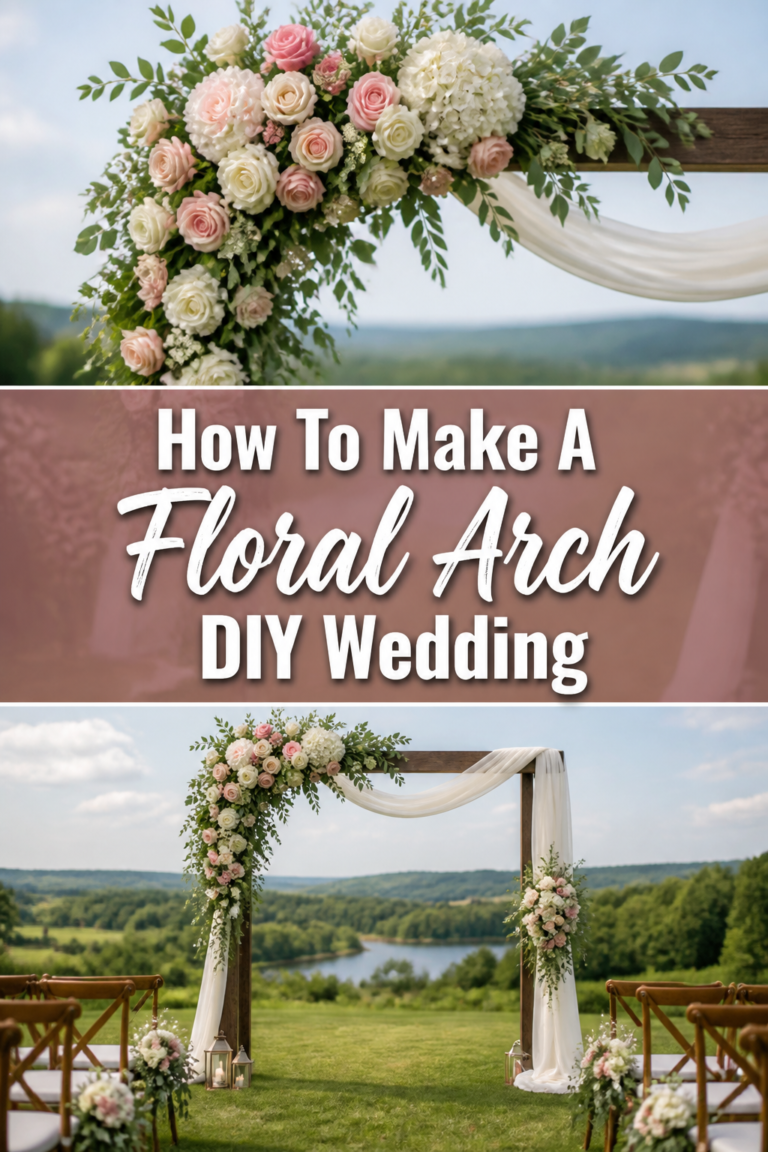
🌸 How To Attach Flowers To Wedding Arch
Your wedding arch is the focal point where you will say your vows and capture your most cherished photos.
I have spent years designing floral installations for outdoor ceremonies and know exactly how to keep them from wilting or falling mid-ceremony.
This guide will show you the professional secrets to securing blooms so they stay vibrant and secure all day long.
Quick Overview
Attaching flowers to an arch requires a blend of structural engineering and artistic flair.
- Time needed: 2 to 4 hours depending on complexity
- Difficulty: Intermediate
- What you’ll need: Floral foam cages, heavy-duty zip ties, floral wire, pruning shears, water tubes, and a sturdy ladder.
Step-by-Step Instructions
Step 1: Prep Your Arch Structure
Before any flowers touch the wood or metal, you must ensure the arch is completely stable and clean.
Wipe down the surface of the arch to remove dust or oils that might make your attachment points slippery.
Check the weight limits of your arch, as water-soaked floral foam and heavy branches can add significant weight very quickly.
If you are working on grass, use stakes to anchor the feet of the arch so it does not tip forward once the flowers are attached.
Pro Tip: If your arch is made of smooth metal, wrap a bit of floral tape around the spots where you will attach cages to create friction and prevent sliding.
Step 2: Hydrate Your Floral Foam Cages
Floral foam cages are the “batteries” that keep your flowers alive during a long, hot wedding day.
Submerge the foam cages in a large bucket of water mixed with floral preservative.
Let them sink naturally rather than pushing them down, as pushing creates dry air pockets in the center of the foam.
Once the foam is dark green and heavy, remove it from the water and let the excess drip off for a few minutes before mounting.
Step 3: Map Out Your Design
Decide if you want a symmetrical look, an asymmetrical “L” shape, or small clusters of flowers at the corners.
Mark the spots where you want the heaviest concentrations of flowers using a piece of chalk or a small bit of tape.
Visualize the flow of the greenery to ensure you have enough space for the stems to trail naturally without blocking the officiant.
Consider the height of the couple to ensure the lowest hanging flowers don’t hit them in the head during the ceremony.
Step 4: Secure the Mechanics
This is the most critical step for safety and longevity.
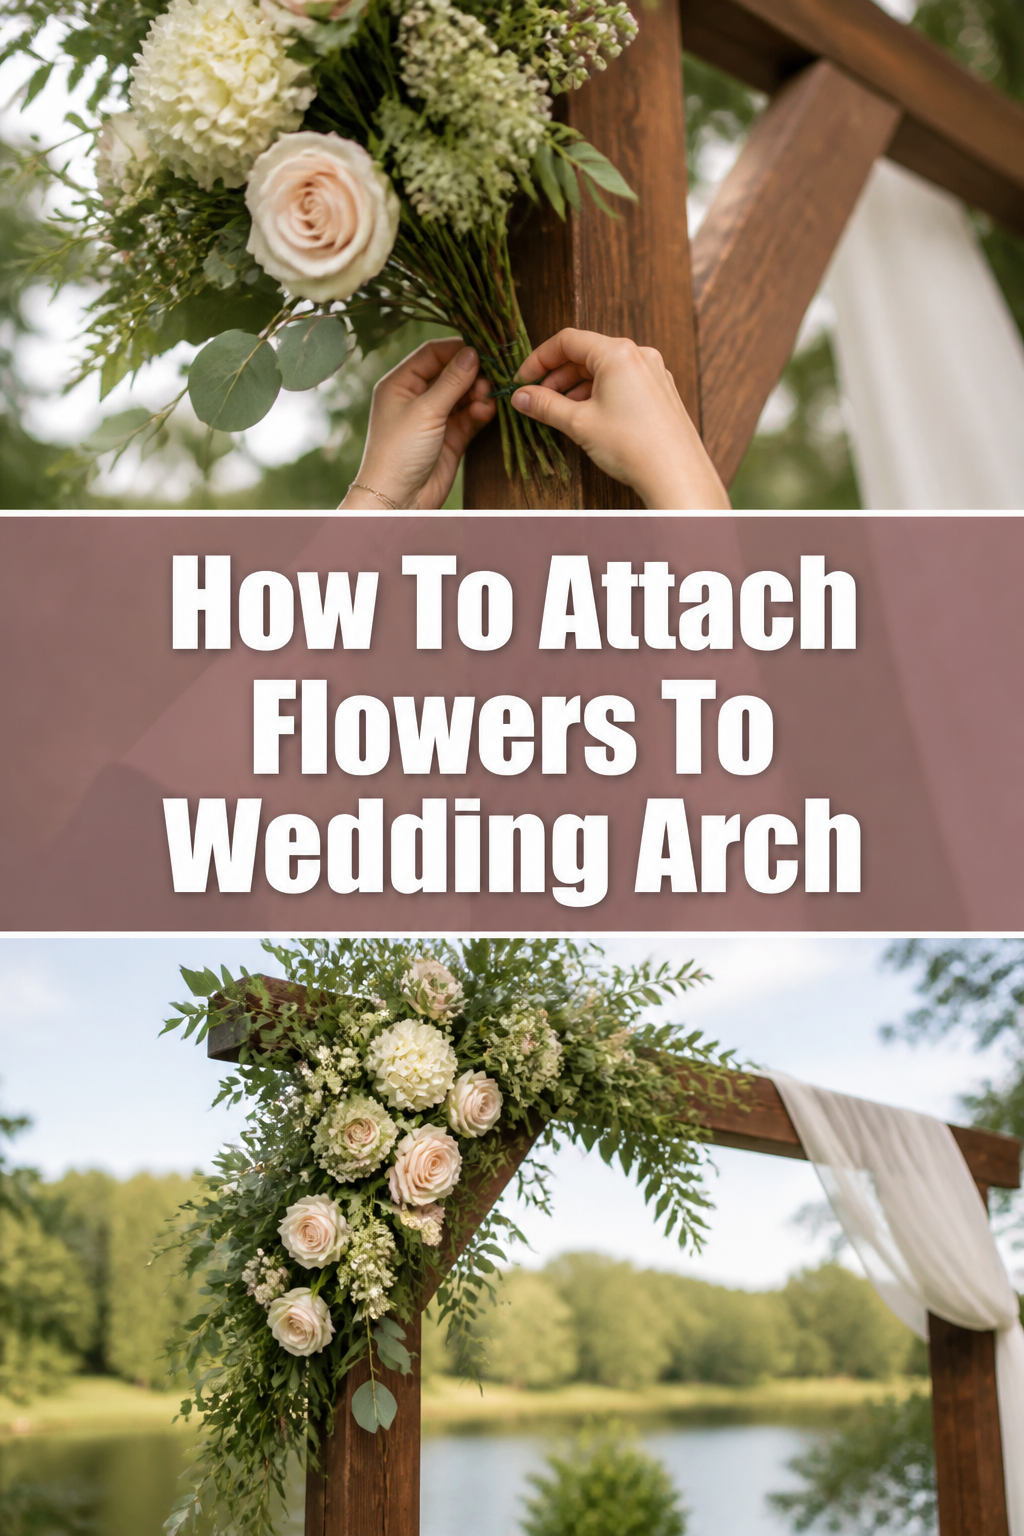
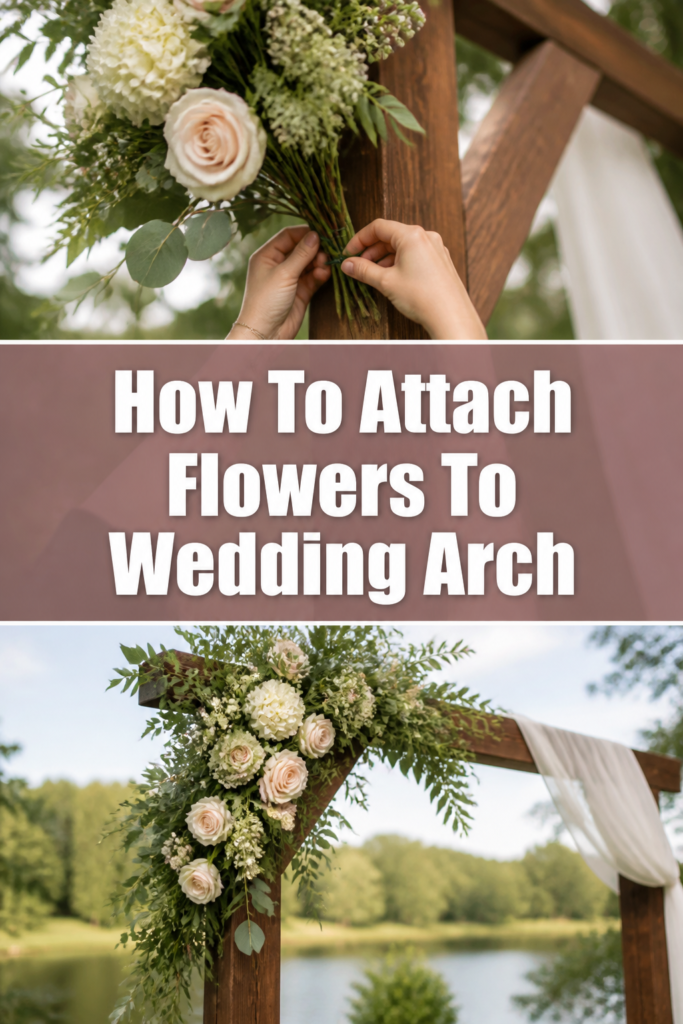
Thread heavy-duty zip ties through the eyelets of the floral foam cages.
Tighten the ties around the arch frame until the cage does not move when you give it a firm tug.
For extra-large installations, use two zip ties per cage for redundancy in case one fails under the weight of the water.
Trim the excess plastic from the zip ties using wire cutters so the sharp ends don’t poke you or the guests.
Pro Tip: Use green or black zip ties that match the color of your arch or foliage to make them easier to hide later.
Step 5: Establish the Greenery Base
Greenery provides the skeleton of your design and hides the plastic cages and zip ties.
Insert long branches of eucalyptus, ruscus, or smilax into the sides of the foam cages first.
Angle the stems so they follow the line of the arch, creating a sense of movement and growth.
Cover the plastic edges of the cages completely with smaller leaves to ensure no “mechanics” are visible from any angle.
Make sure the greenery is pushed at least two inches into the foam to ensure it stays hydrated and secure.
Step 6: Place Your Focal Flowers
Focal flowers are your largest, most expensive blooms like roses, peonies, or dahlias.
Cut the stems at a sharp 45-degree angle to maximize the surface area for water absorption.
Insert the stems firmly into the foam, grouping them in odd numbers for a more natural, organic appearance.
Place these flowers at varying depths—some tucked deep into the greenery and others slightly protruding—to create dimension.
Focus the largest blooms at the “heart” of each cage where the foam is thickest and most stable.
Step 7: Add Filler and Texture
Filler flowers like waxflower, baby’s breath, or spray roses bridge the gaps between your focal blooms.
Fill any holes where you can still see the foam or the arch structure itself.
Incorporate textures like berries, dried grasses, or hanging amaranthus to give the arch a professional, high-end look.
Step back frequently to look at the arch from a distance to ensure the colors are balanced and the shape is pleasing.
Step 8: Use Water Tubes for Delicate Stems
Some flowers, like orchids or hydrangeas, are very thirsty and might struggle in standard floral foam.
Fill plastic water tubes with water and cap them with the rubber lid.
Insert the flower stem into the tube and then use floral wire to attach the tube directly to the arch or tuck it into the greenery.
This provides a dedicated water source for the most sensitive blooms, ensuring they don’t wilt before the “I do’s.”
Step 9: Final Misting and Lockdown
Once the design is complete, you need to protect it from the elements.
Spray the entire installation with a floral finishing spray to seal the moisture inside the petals.
Check for loose stems by gently shaking the arch; if anything wiggles, secure it with a small piece of floral wire.
If the wedding is outdoors, give the foam a final top-off of water using a narrow-spout watering can or a turkey baster.
Pro Tip: If it is a particularly windy day, use “chicken wire” over the foam cages to provide extra grip for the stems.
Common Mistakes to Avoid
Using Weak Attachment Tools
Many beginners try to use string, ribbon, or thin wire to hold up heavy floral arrangements. These materials can stretch, slip, or snap when they get wet or when the wind picks up. Always use industrial-strength zip ties because they lock into place and can handle the significant weight of wet foam and branches.
Neglecting the Back and Sides
It is easy to focus only on the front of the arch, but guests will see it from many angles as they walk to their seats. If the back of the arch is visible, you must cover the plastic cages and messy stem ends with foliage. A “finished” look from all sides separates a professional installation from a DIY project.
Waiting Too Long to Hydrate
Flowers begin to stress the moment they are out of water, especially in direct sunlight. If you attach the flowers too early without a water source like foam or tubes, they will look sad by the time the ceremony starts. Always ensure every single stem has access to moisture, even if you think the flower is “hardy.”
Overcrowding the Foam
If you poke too many holes in a small piece of floral foam, the foam will eventually crumble and lose its structural integrity. This causes stems to fall out because there is no longer any “grip” left in the material. Space your stems thoughtfully and use larger cages if you plan on a very dense floral look.
Troubleshooting
The Foam Cage is Sliding Down the Arch
This usually happens on metal arches that are very smooth or have a circular diameter. To fix this, wrap a layer of rubberized shelf liner or a thick rubber band around the arch before re-attaching the zip tie. The rubber creates the necessary friction to stop the heavy cage from sliding toward the ground.
Flowers are Wilting in the Heat
If you notice petals drooping, the flowers are likely losing moisture faster than they can drink it. Use a spray bottle to mist the blooms with cool water every thirty minutes until the ceremony begins. For extreme heat, you can also hang damp paper towels over the flowers during the setup phase to keep the ambient temperature around the petals lower.
The Arch is Leaning Forward
The weight of the flowers can often pull an arch off-balance, especially if the design is front-heavy. You can counter-balance this by hidden weights at the back of the base, such as sandbags or heavy stones. Alternatively, use a clear fishing line to anchor the top of the arch to a nearby tree or structure for invisible support.
Key Takeaways
- Always use floral foam cages secured with heavy-duty zip ties for maximum stability and hydration.
- Start with a greenery base to define the shape and hide the mechanical parts of the installation.
- Cut every stem at a 45-degree angle to ensure the flowers can drink as much water as possible.
- Use water tubes for high-maintenance flowers like hydrangeas to prevent mid-day wilting.
- Check the balance and stability of the arch throughout the process to prevent tipping.
- Apply a floral finishing spray as a final step to lock in moisture and protect against wind.
Frequently Asked Questions
How far in advance can I attach the flowers to the arch?
If you are using floral foam and the weather is mild, you can build the arch 4 to 6 hours before the ceremony. However, if it is very hot or windy, try to wait until 2 hours before the start time. Always keep the arch in the shade for as long as possible if it is a portable structure.
Can I use silk flowers instead of real ones?
Yes, silk flowers are much lighter and easier to attach because they do not require water. You can use the same zip tie and floral wire methods, but you can swap the heavy foam for lightweight dry floral foam or even pool noodles. This allows you to complete the arch days in advance without worrying about wilting.
How do I hide the zip ties if they are still showing?
The best way to hide mechanics is with “filler” greenery like ivy or small-leaf eucalyptus. You can also use floral tape that matches the arch color to wrap over the zip tie. If a zip tie is still visible, tuck a small spray rose or a clump of moss over the spot and secure it with a tiny bit of floral glue or wire.
What are the best flowers for a wedding arch?
Hardy flowers that hold up well out of a vase are best, such as roses, carnations, chrysanthemums, and orchids. Avoid very delicate blooms like sweet peas or lilies of the valley unless they are in individual water tubes. Tropical flowers like anthuriums are also excellent because they are naturally waxy and resistant to heat.
Our Top Recommended Finds
- Oasis Floral Foam Cages: These come with a built-in plastic grid that provides extra support for heavy stems and prevents the foam from breaking apart.
- Industrial Strength Zip Ties: Look for the 12-inch or 14-inch versions in UV-resistant black or green to ensure they don’t snap under the sun’s heat.
- Crowning Glory Finishing Spray: This professional-grade clear spray acts like hairspray for flowers, keeping them hydrated and preventing petal drop.
Designing Your Dream Ceremony Backdrop
Now that you know the technical secrets to a secure and beautiful floral arch, you can focus on the creative side of the process. Start by gathering your materials and practicing your “greening” technique on a small scale before the big day arrives.
Once you master the use of foam cages and zip ties, you can apply these skills to other installations like floral pillars or mantle designs. Take the first step today by sketching out your arch design and calculating how many floral cages you will need to bring your vision to life.