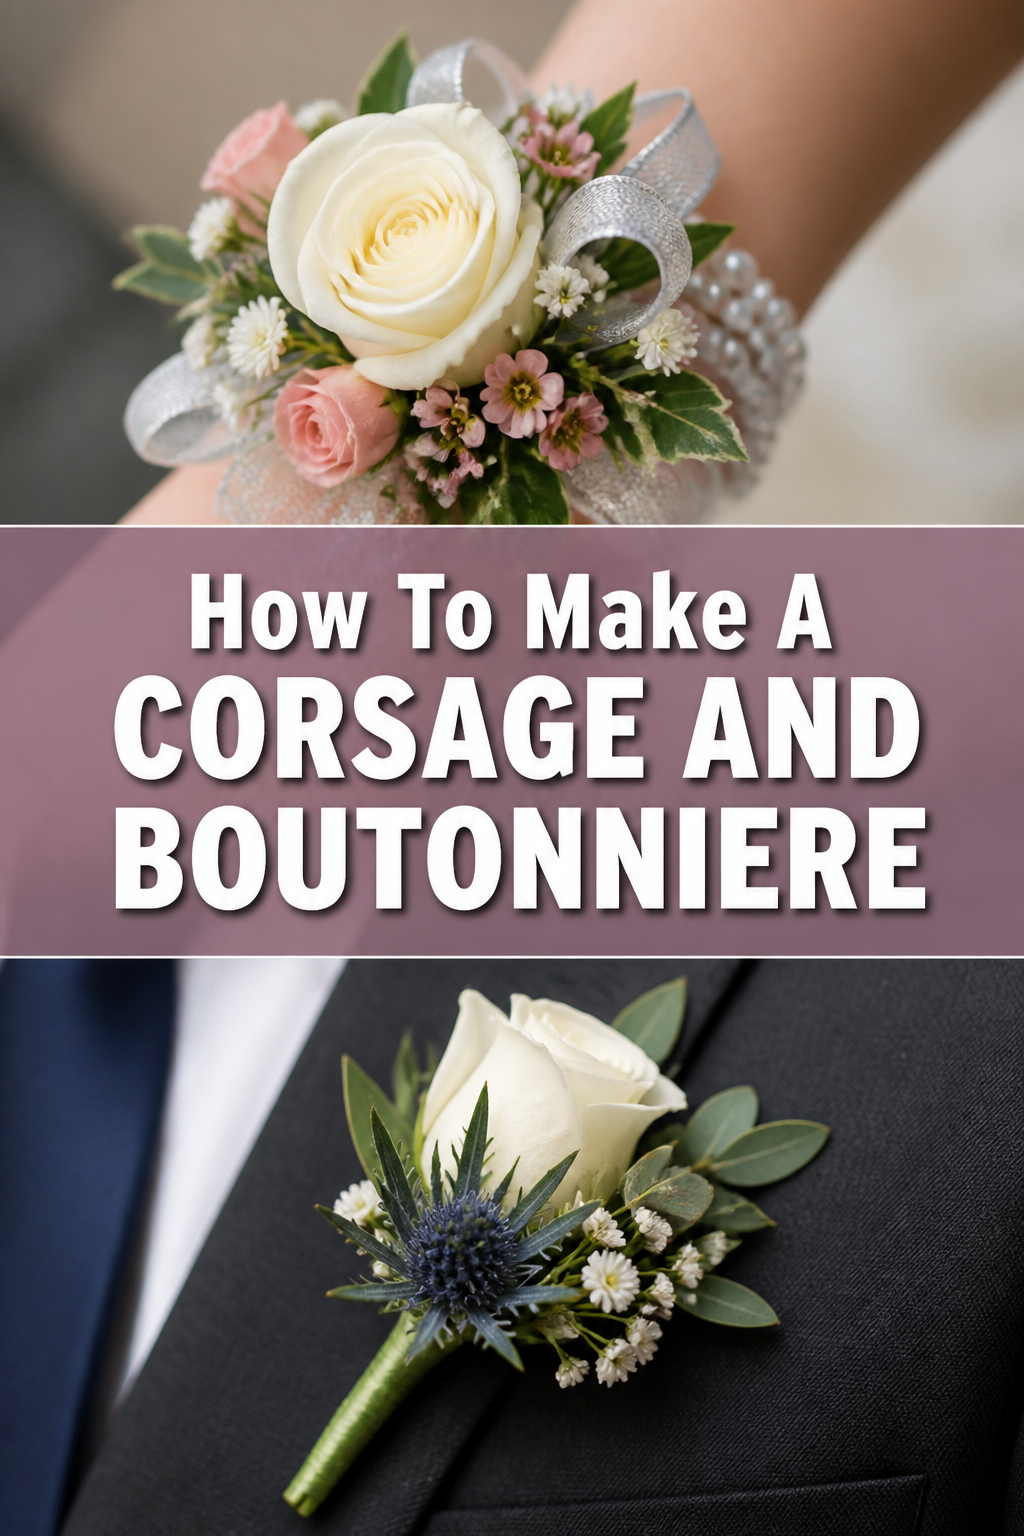
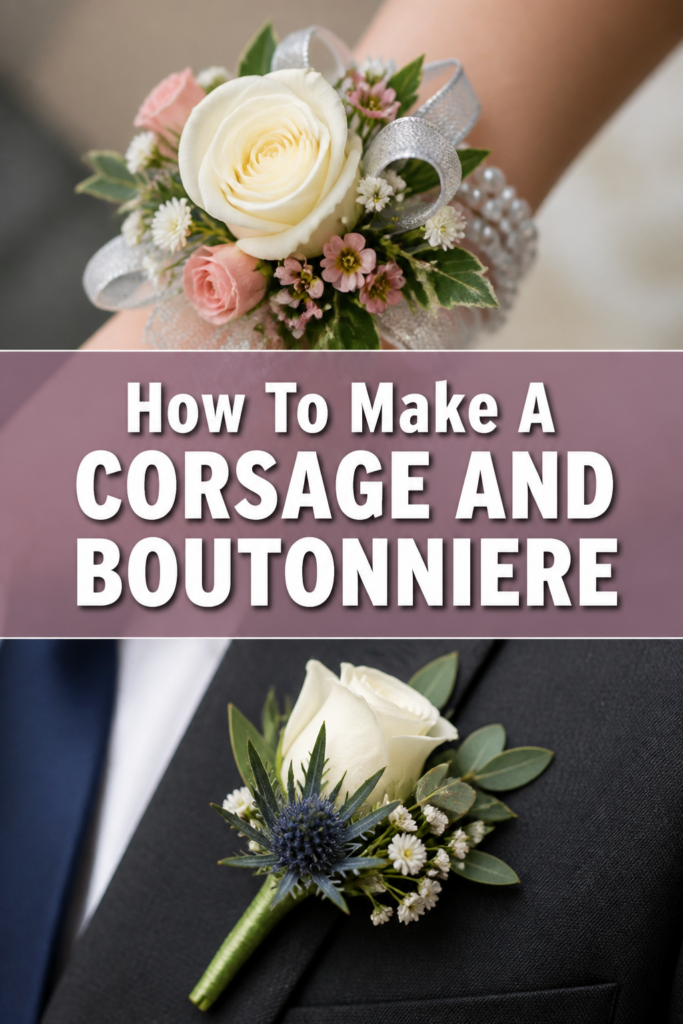
🌸 How To Make A Corsage And Boutonniere
Creating a corsage or boutonniere adds a personal, heartfelt touch to any special occasion.
I’ve crafted dozens of these for proms, weddings, and anniversaries, and I know the joy of seeing someone light up when they receive a custom floral piece.
This guide will walk you through each step, making the process simple and rewarding, even if you’ve never worked with flowers before.
Quick Overview
You’re about to master the art of crafting beautiful floral accessories.
By the end of this guide, you’ll have the skills to design your own corsages and boutonnieres for any event.
- Time needed: 30-60 minutes per piece (allowing for practice)
- Difficulty: Beginner
- What you’ll need: Fresh flowers, greenery, floral wire, floral tape, ribbon, pins, sharp scissors or floral snips.
Step-by-Step Instructions
Step 1: Gather Your Materials
Collect all your supplies before you begin. This helps streamline the entire process.
You’ll need your chosen flowers, some complementary greenery, floral wire (20-26 gauge is common), floral tape, ribbon, corsage/boutonniere pins, and sharp scissors or floral snips.
Having everything within reach prevents interruptions and keeps your workspace tidy.
Pro Tip: Select flowers that are fresh, sturdy, and have a good vase life. Roses, carnations, spray roses, and mini calla lilies are excellent choices. Consider the event’s color scheme.
Step 2: Condition Your Flowers
Prepare your fresh flowers and greenery by giving them a good drink.
Trim the stems at an angle under running water, then place them in a vase with fresh, cool water and flower food for at least a few hours, or preferably overnight.
This conditioning process helps them last longer and look their best.
Step 3: Prepare Individual Flower Stems
Trim the stems of your main flowers and greenery to about 1-2 inches.
For larger flowers like standard roses, gently remove any guard petals that are bruised or discolored.
Also, remove any thorns or leaves that would fall below the finished design.
Insert floral wire through the base of each flower head. For roses, push the wire straight through the calyx (the green part just below the petals) until it emerges from the other side.
Bend the wire downwards on both sides, creating a “U” shape around the stem.
For smaller flowers or delicate greenery, you might use a piercing method, pushing the wire directly through the stem.
Wrap the wire around the natural stem, making sure it feels secure. This wiring technique gives you more control over the flower’s placement and angle in the final arrangement.
It also provides a stable base for taping.
Pro Tip: For flowers with hollow stems, like some varieties of carnations, insert a piece of wire directly into the hollow stem to provide internal support before wrapping externally.
Step 4: Tape the Stems
Begin taping each wired flower and piece of greenery with floral tape.
Start just below the flower head or leaf, stretching the tape as you wrap it downwards.
The stretch activates the adhesive in the tape, ensuring a firm, moisture-resistant seal.
Continue wrapping until you reach the end of the wire, creating a clean, finished stem.
This process not only protects the stems but also makes them easier to manipulate and arrange.
Repeat for all individual components you plan to use.
Step 5: Assemble the Boutonniere
Select your main flower for the boutonniere. This is usually a single bloom, like a spray rose or a small standard rose bud.
Choose a small piece of complementary greenery, such as Italian ruscus, leather leaf, or fern, and perhaps a small accent flower or berry.
Arrange these components together, holding them firmly in your non-dominant hand.
Place the greenery behind the main flower, slightly peeking out, and any accent flowers to the side or slightly below.
Aim for a compact, elegant cluster.
Wrap the assembled stems tightly with floral tape, starting from just below the flower heads and working your way down.
Cover all the wires and natural stems completely, creating a single, neat stem about 2-3 inches long.
Finish the boutonniere by adding a small ribbon wrap if desired.
Wrap the ribbon around the taped stem and secure it with a tiny dab of floral adhesive or a small pin.
Trim the stem neatly and test the boutonniere for stability.
Pro Tip: Keep boutonnieres small and lightweight. They should be easy to pin to a lapel without drooping or looking bulky. A finished boutonniere should be about 4-5 inches long in total.
Step 6: Assemble the Corsage
Choose your main flowers for the corsage. This usually involves 2-3 focal blooms, such as spray roses or carnations.
Select your greenery and any accent flowers or filler flowers like baby’s breath or limonium.
Consider the overall shape and size you want to achieve.
Begin by arranging the main flowers. Hold one flower as your central point, then add another slightly below and to the side, and a third if desired.
Layer in your greenery around these focal flowers, creating a pleasing backdrop and framing the blooms.
Add any accent flowers to fill gaps and add texture.
Tape the stems together as you build the corsage. Start with a couple of main flowers, tape them, then add greenery, tape again, and continue layering and taping.
This incremental taping helps secure each component as you go, preventing slippage.
Once all elements are in place, wrap the entire cluster of stems tightly with floral tape, creating a single, sturdy stem.
Add a decorative bow. Tie a multi-loop bow with your chosen ribbon, leaving long tails.
Attach the bow to the back of the corsage stem using floral wire, then tape the wire securely into the corsage stem.
Trim the ribbon tails to a desired length and curl them gently if appropriate.
Attach a corsage bracelet if making a wrist corsage. Use floral adhesive to glue the taped stem of the corsage directly onto the bracelet base.
Hold it firmly for a minute to allow the glue to set, or use a thin wire to secure it if the bracelet has loops.
Ensure it’s centered and looks balanced.
Pro Tip: When building a corsage, think in layers and angles. Don’t make everything perfectly flat. A little depth and dimension add visual interest and make the piece more dynamic.
Step 7: Final Touches and Storage
Inspect your finished corsage and boutonniere for any loose wires, exposed tape, or misplaced elements.
Gently adjust flowers and greenery as needed to create a balanced and aesthetically pleasing design.
A light misting of floral sealant can help prolong freshness, especially for delicate blooms.
Store your completed floral pieces in a cool, dark place, ideally in a refrigerator (not a freezer).
Place them in a box with a damp paper towel (not touching the flowers) to maintain humidity.
This will keep them fresh until they are ready to be worn.
Common Mistakes to Avoid
Over-wiring or Under-wiring
Using too much wire can make the piece heavy and rigid, while too little wire leads to floppiness.
The goal is to provide just enough support without making the flower appear unnatural or bulky.
Practice different wiring techniques to find the right balance for each flower type.
Leaving Exposed Wire or Tape
An unfinished look detracts from the beauty of your creation.
Always ensure all wires are fully covered with floral tape and that the tape is stretched and adhered properly.
A clean, professional finish makes a significant difference.
Making It Too Large or Heavy
Boutonnieres should be compact and lightweight enough to be pinned easily to a lapel without pulling the fabric down.
Corsages, especially wrist corsages, should also be comfortable to wear and not cumbersome.
Keep the recipient’s comfort in mind when designing the scale of your piece.
Skipping the Conditioning Step
Failing to properly hydrate your flowers before assembly is a common oversight.
Unconditioned flowers will wilt quickly, even if stored correctly after assembly.
Always give your blooms plenty of water and flower food for several hours prior to working with them.
Troubleshooting
Flowers Wilting Quickly
If your flowers start to wilt soon after assembly, it’s often due to improper conditioning or insufficient hydration.
Ensure you trim stems at an angle under water and allow them to drink for several hours before you start.
A floral sealant spray can also help lock in moisture once the piece is complete.
Corsage/Boutonniere Feels Flimsy
A wobbly or unstable piece usually indicates insufficient wiring or taping.
Go back and reinforce your wired stems, ensuring the wire is firmly wrapped around the natural stem.
When taping, stretch the floral tape tightly to activate its adhesive and create a firm bond between components.
Difficulty Attaching to Clothing
If a boutonniere is hard to pin, it might be too bulky or the stem too thick.
Aim for a compact design with a narrow, taped stem that can easily accommodate a single corsage pin.
For corsages, ensure the pin is inserted through the fabric and then into the sturdy base of the corsage, not just through delicate petals.
Key Takeaways
- Preparation is Key: Always condition your flowers thoroughly before you begin crafting.
- Wire for Stability: Proper wiring provides essential support and allows for precise positioning of each bloom.
- Tape for Cleanliness: Floral tape secures components, covers wires, and creates a neat, finished look.
- Balance and Proportion: Design boutonnieres and corsages that are appropriate in size and weight for comfortable wear.
- Practice Makes Perfect: Don’t be discouraged if your first attempt isn’t flawless; each piece you make will improve your technique.
- Proper Storage Extends Life: Keep finished pieces cool and hydrated in a refrigerator until the event.
Frequently Asked Questions
Can I use artificial flowers?
Absolutely! Artificial flowers are a fantastic option if you want a keepsake that lasts forever or if you need to prepare far in advance.
The wiring and taping techniques remain largely the same, but you won’t need to worry about conditioning.
How far in advance can I make them?
For fresh flowers, it’s best to assemble corsages and boutonnieres no more than 24-48 hours before the event.
Store them properly in a refrigerator to maintain freshness.
If using artificial flowers, you can make them weeks or even months ahead.
What’s the difference between a corsage and a boutonniere?
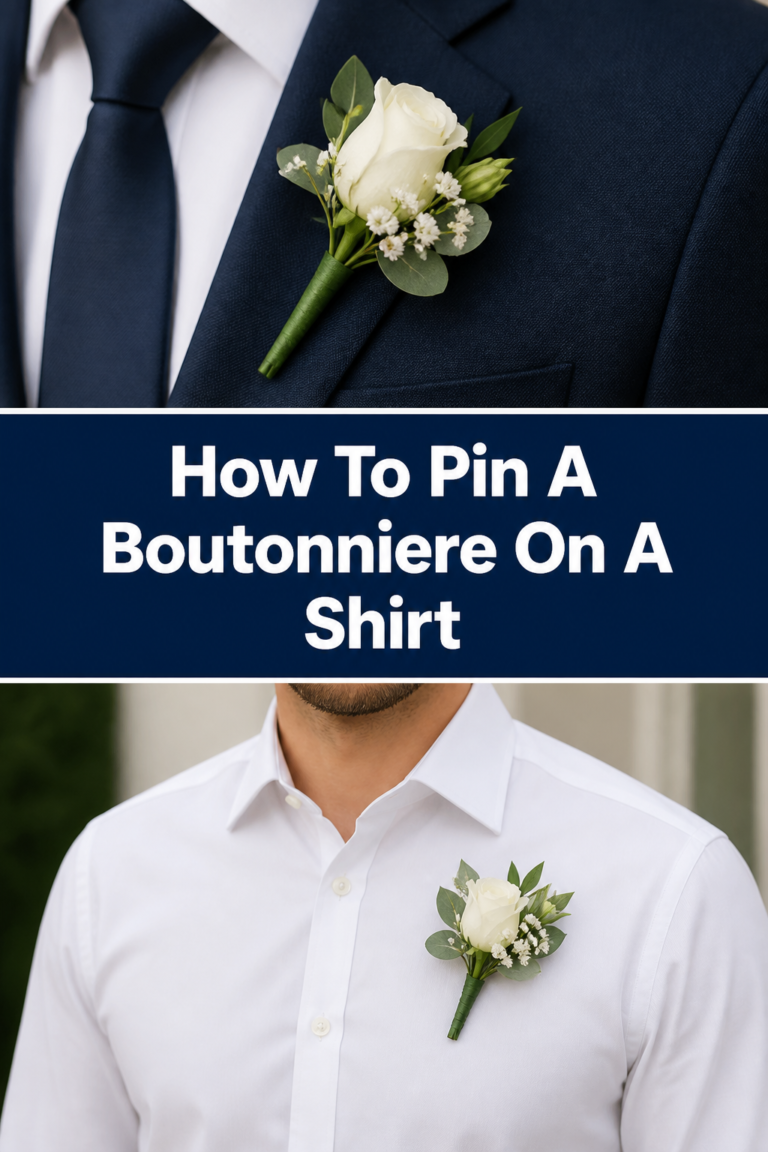
A boutonniere is a single or small cluster of flowers worn by men, typically pinned to a lapel.
A corsage is a larger floral arrangement worn by women, either pinned to clothing, worn on the wrist, or sometimes attached to a purse.
How do I pin a boutonniere correctly?
To pin a boutonniere, hold it against the lapel, usually on the left side, slightly above the pocket.
Insert the pin from the back of the lapel, through the fabric, into the stem of the boutonniere, and then back out through the fabric.
Ensure it’s secure and not wobbly.
Our Top Recommended Finds
- 22-Gauge Green Floral Wire: Essential for sturdy support without being too thick.
- Green Floral Tape: Self-adhesive when stretched, crucial for neat and secure wrapping.
- Floral Snips or Sharp Scissors: A good quality tool makes clean cuts and prevents stem damage.
Your Next Floral Adventure Awaits
You now possess the knowledge to craft beautiful corsages and boutonnieres.
This skill is incredibly versatile, allowing you to personalize special moments and add a touch of handmade elegance.
Don’t just read about it; gather your materials and start creating your first floral masterpiece today!
Consider exploring different flower combinations or learning how to make larger arrangements next.